2020 MERCEDES-BENZ AMG GT ROADSTER brake pads
[x] Cancel search: brake padsPage 111 of 381
R
allow the engine toreach a maximum engine
speed of 4,500 rpm on lybrief ly.
R drive theve hicle in drive program A.
R change gear before there v counter needle is
Ô ofthewa yto there d area of there v coun‐
te r.
R do not shift down a gear manually in order to
brake.
R avoidoverstra ining theve hicle, e.g. driving at
full thro ttle.
R do not depress the accelera tor pedal past
th e pressure point (kickdown).
R only increase the engine speed gradually and
accelera tetheve hicle tofull speed af ter
1, 500 km.
This also applies when the engine or parts of the
driv etra in ha vebeen replaced.
Please also obser vethefo llowing running-in
no tes:
R in cer tain driving and driving saf ety sy stems,
th e sensors adjust automatically while a cer‐
ta in dis tance is being driven af terth eve hicle
has been delivered or af terre pairs. Full sys‐ te
m ef fectiveness is not reached until the
end of this teach-in process.
R brakepads, brake discs and tyres that are
either new or ha vebeen replaced only ach‐
ie ve optimum braking ef fect and grip af ter
se veral hundred kilom etre s of driving. Com‐
pensate forth ere duced braking ef fect by
applying greaterfo rc eto the brake pedal. Note
s on engine output and engine torq ue %
The actual (maximum) values that can be
achie vedfo r engine output and engine tor‐
qu e may deviate from the certified values
within the count ry-specific guidelines for
permissible tolerances (basis: UN-ECE No.
85 or country -specific guidelines).
Fa ctors that can influence this are, forex am‐
ple:
R sea le vel
R fuel grade
R outside temp erature
R operating temp erature of the engine Unti
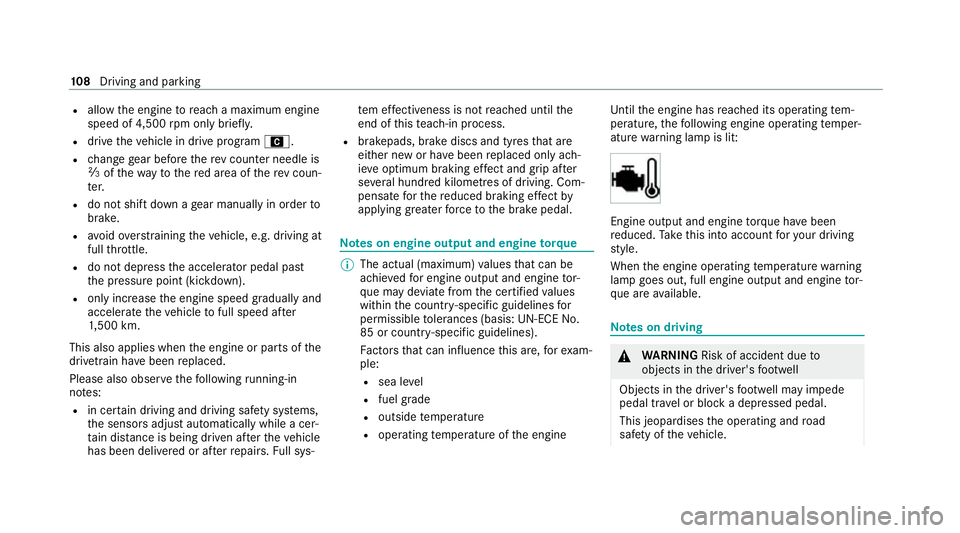
lth e engine has reached its operating tem‐
perature, thefo llowing engine operating temp er‐
ature warning lamp is lit: Engine output and engine
torque ha vebeen
re duced. Take this into account foryo ur driving
st yle.
When the engine operating temp erature warning
lamp goes out, full engine output and engine tor‐
qu e are available. Note
s on driving &
WARNING Risk of accident due to
objects in the driver's foot we ll
Objects in the driver's foot we ll may impede
pedal tr avel or block a depressed pedal.
This jeopardises the operating and road
saf ety of theve hicle. 108
Driving and pa rking
Page 114 of 381
Therefore, obser
vethefo llowing no tes:
R due tosalt build-up on the brake disks and
brakepads, the braking dis tance can increase
considerably orresult in braking only on one
side
R maintain a much greater safe dis tance tothe
ve hicle in front
To remo vesalt build-up:
R brake occasionally while paying attention to
th e tra ffic conditions
R carefully depress the brake pedal at the end
of the journey and when starting the next
journey
Note s on aquaplaning
Aq uaplaning can take place once a cer tain
amount of water has accumulated on thero ad
sur face.
Obser vethefo llowing no tes during heavy precip‐
itation or in conditions in which aquaplaning may
occur:
R reduce speed
R avoid tyre ruts R
avoid sudden steering mo vements
R brake carefully
% Also obser vethe no tes on regular lych ecking
wheels and tyres (/ page 263).
Note s on driving through water on the road
sur face
Wa ter which has entered into theve hicle can
damage the engine, electrics and transmission.
Wa ter can also enter the air intake of the engine
and cause engine damage.
Obser vethefo llowing if you must drive thro ugh
wate r:
R The water,when calm, may only reach the
lo we r edge of theve hicle body.
R Drive at walking pace at most, otherwise
wate r can enter theve hicle interior or engine
compartment.
R Vehicles tr avelling in front, or oncoming vehi‐
cles, can create waves which may exceed the
maximum permissible dep thofthewa ter.
The braking ef fect of the brakes is reduced af ter
fo rd ing. Brake carefully while paying attention toth
e traf fic conditions until braking po wer has
been fully restored. Fu
nction of rear axle steering The
rear axle steering is an electromechanical
auxiliary steering on there ar axle which adjusts
th esteering of there ar wheels according tothe
position of the front wheels, depending on the
speed. This results in greater manoeuvrability
and impr ovedstabilit y.
Re ar axle steering has thefo llowing characteris‐
tics:
R reduced steering ef fort and turning circle
re sulting in reduced parking ef fort
R impr oved driving stabilit y,e.g. when corner‐
ing
R more direct steering resulting in impr oved
handling of theve hicle
Obser vethe no tes on snow chains
(/ page 263) and on activating sn ow chain
mode. Driving and parking
111
Page 118 of 381
Brake sy
stem Note
s onthe brake sy stem
The brake sy stem of your vehicle is designed for
heavy loads. Therefore, there may be noise when
braking. The loads in the entire brake sy stem
which occur when driving on a racetrack are sig‐
nificantly grea terth an those during normal oper‐
ation.
The increased brake forc es and temp eratures
when driving on a racetrack inhe rently lead to
inc reased wear of the brake sy stem.
Check the condition and geometry of the brake
co ver plate before using theve hicle on a race‐
trac k.
Obser vethe information on the cooling of com‐
ponents which are subject tostra in when oper‐
ated on a racetrack (/ page 114).
Braking with ABS
Re peated hard braking within the ABS control
ra nge causes higher temp eratures in the brake
sy stem than controlled braking shortly before
th e ABS control limit. Brakepad
wear
The inner and outer brakepads may also suf fer
"tapered wear". This could lead topoor pedal
fe el. Therefore, you must also check the condi‐
tion of the brakepads before and af ter use on a
ra cetrack as part of astandard check forwe ar.
Brake discs
Obse rveth e information on the cooling of com‐
ponents which are subject tostra in in racetrack
ope ration (/ page 114).
Depending on theve hicle's equipment, the AMG
ceramic high-per form ance composite braking
sy stem is fitted in your vehicle. The assessment
of we ar must therefore be car ried out using a
special measurement procedure. The brakes are
measured using the cur rent condition of the
ceramic composite material as a criteria for
assessing thewe ar ins tead of assessing the
re sidual thickness.
Depending on the type of brake disc, thefo llow‐
ing are combinations used tomeasu rethewe ar
of the brake discs:
R Carbon-ceramic brake disc -
Visual assessment of the brake disc for
mechanical dama ge
- Wear measurement using the indicator
fi eld me thod; alternatively using the Pro‐
ceq Carbo teq®
measu ring device (e.g. in
th e AMG Performance Center or at AMG
Tr ackda ys)
R Grey cast iron brake disc
- Visual check
- Crack test
- Wearthickness test
The ventilation holes on gr eycast iron friction
ri ngs of standard brake discs in particular could
become bloc kedby brake dust. Therefore, check
th eve ntilation holes be fore using theve hicle on
a ra cetrack and clean them if necessar y.If nec‐
essar y,also clean the drilled holes.
Brake fluid
Che ckthefo llowing properties of the brake fluid
before each use on a racetrack:
R Boiling point
R Fill le vel Driving and pa
rking 11 5
Page 244 of 381
Note
s on care of car parts &
WARNING Risk of entrapment if the
windscreen wipers are swit ched on while
th e windscreen is being cleaned
If th e windscreen wipers are set in motion
while you are cleaning the windscreen or
wiper blades, you can be trapped bythe
wiper arm. #
Alw ays switch off the windscreen wip‐
ers and the ignition before cleaning the
windscreen or wiper blades. &
WARNING Risk of burn s fromtheta il‐
pipe and tailpipe trims
The exhaust tailpipe and tailpipe trims can
become very hot. If you come into contact
with these parts of theve hicle, you could
burn yourself. #
Alw ays be particular lycareful around
th eta ilpipe and theta ilpipe trims and
supervise children especially closely in
th is area. #
Allow vehicle parts tocool down before
to uching them. Obser
vethe no tes on cleaning and care of the
fo llowing vehicle parts toavoid damage.
Wheels/rims R Use water and acid-free wheel cleaners.
R Do not use acidic wheel cleaners toremo ve
brake dust. This could damage wheel bolts
and brake components.
R Toavo id cor rosion of the brake discs and
brake pads, drive theve hicle for a few
minutes af ter cleaning before parking it. The
brake discs and brake pads warm up and dry
out.
Wi ndo ws
R Clean wind owsinside and outside with a
damp clo thand with a cleaning agent recom‐
mended for Mercedes-Benz.
R Do not use dry clo ths or abrasive or sol vent-
based cleaning agents toclean the inside of
windo ws. Wi
per blades
R Fold out the wiper blades and clean them
using a damp clo th.
R Do not clean the wiper blades too of ten.
Ex terior lighting
R Clean the lenses with a wet sponge and mild
cleaning agent, e.g. car sha mpoo.
R Only use cleaning agents or cleaning clo ths
th at are suitable for plast ic lenses.
Sensors
R Clean the sensors in the front and rear
bumpers with a soft clo thand car shampoo
(/ page 132).
R When using a high-pressure cleaner,maintain
a minimum dis tance of 30 cm.
Re versing camera and front camera
R Use clean water and a soft clo thtoclean the
came ralens.
R Do not use a high-pressure cleaner.
Extendable rear wing
R Extend there ar wing when washing byhand
(/ page 148). Main
tenance and care 241
Page 316 of 381
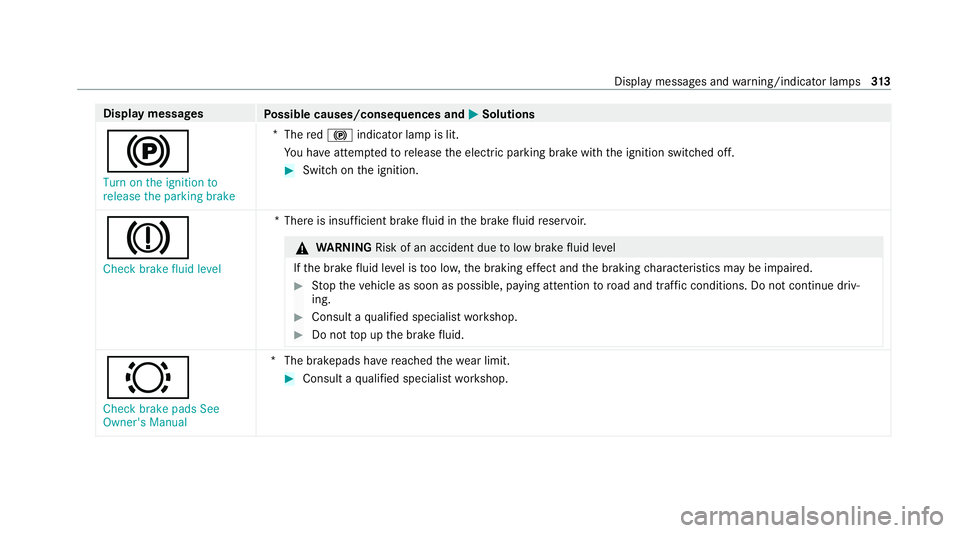
Display messages
Possible causes/consequences and M MSolutions
! Turn on the ignition to
release the parking brake *
The red! indicator lamp is lit.
Yo u ha veattem ptedto release the electric parking brake with the ignition switched off. #
Switch on the ignition.
J Check brake fluid level *T
here is insuf ficient brake fluid in the brake fluid reser voir. &
WARNING Risk of an accident due tolow brake fluid le vel
If th e brake fluid le vel is too lo w,the braking ef fect and the braking characteristics may be impaired. #
Stop theve hicle as soon as possible, paying attention toroad and traf fic conditions. Do not continue driv‐
ing. #
Consult a qualified specialist workshop. #
Do not top up the brake fluid. #
Check brake pads See
Owner's Manual *T
he brakepads ha vereached thewe ar limit. #
Consult a qualified specialist workshop. Display messages and
warning/indicator lamps 313
Page 351 of 381
B
BA S (Brake Assist Sy stem) .................... .133
Battery Key ........................................................ 58
Battery see Bat tery (vehicle)
Bat tery (vehicle) ...................................... 256
Charging .............................................. 255
No tes .................................................. 252
No tes (s tarting assis tance and
ch arging) ............................................ .253
Re placing ............................................ 256
St arting assis tance .............................. 255
Belt see Seat belt
Blind Spot Assi st..................................... 15 6
Ac tivating/deactivating ...................... .157
Fu nction .............................................. 15 6
Sy stem limitations ...............................1 56
Blue tooth ®
................................................ 173
Information .......................................... 173
Setting up an Internet connection ........ 211
Switching on/off ................................. 173Switching profile (DUN/PAN) ..............
213
Blue tooth ®
audio
Ac tivating ............................................ 224
De-authorising (de-regis tering) the
device .................................................. 225
Information .......................................... 222
Overview .............................................2 23
Sear ching for a track ........................... 225
Sear ching for and auth orisingthe
device .................................................. 223
Selecting a media pla yer .....................2 24
Boot lid Closing .................................................. 64
HANDS-FREE ACCESS ...........................64
Locking separa tely ................................ 65
Opening ................................................. 63
Opening dimensions ............................ 287
Brake Assist System
see BAS (Brake Assi stSystem)
Brake fluid
No tes .................................................. 285
Brake forc e distribution
EBD (Elect ronic Brake forc e Distribu‐
tion) ..................................................... 13 6Brake sy
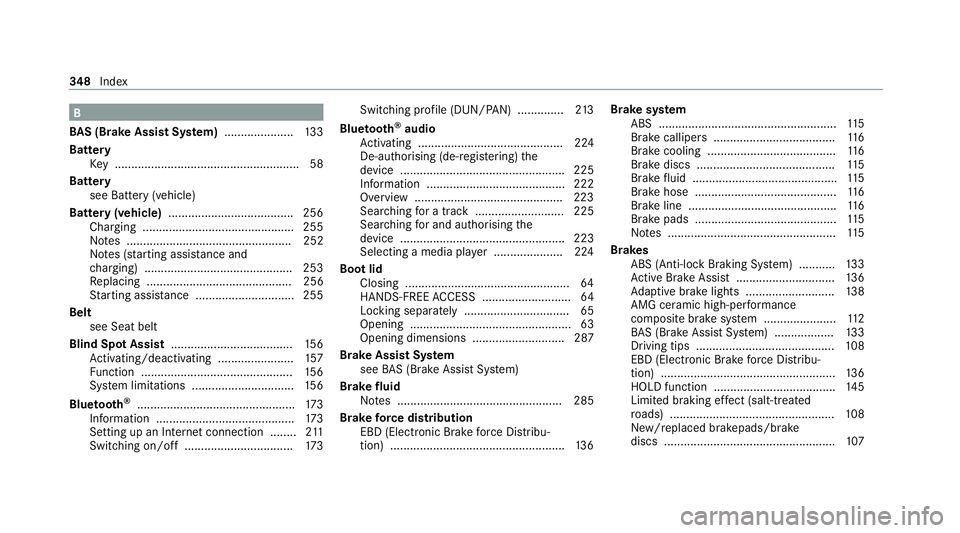
stem
ABS ...................................................... 11 5
Brake callipers ..................................... 11 6
Brake cooling ....................................... 11 6
Brake discs ......................................... .115
Brake fluid ............................................ 11 5
Brake hose ........................................... 11 6
Brake line ............................................. 11 6
Brake pads ........................................... 11 5
No tes ................................................... 11 5
Brakes ABS (Anti-lo ckBraking Sy stem) ........... 13 3
Ac tive Brake Assi st.............................. 13 6
Ad aptive brake lights ...........................1 38
AMG ceramic high-per form ance
composite brake sy stem ......................1 12
BA S (Brake Assi stSystem) .................. 13 3
Driving tips .......................................... 108
EBD (Electronic Brake forc e Distribu‐
tion) ..................................................... 13 6
HOLD function .................................... .145
Limi ted braking ef fect (salt-treated
ro ads) .................................................. 108
New/replaced brakepads/brake
discs .................................................... 107348
Index
Page 355 of 381
J
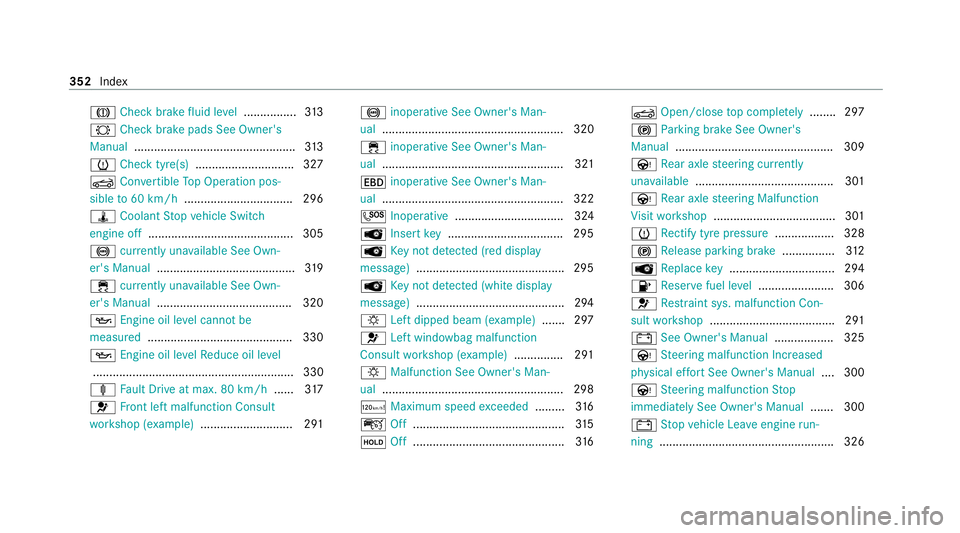
Check brake fluid le vel................ 313
# Check brake pads See Owner's
Manual ................................................ .313
h Check tyre(s) .............................. 327
K Convertible Top Operation pos‐
sible to60 km/h ................................. 296
ÿ Coolant Stop vehicle Switch
engine off ............................................ 305
! currently una vailable See Own‐
er's Manual .......................................... 319
÷ currently una vailable See Own‐
er's Manual ........................................ .320
5 Engine oil le vel cannot be
measured ............................................ 330
5 Engine oil le velRe duce oil le vel
............................................................. 330
ä Fault Drive at max. 80 km/h ......317
6 Front left malfunction Consult
wo rkshop (e xample)............................ 291 !
inoperative See Owner's Man‐
ual ....................................................... 320
÷ inoperative See Owner's Man‐
ual ....................................................... 321
T inoperative See Owner's Man‐
ual ....................................................... 322
G Inoperati ve................................. 324
 Insertkey .................................. .295
 Key not de tected (red displ ay
messa ge).............................................2 95
 Key not de tected (white display
messa ge).............................................2 94
: Left dipped beam (e xamp le) .......2 97
6 Left windowbag malfunction
Consult workshop (e xample).............. .291
: Malfunction See Owner's Man‐
ual .......................................................2 98
ð Maximum speed exceeded ......... 316
ç Off..............................................3 15
ë Off..............................................3 16K
Open/close top comple tely ........ 297
! Parking brake See Owner's
Manual ................................................ 309
Ù Rear axle steering cur rently
una vailable .......................................... 301
Ù Rear axle steering Malfunction
Vi sit workshop .....................................3 01
h Rectify tyre pressure .................. 328
! Release parking brake ................312
 Replace key ................................ 294
8 Reser vefuel le vel...................... .306
6 Restra int sys. malfunction Con‐
sult workshop ...................................... 291
# See Owner's Manual .................. 325
Ù Steering malfunction Incre ased
ph ysical ef fort See Owner's Manual .... 300
Ù Steering malfunction Stop
immediately See Owner's Manual .......300
# Stop vehicle Lea veengine run‐
ning ..................................................... 326 352
Index
Page 375 of 381
W
Wa rning lamps
see Warning/indicator lamps
Wa rning sy stem
see ATA (anti-theft alarm sy stem)
Wa rning triangle
Re moving ............................................. 24 4
Setting up ............................................ 24 5
Wa rning/indicator lamp
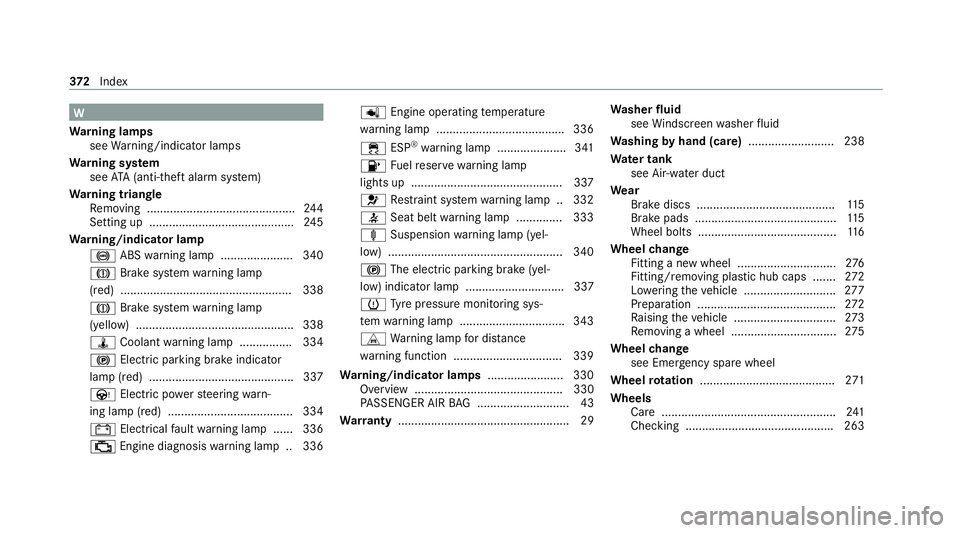
! ABSwarning lamp ...................... 340
J Brake sy stem warning lamp
(red) .................................................... 338
J Brake sy stem warning lamp
(yellow) ................................................ 338
ÿ Coolant warning lamp ................ 334
! Electric parking brake indicator
lamp (red) ............................................ 337
Ù Electric po werst eering warn‐
ing lamp (red) ...................................... 334
# Electrical fault warning lamp ...... 336
; Engine diagnosis warning lamp .. 336 p
Engine operating temp erature
wa rning lamp ...................................... .336
÷ ESP®
wa rning lamp .................... .341
8 Fuelreser vewarning lamp
lights up .............................................. 337
6 Restra int sy stem warning lamp .. 332
7 Seat belt warning lamp .............. 333
ä Suspension warning lamp (yel‐
low) .................................................... .340
! The electric parking brake (yel‐
low) indicator lamp .............................. 337
h Tyre pressure monitoring sys‐
te m wa rning lamp ................................ 343
L Warning lamp for dis tance
wa rning function ................................ .339
Wa rning/indicator lamps .......................330
Overview ............................................. 330
PA SSENGER AIR BAG ............................ 43
Wa rranty .................................................... 29 Wa
sher fluid
see Windsc reen washer fluid
Wa shing byhand (care) .......................... 238
Wa ter tank
see Air-water duct
We ar
Brake discs .......................................... 11 5
Brake pads ........................................... 11 5
Wheel bolts .......................................... 11 6
Wheel change
Fitting a new wheel .............................. 276
Fitting/removing pla stic hub caps .......2 72
Lo we ring theve hicle ............................2 77
Preparation .......................................... 272
Ra ising theve hicle ...............................2 73
Re moving a wheel ................................ 275
Wheel change
see Emergency spare wheel
Wheel rotation ........................................ .271
Wheels Care ..................................................... 241
Checking ............................................ .263 372
Index