2020 MERCEDES-BENZ AMG GT COUPE Key
[x] Cancel search: KeyPage 190 of 433
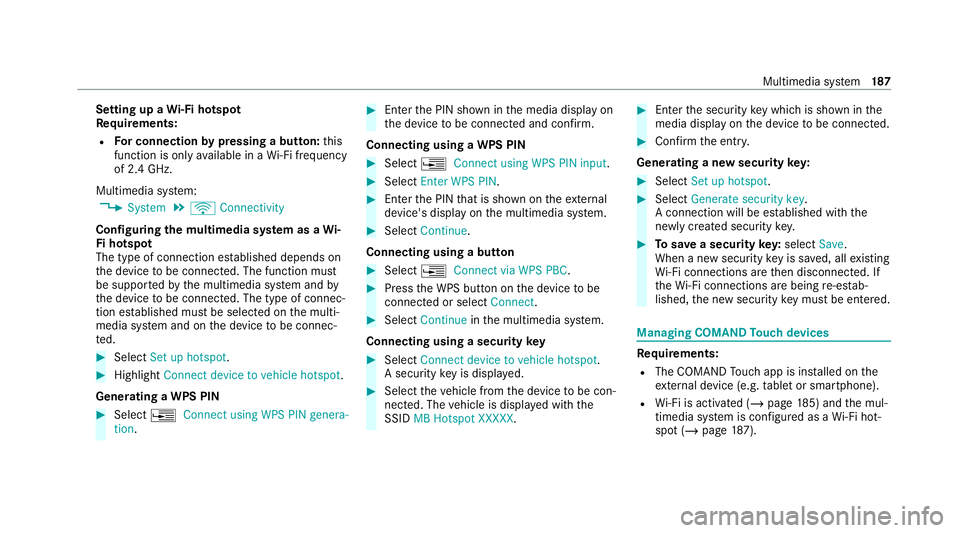
Setting up a
Wi-Fi hotspot
Re quirements:
R For connection bypressing a button: this
function is only available in a Wi-Fi frequency
of 2.4 GHz.
Multimedia sy stem:
4 System 5
ö Connectivity
Configuring the multimedia sy stem as a Wi-
Fi hotspot
The type of connection es tablished depends on
th e device tobe connec ted. The function must
be suppor tedby the multimedia sy stem and by
th e device tobe connec ted. The type of connec‐
tion es tablished must be selected on the multi‐
media sy stem and on the device tobe connec‐
te d. #
Select Set up hotspot. #
Highlight Connect device to vehicle hotspot.
Generating a WPS PIN #
Select ¥Connect using WPS PIN genera-
tion . #
Ente rth e PIN shown in the media display on
th e device tobe connec ted and confi rm.
Connecting using a WPS PIN #
Select ¥Connect using WPS PIN input. #
Select Enter WPS PIN. #
Enterth e PIN that is shown on theex tern al
device's display on the multimedia sy stem. #
Select Continue.
Connecting using a button #
Select ¥Connect via WPS PBC. #
Press the WPS button on the device tobe
connecte d or select Connect. #
Select Continue inthe multimedia sy stem.
Connecting using a security key #
Select Connect device to vehicle hotspot .
A secu rity key is displa yed. #
Select theve hicle from the device tobe con‐
nec ted. The vehicle is displa yed with the
SSID MB Hotspot XXXXX . #
Enter the security key which is shown in the
media display on the device tobe connec ted. #
Confirm the entry.
Genera ting a new security key: #
Select Set up hotspot . #
Select Generate security key .
A connection will be es tablished with the
newly crea ted security key. #
Tosave a security key:select Save.
When a new security key is sa ved, all existing
Wi -Fi connections are then disconnected. If
th eWi -Fi connections are being re-es tab‐
lished, the new security key must be ente red. Managing COMAND
Touch devices Re
quirements:
R The COMAND Touch app is ins talled on the
ex tern al device (e.g. tablet or smartphone).
R Wi-Fi is acti vated (/ page185) and the mul‐
timedia sy stem is confi gured as a Wi-Fi hot‐
spot (/ page 187). Mul
timedia sy stem 187
Page 191 of 433
Multimedia sy
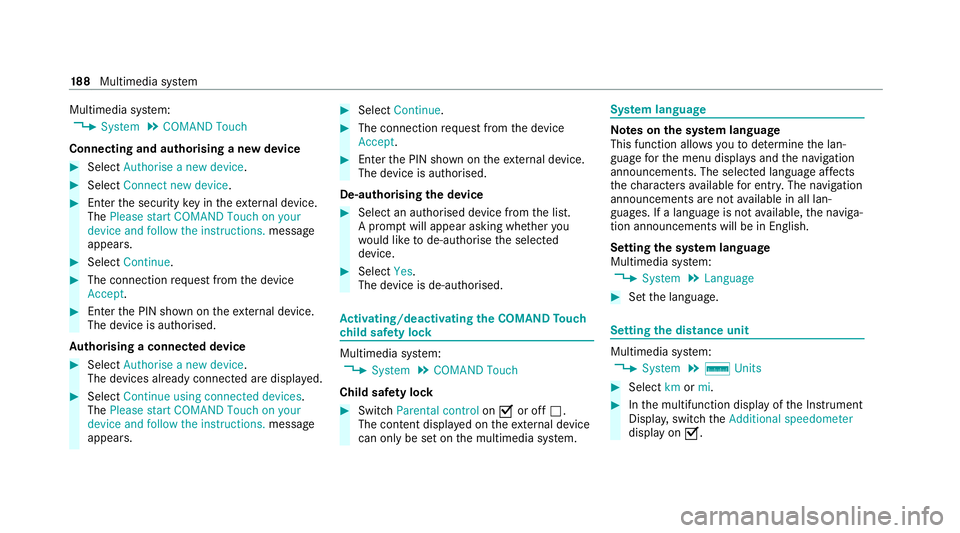
stem:
4 System 5
COMAND Touch
Connecting and authorising a new device #
Select Authorise a new device. #
Select Connect new device. #
Ente rth e security key in theex tern al device.
The Please start COMAND Touch on your
device and follow the instructions. message
appears. #
Select Continue. #
The connection requ est from the device
Accept. #
Ente rth e PIN shown on theex tern al device.
The device is authorised.
Au thorising a connected device #
Select Authorise a new device.
The devices already connec ted are displa yed. #
Select Continue using connected devices.
The Please start COMAND Touch on your
device and follow the instructions. message
appears. #
Select Continue. #
The connection requ est from the device
Accept. #
Ente rth e PIN shown on theex tern al device.
The device is authorised.
De-authorising the device #
Select an authorised device from the list.
A prom ptwill appear asking whe ther you
wo uld like tode-authorise the selected
device. #
Select Yes.
The device is de-authorised. Ac
tivating/deactivating the COMAND Touch
ch ild saf ety lock Multimedia sy
stem:
4 System 5
COMAND Touch
Child saf ety lock #
Switch Parental control onO or off ª.
The content displa yed on theex tern al device
can on lybe set on the multimedia sy stem. Sy
stem language Note
s onthe sy stem language
This function allo wsyouto determ ine the lan‐
guage forth e menu displa ysand the navigation
announcements. The selected language af fects
th ech aracters available for entr y.The navigation
announcements are not available in all lan‐
guages. If a language is not available, the naviga‐
tion announcements will be in Engl ish.
Setting the sy stem language
Multimedia sy stem:
4 System 5
Language #
Set the language. Setting
the distance unit Multimedia sy
stem:
4 System 5
% Units #
Select kmormi. #
Inthe multifunction display of the Instrument
Displa y,switch theAdditional speedometer
display on O. 18 8
Multimedia sy stem
Page 235 of 433
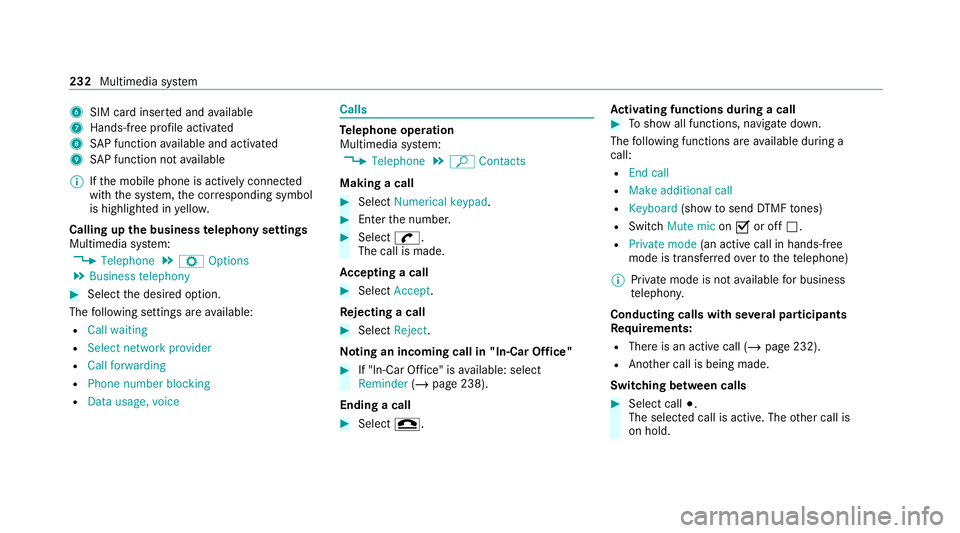
6
SIM card inse rted and available
7 Hands-free profile activated
8 SAP function available and activated
9 SAP function not available
% Ifth e mobile phone is actively connected
with the sy stem, the cor responding symbol
is highlighte d inyello w.
Calling up the business telephony settings
Multimedia sy stem:
4 Telephone 5
Z Options
5 Business telephony #
Select the desired option.
The following settings are available:
R Call waiting
R Select network provider
R Call forwarding
R Phone number blocking
R Data usage, voice Calls
Te
lephone operation
Multimedia sy stem:
4 Telephone 5
ª Contacts
Making a call #
Select Numerical keypad. #
Ente rth e number. #
Select w.
The call is made.
Ac cepting a call #
Select Accept .
Re jecting a call #
Select Reject.
No ting an incoming call in "In-Car Of fice" #
If "In-Car Of fice" is available: select
Reminder (/page 238).
Ending a call #
Select =. Ac
tivating functions during a call #
Toshow all functions, navigate down.
The following functions are available during a
call:
R End call
R Make additional call
R Keyboard (showtosend DTMF tones)
R Switch Mute mic onO or off ª.
R Private mode (an activecall in hands-free
mode is transfer redove rto thete lephone)
% Private mode is not available for business
te lephon y.
Conducting calls with se veral participants
Re quirements:
R There is an active call (/ page 232).
R Another call is being made.
Switching between calls #
Select call #.
The selected call is active. The other call is
on hold. 232
Multimedia sy stem
Page 257 of 433
%
Ifth e pr ovider is recognised cor rectly, the
cor rect settings are alre ady entered. Ifthe
access data is not cor rect, you can adjust
th is using the predefined settings. #
Toselect the predefined access data of
th e mobile phone network pr ovider: select
th eö Connectivity submenu. #
Select Predefined settings.
A list of count ries appears. #
Select the count ryofyour mobile phone net‐
wo rkprov ider.
The list of available pr oviders appears. #
Select your mobile phone network pr ovider.
When an overview of the pr ovider settings
appears, make the necessary settings. #
Select Confirm settings.
A confi rmation for successful configura tion
appears.
% Toavo id possible additional costs, set the
access data in the manual confi guration set‐
tings, e.g. theAllow roaming option, accord‐
ing to yo ur data tariff. You can contact your mobile phone network pr
ovider toobtain the
precise access data. #
Confirm the connection with theve hicle hot‐
spot using the security key (/ page187).
% Onlyfor connections using the Blue tooth®
SA P profile: if you use a mobile phone to
pr ov ide the mobile hotspot forth eve hicle,
th is telephone will no longer ha veany teleph‐
ony and Internet functions and it cannot
re cei veany more mobile phone data. Tocon‐
tinue touse In tern et functions on the mobile
phone, you can connect it with theve hicle
hotspot. In this wa y,the mobile phone
accesses its own mobile phone da ta again,
albeit using Wi-Fi. Forth is reason, toavo id
additional costs, switch off the automatic
download of software updates via Wi-Fi on
yo ur mobile phone.
% Setting up the mobile hotspot at a later time
is also possible using theSystem menu
(/ page 184). If requ ired, you can call up
and adjust the access data at a later time in
th e same menu. Switching
the Blu etoo th®
pr ofile
Requ irements:
R The mobile phone supports the DUN and
PA N Blue tooth®
profiles.
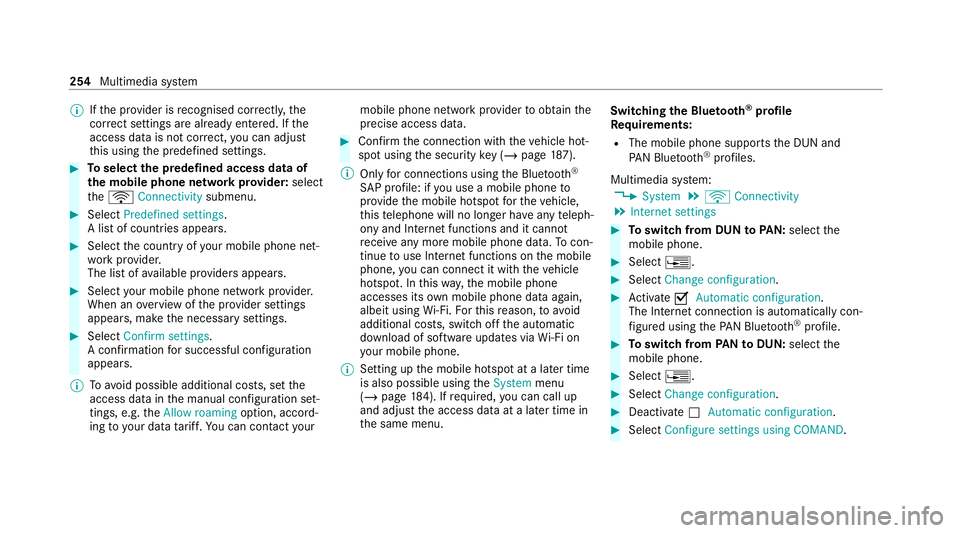
Multimedia sy stem:
4 System 5
ö Connectivity
5 Internet settings #
Toswitch from DUN toPAN: select the
mobile phone. #
Select ¥. #
Select Change configuration. #
Activate OAutomatic configuration.
The Internet connection is au tomatical lycon‐
fi gured using thePA N Blue tooth®
profile. #
Toswitch from PANto DUN: select the
mobile phone. #
Select ¥. #
Select Change configuration. #
Deactivate ªAutomatic configuration. #
Select Configure settings using COMAND .254
Multimedia sy stem
Page 268 of 433
#
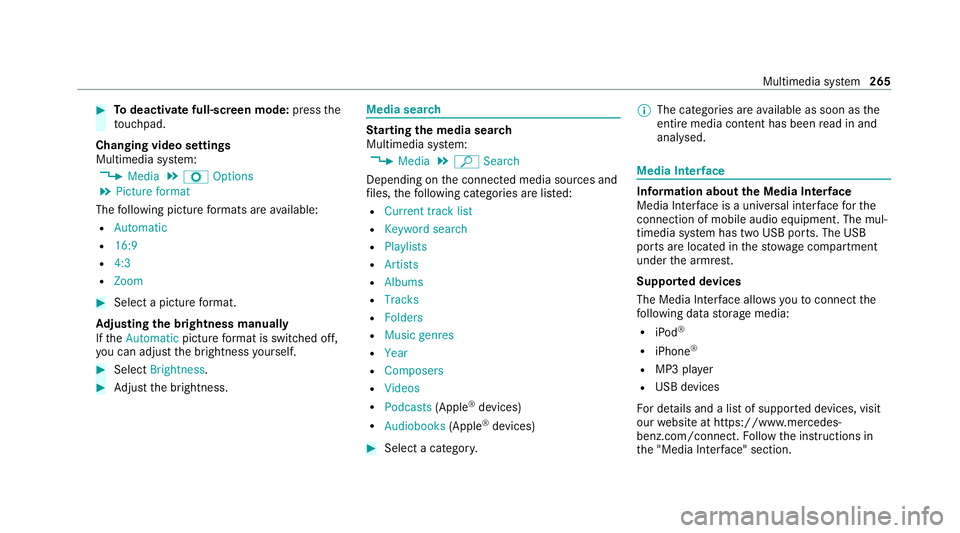
Todeactivate full-sc reen mode: pressthe
to uchpad.
Changing video settings
Multimedia sy stem:
4 Media 5
Z Options
5 Picture format
The following picture form ats are available:
R Automatic
R 16:9
R 4:3
R Zoom #
Select a picture form at.
Ad justing the brightness manually
If th eAutomatic pictureform at is swit ched off,
yo u can adjust the brightness yourself. #
Select Brightness. #
Adjust the brightness. Media sear
ch St
arting the media sear ch
Multimedia sy stem:
4 Media 5
ª Search
Depending on the connected media sources and
fi les, thefo llowing categories are lis ted:
R Current track list
R Keyword search
R Playlists
R Artists
R Albums
R Tracks
R Folders
R Music genres
R Year
R Composers
R Videos
R Podcasts (Apple®
devices)
R Audiobooks (Apple®
devices) #
Select a categor y. %
The categories are available as soon as the
entire media conte nt has beenread in and
anal ysed. Media Inter
face Information about
the Media Inter face
Media In terface is a universal inter face forthe
connection of mobile audio equipment. The mul‐
timedia sy stem has two USB ports. The USB
ports are located in thestow age compartment
under the armrest.
Suppor ted devices
The Media Inter face allo wsyouto connect the
fo llowing data storage media:
R iPod ®
R iPhone ®
R MP3 pla yer
R USB devices
Fo r de tails and a list of suppor ted devices, visit
our website at https://www.mercedes-
benz.com/connect. Follow the instructions in
th e "Media Inter face" section. Multimedia sy
stem 265
Page 335 of 433
Note
s ontech nical data
The tech nical da tawa s de term ined in accord‐
ance with EU Directives. The data stated only
applies tovehicles with standard equipment. Yo u
can obtain fur ther information from a Mercedes-
Benz Service Centre.
Only for ce rtain countries: you can find vehi‐
cle-specific vehicle data in the EC-Certificate of
Conformity (CERTIFIC ATE OF CONFORMITY).
These documents are deli vered with your vehi‐
cle. On-board electronics
Note
s on tampering with the engine elec‐
tronics *
NO
TEPremature wearthro ugh improper
main tenance Improper maintenance may cause
vehicle
components towe ar more quickly and the
ve hicle's operating permit may be in valida‐
te d. #
Alw ays ha vewo rkon the engine elec‐
tronics and related components car ried
out at a qualified specialist workshop. Ra
dio equipment appr ovals for the vehicle
comp onents
Manufacturer information about radio-based
ve hicle components can be found using thekey
wo rd"Radio operating permits", in the Digital
Owner's Manual in theve hicle, on the internet
and in the app. Ve
hicle identification plate, VIN and engine
number overview
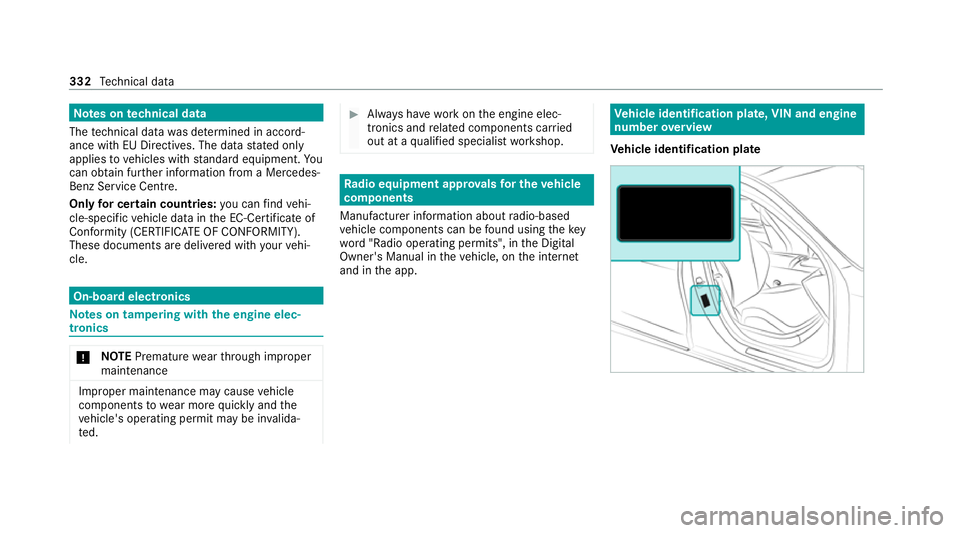
Ve hicle identification plate 332
Tech nical da ta
Page 349 of 433
Key
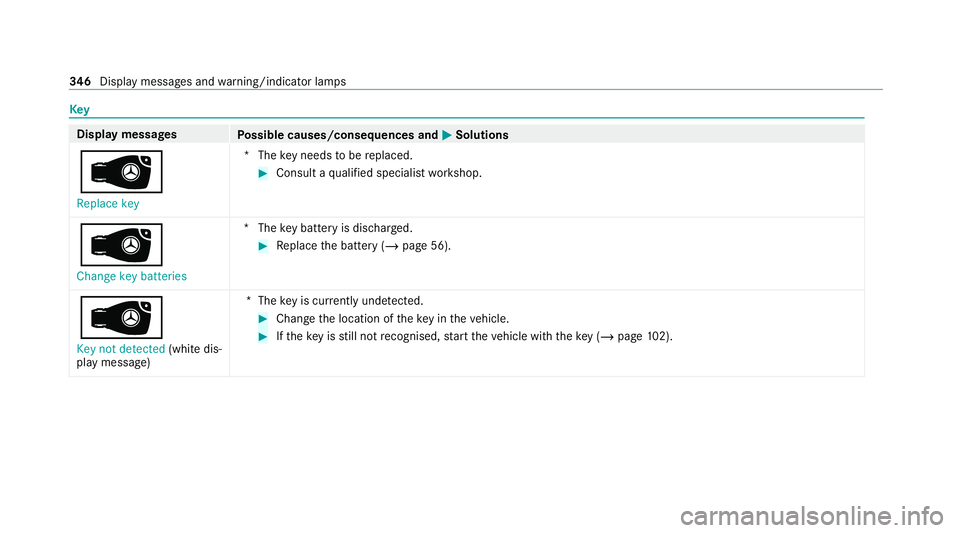
Display messages
Possible causes/consequences and M MSolutions
 Replace key *T
hekey needs tobe replaced. #
Consult a qualified specialist workshop.
 Change key batteries *T
hekey bat tery is dischar ged. #
Replace the battery (/ page 56).
 Key not detected (white dis‐
play message) *T
hekey is cur rently und etected. #
Change the location of theke y in theve hicle. #
Ifth eke y is still not recognised, start theve hicle with theke y ( / page 102). 346
Displaymessa ges and warning/indicator lamps
Page 350 of 433
Display messages
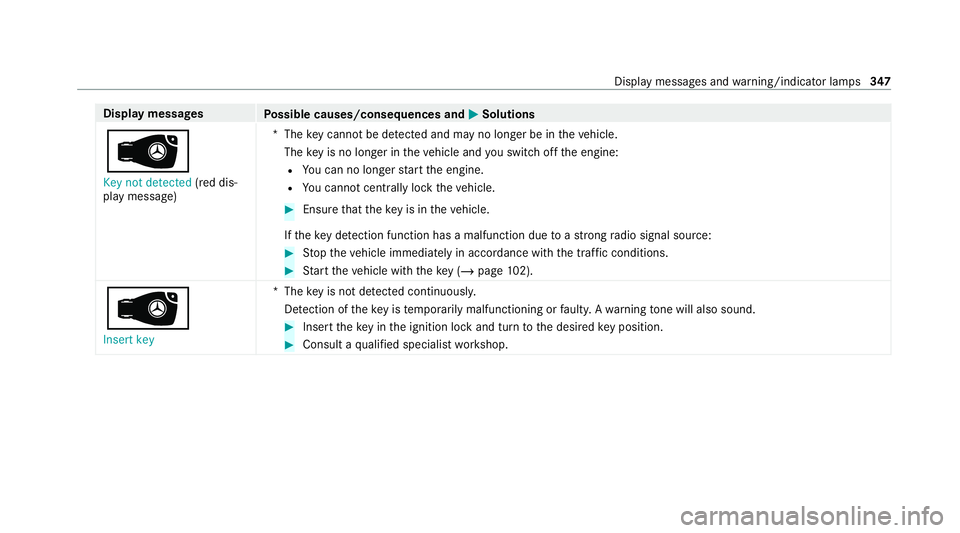
Possible causes/consequences and M MSolutions
 Key not detected (red dis‐
play message) *T
hekey cannot be de tected and may no longer be in theve hicle.
The key is no lon ger in theve hicle and you swit choff the engine:
R You can no lon gerst art the engine.
R You cannot centrally lock theve hicle. #
Ensure that theke y is in theve hicle.
If th eke y de tection function has a malfunction due toast ro ng radio signal source: #
Stop theve hicle immediately in accordance with the traf fic conditions. #
Start theve hicle with theke y (/ page102).
Â
Insert key *T
hekey is not de tected continuously.
De tection of theke y is temp orarily malfunctioning or faulty. A warning tone will also sound. #
Inse rttheke y in the ignition lock and turn tothe desired key position. #
Consult a qualified specialist workshop. Display messages and
warning/indicator lamps 347