Page 399 of 566

NOTE
Tires degrade over time, even when they
are not being used on the road. It is
recommended that tires generally be
replaced when they are 6 years or older.
Heat caused by hot climates or frequent
high loading conditions can accelerate the
aging process. The period in which the tire
was manufactured (both week and year) is
indicated by a 4-digit number.
Refer to Tire Labeling on page 8-25.
▼Replacing a Wheel
WA R N I N G
Always use wheels of the correct size on
your vehicle:
Using a wrong-sized wheel is dangerous.
Braking and handling could be affected,
leading to loss of control and an accident.
CAUTION
A wrong-sized wheel may adversely
affect:
Tire fit
Wheel and bearing life
Ground clearance
Snow-chain clearance
Speedometer calibration
Headlight aim
Bumper height
Tire Pressure Monitoring System
NOTE
When replacing a wheel, make sure the
new one is the same as the original
factory wheel in diameter, rim width,
and offset (inset/outset).
For details, contact an Authorized
Mazda Dealer.
Proper tire balancing provides the best
riding comfort and helps reduce tread
wear. Out-of-balance tires can cause
vibration and uneven wear, such as
cupping and flat spots.
Maintenance and Care
Owner Maintenance
6-41
MX-5_8JA4-EA-19K_Edition1_old 2019-8-29 16:18:06
Page 429 of 566

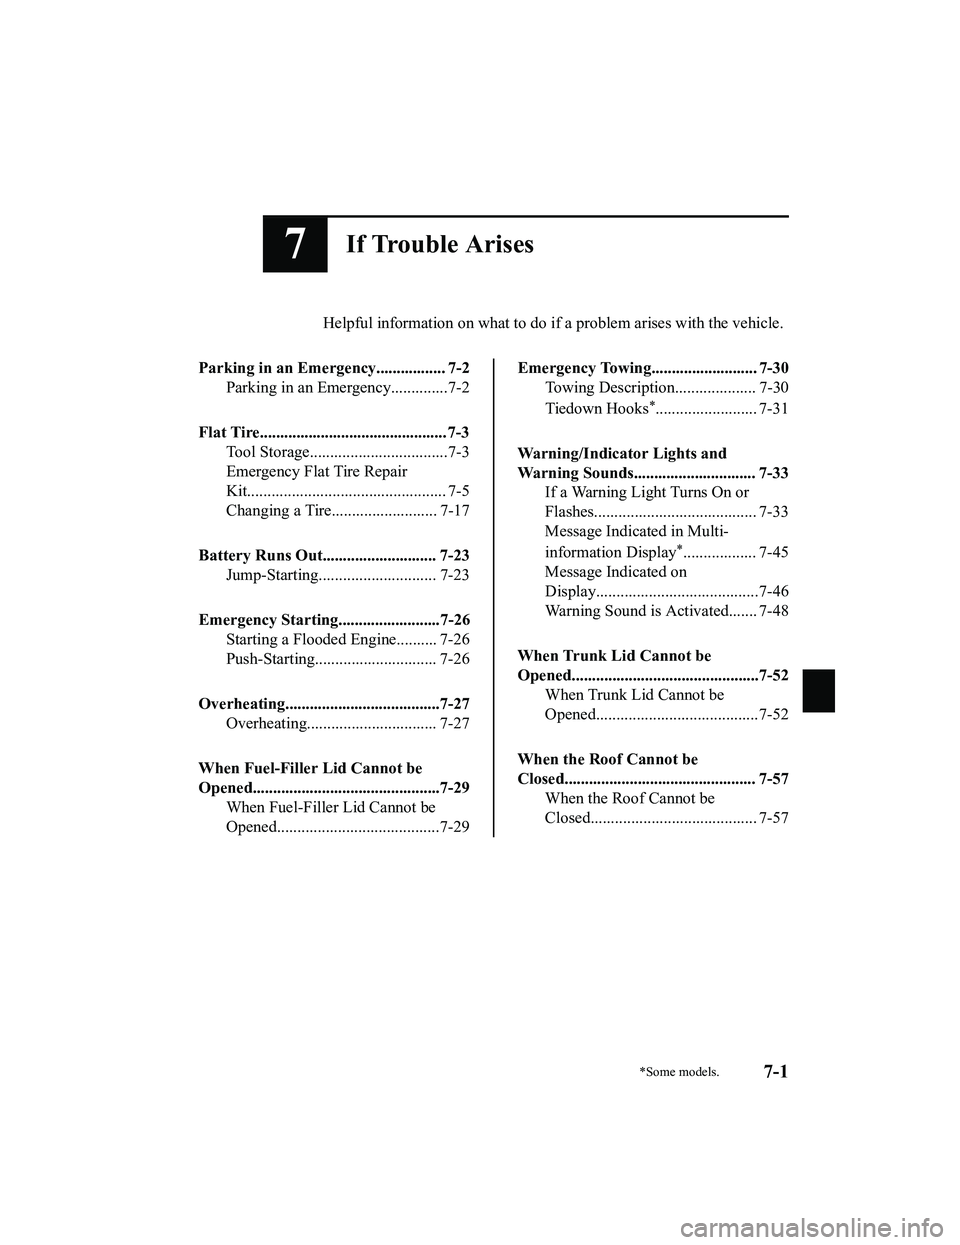
7If Trouble Arises
Helpful information on what to do if a problem arises with the vehicle.
Parking in an Emergency................. 7-2 Parking in an Emergency..............7-2
Flat Tire.............................................. 7-3 Tool Storage..................................7-3
Emergency Flat Tire Repair
Kit................................................. 7-5
Changing a Tire.......................... 7-17
Battery Runs Out............................ 7-23 Jump-Starting............................. 7-23
Emergency Starting.........................7-26 Starting a Flooded Engine.......... 7-26
Push-Starting.............................. 7-26
Overheating......................................7-27 Overheating................................ 7-27
When Fuel-Filler Lid Cannot be
Opened..............................................7-29 When Fuel-Filler Lid Cannot be
Opened........................................7-29
Emergency Towing.......................... 7-30
Towing Description.................... 7-30
Tiedown Hooks
*......................... 7-31
Warning/Indicator Lights and
Warning Sounds.............................. 7-33 If a Warning Light Turns On or
Flashes........................................ 7-33
Message Indicated in Multi-
information Display
*.................. 7-45
Message Indicated on
Display........................................7-46
Warning Sound is Activated....... 7-48
When Trunk Lid Cannot be
Opened..............................................7-52 When Trunk Lid Cannot be
Opened........................................7-52
When the Roof Cannot be
Closed............................................... 7-57 When the Roof Cannot be
Closed......................................... 7-57
*Some models.7-1
MX-5_8JA4-EA-19K_Edition1_old 2019-8-29 16:18:06
Page 431 of 566
Tool Storage
NOTE
Your vehicle may or may not be equipped with a jack and lug wrench. For details, consult
an Authorized Mazda Dealer.
Tools are stored in the locations illustrated in the diagram.
Jack
Emergency flat tire repair kit
Jack
Some models.
Tool bag
Lug wrench
Jack lever
Tiedown eyeletSoft top model
Emergency flat tire repair kit
Tool bag
Lug wrench
Jack lever
Tiedown eyelet
Hardtop model
If Trouble Arises
Flat Tire
7-3
MX-5_8JA4-EA-19K_Edition1_old
2019-8-29 16:18:06
Page 432 of 566
▼Jack*
To remove the jack
1. Remove the cover.
2. Turn the wing bolt and jack screwcounterclockwise.
Wing bolt
Jack screw
To secure the jack
1. Insert the wing bo lt into the jack with
the jack screw pointing back and turn
the wing bolt clockwise to temporarily
tighten it.
2. Turn the jack screw clockwise.
Wing bolt
Jack screw
3. Turn the wing bolt completely tosecure the jack.
NOTE
If the jack is not completely secured, it
could rattle while driving. Make sure
the jack screw is sufficiently tightened.
4. Insert the cover tabs and install the
cover.
NOTE
Verify that the cover is securely
installed.
Maintenance
Always keep the jack clean.
Make sure the moving parts are kept
free from dirt or rust.
Make sure the screw thread is
adequately lubricated.
If Trouble Arises
Flat Tire
7-4*Some models.
MX-5_8JA4-EA-19K_Edition1_old 2019-8-29 16:18:06
Page 433 of 566

Emergency Flat TireRepair Kit
The emergency flat tir e repair kit included
with your Mazd a is for a temporary repair
of a slightly damaged flat tire resulting
from running over nails or similar sharp
objects on the road surface.
Perform the emergency flat tire repair
without removing the na il or similar sharp
object which punctured the tire.
NOTE
Your vehicle is not equipped with a spare
tire. In the event of a flat tire, use the
emergency flat tire repair kit to repair the
tire temporarily. When doing the repair,
refer to the instructions included in the
emergency flat tire repair kit. If an
emergency repair was performed on a flat
tire using the emergency flat tire repair kit,
have an Authorized Mazda Dealer, repair
or replace the tire as soon as possible.
▼ About the Emergency Flat Tire
Repair Kit
The emergency flat tir
e repair kit includes
the following items.
U.S.A. and Canada
Compressor
Sealant bottle
Speed restriction sticker InstructionsRepaired tire sticker
Mexico
Tire sealant
Injection hose Compressor
Valve core tool
Spare valve core
Speed restriction sticker Instructions
If Trouble Arises
Flat Tire
7-5
MX-5_8JA4-EA-19K_Edition1_old 2019-8-29 16:18:06
Page 434 of 566

WA R N I N G
Do not allow children to touch the tire
sealant:
Ingestion of tire sealant is dangerous. In
the event tire sealant is accidentally
swallowed, drink large amounts of water
immediately and seek medical
assistance.
Tire sealant that comes into contact with
the eyes and skin is dangerous. If tire
sealant enters the eyes or contacts the
skin, flush immediately with large
amounts of water and seek medical
assistance.
NOTE
The tire sealant cannot be reused.
Purchase new tire sealant at an
Authorized Mazda Dealer.
The emergency flat tire repair kit cannot
be used in the following cases.
Consult an Authorized Mazda Dealer.
The period of effective use for the tire
sealant has expired. (The period of
effectiveness is indicated on the bottle
label.)
The tear or puncture exceeds about 4
mm (0.16 in).
The damage has occurred to an area
of the tire other than the tread.
The vehicle has been driven with
nearly no air remaining in the tire.
The tire has come off the wheel rim.
Damage to the wheel rim has
occurred.
The tire has two or more punctures.
▼ Using the Emergency Flat Tire
Repair Kit
U.S.A. and Canada
1. Move the vehicle off the right-of-way
to a safe place on a level and hard
surface where the vehicle does not
obstruct traffic.
2. Shift the shift lever to the 1 or Reverse (R) position for a manual transmission,
and shift the selector lever to the P
position for an automatic transmission.
3. Apply the parking brake with the brake pedal depressed and turn off the
engine.
4. If necessary, flash the hazard warning
lights and set up the roadside
emergency triangle.
5. Unload passengers and cargo and
remove the emergency flat tire repair
kit.
Hardtop modelSoft top model
If Trouble Arises
Flat Tire
7-6
MX-5_8JA4-EA-19K_Edition1_old
2019-8-29 16:18:06
Page 435 of 566

6. Shake the sealant bottle to mix thecontents. Then extend the injection
hose.
Injection hose
CAUTION
Do not shake the bottle excessively.
Otherwise, the sealant could spray out
of the injection hose, and if the sealant
contacts clothing or other objects, you
may not be able to remove it.
NOTE
The sealant hardens easily and
injecting it will be difficult under cold
weather conditions (0 °C (32 °F) or
below). Warm the sealant inside the
vehicle to facilitate injection.
7. Pull out the air compressor hose and
the air compressor plug from the air
compressor.
Compressor hose
8. Install the air compressor hose whichwas pulled out of the air compressor to
the injection valve of the bottle.
Compressor hose Injection hose
Injection
valve
CAUTION
Make sure that the air compressor
switch is off before inserting the air
compressor hose to the injection valve
of the bottle. If the air compressor hose
is not installed to the injection valve of
the bottle securely, the sealant may
leak.
9. Remove the valve cap from the valve of the flat tire, install the injection hose
to the tire valve, turn the sleeve to the
right, and tighten it.
Valve cap
Valve Injection hose
If Trouble Arises
Flat Tire
7-7
MX-5_8JA4-EA-19K_Edition1_old
2019-8-29 16:18:06
Page 436 of 566

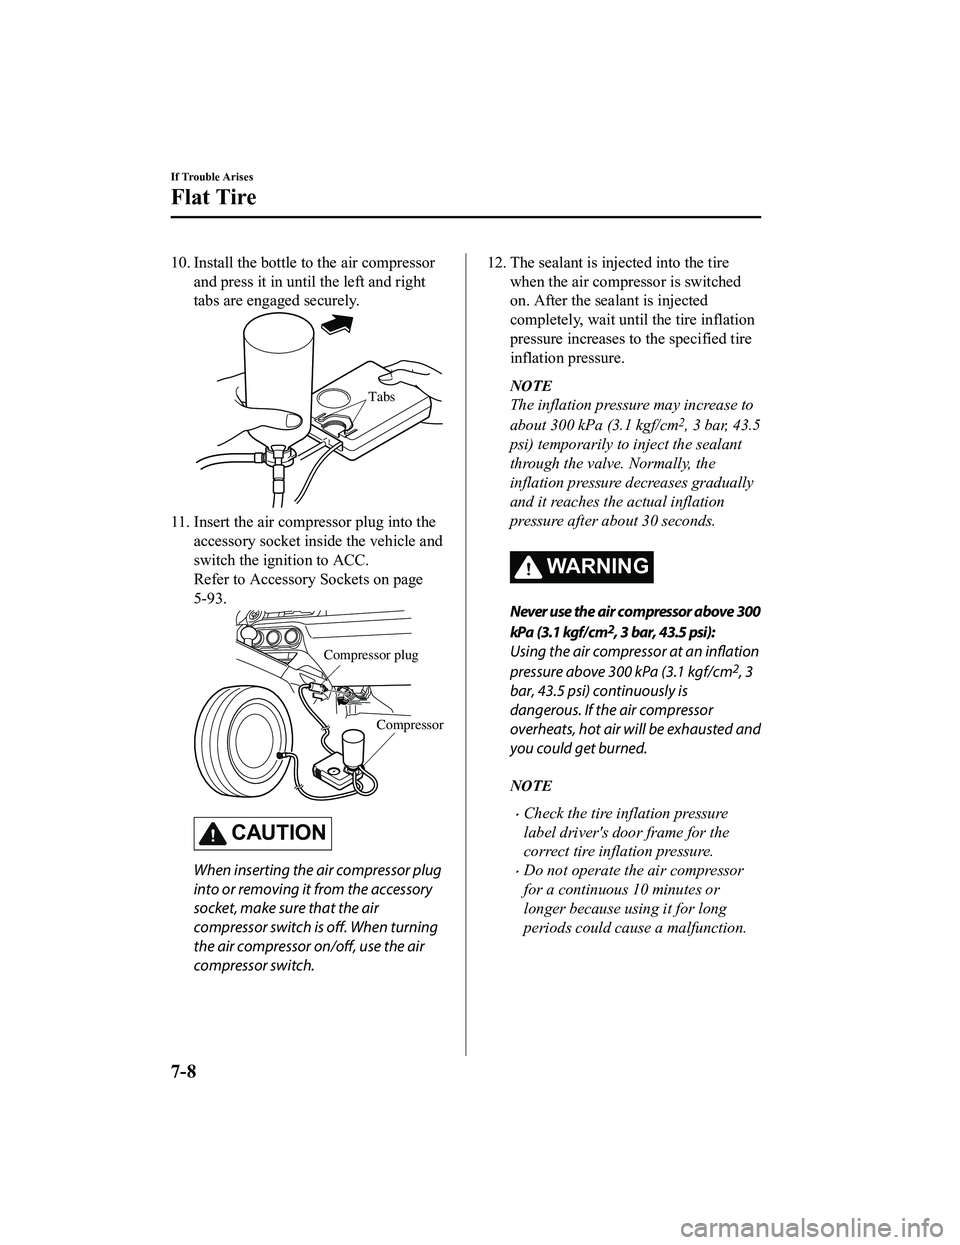
10. Install the bottle to the air compressorand press it in until the left and right
tabs are engaged securely.
Tabs
11. Insert the air compressor plug into theaccessory socket inside the vehicle and
switch the ignition to ACC.
Refer to Accessory Sockets on page
5-93.
Compressor
Compressor plug
CAUTION
When inserting the air compressor plug
into or removing it from the accessory
socket, make sure that the air
compressor switch is off. When turning
the air compressor on/off, use the air
compressor switch.
12. The sealant is injected into the tire
when the air compressor is switched
on. After the sealant is injected
completely, wait until the tire inflation
pressure increases to the specified tire
inflation pressure.
NOTE
The inflation pressure may increase to
about 300 kPa (3.1 kgf/cm
2, 3 bar, 43.5
psi) temporarily to inject the sealant
through the valve. Normally, the
inflation pressure decreases gradually
and it reaches the actual inflation
pressure after about 30 seconds.
WARNING
Never use the air compressor above 300
kPa (3.1 kgf/ c m
2, 3 bar, 43.5 psi):
Using the air compressor at an inflation
pressure above 300 kPa (3.1 kgf/cm
2, 3
bar, 43.5 psi) continuously is
dangerous. If the air compressor
overheats, hot air will be exhausted and
you could get burned.
NOTE
Check the tire inflation pressure
label driver's door frame for the
correct tire inflation pressure.
Do not operate the air compressor
for a continuous 10 minutes or
longer because using it for long
periods could cause a malfunction.
If Trouble Arises
Flat Tire
7-8
MX-5_8JA4-EA-19K_Edition1_old 2019-8-29 16:18:06