Page 370 of 777

3694-5. Using the driving support systems
4
Driving
RX350/RX350L_U
■If you notice any symptoms
If you notice any of the following symptoms, refer to the likely cause and the
solution, and re-check.
If the symptom is not resolved by the solution, have the vehicle inspected by
your Lexus dealer.
Things you should know
Likely causeSolution
The image is difficult to see
• The vehicle is in a dark area
• The temperature around the lens is
either high or low
• The outside temperature is low
• There are water droplets on the cam- era
• It is raining or humid
• Foreign matter (mud, etc.) is adhering to the camera
• There are scratches on the camera
• Sunlight or headlights are shining directly into the camera
•The vehicle is unde r fluorescent lights,
sodium lights, mercury lights etc.
If this happens due to these causes, it
does not indicate a malfunction.
Back up while visually checking the vehi-
cle’s surroundings. (Use the monitor
again once conditions have been
improved.)
The image on the Lexus parking assist
monitor system screen can be adjusted.
(Vehicles with a Lexus Display Audio sys-
tem: P. 411) (Vehicles with a navigation
system: “NAVIGATION SYSTEM
OWNER’S MANUAL”.)
The image is blurry
Dirt or foreign matter (such as water
droplets, snow, mud, etc.) is adhering to
the camera.Flush the camera with a large quantity of
water and wipe the camera lens clean
with a soft and wet cloth.
The image is out of alignment
The camera or surrounding area has
received a strong impact.Have the vehicle inspected by your Lexus
dealer.
The guide lines are very far out of alignment
The camera position is out of alignment.Have the vehicle inspected by your Lexus
dealer.
• The vehicle is tilted (there is a heavy
load on the vehicle, tire pressure is low
due to a tire puncture, etc.)
• The vehicle is used on an incline.If this happens due to these causes, it
does not indicate a malfunction.
Back up while visually checking the vehi-
cle’s surroundings.
Page 412 of 777

4115-2. Setup
5
Lexus Display Audio system
RX350/RX350L_U
Go to “Display”: “MENU” button “Display”
Turn off screen.
Adjust screen quality.
Adjust screen quality of the rear
view monitor camera.
Change to day mode.
This setting turns the screen off. To tu rn it on, press any button such as the
“AUDIO” button or “MENU” button.
If a screen off image has been se t, the set image will be displayed.
When the headlights are turned on, the screen dims.
However, the screen can be switched to day mode by selecting “Day Mode”.
The screen will stay in day mode when the headlights are turned on until “Day Mode”
is selected again.
Select “General” or “Camera” on the “D isplay” screen or select “Display” on
audio menu screen. ( P. 417)
Adjust the display as desired by turning the controller clockwise (+) or coun-
terclockwise (-).
To select “Contrast”, “Brightness”, “Color” or “Tone”, move the controller to the left.
(“Color” and “Tone” are available when “Display” on the audio settings screen for
each audio source is selected.)
■Changing the sample image (when “General” is selected)
Move the controller to the right and select the desired sample image.
Display settings
Settings are available for adjusting the contrast and brightness of the screen.
The display can also be turned off.
Screen for display settings
1
2
3
4
Screen off
Day mode
Adjusting the screen quality
1
2
Page 588 of 777

5877-2. Maintenance
7
Maintenance and care
RX350/RX350L_U
*: Vehicles with single-beam headlights
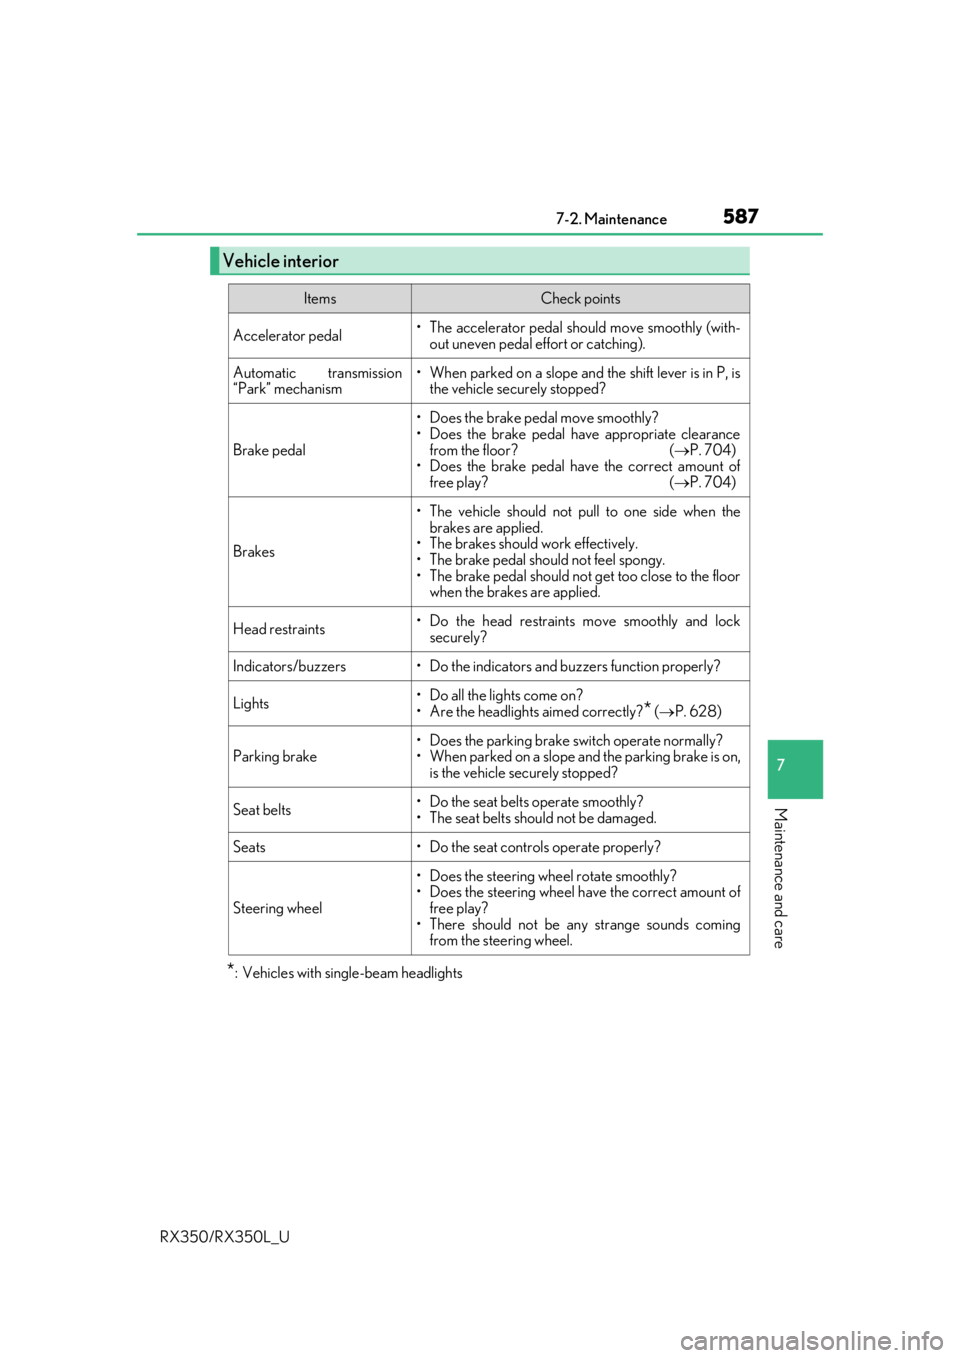
Vehicle interior
ItemsCheck points
Accelerator pedal• The accelerator pedal should move smoothly (with-
out uneven pedal effort or catching).
Automatic transmission
“Park” mechanism• When parked on a slope and the shift lever is in P, is the vehicle securely stopped?
Brake pedal
• Does the brake pedal move smoothly?
• Does the brake pedal have appropriate clearance
from the floor? ( P. 704)
• Does the brake pedal have the correct amount of
free play? ( P. 704)
Brakes
• The vehicle should not pull to one side when the
brakes are applied.
• The brakes should work effectively.
• The brake pedal should not feel spongy.
• The brake pedal should no t get too close to the floor
when the brakes are applied.
Head restraints• Do the head restraints move smoothly and lock
securely?
Indicators/buzzers• Do the indicators and buzzers function properly?
Lights• Do all the lights come on?
• Are the headlights aimed correctly?
* ( P. 628)
Parking brake• Does the parking brake switch operate normally?
• When parked on a slope and the parking brake is on,
is the vehicle securely stopped?
Seat belts• Do the seat belts operate smoothly?
• The seat belts should not be damaged.
Seats• Do the seat controls operate properly?
Steering wheel
• Does the steering wheel rotate smoothly?
• Does the steering wheel have the correct amount offree play?
• There should not be any strange sounds coming from the steering wheel.
Page 592 of 777

5917-3. Do-it-yourself maintenance
7
Maintenance and care
RX350/RX350L_U
*: Vehicles with single-beam headlights
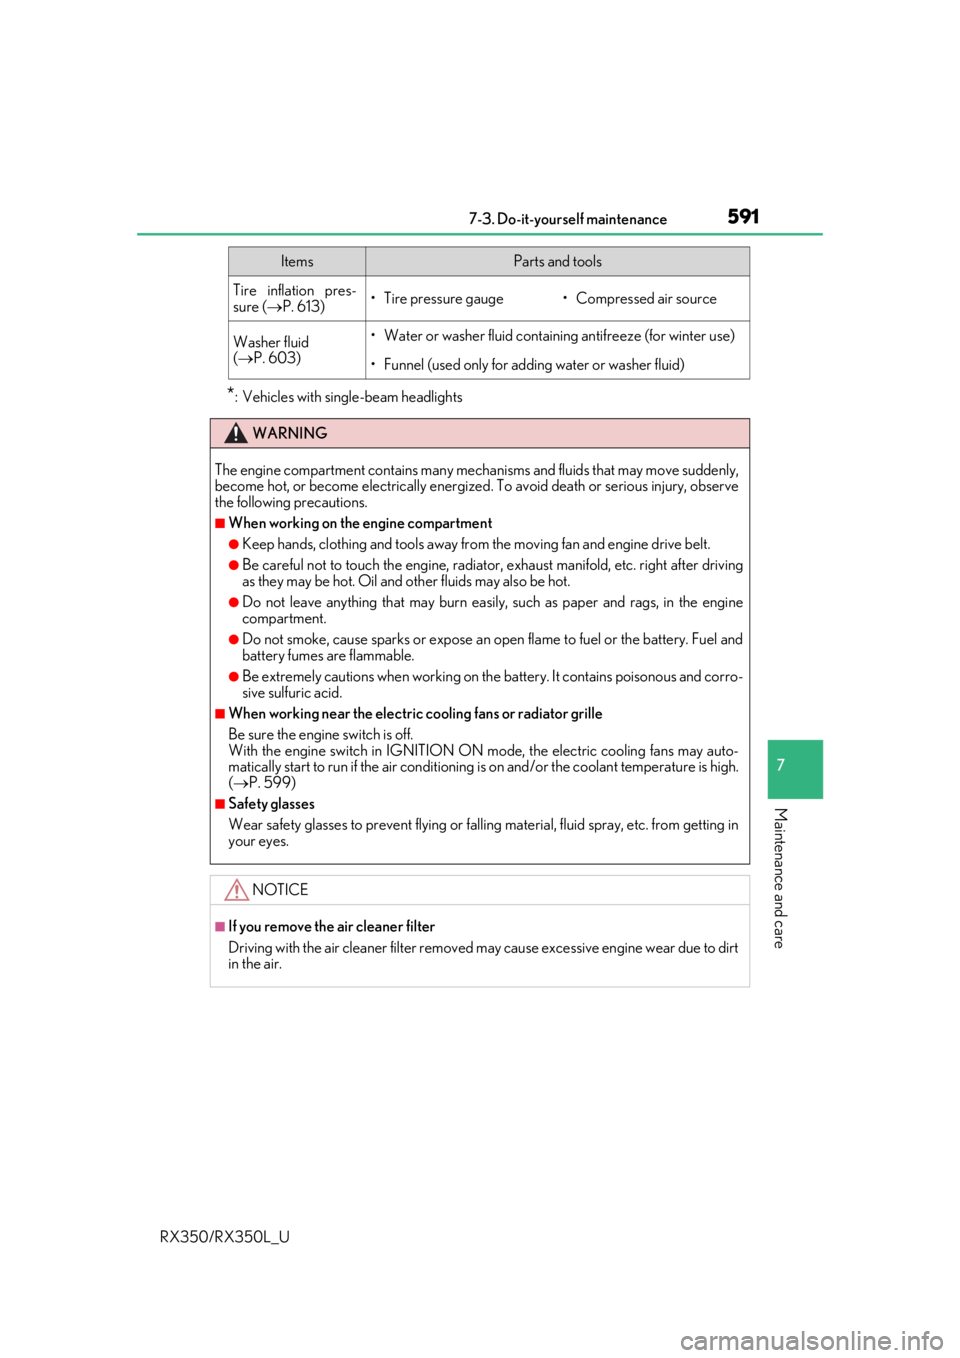
Tire inflation pres-
sure (P. 613)• Tire pressure gauge• Compressed air source
Washer fluid
( P. 603)• Water or washer fluid containing antifreeze (for winter use)
• Funnel (used only for adding water or washer fluid)
WARNING
The engine compartment contains many mechan isms and fluids that may move suddenly,
become hot, or become electrically energize d. To avoid death or serious injury, observe
the following precautions.
■When working on the engine compartment
●Keep hands, clothing and tools away from the moving fan and engine drive belt.
●Be careful not to touch the engine, radiator, exhaust manifold, etc. right after driving
as they may be hot. Oil and other fluids may also be hot.
●Do not leave anything that may burn easily, such as paper and rags, in the engine
compartment.
●Do not smoke, cause sparks or expose an open flame to fuel or the battery. Fuel and
battery fumes are flammable.
●Be extremely cautions when working on the battery. It contains poisonous and corro-
sive sulfuric acid.
■When working near the electric cooling fans or radiator grille
Be sure the engine switch is off.
With the engine switch in IGNITION ON mode, the electric cooling fans may auto-
matically start to run if the air conditioning is on and/or the coolant temperature is high.
( P. 599)
■Safety glasses
Wear safety glasses to prevent flying or falling material, fluid spray, etc. from getting in
your eyes.
NOTICE
■If you remove the air cleaner filter
Driving with the air cleaner f ilter removed may cause excessive engine wear due to dirt
in the air.
ItemsParts and tools
Page 632 of 777
6317-3. Do-it-yourself maintenance
7
Maintenance and care
RX350/RX350L_U
■Front
Bulb locations
Front turn signal light (vehicles with single-beam headlights)
Front side marker light (vehic les with single-beam headlights)1
2
Page 633 of 777
6327-3. Do-it-yourself maintenance
RX350/RX350L_U
■Rear
Back-up light
Rear turn signal light (vehicles with single-beam headlights)1
2
Page 634 of 777
6337-3. Do-it-yourself maintenance
7
Maintenance and care
RX350/RX350L_U
■Front side marker lights (vehicles with single-beam headlights)
To ensure enough space to per-
form work, turn the steering
wheel to rotate the front wheel
away from the bulb to be
replaced.
Remove the 3 fender liner clips.
Turn the steering wheel to the left
when replacing the right side light
bulb, and turn the steering wheel to
the right when replacing the left side
light bulb.
When removing a fender liner clip,
use a flathead screwdriver to pry the
center portion out and then remove
the whole clip.
Pull back the fender liner until the
connector is visible.
Partially remove the fender liner
and turn the bulb base counter-
clockwise and remove it.
Replacing light bulbs
1
82
3
Page 636 of 777
6357-3. Do-it-yourself maintenance
7
Maintenance and care
RX350/RX350L_U
■Front turn signal lights (vehicles with single-beam headlights)
To ensure enough space to per-
form work, turn the steering
wheel to rotate the front wheel
away from the bulb to be
replaced.
Remove the 3 fender liner clips.
Turn the steering wheel to the left
when replacing the right side light
bulb, and turn the steering wheel to
the right when replacing the left side
light bulb.
When removing a fender liner clip,
use a flathead screwdriver to pry the
center portion out and then remove
the whole clip.
Pull back the fender liner until the
connector is visible.
Partially remove the fender liner
and turn the bulb base counter-
clockwise and remove it.
1
82
3