2020 HYUNDAI SONATA HYBRID ECO mode
[x] Cancel search: ECO modePage 156 of 527
Convenient Features
5-8
Two Press Unlock Feature
The priority for unlocking the driver door
only, or unlocking all the doors with
one press may be adjusted in the User
Settings mode in the cluster LCD display.
The Two Press Unlock feature, when
enabled, will require the user to press
the door unlock button once for driver
door only and twice for unlocking all the
doors.
Select or Deselect the Two Press Unlock
feature in the User Settings mode in the
cluster LCD display. The option can be
found under the following menu:
User Settings → Door → Two Press Unlock
The Two Press Unlock feature can also be
enabled or disabled by pressing the door
lock and unlock buttons simultaneously
on the Key FOB:
Press and hold both the Door Lock
button and the Door Unlock button
simultaneously until the hazard warning
lights blink.
This will enable or disable the Two Press
Unlock feature. Repeat this procedure to
enable/disable the mode again.
Information
If you press the front passenger outside
door handle with the smart key in your
possession, all the doors will unlock.
Smart Key Reminder
If the smart key is in the vehicle and
any door is opened, the doors will not
lock even though the lock button of the
central door lock switch is pressed.
Trunk opening
To open:
1. Make sure you have the smart key
in your possession and either press
inside the trunk emblem or press the
Trunk Unlock button (3) on the smart
key for more than one second.
2. Once the trunk is opened, the hazard
warning lights will blink two times.
• The trunk handle button will only
operate when the smart key is within
28~40 inches (0.7 ~1 m) from the trunk
handle.
• Once the trunk is opened and then
closed, the trunk will automatically
re-lock and the hazard warning will
blink once.
• If you leave the smart key and close
the trunk, the chime will sound for 5
seconds. In the case, the trunk cannot
be locked so open it with the trunk
handle button.
Panic button
Press and hold the Panic button (4) for
more than one second. The horn sounds
and hazard warning lights blink for about
30 seconds. To cancel the panic mode,
press any button on the Smart Key.
Page 164 of 527
![HYUNDAI SONATA HYBRID 2020 Owners Manual Convenient Features
5-16
ODN8059237[1] : Door handle authentication pad
NFC door lock/unlock
You should contact your smartphone’s
NFC antenna(backside of phone) to door
handle authentication pad ( HYUNDAI SONATA HYBRID 2020 Owners Manual Convenient Features
5-16
ODN8059237[1] : Door handle authentication pad
NFC door lock/unlock
You should contact your smartphone’s
NFC antenna(backside of phone) to door
handle authentication pad (](/manual-img/35/56190/w960_56190-163.png)
Convenient Features
5-16
ODN8059237[1] : Door handle authentication pad
NFC door lock/unlock
You should contact your smartphone’s
NFC antenna(backside of phone) to door
handle authentication pad (1) marked
position near by the lock button) of
driver’s (or front passenger’s) outside
door for 2 seconds to lock or unlock the
doors. If the Two Press Unlock feature
is applied (press twice for unlocking),
driver’s seat door will be unlocked by
contacting the digital key (smartphone
key). In this state, if you contact one
more time within 4 seconds, all the doors
unlock. Please make sure the doors are
locked. If you do not open any of the
doors after unlocking, it automatically
re-lock after 30 seconds.
Note that you cannot lock your vehicle
when you contact NFC antenna in the
smartphone to the door handle pad if
any of the following occurs:
• The Proximity / Smart Key is in the
vehicle.
• The POWER button is in ACC or ON
position.
• Any of the doors, hood and trunk is
opened.
If the smartphone digital key does not
work, please detach the smartphone
more than 4 inches (0.1 m) from the door
handle authentication pad and retry to
contact. After unlock the door or start up the
vehicle with digital key, even though
the driver tries to lock the doors by the
central door lock switch, the door lock
will be once locked and immediately
released at the moment of door closed.
Start-up with Digital Key
1. After placing your registered
smartphone onto the interior
authentication pad (wireless charger),
step on the brake and press the
Engine Start/Stop button.
2. After start-up, the digital key data
will be automatically updated. It
takes 5 to 20 seconds, after that,
the smartphone can be go into the
wireless charging mode automatically.
Once the engine started, you can
remove the smartphone from the pad.
ODN8059267[A] : Wireless Charging Pad (In-vehicle Authentication Pad)
Information
After reconnecting the vehicle battery
power supply or charging the battery, it
may take time to operate due to remote
renewal of security information. When
you lock or unlock the door with NFC,
please contact and hold your smartphone
on the door handle until it works.
Page 192 of 527
Convenient Features
5-44
WARNING
Before programming HomeLink® to a
garage door opener or gate operator,
make sure people and objects are out
of the way of the device to prevent
potential harm or damage. Do not
use the HomeLink® with any garage
door opener that lacks the safety
stop and reverse features required
by U.S. federal safety standards (this
includes any garage door opener model
manufactured before April 1, 1982).
A garage door that cannot detect an
object - signaling the door to stop and
reverse - does not meet current U.S.
federal safety standards. Using a garage
door opener without these features
increases the risk of serious injury or
death.
Programming HomeLink
®
Please note the following:
• When programming a garage door
opener, it is advised to park the
vehicle outside of the garage.
• It is recommended that a new battery
be placed in the hand-held transmitter
of the device being programmed to
HomeLink® for quicker training and
accurate transmission of the radio-
frequency signal.
• Some vehicles may require the
Engine Start/Stop button to be in the
ACC (or “Accessories”) position for
programming and/or operation of
HomeLink®.
• In the event that there are still
programming difficulties or questions
after following the programming steps
listed below, contact HomeLink® at:
www.homelink.com, www.youtube.
com/HomeLinkGentex or by calling
1-800-355-3515. Programming
To program most devices, follow these
instructions:
ODN8H050136N
1. Press and release (1), (2) or (3) button.
• If the indicator (7) is turned ON in
Orange, go to Step 3) since it is a
new programming.
• If the indicator (7) is continuously
turned ON or flashes in Green
rapidly several times, go to Step 2)
since it is a programmed button.
2. Press and hold the button you wish
to program for approximately 15-
25 seconds until the LED flashes in
Orange for several times.
3. Hold the Garage Door Opener Original
Transmitter near the HomeLink Mirror.
Page 193 of 527

05
5-45
ODN8H050137N
4. Press the Original Transmitter
button until the indicator (7) is
turned continuously ON or flashes in
Green for approximately 10 seconds
and it indicates the programing is
completed.
5. However, the indicator (7) flashes
in Green continuously, but if the
garage door opener does not operate,
please continue to follow the step 6
and 7 (“Rolling Code Programming”
procedures).
6. Firmly press and release the “Learn,”
“Smart,” or “Program” button while
the indicator (7) flashes in Green.
Once the button is pressed, you have
approximately 30 seconds to initiate
the next step.
Information
At the garage door opener motor, (security
gate motor, etc.) locate the “Learn,”
“Smart,” or “Program” button. This
can usually be found where the hanging
antenna wire is attached to the motor-head
unit (see the device’s manual to identify
this button). The name and color of the
button may vary by manufacturer. A
ladder and/or second person may simplify
the following steps.
7. Return to the vehicle and firmly press,
hold for two seconds and release the
HomeLink button up to three times.
Do not press the HomeLink button
rapidly. At this point programming
is complete and your device should
operate when the HomeLink button is
pressed and released.
Information
• Some garage door openers require to
press the programmed button on the
mirror up to three times right after
the programming is just completed to
operate the garage door.
• The indicator (7) is turned ON in
Orange and flashes for about 60
seconds, during the programing mode
and if a programing is not succeeded
within the 60 seconds, the programing
mode will be abort.
HomeLink® should now activate your
rolling code equipped device.
Page 213 of 527
05
5-65
Smart Trunk with Auto Open
(if equipped)
ODN8059046L
On a vehicle equipped with a smart key,
the trunk can be opened using the Smart
Trunk with Auto Open system.
How to use the Smart Trunk with
Auto Open
The trunk can be opened with no-touch
activation satisfying all the conditions
below.
• After 15 seconds when all doors are
closed and locked
• Positioned in the detecting area for
more than 3 seconds.
Information
• The Smart Trunk with Auto Open does
not operate when:
-The smart key is detected within 15
seconds after the doors are closed
and locked, and is continuously
detected.
-The smart key is detected within 15
seconds after the doors are closed
and locked, and within 60 inches
(1.5 m) from the front door handles.
(for vehicles equipped with Welcome
Light)
-A door is not locked or closed.
-The smart key is in the vehicle.
1. Setting
To activate the Smart Trunk with Auto
Open, go to User Settings Mode and
select Smart Trunk on the LCD display.
For more information, refer to the “LCD
Display” section in this chapter. If your
vehicle is equipped with additional
navigation, please refer to the
infotainment system manual separately
supplied.
ODN8A059047
2. Detect and Alert
If you are positioned in the detecting
area (20~40 inches (50 ~100 cm) behind
the vehicle) carrying a smart key, the
hazard warning lights will blink and
chime will sound to alert you the smart
key has been detected and the trunk will
open.
Information
Do not approach the detecting area if you
do not want the trunk to open. If you have
unintentionally entered the detecting area
and the hazard warning lights and chime
starts to operate, leave the detecting area
with the smart key. The trunk will stay
closed.
Page 225 of 527
05
5-77
Turn signals and lane change signals
ODN8A059207
To signal a turn, push down on the lever
for a left turn or up for a right turn in
position (A).
If an indicator stays on and does not flash
or if it flashes abnormally, one of the turn
signal bulbs may be burned out and will
require replacement.
One touch turn signal function
To activate the One Touch Turn Signal
function, push the turn signal lever up or
down to position (B) and then release it.
The lane change signals will blink 3, 5 or
7 times.
You can activate or deactivate the One
Touch Turn Signal function or choose
the number of blinks (3, 5, or 7) from the
User Settings mode in the LCD display.
Battery saver function
The purpose of this feature is to prevent
the battery from being discharged.
The system automatically turns off the
parking lamp when the driver turns the
vehicle off and opens the driver-side
door.
With this feature, the parking lamps will
turn off automatically if the driver parks
on the side of road at night.
If necessary, to keep the lamps on when
the vehicle is turned off, perform the
following:
(1) Open the driver-side door.
(2) Turn the parking lamps OFF and ON
again using the headlamp switch on
the steering column.
Headlamp delay function
If you place the ignition switch in the
ACC or OFF position with the headlamps
ON, the headlamps (and/or position
lamps) remain on for about 5 minutes.
However, with the engine off if the
driver’s door is opened and closed, the
headlamps (and/or position lamps) are
turned off after 15 seconds.
The headlamps (and/or position lamps)
can be turned off by pressing the lock
button on the remote key or smart key
twice or turning the light switch to the
OFF or AUTO position. However, if you
turn the light switch to the AUTO position
when it is dark outside, the headlamps
will not be turned off.
Page 229 of 527
05
5-81
Welcome System (if equipped)
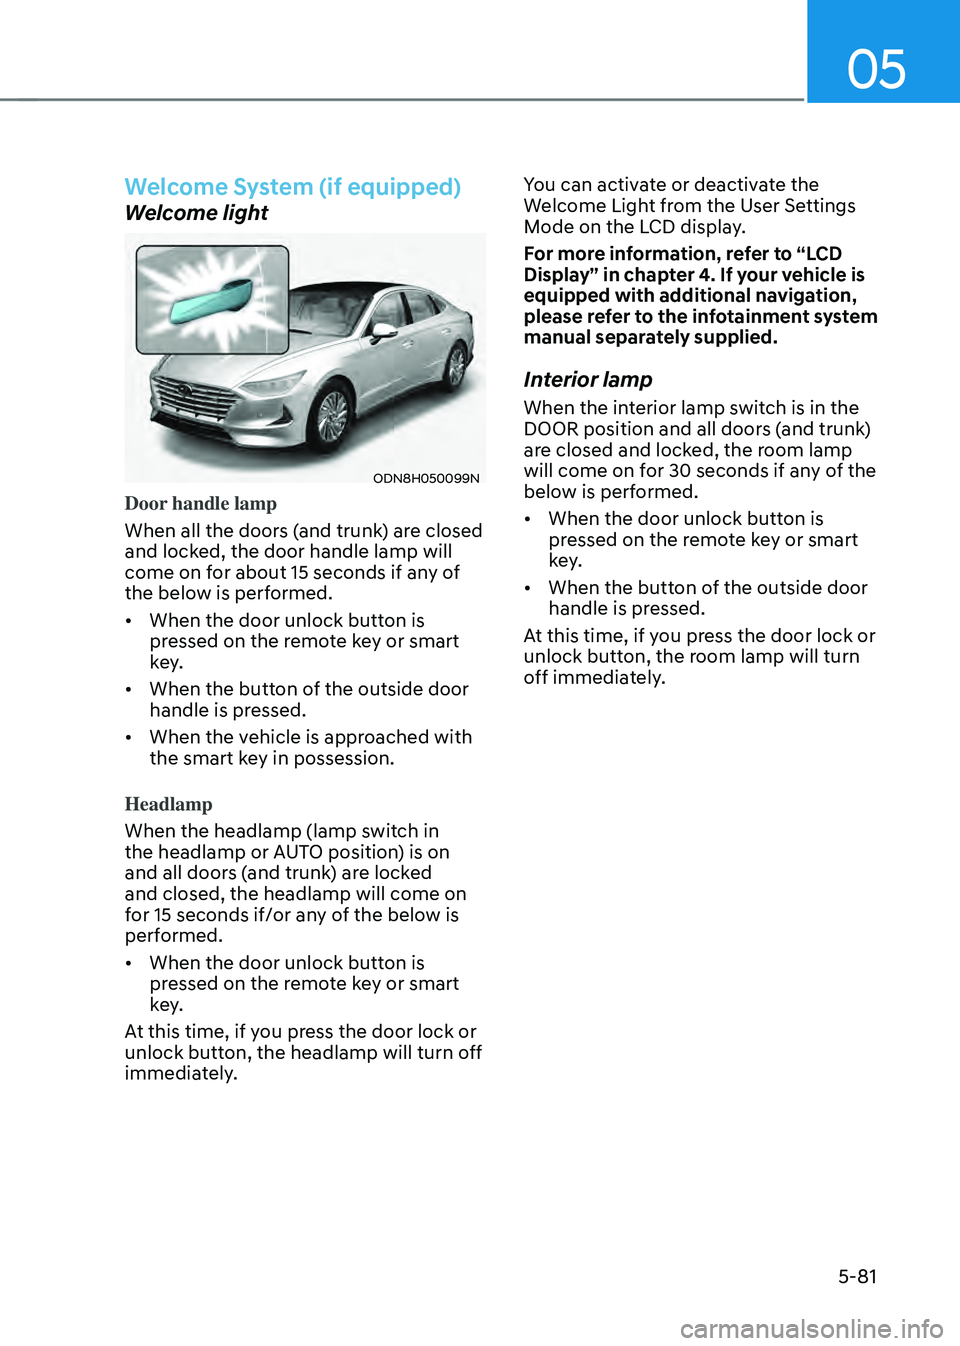
Welcome light
ODN8H050099N
Door handle lamp
When all the doors (and trunk) are closed
and locked, the door handle lamp will
come on for about 15 seconds if any of
the below is performed.
• When the door unlock button is
pressed on the remote key or smart
key.
• When the button of the outside door
handle is pressed.
• When the vehicle is approached with
the smart key in possession.
Headlamp
When the headlamp (lamp switch in
the headlamp or AUTO position) is on
and all doors (and trunk) are locked
and closed, the headlamp will come on
for 15 seconds if/or any of the below is
performed.
• When the door unlock button is
pressed on the remote key or smart
key.
At this time, if you press the door lock or
unlock button, the headlamp will turn off
immediately. You can activate or deactivate the
Welcome Light from the User Settings
Mode on the LCD display.
For more information, refer to “LCD
Display” in chapter 4. If your vehicle is
equipped with additional navigation,
please refer to the infotainment system
manual separately supplied.
Interior lamp
When the interior lamp switch is in the
DOOR position and all doors (and trunk)
are closed and locked, the room lamp
will come on for 30 seconds if any of the
below is performed.
•
When the door unlock button is
pressed on the remote key or smart
key.
• When the button of the outside door
handle is pressed.
At this time, if you press the door lock or
unlock button, the room lamp will turn
off immediately.
Page 255 of 527
05
5-107
Temperature conversion
If the battery has been discharged or
disconnected, the temperature mode
display will reset to Centigrade.
To change the temperature unit from °C
to °F or °F to °C :
-Automatic climate control system
Press the AUTO button for 3 seconds
while pressing the OFF button.
-Instrument cluster
-Go to User Settings → Other → Temperature Unit.
The temperature unit on both the cluster
LCD display and the climate control
screen will change.
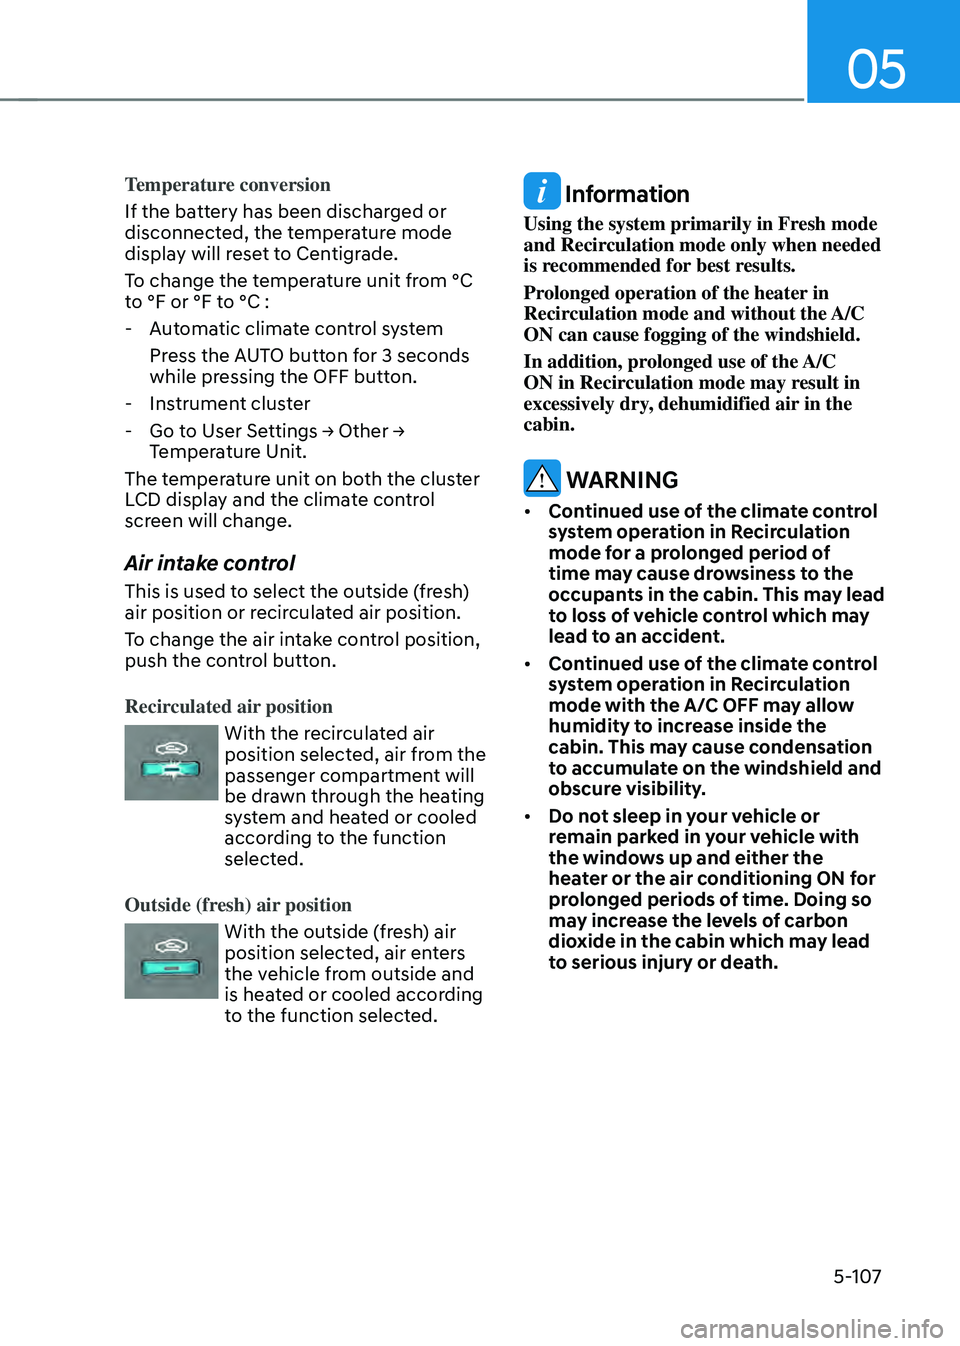
Air intake control
This is used to select the outside (fresh)
air position or recirculated air position.
To change the air intake control position,
push the control button.
Recirculated air position
With the recirculated air position selected, air from the
passenger compartment will
be drawn through the heating
system and heated or cooled
according to the function
selected.
Outside (fresh) air position
With the outside (fresh) air position selected, air enters
the vehicle from outside and
is heated or cooled according
to the function selected.
Information
Using the system primarily in Fresh mode
and Recirculation mode only when needed
is recommended for best results.
Prolonged operation of the heater in
Recirculation mode and without the A/C
ON can cause fogging of the windshield.
In addition, prolonged use of the A/C
ON in Recirculation mode may result in
excessively dry, dehumidified air in the
cabin.
WARNING
• Continued use of the climate control
system operation in Recirculation
mode for a prolonged period of
time may cause drowsiness to the
occupants in the cabin. This may lead
to loss of vehicle control which may
lead to an accident.
• Continued use of the climate control
system operation in Recirculation
mode with the A/C OFF may allow
humidity to increase inside the
cabin. This may cause condensation
to accumulate on the windshield and
obscure visibility.
• Do not sleep in your vehicle or
remain parked in your vehicle with
the windows up and either the
heater or the air conditioning ON for
prolonged periods of time. Doing so
may increase the levels of carbon
dioxide in the cabin which may lead
to serious injury or death.