2020 HYUNDAI SONATA HYBRID charging
[x] Cancel search: chargingPage 270 of 527
![HYUNDAI SONATA HYBRID 2020 Owners Manual Convenient Features
5-122
Wireless Cellular Phone
Charging System (if equipped)
ODN8059223
[A]: Indicator light, [B]: Charging pad
On certain models, the vehicle comes
equipped with a wireless cellu HYUNDAI SONATA HYBRID 2020 Owners Manual Convenient Features
5-122
Wireless Cellular Phone
Charging System (if equipped)
ODN8059223
[A]: Indicator light, [B]: Charging pad
On certain models, the vehicle comes
equipped with a wireless cellu](/manual-img/35/56190/w960_56190-269.png)
Convenient Features
5-122
Wireless Cellular Phone
Charging System (if equipped)
ODN8059223
[A]: Indicator light, [B]: Charging pad
On certain models, the vehicle comes
equipped with a wireless cellular phone
charger.
The system is available when all doors
are closed, and when the ignition switch
is ON.
To charge a cellular phone
The wireless cellular phone charging
system charges only the Qi-enabled
cellular phones. Read the label on the
cellular phone accessory cover or visit
your cellular phone manufacturer’s
website to check whether your cellular
phone supports the Qi technology.
The wireless charging process starts
when you put a Qi-enabled cellular
phone on the wireless charging unit.
1. Remove other items, including the
smart key, from the wireless charging
unit. If not, the wireless charging
process may be interrupted. Place the
cellular phone on the center of the
charging pad (
).
2. The indicator light is orange when
the cellular phone is charging. The
indicator light turns green when
phone charging is complete.
3. You can turn ON or OFF the wireless
charging function in the user settings
mode on the instrument cluster. For
further information, refer to the “LCD
Display Modes” in this chapter.
If your cellular phone is not charging:
- Slightly change the position of the
cellular phone on the charging pad.
-Make sure the indicator light is
orange.
The indicator light will blink orange for 10
seconds if there is a malfunction in the
wireless charging system.
In this case, temporarily stop the
charging process, and re-attempt to
charge your cellular phone again.
The system warns you with a message
on the LCD display if the cellular phone
is still on the wireless charging unit after
the engine is turned OFF and the front
door is opened.
Information
For some manufacturers’ cellular phones,
the system may not warn you even though
the cellular phone is left on the wireless
charging unit. This is due to the particular
characteristic of the cellular phone and
not a malfunction of the wireless charging.
Page 271 of 527
05
5-123
NOTICE
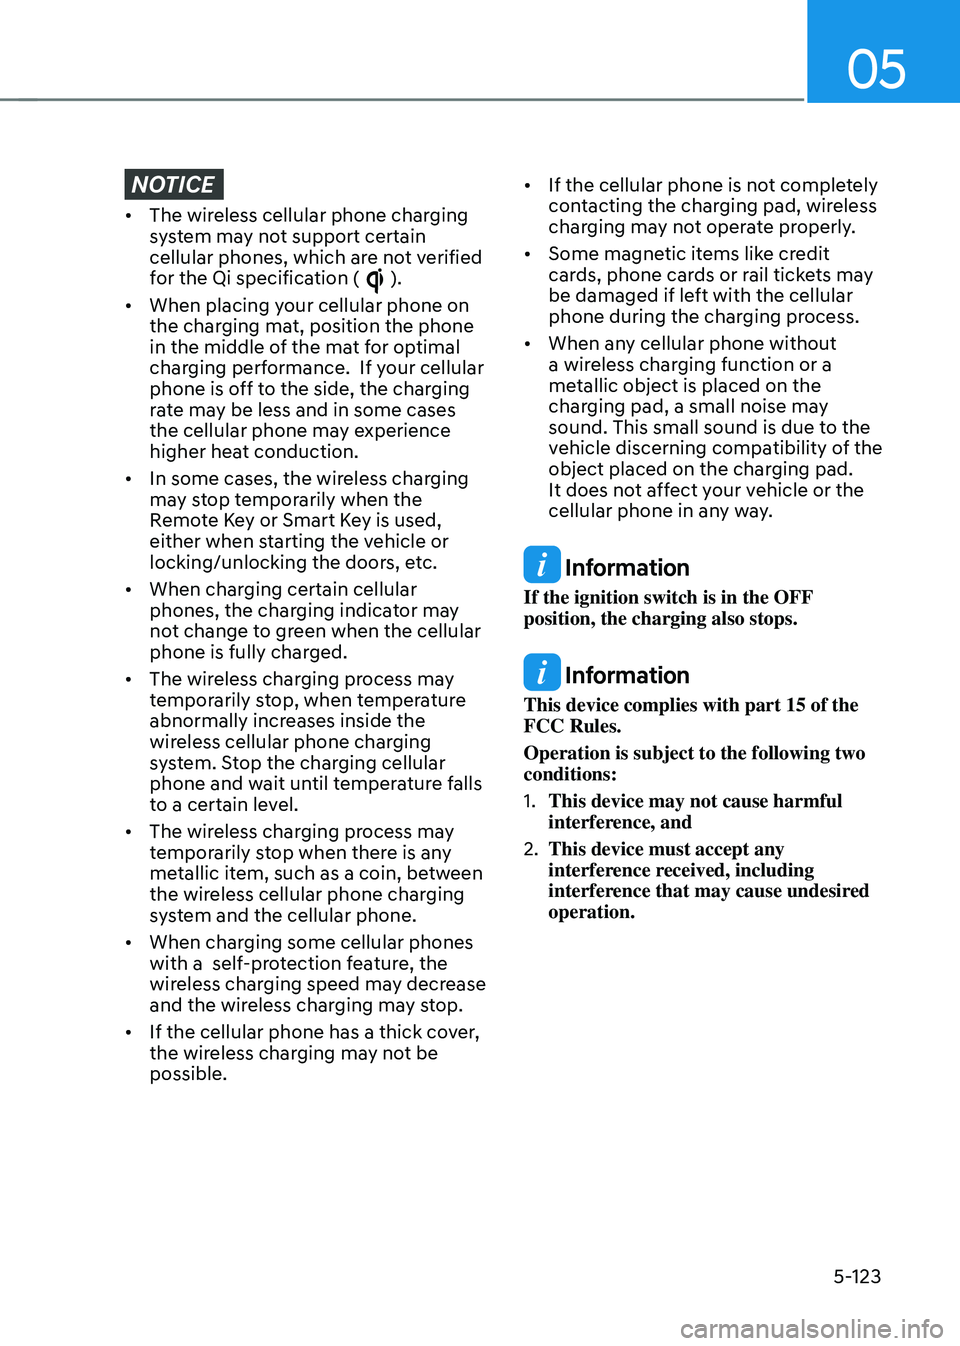
• The wireless cellular phone charging
system may not support certain
cellular phones, which are not verified
for the Qi specification (
).
• When placing your cellular phone on
the charging mat, position the phone
in the middle of the mat for optimal
charging performance. If your cellular
phone is off to the side, the charging
rate may be less and in some cases
the cellular phone may experience
higher heat conduction.
• In some cases, the wireless charging
may stop temporarily when the
Remote Key or Smart Key is used,
either when starting the vehicle or
locking/unlocking the doors, etc.
• When charging certain cellular
phones, the charging indicator may
not change to green when the cellular
phone is fully charged.
• The wireless charging process may
temporarily stop, when temperature
abnormally increases inside the
wireless cellular phone charging
system. Stop the charging cellular
phone and wait until temperature falls
to a certain level.
• The wireless charging process may
temporarily stop when there is any
metallic item, such as a coin, between
the wireless cellular phone charging
system and the cellular phone.
• When charging some cellular phones
with a self-protection feature, the
wireless charging speed may decrease
and the wireless charging may stop.
• If the cellular phone has a thick cover,
the wireless charging may not be
possible. •
If the cellular phone is not completely
contacting the charging pad, wireless
charging may not operate properly.
• Some magnetic items like credit
cards, phone cards or rail tickets may
be damaged if left with the cellular
phone during the charging process.
• When any cellular phone without
a wireless charging function or a
metallic object is placed on the
charging pad, a small noise may
sound. This small sound is due to the
vehicle discerning compatibility of the
object placed on the charging pad.
It does not affect your vehicle or the
cellular phone in any way.
Information
If the ignition switch is in the OFF
position, the charging also stops.
Information
This device complies with part 15 of the
FCC Rules.
Operation is subject to the following two
conditions:
1. This device may not cause harmful
interference, and
2. This device must accept any
interference received, including
interference that may cause undesired
operation.
Page 283 of 527
06
6 -7
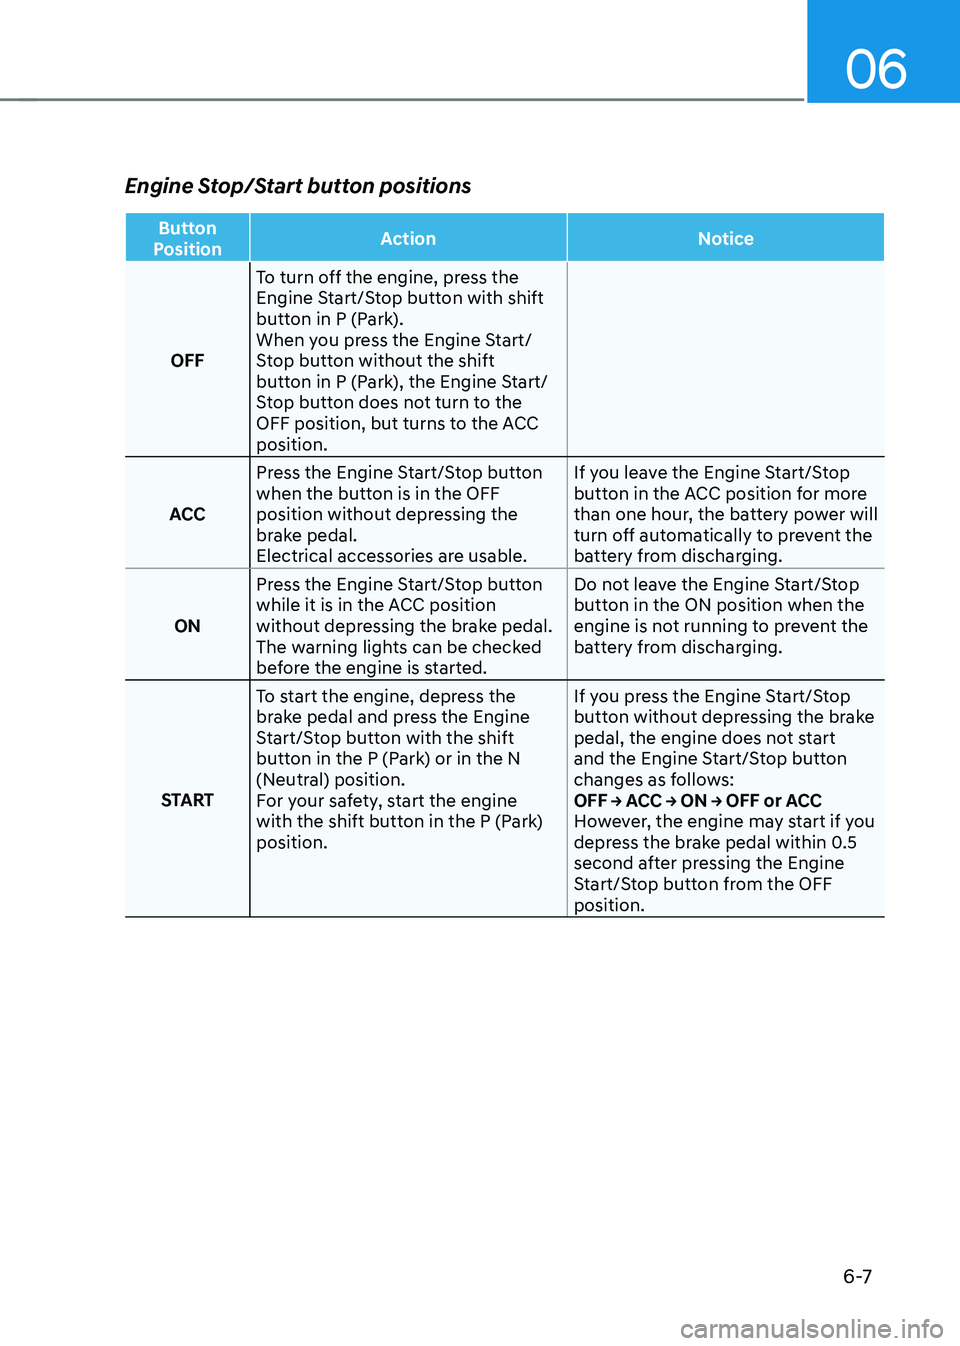
Engine Stop/Start button positions
Button
Position Action
Notice
OFF To turn off the engine, press the
Engine Start/Stop button with shift
button in P (Park).
When you press the Engine Start/
Stop button without the shift
button in P (Park), the Engine Start/
Stop button does not turn to the
OFF position, but turns to the ACC
position.
ACC Press the Engine Start/Stop button
when the button is in the OFF
position without depressing the
brake pedal.
Electrical accessories are usable. If you leave the Engine Start/Stop
button in the ACC position for more
than one hour, the battery power will
turn off automatically to prevent the
battery from discharging.
ON Press the Engine Start/Stop button
while it is in the ACC position
without depressing the brake pedal.
The warning lights can be checked
before the engine is started. Do not leave the Engine Start/Stop
button in the ON position when the
engine is not running to prevent the
battery from discharging.
START To start the engine, depress the
brake pedal and press the Engine
Start/Stop button with the shift
button in the P (Park) or in the N
(Neutral) position.
For your safety, start the engine
with the shift button in the P (Park)
position. If you press the Engine Start/Stop
button without depressing the brake
pedal, the engine does not start
and the Engine Start/Stop button
changes as follows:
OFF → ACC → ON → OFF or ACC
However, the engine may start if you
depress the brake pedal within 0.5
second after pressing the Engine
Start/Stop button from the OFF
position.
Page 426 of 527
Emergency situations
7-6
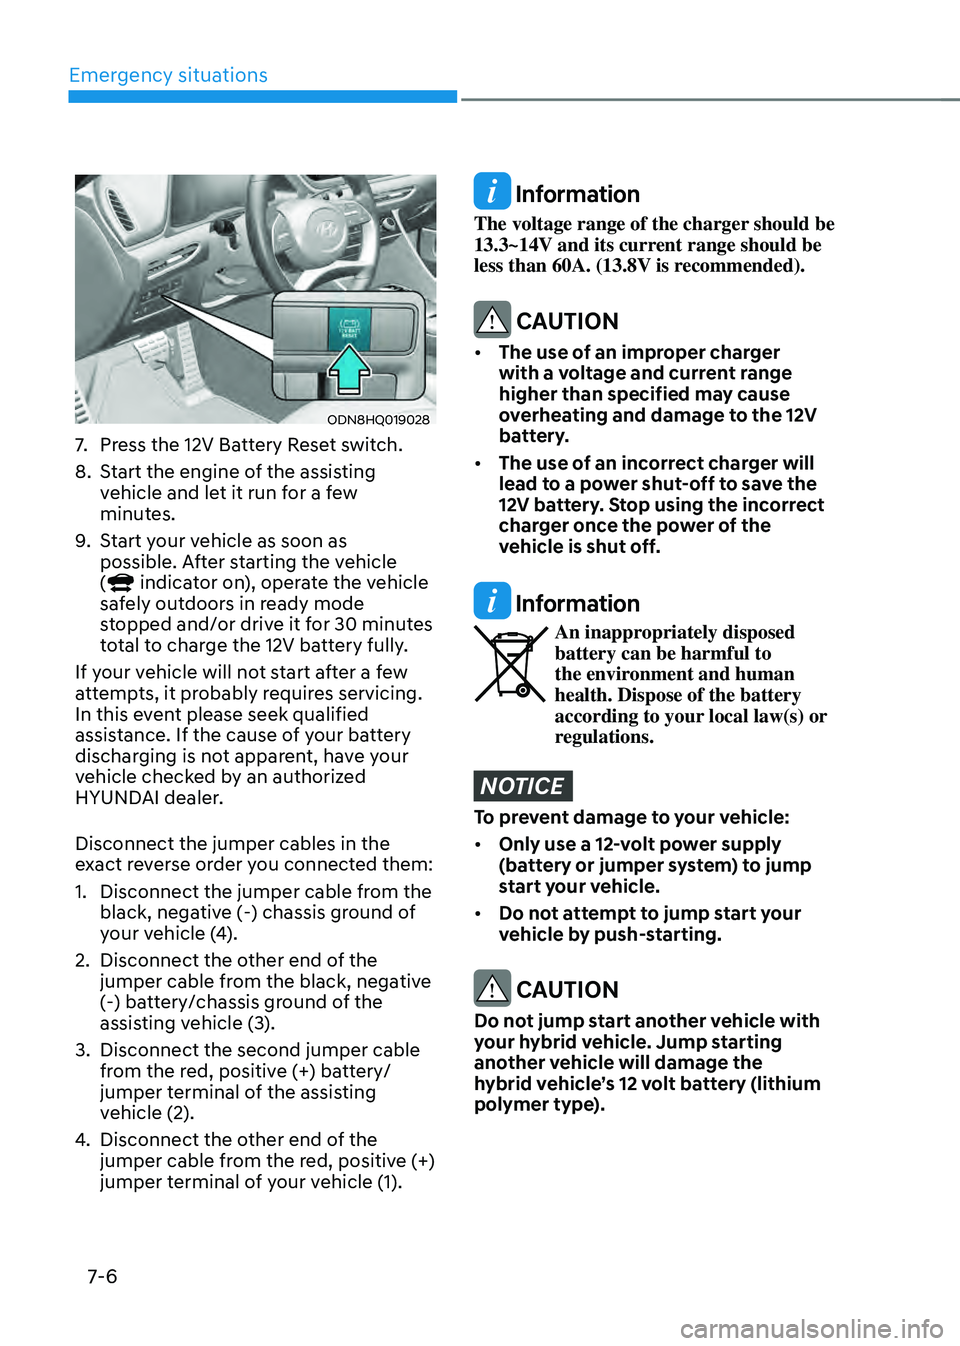
ODN8HQ019028
7. Press the 12V Battery Reset switch.
8. Start the engine of the assisting
vehicle and let it run for a few
minutes.
9. Start your vehicle as soon as
possible. After starting the vehicle
(
indicator on), operate the vehicle
safely outdoors in ready mode
stopped and/or drive it for 30 minutes
total to charge the 12V battery fully.
If your vehicle will not start after a few
attempts, it probably requires servicing.
In this event please seek qualified
assistance. If the cause of your battery
discharging is not apparent, have your
vehicle checked by an authorized
HYUNDAI dealer.
Disconnect the jumper cables in the
exact reverse order you connected them:
1. Disconnect the jumper cable from the
black, negative (-) chassis ground of
your vehicle (4).
2. Disconnect the other end of the
jumper cable from the black, negative
(-) battery/chassis ground of the
assisting vehicle (3).
3. Disconnect the second jumper cable
from the red, positive (+) battery/
jumper terminal of the assisting
vehicle (2).
4. Disconnect the other end of the
jumper cable from the red, positive (+)
jumper terminal of your vehicle (1).
Information
The voltage range of the charger should be
13.3~14V and its current range should be
less than 60A. (13.8V is recommended).
CAUTION
• The use of an improper charger
with a voltage and current range
higher than specified may cause
overheating and damage to the 12V
battery.
• The use of an incorrect charger will
lead to a power shut-off to save the
12V battery. Stop using the incorrect
charger once the power of the
vehicle is shut off.
Information
An inappropriately disposed battery can be harmful to
the environment and human
health. Dispose of the battery
according to your local law(s) or
regulations.
NOTICE
To prevent damage to your vehicle:
• Only use a 12-volt power supply
(battery or jumper system) to jump
start your vehicle.
• Do not attempt to jump start your
vehicle by push-starting.
CAUTION
Do not jump start another vehicle with
your hybrid vehicle. Jump starting
another vehicle will damage the
hybrid vehicle’s 12 volt battery (lithium
polymer type).
Page 499 of 527
Maintenance
8-50
Exterior Care
Exterior general caution
It is very important to follow the label
directions when using any chemical
cleaner or polish. Read all warning and
caution statements that appear on the
label.
Finish maintenance
Washing
To help protect your vehicle’s finish from
rust and deterioration, wash it thoroughly
and frequently at least once a month
with lukewarm or cold water.
If you use your vehicle for off-road
driving, you should wash it after each
off-road trip. Pay special attention to the
removal of any accumulation of salt, dirt,
mud, and other foreign materials. Make
sure the drain holes in the lower edges
of the doors and rocker panels are kept
clear and clean.
Insects, tar, tree sap, bird droppings,
industrial pollution and similar deposits
can damage your vehicle’s finish if not
removed immediately.
Even prompt washing with plain water
may not completely remove all these
deposits. A mild soap, safe for use on
painted surfaces, should be used.
After washing, rinse the vehicle
thoroughly with lukewarm or cold water.
Do not allow soap to dry on the finish.
High-pressure washing
• When using high-pressure washers,
make sure to maintain sufficient
distance from the vehicle.
Insufficient clearance or excessive
pressure can lead to component
damage or water penetration.
• Do not spray the camera, sensors or
its surrounding area directly with a
high pressure washer. Shock applied
from high pressure water may cause
the device to not operate normally.
• Do not bring the nozzle tip close to
boots (rubber or plastic covers) or
connectors as they may be damaged
if they come into contact with high
pressure water.
WARNING
After washing the vehicle, test the
brakes while driving slowly to see
if they have been affected by water
before getting on the road. If braking
performance is impaired, dry the
brakes by applying them lightly while
maintaining a slow forward speed.
NOTICE
• Do not use strong soap, chemical
detergents or hot water, and do not
wash the vehicle in direct sunlight
or when the body of the vehicle is
warm.
• Be careful when washing the side
windows of your vehicle.
• Especially, with high-pressure water,
water may leak through the windows
and wet the interior.
• To prevent damage to the plastic
parts, do not clean with chemical
solvents or strong detergents.
• To prevent damage to the charging
door, make sure to close and lock the
vehicle doors when washing (high-
pressure washing, automatic car
washing, etc.) the vehicle.
APPEARANCE CARE
Page 518 of 527
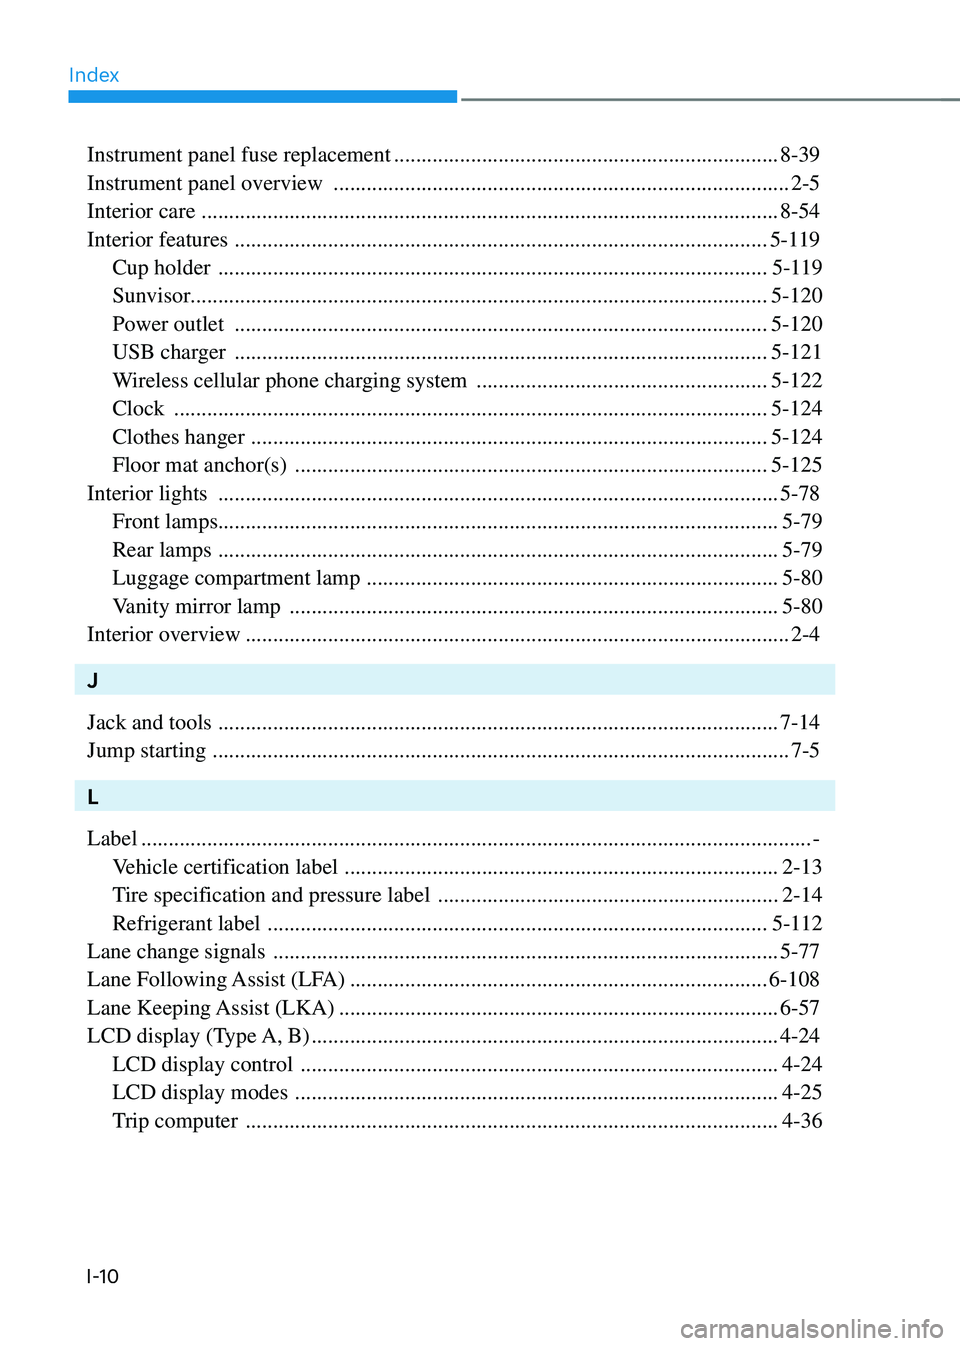
Index
I-10
Instrument panel fuse replacement ......................................................................8-39
Instrument panel overview
........................................................................\
...........2-5
Interior care
........................................................................\
.................................8-54
Interior features
........................................................................\
.........................5-119
Cup holder
........................................................................\
............................5-119
Sunvisor ........................................................................\
................................. 5-120
Power outlet
........................................................................\
.........................5-120
USB charger
........................................................................\
.........................5-121
Wireless cellular phone charging system
.....................................................5-122
Clock
........................................................................\
....................................5-124
Clothes hanger
........................................................................\
......................5-124
Floor mat anchor(s)
........................................................................\
..............5-125
Interior lights
........................................................................\
..............................5-78
Front lamps ........................................................................\
.............................. 5-79
Rear lamps
........................................................................\
..............................5-79
Luggage compartment lamp
........................................................................\
...5-80
Vanity mirror lamp
........................................................................\
.................5-80
Interior overview
........................................................................\
...........................2-4
J
Jack and tools
........................................................................\
..............................7-14
Jump starting
........................................................................\
.................................7-5
L
Label
........................................................................\
..................................................-
Vehicle certification label
........................................................................\
.......2-13
Tire specification and pressure label
..............................................................2-14
Refrigerant label
........................................................................\
...................5-112
Lane change signals
........................................................................\
....................5-77
Lane Following Assist (LFA)
........................................................................\
....6-108
Lane Keeping Assist (LKA)
........................................................................\
........6-57
LCD display (Type A, B)
........................................................................\
.............4-24
LCD display control
........................................................................\
...............4-24
LCD display modes
........................................................................\
................4-25
Trip computer
........................................................................\
.........................4-36
Page 519 of 527
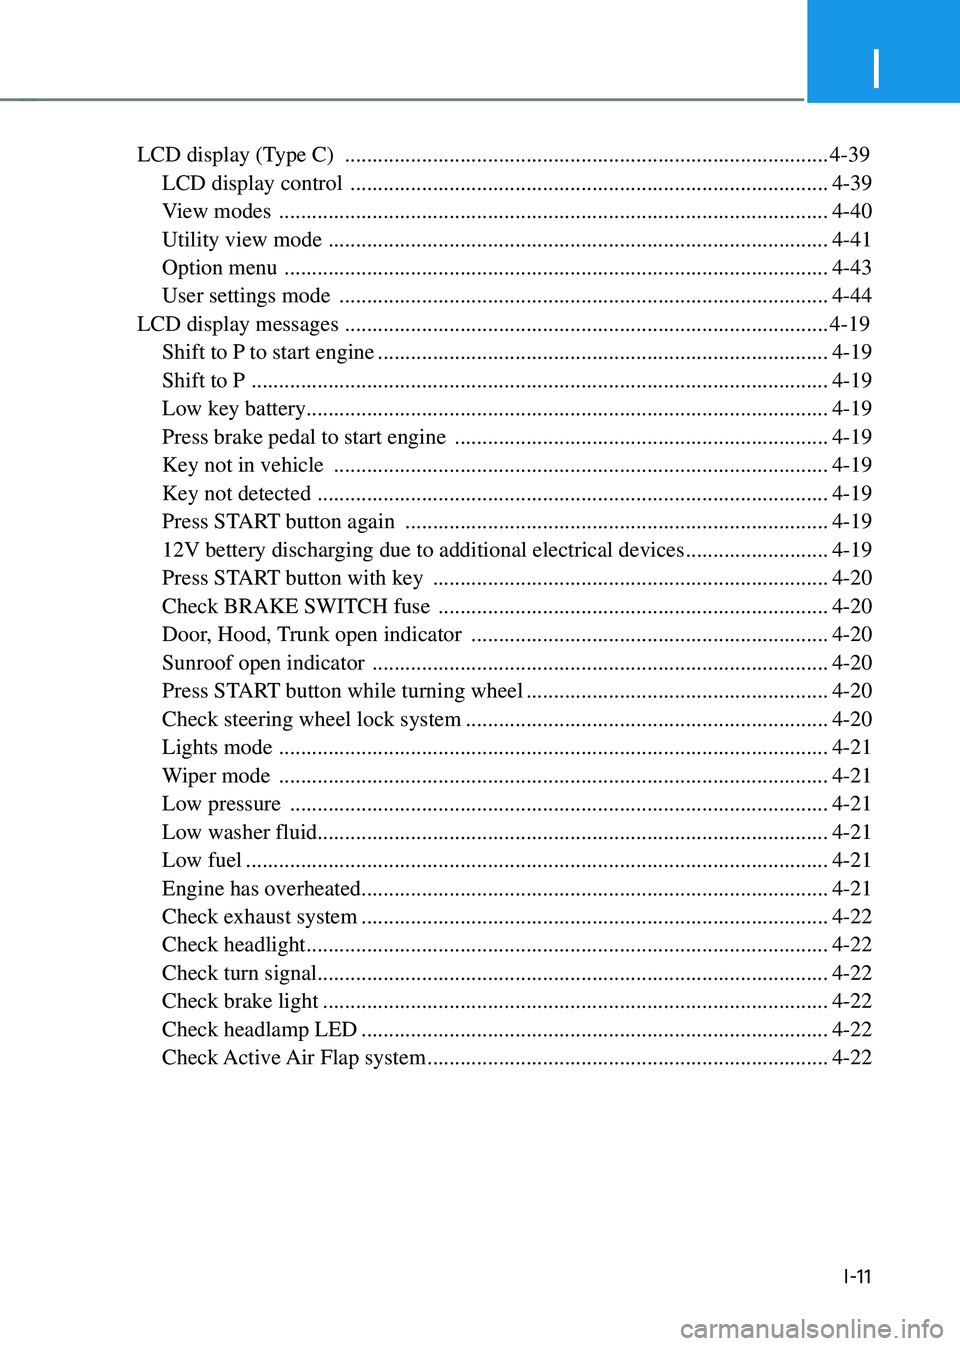
I
I-11
LCD display (Type C) ........................................................................\
................4-39
LCD display control
........................................................................\
...............4-39
View modes
........................................................................\
............................4-40
Utility view mode
........................................................................\
...................4-41
Option menu
........................................................................\
...........................4-43
User settings mode
........................................................................\
.................4-44
LCD display messages
........................................................................\
................4-19
Shift to P to start engine
........................................................................\
..........4-19
Shift to P
........................................................................\
.................................4-19
Low key battery ........................................................................\
....................... 4-19
Press brake pedal to start engine
....................................................................4-19
Key not in vehicle
........................................................................\
..................4-19
Key not detected
........................................................................\
.....................4-19
Press START button again
........................................................................\
.....4-19
12V bettery discharging due to additional electrical devices
..........................4-19
Press START button with key
........................................................................\
4-20
Check BRAKE SWITCH fuse
.......................................................................4-20
Door, Hood, Trunk open indicator
.................................................................4-20
Sunroof open indicator
........................................................................\
...........4-20
Press START button while turning wheel
.......................................................4-20
Check steering wheel lock system
..................................................................4-20
Lights mode
........................................................................\
............................4-21
Wiper mode
........................................................................\
............................4-21
Low pressure
........................................................................\
..........................4-21
Low washer fluid ........................................................................\
..................... 4-21
Low fuel
........................................................................\
..................................4-21
Engine has overheated ........................................................................\
............. 4-21
Check exhaust system
........................................................................\
.............4-22
Check headlight
........................................................................\
.......................4-22
Check turn signal ........................................................................\
..................... 4-22
Check brake light
........................................................................\
....................4-22
Check headlamp LED
........................................................................\
.............4-22
Check Active Air Flap system
........................................................................\
.4-22
Page 526 of 527
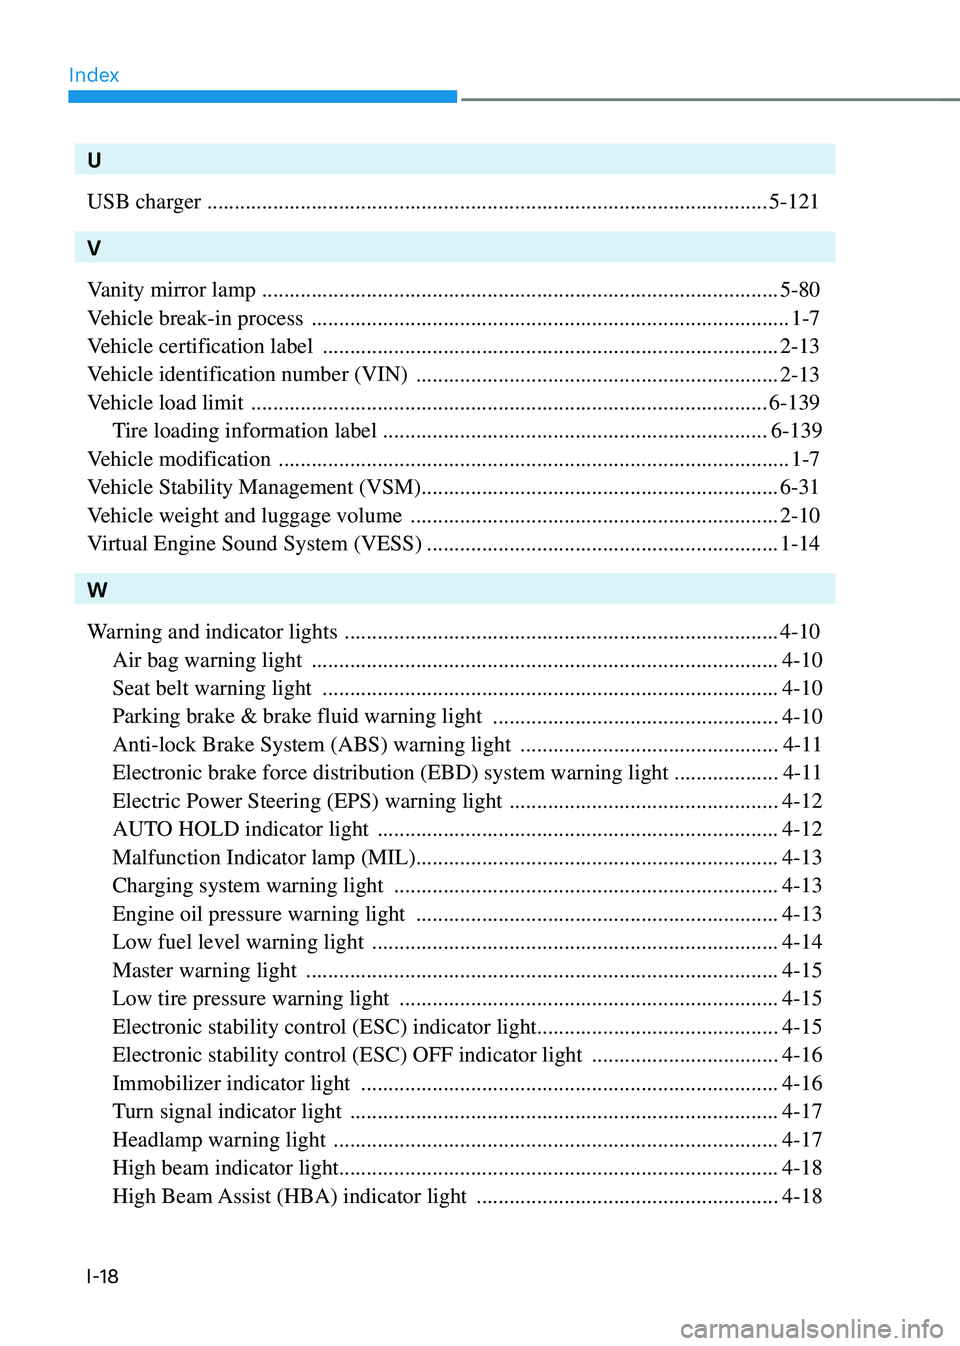
Index
I-18
U
USB charger
........................................................................\
..............................5-121
V
Vanity mirror lamp
........................................................................\
......................5-80
Vehicle break-in process
........................................................................\
...............1-7
Vehicle certification label
........................................................................\
...........2-13
Vehicle identification number (VIN)
..................................................................2-13
Vehicle load limit
........................................................................\
......................6-139
Tire loading information label
......................................................................6-139
Vehicle modification
........................................................................\
.....................1-7
Vehicle Stability Management (VSM) ................................................................. 6-31
Vehicle weight and luggage volume
...................................................................2-10
Virtual Engine Sound System (VESS)
................................................................1-14
W
Warning and indicator lights
........................................................................\
.......4-10
Air bag warning light
........................................................................\
.............4-10
Seat belt warning light
........................................................................\
...........4-10
Parking brake & brake fluid warning light
....................................................4-10
Anti-lock Brake System (ABS) warning light
...............................................4-11
Electronic brake force distribution (EBD) system warning light
...................4-11
Electric Power Steering (EPS) warning light
.................................................4-12
AUTO HOLD indicator light
........................................................................\
.4-12
Malfunction Indicator lamp (MIL) .................................................................. 4-13
Charging system warning light
......................................................................4-13
Engine oil pressure warning light
..................................................................4-13
Low fuel level warning light
........................................................................\
..4-14
Master warning light
........................................................................\
..............4-15
Low tire pressure warning light
.....................................................................4-15
Electronic stability control (ESC) indicator light ............................................4-15
Electronic stability control (ESC) OFF indicator light
..................................4-16
Immobilizer indicator light
........................................................................\
....4-16
Turn signal indicator light
........................................................................\
......4-17
Headlamp warning light
........................................................................\
.........4-17
High beam indicator light ........................................................................\
........ 4-18
High Beam Assist (HBA) indicator light
.......................................................4-18