Page 16 of 557

I
IN
N S
ST
T R
R U
U M
M E
EN
N T
T
P
P A
A N
N E
EL
L
O
O V
VE
ER
R V
V I
IE
E W
W
(
( I
I)
)
The actual shape may differ from the illustration.
1-5
Your vehicle at a glance
11. Instrument cluster ....................................3-66
2. Horn ........................................................3-28
3. Driver’s front air bag ................................2-51
4. Key ignition switch/ ....................................5-6
Engine Start/Stop button ............................5-9
5. Hazard warning flasher switch ..................6-2
6. Audio system/Navigation system ..............4-4
7. Manual climate control system/ ............3-137 Automatic climate control system ..........3-146
8. Heated steering wheel ............................3-29
9. Seat warmer ............................................2-21
10. Air ventilation seat ................................2-22
11. Power outlet ........................................3-168
12. Aux, USB and USB port ..........................4-2
13. USB charger ........................................3-170
14. Wireless cellular phone charging system ..................................3-170
15. Passenger’s front air bag ......................2-51
16. Glove box ............................................3-165
17. Automatic transmission shift lever ........5-14
18. Drive mode button ................................5-51
19. Idle Stop and Go(ISG) OFF button ......5-46
20. Downhill Brake Control (DBC) ..............5-36
21. Reverse Parking Distance Warning OFF button ..........................................3-133
22. Surround view monitor button ............3-129
23. Electronic Parking Brake (EPB) ............5-21
24. Auto Hold switch ....................................5-27
25. AC inverter ..........................................3-171
OTMA018004
Page 120 of 557
3-31
Convenient features of your vehicle
3
Make this adjustment before you
start driving and while the day/night
lever is in the day position.
Pull the day/night lever towards you
to reduce glare from the headlights
of the vehicles behind you during
night driving.
Remember that you lose some
rearview clarity in the night position.Blue Link®center (if equipped)
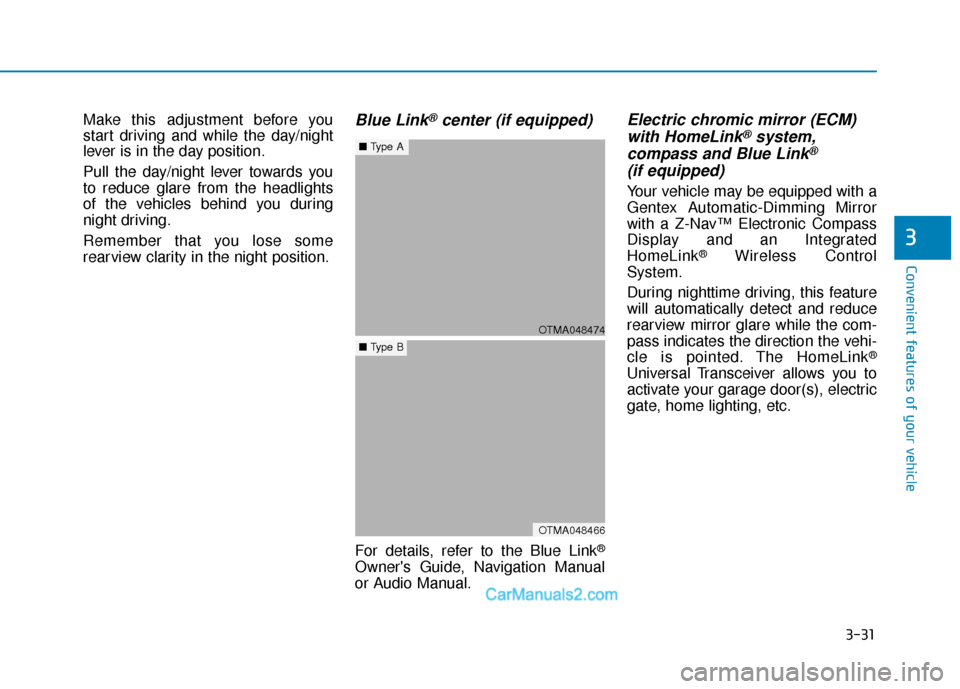
For details, refer to the Blue Link®
Owner's Guide, Navigation Manual
or Audio Manual.
Electric chromic mirror (ECM)with HomeLink®system,
compass and Blue Link®
(if equipped)
Your vehicle may be equipped with a
Gentex Automatic-Dimming Mirror
with a Z-Nav™ Electronic Compass
Display and an Integrated
HomeLink
®Wireless Control
System.
During nighttime driving, this feature
will automatically detect and reduce
rearview mirror glare while the com-
pass indicates the direction the vehi-
cle is pointed. The HomeLink
®
Universal Transceiver allows you to
activate your garage door(s), electric
gate, home lighting, etc.
OTMA048474
■ Type A
OTMA048466
■Type B
Page 200 of 557

3-111
Convenient features of your vehicle
3
Head-up display ON/OFF
To activate the head up display,
select ‘Head-UP Display’ on the User
Settings mode on the instrument
cluster LCD display.
If you do not select ‘Head-Up
Display’, the head up display will be
deactivated.
Head-up display information
1. Turn By Turn (TBT) navigation infor-mation
2. Speed limit signs
3. Speedometer
4. Cruise setting speed
5. Smart Cruise Control (SCC) infor- mation (if equipped)
6. Lane Keeping Assist (LKA) sys- tem information (if equipped)
7. Blind-spot Collision Warning (BCW) system information (if equipped)
8. Warning lights (Low fuel, etc.)
9. Audio/Video information
Information
If you select the Turn By Turn (TBT)
navigation information as HUD con-
tents, the Turn By Turn (TBT) naviga-
tion information will not be displayed
in the instrument cluster LCD display.
Head-up display setting
On the LCD display, you can change
the head up display settings as fol-
lows.
Enable Head-up display
Display Height
Rotation
Brightness
Content Selection
Speed Size
Speed Color
For more details, refer to "LCD
Display" in this chapter.
i
OTMA048418OIK047152N
Page 217 of 557
3-128
Convenient features of your vehicle
Rear view monitor
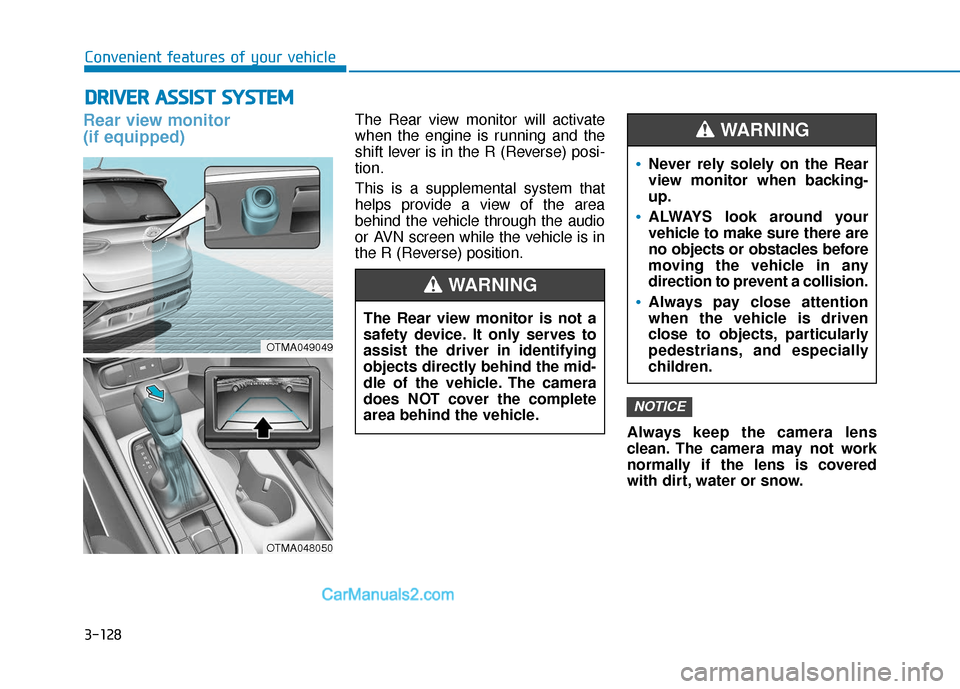
(if equipped)The Rear view monitor will activate
when the engine is running and the
shift lever is in the R (Reverse) posi-
tion.
This is a supplemental system that
helps provide a view of the area
behind the vehicle through the audio
or AVN screen while the vehicle is in
the R (Reverse) position.Always keep the camera lens
clean. The camera may not work
normally if the lens is covered
with dirt, water or snow.
NOTICE
D DR
RI
IV
V E
ER
R
A
A S
SS
SI
IS
S T
T
S
S Y
Y S
ST
T E
EM
M
The Rear view monitor is not a
safety device. It only serves to
assist the driver in identifying
objects directly behind the mid-
dle of the vehicle. The camera
does NOT cover the complete
area behind the vehicle.
WARNING
Never rely solely on the Rear
view monitor when backing-
up.
ALWAYS look around your
vehicle to make sure there are
no objects or obstacles before
moving the vehicle in any
direction to prevent a collision.
Always pay close attention
when the vehicle is driven
close to objects, particularly
pedestrians, and especially
children.
WARNING
OTMA049049
OTMA048050
Page 219 of 557
3-130
Convenient features of your vehicle
Always keep the camera lens
clean. The camera may not work
normally if the lens is covered
with foreign material.
Driving rear view monitor (if equipped)You may check the rear view through
the screen while driving.
The system is activated when:
The engine is ON
The vehicle's speed is over 10 mph
(15 km/h) and you press the SVM
button (1, indicator ON)
The vehicle's speed is under 10 mph (15 km/h) and you press the (2) on the screen
The system is deactivated when:
You press the SVM button (1, indi- cator OFF) again
Other SVM system modes are selected from the screen
You press the audio or AVN system button (3)
NOTICE
(1) Front camera
(2) Left/Right cam- era
(3) Rear camera
Surround View Monitor system
only serves to assist the driver
in parking. ALWAYS look
around your vehicle to make
sure there are no objects or
obstacles before moving the
vehicle.
CAUTION
ODH047435
OTM048053L
OTM048052
Page 260 of 557
3-171
Convenient features of your vehicle
3
Adjust the air-conditioner orheater to the lowest operating
level when using the power outlet.
Close the cover when not in use.
Some electronic devices can cause electronic interference
when plugged into a vehicle's
power outlet. These devices may
cause excessive audio static
and malfunctions in other elec-
tronic systems or devices used
in your vehicle.
Push the plug in as far as it will go. If good contact is not made,
the plug may overheat and the
fuse may open.
Plug in battery equipped electri- cal/electronic devices with
reverse current protection. The
current from the battery may
flow into the vehicle's electri-
cal/electronic system and cause
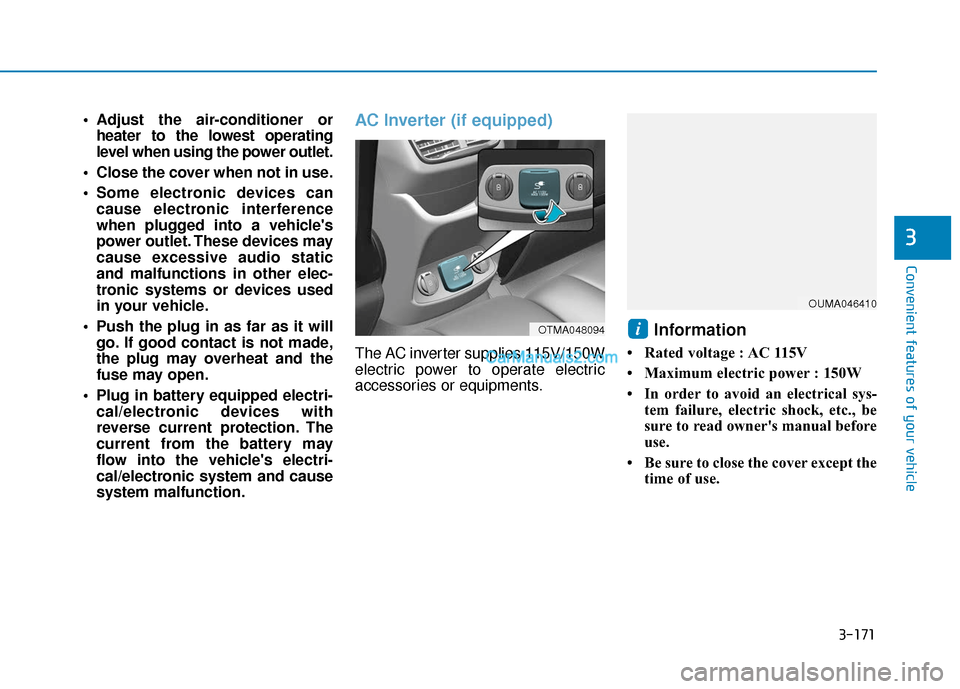
system malfunction.AC Inverter (if equipped)
The AC inverter supplies 115V/150W
electric power to operate electric
accessories or equipments.
Information
• Rated voltage : AC 115V
• Maximum electric power : 150W
• In order to avoid an electrical sys- tem failure, electric shock, etc., be
sure to read owner's manual before
use.
• Be sure to close the cover except the time of use.
iOTMA048094
OUMA046410
Page 261 of 557
3-172
Convenient features of your vehicle
To reduce a risk of serious or
fatal injuries:
Do not use a heated electric
device such as a coffeepot,
toaster, heater, iron, etc.
Do not insert foreign objects
into the outlet and do not
touch the outlet as you may
get shocked.
Do not let children touch the
AC inverter.
WARNING
To prevent the battery from beingdischarged, do not use the AC
inverter while the engine is not
running.
When not using the AC inverter, make sure to close the AC invert-
er cover.
After using an electric accessory or equipment, pull the plug out.
Leaving the accessory or equip-
ment plugged in for a long time
may cause battery discharge.
Do not use an electric accessory or equipment the power con-
sumption of which is greater
than 150W(115V).
Some electric accessories or equipments can cause electron-
ic interference. It may cause
excessive audio noise and mal-
functions in other electric sys-
tems or devices in the vehicle.
Do not use broken electric accessories or equipments,
which may damage the AC
inverter and electrical systems
of the vehicle. Do not use two or more electric
accessories or equipments at
the same time. It may cause
damage to the electrical sys-
tems of the vehicle.
When the input voltage is lower, outlet LED will blink and the AC
inverter will turn off automatical-
ly. If the input voltage goes up to
normal, the AC inverter will turn
on again.
NOTICE
Page 262 of 557
3-173
Convenient features of your vehicle
3
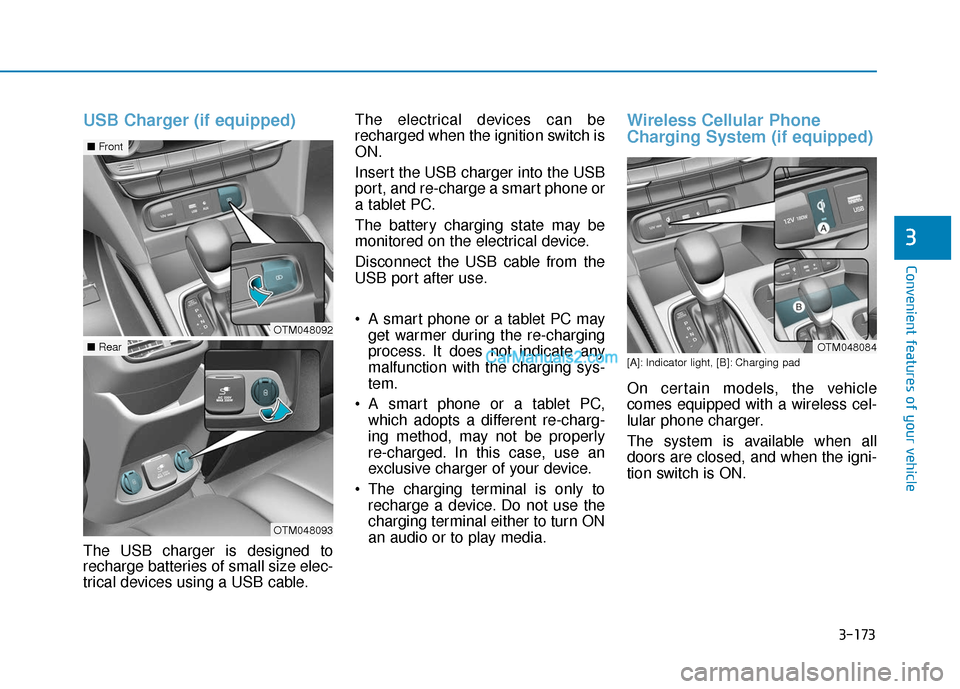
USB Charger (if equipped)
The USB charger is designed to
recharge batteries of small size elec-
trical devices using a USB cable.The electrical devices can be
recharged when the ignition switch is
ON.
Insert the USB charger into the USB
port, and re-charge a smart phone or
a tablet PC.
The battery charging state may be
monitored on the electrical device.
Disconnect the USB cable from the
USB port after use.
A smart phone or a tablet PC may
get warmer during the re-charging
process. It does not indicate any
malfunction with the charging sys-
tem.
A smart phone or a tablet PC, which adopts a different re-charg-
ing method, may not be properly
re-charged. In this case, use an
exclusive charger of your device.
The charging terminal is only to recharge a device. Do not use the
charging terminal either to turn ON
an audio or to play media.
Wireless Cellular Phone
Charging System (if equipped)
[A]: Indicator light, [B]: Charging pad
On certain models, the vehicle
comes equipped with a wireless cel-
lular phone charger.
The system is available when all
doors are closed, and when the igni-
tion switch is ON.
OTM048084
OTM048092
■ Front
OTM048093
■Rear