2020 Hyundai Santa Fe Repair
[x] Cancel search: RepairPage 50 of 557
2-32
Safety system of your vehicle
When the vehicle stops suddenly, or
if the occupant tries to lean forward
too quickly, the seat belt retractor will
lock into position. In certain frontal or
side collision(s), the pre-tensioner
will activate and pull the seat belt into
tighter contact against the occu-
pant's body.
(1) Retractor Pretensioner The purpose of the retractor pre-tensioner is to make sure that the
shoulder belts fit in tightly against
the occupant's upper body in cer-
tain frontal or side collision(s).
(2) Emergency Fastening Device System
The purpose of the Emergency Fastening Device System is to
make sure that the pelvis belts fit
in tightly against the occupant’s
lower body in certain frontal colli-
sion(s).
If the system senses excessive ten-
sion on the driver or passenger's
seat belt when the pre-tensioner sys-
tem activates, the load limiter inside
the retractor pre-tensioner will
release some of the pressure on the
affected seat belt.
Always wear your seat belt and
sit properly in your seat.
Do not use the seat belt if it is
loose or twisted. A loose or
twisted seat belt will not pro-
tect you properly in an acci-
dent.
Do not place anything near the
buckle. This may adversely
affect the buckle and cause it
to function improperly.
Always replace your pre-ten-
sioners after activation or an
accident.
NEVER inspect, service, repair
or replace the pre-tensioners
yourself. This must be done by
an authorized HYUNDAI dealer.
Do not hit the seat belt assem-
blies.
WARNING
Do not touch the pre-tensioner
seat belt assemblies for several
minutes after they have been
activated. When the pre-ten-
sioner seat belt mechanism
deploys during a collision, the
pre-tensioners become hot and
can burn you.
WARNING
Page 71 of 557
2-53
Safety system of your vehicle
2
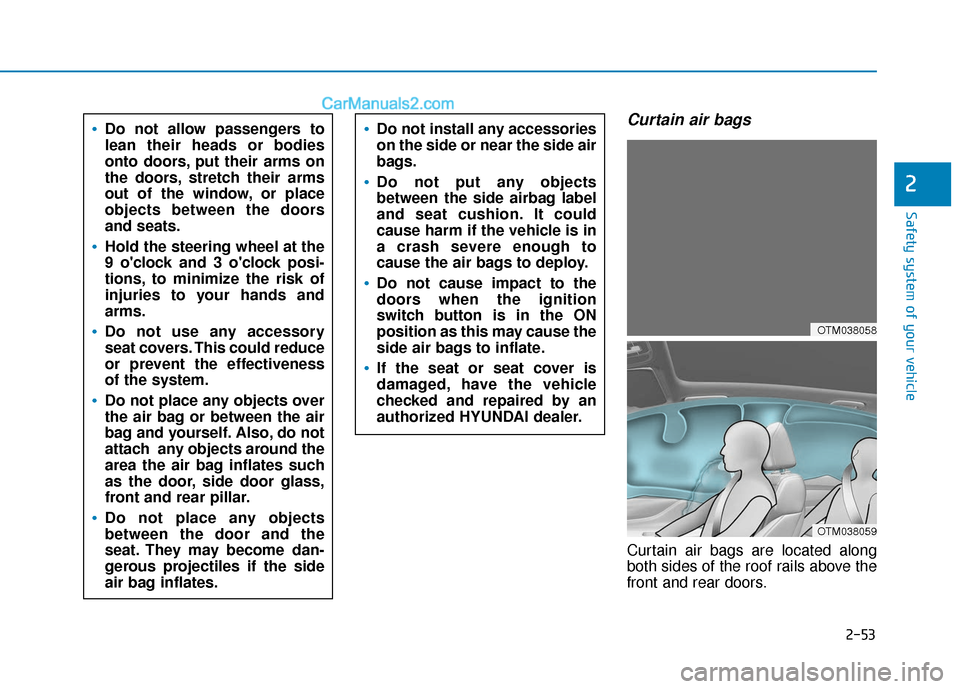
Curtain air bags
Curtain air bags are located along
both sides of the roof rails above the
front and rear doors.
Do not allow passengers to
lean their heads or bodies
onto doors, put their arms on
the doors, stretch their arms
out of the window, or place
objects between the doors
and seats.
Hold the steering wheel at the
9 o'clock and 3 o'clock posi-
tions, to minimize the risk of
injuries to your hands and
arms.
Do not use any accessory
seat covers. This could reduce
or prevent the effectiveness
of the system.
Do not place any objects over
the air bag or between the air
bag and yourself. Also, do not
attach any objects around the
area the air bag inflates such
as the door, side door glass,
front and rear pillar.
Do not place any objects
between the door and the
seat. They may become dan-
gerous projectiles if the side
air bag inflates.
Do not install any accessories
on the side or near the side air
bags.
Do not put any objects
between the side airbag label
and seat cushion. It could
cause harm if the vehicle is in
a crash severe enough to
cause the air bags to deploy.
Do not cause impact to the
doors when the ignition
switch button is in the ON
position as this may cause the
side air bags to inflate.
If the seat or seat cover is
damaged, have the vehicle
checked and repaired by an
authorized HYUNDAI dealer.
OTM038058
OTM038059
Page 72 of 557

2-54
Safety system of your vehicle
They are designed to help protect the
heads of the front seat occupants
and the rear outboard seat occupants
in certain side impact collisions.
The curtain air bags are designed to
deploy during certain side impact
collisions, depending on the crash
severity.
The side and curtain air bags on
both sides of the vehicle may deploy
if a rollover or possible rollover is
detected.
The curtain air bags are not designed
to deploy in all side impact or rollover
situations.
How Does the Air Bag System
Operate?
The SRS consists of the following
components:
1. Driver's front air bag module
2. Passenger's front air bag module
3. Side air bag modules
4. Curtain air bag modules
5. Retractor pre-tensioner
6. Air bag warning light
7. SRS control module (SRSCM)/ Rollover sensor
8. Front impact sensors
9. Side impact sensors
To reduce the risk of serious
injury or death from an inflating
curtain air bag, take the follow-
ing precautions:
All seat occupants must wear
seat belts at all times to help
keep occupants positioned
properly.
Properly secure child
restraints as far away from the
door as possible.
Do not place any objects over
the air bag. Also, do not attach
any objects around the area
the air bag inflates such as the
door, side door glass, front
and rear pillar, roof side rail.
Do not hang other objects
except clothes, especially
hard or breakable objects. In
an accident, it may cause
vehicle damage or personal
injury.
Do not allow passengers to
lean their heads or bodies onto
doors, put their arms on the
doors, stretch their arms out of
the window, or place objects
between the doors and seats.
Do not open or repair the side
curtain air bags.
WARNING
OTMA038102
Page 83 of 557

2-65
Safety system of your vehicle
2
Why Didn't My Air Bag Go Off
in a Collision?
Air bags are not designed to inflate in
every collision.There are certain
types of accidents in which the air bag
would not be expected to provide
additional protection. These include
rear impacts, second or third colli-
sions in multiple impact accidents, as
well as low speed impacts. Damage
to the vehicle indicates a collision
energy absorption, and is not an indi-
cator of whether or not an air bag
should have inflated.
Air bag collision sensors
NEVER place a rear-facing or
front-facing child restraint in
the front passenger's seat of
the vehicle.
An inflating frontal air bag
could forcefully strike a child
resulting in serious injury or
death.
Always properly restrain chil-
dren in an appropriate child
restraint in the rear seat of the
vehicle.
WARNING
To reduce the risk of an air bag
deploying unexpectedly and
causing serious injury or death:
Do not hit or allow any objects
to impact the locations where air
bags or sensors are installed.
WARNING
Do not perform maintenance
on or around the air bag sen-
sors. If the location or angle of
the sensors is altered, the air
bags may deploy when they
should not or may not deploy
when they should.
Do not install bumper guards
or replace the bumper with a
non-genuine HYUNDAI parts.
This may adversely affect the
collision and air bag deploy-
ment performance.
Place the ignition switch in
the LOCK/OFF or ACC posi-
tion when the vehicle is being
towed to prevent inadvertent
air bag deployment.
Have all air bag repairs conduct-
ed by an authorized HYUNDAI
dealer.
Page 88 of 557
2-70
Safety system of your vehicle
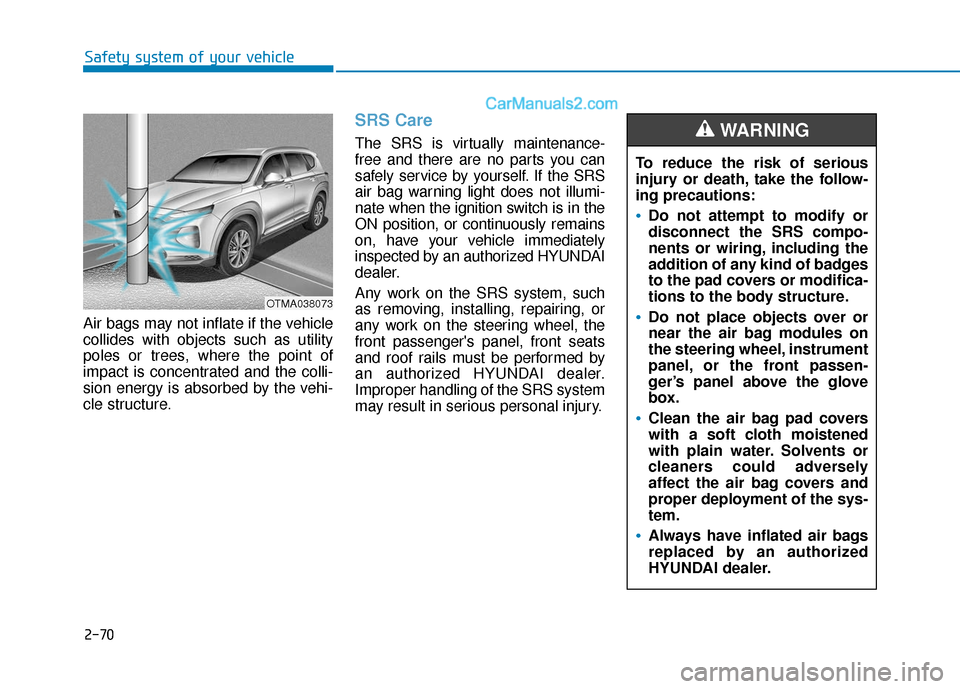
Air bags may not inflate if the vehicle
collides with objects such as utility
poles or trees, where the point of
impact is concentrated and the colli-
sion energy is absorbed by the vehi-
cle structure.
SRS Care
The SRS is virtually maintenance-
free and there are no parts you can
safely service by yourself. If the SRS
air bag warning light does not illumi-
nate when the ignition switch is in the
ON position, or continuously remains
on, have your vehicle immediately
inspected by an authorized HYUNDAI
dealer.
Any work on the SRS system, such
as removing, installing, repairing, or
any work on the steering wheel, the
front passenger's panel, front seats
and roof rails must be performed by
an authorized HYUNDAI dealer.
Improper handling of the SRS system
may result in serious personal injury. To reduce the risk of serious
injury or death, take the follow-
ing precautions:
Do not attempt to modify or
disconnect the SRS compo-
nents or wiring, including the
addition of any kind of badges
to the pad covers or modifica-
tions to the body structure.
Do not place objects over or
near the air bag modules on
the steering wheel, instrument
panel, or the front passen-
ger’s panel above the glove
box.
Clean the air bag pad covers
with a soft cloth moistened
with plain water. Solvents or
cleaners could adversely
affect the air bag covers and
proper deployment of the sys-
tem.
Always have inflated air bags
replaced by an authorized
HYUNDAI dealer.
WARNING
OTMA038073
Page 123 of 557
3-34
Convenient features of your vehicle
To adjust the Zone setting:
1. Determine the desired Zone Number based upon your current
location on the Zone Map.
2. Press and hold the button for 6 seconds, the current Zone
Number will appear on the display.
3. Pressing and holding the button again will cause the numbers to
increment (Note: they will repeat
…13, 14, 15, 1, 2, …). Releasing
the button when the desired Zone
Number appears on the display
will set the new Zone.
4. Within about 5 seconds the com- pass will start displaying a com-
pass heading again.
There are some conditions that can
cause changes to the vehicle mag-
nets, such as installing a ski rack or
a CB antenna. Body repair work on
the vehicle can also cause changes
to the vehicle’s magnetic field. In
these situations, the compass will
need to be re-calibrated to quickly
correct these changes. If you need to recalibrate the com-
pass:
1. Press and hold the button for
more than 9 seconds. When the
compass memory is cleared a "C"
will appear in the display.
2. Drive the vehicle in 2 complete cir- cles at less than 5 mph (8 km/h).
Integrated HomeLink®Wireless
Control System
The HomeLink®Wireless Control
System can replace up to three
hand-held radio-frequency (RF)
transmitters with a single built-in
device. This innovative feature will
learn the radio frequency codes of
most current transmitters to operate
devices such as gate operators,
garage door openers, entry door
locks, security systems, even home
lighting. Both standard and rolling
code-equipped transmitters can be
programmed by following the out-
lined procedures.
Additional HomeLink
®information
can be found at: www.homelink.com
or by calling 1-800-355-3515.
Retain the original transmitter of the
RF device you are programming for
use in other vehicles as well as for
future HomeLink
®programming. It is
also suggested that upon the sale of
the vehicle, the programmed
HomeLink
®buttons be erased for
security purposes.
Page 145 of 557

3-56
Convenient features of your vehicle
The power liftgate can be oper- ated when the engine is not run-
ning. However, the power liftgate
operation consumes a large
amount of electic power.
To prevent the battery from
being discharged, do not oper-
ate it excessively (e.g. more than
5 times repeatedly).
To prevent the battery from being discharged, do not leave
the power liftgate in the open
position for a long time.
Do not modify or repair any part of the power liftgate by yourself.
This must be done by an author-
ized HYUNDAI dealer. When jacking up the vehicle to
change a tire or repair the vehi-
cle, do not operate the power
liftgate. This could cause the
power liftgate to operate
improperly.
In cold and wet climates, the power liftgate may not work
properly due to freezing condi-
tions.
Automatic reversal
During power opening and closing if
the power liftgate is blocked by an
object or part of the body, the power
liftgate will detect the resistance.
If resistance is detected while open-
ing or closing the power liftgate, the
liftgate will stop and move in the
opposite direction.
NOTICE
OTMA048037
Page 205 of 557
3-116
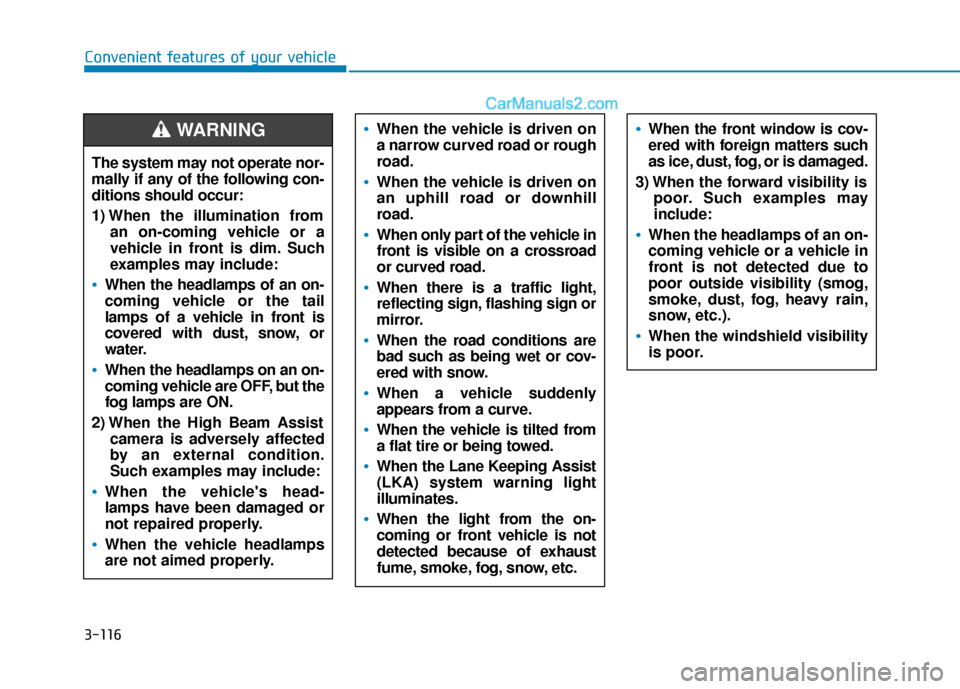
Convenient features of your vehicleThe system may not operate nor-
mally if any of the following con-
ditions should occur:
1) When the illumination from an on-coming vehicle or a
vehicle in front is dim. Such
examples may include:
When the headlamps of an on-
coming vehicle or the tail
lamps of a vehicle in front is
covered with dust, snow, or
water.
When the headlamps on an on-
coming vehicle are OFF, but the
fog lamps are ON.
2) When the High Beam Assist camera is adversely affected
by an external condition.
Such examples may include:
When the vehicle's head-
lamps have been damaged or
not repaired properly.
When the vehicle headlamps
are not aimed properly.
When the vehicle is driven on
a narrow curved road or rough
road.
When the vehicle is driven on
an uphill road or downhill
road.
When only part of the vehicle in
front is visible on a crossroad
or curved road.
When there is a traffic light,
reflecting sign, flashing sign or
mirror.
When the road conditions are
bad such as being wet or cov-
ered with snow.
When a vehicle suddenly
appears from a curve.
When the vehicle is tilted from
a flat tire or being towed.
When the Lane Keeping Assist
(LKA) system warning light
illuminates.
When the light from the on-
coming or front vehicle is not
detected because of exhaust
fume, smoke, fog, snow, etc.
When the front window is cov-
ered with foreign matters such
as ice, dust, fog, or is damaged.
3) When the forward visibility is poor. Such examples may
include:
When the headlamps of an on-
coming vehicle or a vehicle in
front is not detected due to
poor outside visibility (smog,
smoke, dust, fog, heavy rain,
snow, etc.).
When the windshield visibility
is poor.
WARNING