2020 Hyundai Santa Fe Ac vents
[x] Cancel search: Ac ventsPage 41 of 557
2-23
Safety system of your vehicle
2
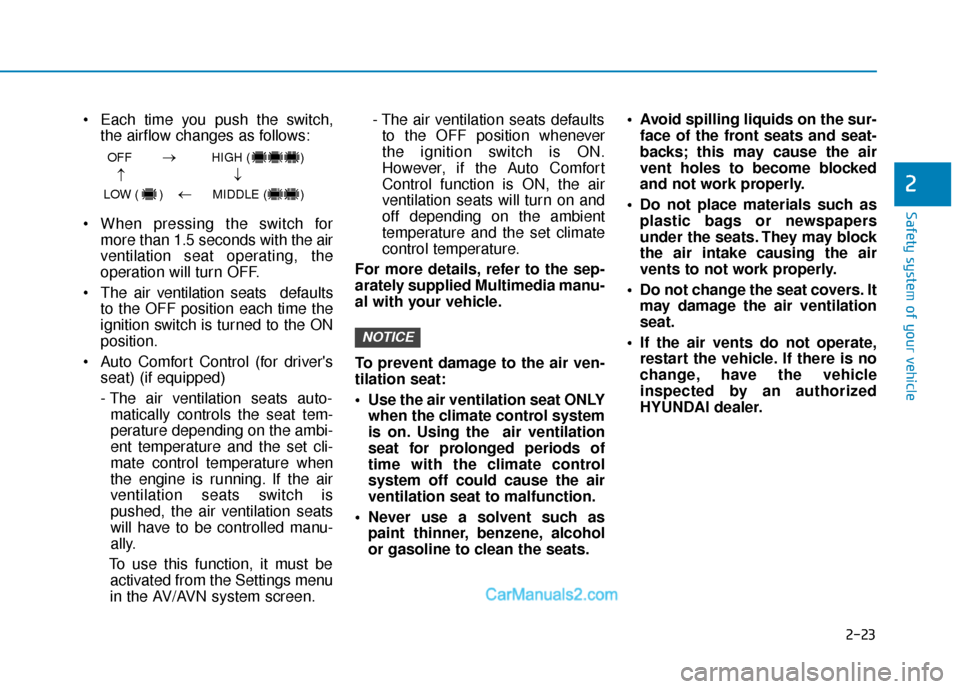
Each time you push the switch,the airflow changes as follows:
When pressing the switch for more than 1.5 seconds with the air
ventilation seat operating, the
operation will turn OFF.
The air v entilation seats def aults
to the OFF position each time the
ignition switch is turned to the ON
position.
Auto Comfort Control (for driver's seat) (if equipped)
- The air ventilation seats auto-matically controls the seat tem-
perature depending on the ambi-
ent temperature and the set cli-
mate control temperature when
the engine is running. If the air
ventilation seats switch is
pushed, the air ventilation seats
will have to be controlled manu-
ally.
To use this function, it must be activated from the Settings menu
in the AV/AVN system screen. - The air ventilation seats defaults
to the OFF position whenever
the ignition switch is ON.
However, if the Auto Comfort
Control function is ON, the air
ventilation seats will turn on and
off depending on the ambient
temperature and the set climate
control temperature.
For more details, refer to the sep-
arately supplied Multimedia manu-
al with your vehicle.
To prevent damage to the air ven-
tilation seat:
Use the air ventilation seat ONLY when the climate control system
is on. Using the air ventilation
seat for prolonged periods of
time with the climate control
system off could cause the air
ventilation seat to malfunction.
Never use a solvent such as paint thinner, benzene, alcohol
or gasoline to clean the seats. Avoid spilling liquids on the sur-
face of the front seats and seat-
backs; this may cause the air
vent holes to become blocked
and not work properly.
Do not place materials such as plastic bags or newspapers
under the seats. They may block
the air intake causing the air
vents to not work properly.
Do not change the seat covers. It may damage the air ventilation
seat.
If the air vents do not operate, restart the vehicle. If there is no
change, have the vehicle
inspected by an authorized
HYUNDAI dealer.
NOTICE
OFF HIGH ( )
LOW ( ) MIDDLE ( )
→→
→
→
Page 57 of 557

2-39
Safety system of your vehicle
2
Child restraint system (CRS)
Infants and younger children must be
restrained in an appropriate rear-fac-
ing or forward-facing CRS that has
first been properly secured to the
rear seat of the vehicle. Read and
comply with the instructions for
installation and use provided by the
manufacturer of the child restraint.
Selecting a Child Restraint
System (CRS)
When selecting a CRS for your child,
always:
Make sure the CRS has a labelcertifying that it meets applicable
Federal Motor Vehicle Safety
Standards (FMVSS 213).
Select a child restraint based on your child's height and weight. The
required label or the instructions
for use typically provide this infor-
mation.
Select a child restraint that fits the vehicle seating position where it
will be used.
Read and comply with the warn- ings and instructions for installa-
tion and use provided with the
child restraint system.
Always properly restrain your
child in the child restraint.
If the vehicle head restraint
prevents proper installation of
a child seat (as described in
the child restraint system
manual), the head restraint of
the respective seating posi-
tion shall be readjusted or
entirely removed.
Do not use an infant carrier or
a child safety seat that
"hooks" over a seatback, it
may not provide adequate
protection in an accident.
After an accident, have a
HYUNDAI dealer check the
child restraint system, seat
belts, tether anchors and
lower anchors.
An improperly secured child
restraint can increase the risk
of SERIOUS INJURY or DEATH
in an accident. Always take the
following precautions when
using a child restraint system:
NEVER install a child or infant
restraint in the front passen-
ger's seat.
Always properly secure the
child restraint to a rear seat of
the vehicle.
Always follow the child
restraint system manufactur-
er's instructions for installa-
tion and use.
WARNING
Page 59 of 557
2-41
Safety system of your vehicle
2
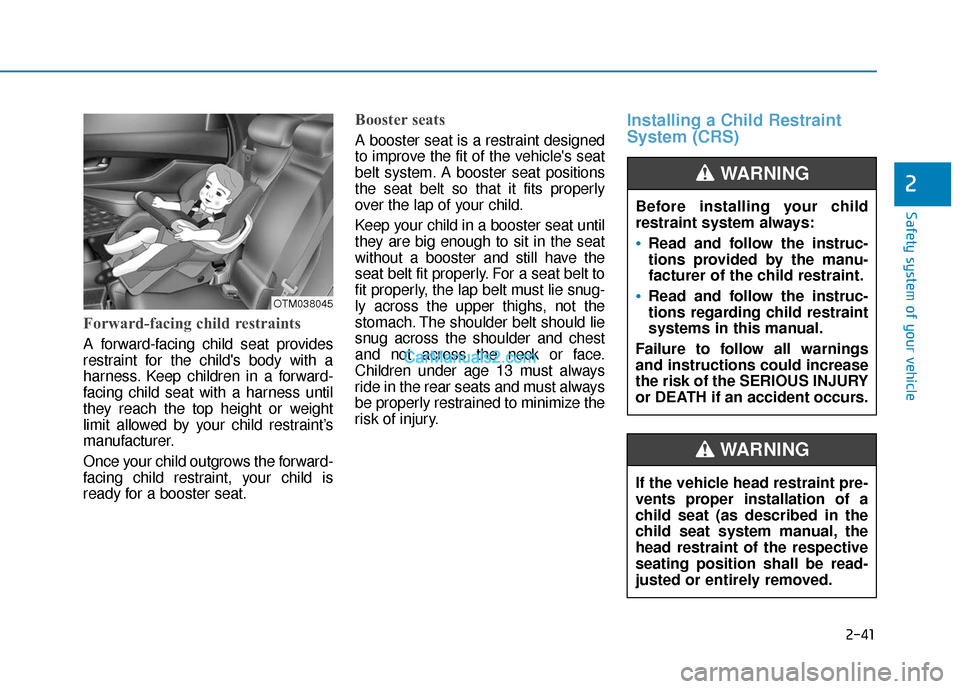
Forward-facing child restraints
A forward-facing child seat provides
restraint for the child's body with a
harness. Keep children in a forward-
facing child seat with a harness until
they reach the top height or weight
limit allowed by your child restraint’s
manufacturer.
Once your child outgrows the forward-
facing child restraint, your child is
ready for a booster seat.
Booster seats
A booster seat is a restraint designed
to improve the fit of the vehicle's seat
belt system. A booster seat positions
the seat belt so that it fits properly
over the lap of your child.
Keep your child in a booster seat until
they are big enough to sit in the seat
without a booster and still have the
seat belt fit properly. For a seat belt to
fit properly, the lap belt must lie snug-
ly across the upper thighs, not the
stomach. The shoulder belt should lie
snug across the shoulder and chest
and not across the neck or face.
Children under age 13 must always
ride in the rear seats and must always
be properly restrained to minimize the
risk of injury.
Installing a Child Restraint
System (CRS)
Before installing your child
restraint system always:
Read and follow the instruc-
tions provided by the manu-
facturer of the child restraint.
Read and follow the instruc-
tions regarding child restraint
systems in this manual.
Failure to follow all warnings
and instructions could increase
the risk of the SERIOUS INJURY
or DEATH if an accident occurs.
WARNING
If the vehicle head restraint pre-
vents proper installation of a
child seat (as described in the
child seat system manual, the
head restraint of the respective
seating position shall be read-
justed or entirely removed.
WARNING
OTM038045
Page 88 of 557
2-70
Safety system of your vehicle
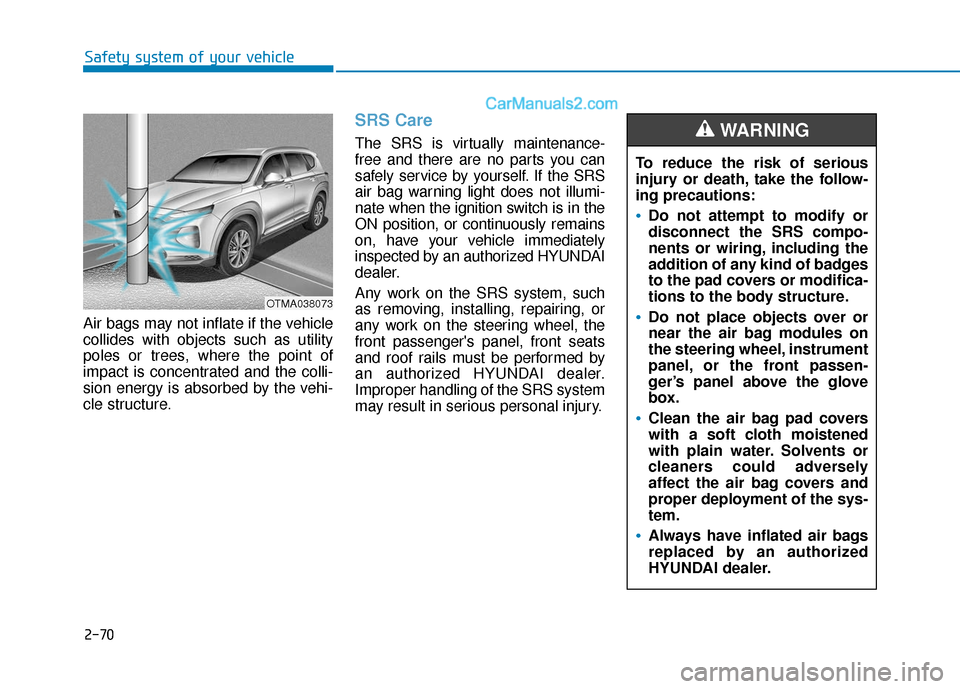
Air bags may not inflate if the vehicle
collides with objects such as utility
poles or trees, where the point of
impact is concentrated and the colli-
sion energy is absorbed by the vehi-
cle structure.
SRS Care
The SRS is virtually maintenance-
free and there are no parts you can
safely service by yourself. If the SRS
air bag warning light does not illumi-
nate when the ignition switch is in the
ON position, or continuously remains
on, have your vehicle immediately
inspected by an authorized HYUNDAI
dealer.
Any work on the SRS system, such
as removing, installing, repairing, or
any work on the steering wheel, the
front passenger's panel, front seats
and roof rails must be performed by
an authorized HYUNDAI dealer.
Improper handling of the SRS system
may result in serious personal injury. To reduce the risk of serious
injury or death, take the follow-
ing precautions:
Do not attempt to modify or
disconnect the SRS compo-
nents or wiring, including the
addition of any kind of badges
to the pad covers or modifica-
tions to the body structure.
Do not place objects over or
near the air bag modules on
the steering wheel, instrument
panel, or the front passen-
ger’s panel above the glove
box.
Clean the air bag pad covers
with a soft cloth moistened
with plain water. Solvents or
cleaners could adversely
affect the air bag covers and
proper deployment of the sys-
tem.
Always have inflated air bags
replaced by an authorized
HYUNDAI dealer.
WARNING
OTMA038073
Page 229 of 557
3-140
Convenient features of your vehicle
Instrument panel vents
The instrument panel vent air flow
can be directed up/down or left/right
using the vent adjustment lever.The outlet vents can be opened or
closed separately using the vent
control lever. If you move the vent
control lever to the left end, the outlet
vents can be closed.
Temperature control
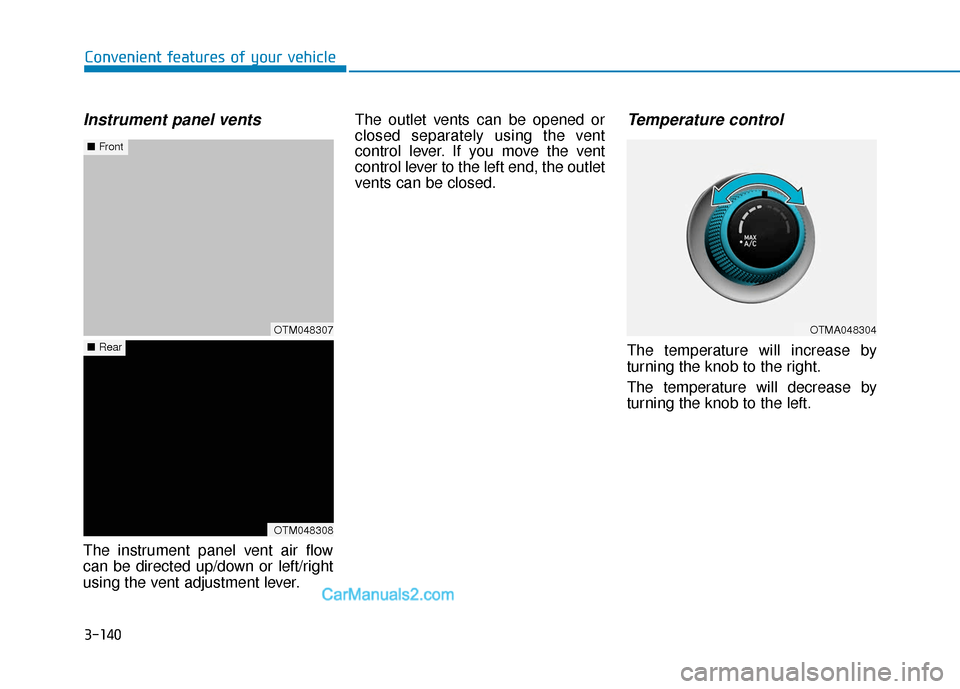
The temperature will increase by
turning the knob to the right.
The temperature will decrease by
turning the knob to the left.
OTM048307
■
Front
OTM048308
■Rear
OTMA048304
Page 240 of 557
3-151
Convenient features of your vehicle
3
Instrument panel vents
The instrument panel vent air flow
can be directed up/down or left/right
using the vent adjustment lever.The outlet vents can be opened or
closed separately using the vent
control lever. If you move the vent
control lever to the left end, the outlet
vents can be closed.
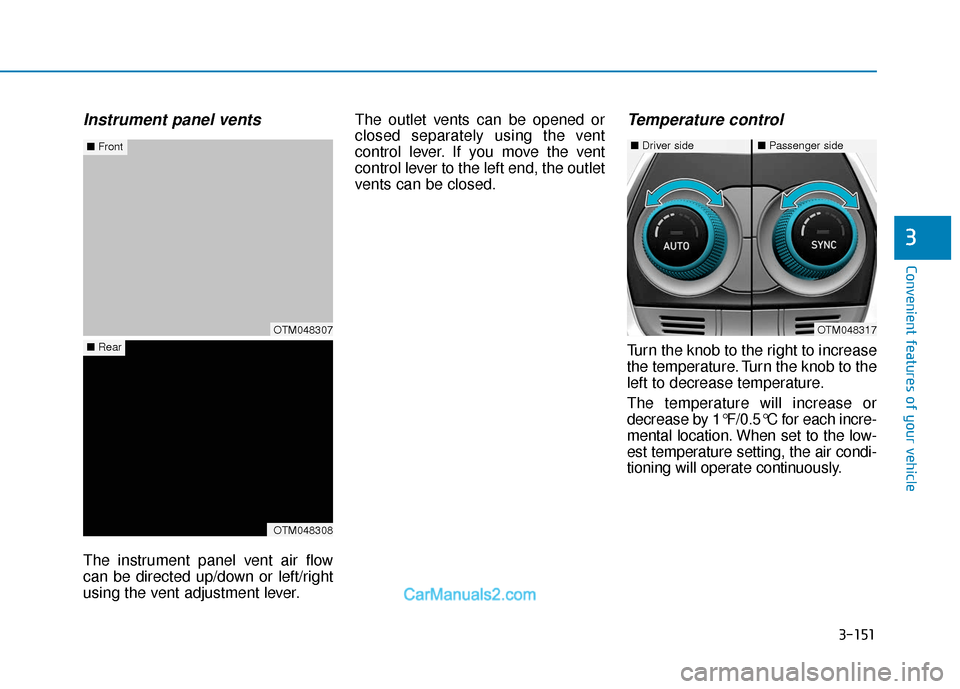
Temperature control
Turn the knob to the right to increase
the temperature. Turn the knob to the
left to decrease temperature.
The temperature will increase or
decrease by 1°F/0.5°C for each incre-
mental location. When set to the low-
est temperature setting, the air condi-
tioning will operate continuously.
OTM048307
■
Front
OTM048308
■Rear
OTM048317
■Driver side■Passenger side
Page 277 of 557
5-3
Driving your vehicle
5
Carbon monoxide (CO) gas is toxic. Breathing CO can cause unconsciousness and death.
Engine exhaust contains carbon monoxide which cannot be seen or smelled.
Do not inhale engine exhaust.
If at any time you smell engine exhaust inside the vehicle, open the windows immediately. Exposure to CO can cause
unconsciousness and death by asphyxiation.
Be sure the exhaust system does not leak.
The exhaust system should be checked whenever the vehicle is raised to change the oil or for any other purpose. If
you hear a change in the sound of the exhaust or if you drive over something that strikes the underneath side of the
vehicle, have the exhaust system checked as soon as possible by an authorized HYUNDAI dealer.
Do not run the engine in an enclosed area.
Letting the engine idle in your garage, even with the garage door open, is a hazardous practice. Run the engine only
long enough to start the engine and to move the vehicle out of the garage.
Avoid idling the engine for prolonged periods with people inside the vehicle.
If it is necessary to idle the engine for a prolonged period with people inside the vehicle, be sure to do so only in an
open area with the air intake set at "Fresh" and fan control set to high so fresh air is drawn into the interior.
Keep the air intakes clear.
To assure proper operation of the ventilation system, keep the ventilation air intakes located in front of the windshield
clear of snow, ice, leaves, or other obstructions.
If you must drive with the liftgate open:
Close all windows.
Open instrument panel air vents.
Set the air intake control at "Fresh", the air flow control at "Floor" or "Face", and the fan control set to high.
WARNING
Page 291 of 557
5-17
Driving your vehicle
5
• If the driver presses the lever to + (Up) or - (Down) position, the
transmission may not make the
requested gear change if the next
gear is outside of the allowable
engine rpm range. The driver must
execute upshifts in accordance with
road conditions, taking care to keep
the engine rpms below the red zone.
• When accelerating from a stop on a slippery road, push the shift lever
forward into the + (Up) position.
This allows the transmission to
shift into the 2
ndgear which is bet-
ter for smooth driving on a slippery
road. Push the shift lever to the -
(Down) side to shift back to the 1
st
gear.
• When driving in Manual Shift Mode, slow down before shifting to
a lower gear. Otherwise, the lower
gear may not be engaged if the
engine rpms are outside of the
allowable range.
Shift-lock system
For your safety, the automatic trans-
mission has a shift-lock system
which prevents shifting the transmis-
sion from P (Park) into R (Reverse)
unless the brake pedal is depressed.
To shift the transmission from P
(Park) into R (Reverse):
1. Depress and hold the brake pedal.
2. Start the engine or place the igni-tion switch in the ON position.
3. Move the shift lever.
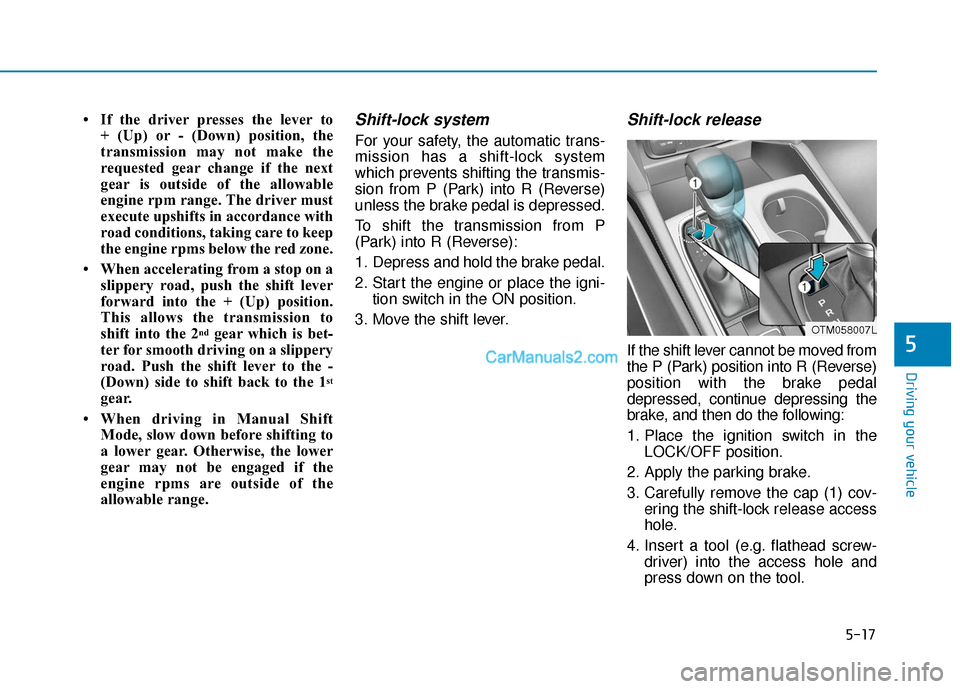
Shift-lock release
If the shift lever cannot be moved from
the P (Park) position into R (Reverse)
position with the brake pedal
depressed, continue depressing the
brake, and then do the following:
1. Place the ignition switch in the LOCK/OFF position.
2. Apply the parking brake.
3. Carefully remove the cap (1) cov- ering the shift-lock release access
hole.
4. Insert a tool (e.g. flathead screw- driver) into the access hole and
press down on the tool.
OTM058007L