Page 213 of 557

3-124
Convenient features of your vehicleA : Wiper speed control· MIST – Single wipe
· OFF – Off
· INT – Intermittent wipeAUTO* – Auto control wipe
· LO – Low wiper speed
· HI – High wiper speed
B : Intermittent control wipe time adjustment
C : Wash with brief wipes (pull lever towards you)
D : Rear wiper/washer control · HI – High wiper speed
· LO – Low wiper speed
· OFF – Off
E : Wash with brief wipes (rear) (push lever away from you)
* : if equipped
Front Windshield Wipers
Operates as follows when the igni-
tion switch is in the ON position.
MIST : For a single wiping cycle, push the lever upward and
release. The wipers will
operate continuously if the
lever is held in this position.
OFF : Wiper is not in operation.
INT : Wiper operates intermittently at the same wiping intervals. To
vary the speed setting, move
the speed control lever. The top
most setting will run the wipers
most frequently (for more rain).
The bottom setting will run the
wipers the least frequently (for
less rain).
AUTO : The rain sensor located on the upper end of the wind-
shield glass senses the
amount of rainfall and con-
trols the wiping cycle for the
proper interval. The more it
rains, the faster the wiper
operates. When the rain
stops, the wiper stops.To
vary the speed setting, turn
the speed control knob (B).
W WI
IP
P E
ER
R S
S
A
A N
N D
D
W
W A
AS
SH
H E
ER
R S
S
OPD047454L
OTLA045318
■ Front windshield wiper/washer
■Rear window wiper/washer
Page 214 of 557

3-125
Convenient features of your vehicle
3
LO : The wiper runs at a lower speed.
HI : The wiper runs at a higher speed.
Information
If there is heavy accumulation of snow
or ice on the windshield, defrost the
windshield for about 10 minutes, or
until the snow and/or ice is removed
before using the windshield wipers to
ensure proper operation.
If you do not remove the snow and/or
ice before using the wiper and washer,
it may damage the wiper and washer
system.
AUTO (Automatic) control (if equipped)
The rain sensor located on the upper
end of the windshield glass senses
the amount of rainfall and controls
the wiping cycle for the proper inter-
val.
The wiper operation time will be
automatically controlled depends on
rainfall.
When the rain stops, the wiper stops.
To vary the sensitivity setting, turn
the sensitivity control knob (1).
If the wiper switch is set in AUTO
mode when the ignition switch is in
the ON position, the wiper will oper-
ate once to perform a self-check of
the system. Set the wiper to OFF
position when the wiper is not in use.
i
To avoid personal injury from
the windshield wipers, when the
engine is running and the wind-
shield wiper switch is placed in
the AUTO mode:
Do not touch the upper end of
the windshield glass facing
the rain sensor.
Do not wipe the upper end of
the windshield glass with a
damp or wet cloth.
Do not put pressure on the
windshield glass.
WARNING
Page 215 of 557

3-126
Convenient features of your vehicle
When washing the vehicle, set the wiper switch in the OFF posi-
tion to stop the auto wiper oper-
ation. The wiper may operate
and be damaged if the switch is
set in the AUTO mode while
washing the vehicle.
Do not remove the sensor cover located on the upper end of the
passenger side windshield
glass. Damage to system parts
could occur and may not be cov-
ered by your vehicle warranty.
Because of using a photo sen- sor, temporary malfunction
could occur according to sud-
den ambient light change made
by stone and dust while driving.
Front Windshield Washers
In the OFF position, pull the lever
gently toward you to spray washer
fluid on the windshield and to run the
wipers 1-3 cycles. The spray and
wiper operation will continue until
you release the lever. If the washer
does not work, you may need to add
washer fluid to the washer fluid
reservoir.
NOTICE
When the outside temperature
is below freezing, ALWAYS
warm the windshield using the
defroster to help prevent the
washer fluid from freezing on
the windshield and obscuring
your vision which could result
in an accident and serious
injury or death.
WARNING
OTLE045164
Page 216 of 557

3-127
Convenient features of your vehicle
3
To prevent possible damage tothe washer pump, do not oper-
ate the washer when the fluid
reservoir is empty.
To prevent possible damage to the wipers or windshield, do not
operate the wipers when the
windshield is dry.
To prevent damage to the wiper arms and other components, do
not attempt to move the wipers
manually.
To prevent possible damage to the wipers and washer system,
use anti-freezing washer fluids
in the winter season or cold
weather.
Rear Window Wiper and Washer
The rear window wiper and washer
switch is located at the end of the
wiper and washer switch lever. Turn
the switch to the desired position to
operate the rear wiper and washer.
HI – High wiper speed
LO – Low wiper speed
OFF – Off Push the lever away from you to
spray rear washer fluid and to run the
rear wipers 1~3 cycles. The spray
and wiper operation will continue
until you release the lever.
Auto rear wiper
The rear wiper will operate while the
vehicle is in reverse with the front
wiper ON by selecting the function on
the LCD display.
Go to 'User Settings
→
Convenience
→ Auto Rear Wiper (in R)'.
NOTICE
OTLE045166
OTLE045165
Page 220 of 557

3-131
Convenient features of your vehicle
3
Information
• If vehicle speed is over 10 mph (15km/h)
- the rear image stays ON when therear view was on the screen
- screen (top, front wide, front right and front left) of other modes of
SVM system turns OFF and
switches to the original AVN
screen when other modes were on
the screen
• If the SVM system is ON and the vehicle speed is under 10 mph (15
km/h)
- the rear image stays ON when therear view was on the screen
- a pop-up for selecting the SVM mode (top, front wide, front right
and front left) appears when
pressing (2) on the screen • When the vehicle is backing up, the
rear image will appear on the
screen automatically regardless of
vehicle speed or SVM button (1)
status.
- If the rear image was ON, thescreen switches to the parking
assist screen.
- If the screen (top, front wide, front right and front left) of other
modes of SVM system was ON, the
screen for setting the initial rear
view mode appears.
- When the shift lever is moved from R (Reverse) to D (Drive), the
screen of the previous mode is dis-
played.
• A warning appears on the system when:
- The liftgate is opened
- The driver's door is opened
- The passenger's door is opened
- The outer side view mirror is folded
• If the system is not operating nor- mally, the system should be checked
by an authorized HYUNDAI dealer.
For more details, refer to the sep-
arately supplied manual with your
vehicle.
Blind-spot View Monitor sys-
tem (if equipped)i
OTMA049503
OTMA049502
■ Driver-side
■Passenger-side
Page 221 of 557

3-132
BVM (Blind-spot View Monitor) sys-
tem displays the driver-side or pas-
senger-side rear areas in the cluster
when the system is activated.
To turn on BVM system: Under condi-
tion BVM system is enabled in the
settings
1. The ignition switch is turned tothe ON position.
2. The turn signal is activated
To turn off BVM system
1. The ignition switch is turned to the OFF position.
2. The turn signal is deactivated
3. The hazard warning flasher is on
4. A warning screen pops up and takes priority over the Blind-Spot
View Monitor system.System setting
With the engine ON, the Blind-spot
View Monitor system turns on and
gets ready to be activated when the
'User Settings →Driver Assistance
→ Blind-spot safety →Blind-spot
view' is selected on the cluster. The
system stops operation when the set-
ting is deactivated.
Convenient features of your vehicle
Like all assistance systems,
BVM system has limitations.
Over-reliance on the system
may result in a collision.
Always look around your vehi-
cle to make sure there are no
objects or obstacles before
moving the vehicle in any
direction to prevent a colli-
sion.
Objects are closer than they
appear. Failure to visually
confirm that is safe to change
the lane before doing so may
result in crash and serious
injury or death.
Always keep the camera lens
clean. The camera may not
work normally if the lens is
covered with foreign material.
CAUTION
Page 227 of 557
3-138
Convenient features of your vehicle
Heating and Air Conditioning
1. Start the engine.
2. Set the mode to the desired posi-tion.
To improve the effectiveness of heating and cooling, select the
mode according to the following:
- Heating:
- Cooling:
3. Set the temperature control to the desired position.
4. Set the air intake control to Fresh mode or Recirculation mode posi-
tion.
5. Set the fan speed control to the desired speed.
6. If air conditioning is desired, turn the air conditioning system on.
Mode selection
OTMA048330
The mode selection button controls the direction of the air flow through the
ventilation system. Air can be directed to the floor, dashboard outlets, or wind-
shield. Five symbols are used to represent Face, Bi-Level, Floor, Floor-Defrost
and Defrost air position.
OTM048303
Page 228 of 557

3-139
Convenient features of your vehicle
3
Face-Level (B, D, F)
Air flow is directed toward the upper
body and face. Additionally, each
outlet can be controlled to direct the
air discharged from the outlet.
Bi-Level (B, C, D, E, F)
Air flow is directed towards the face
and the floor.
Floor-Level (A, C, D, E, F)
Most of the air flow is directed to the
floor, with a small amount of the air
being directed to the windshield and
side window defrosters.
Floor & Defrost
(A, C, D, E, F)
Most of the air flow is directed to the
floor and the windshield with a small
amount directed to the side window
defrosters.
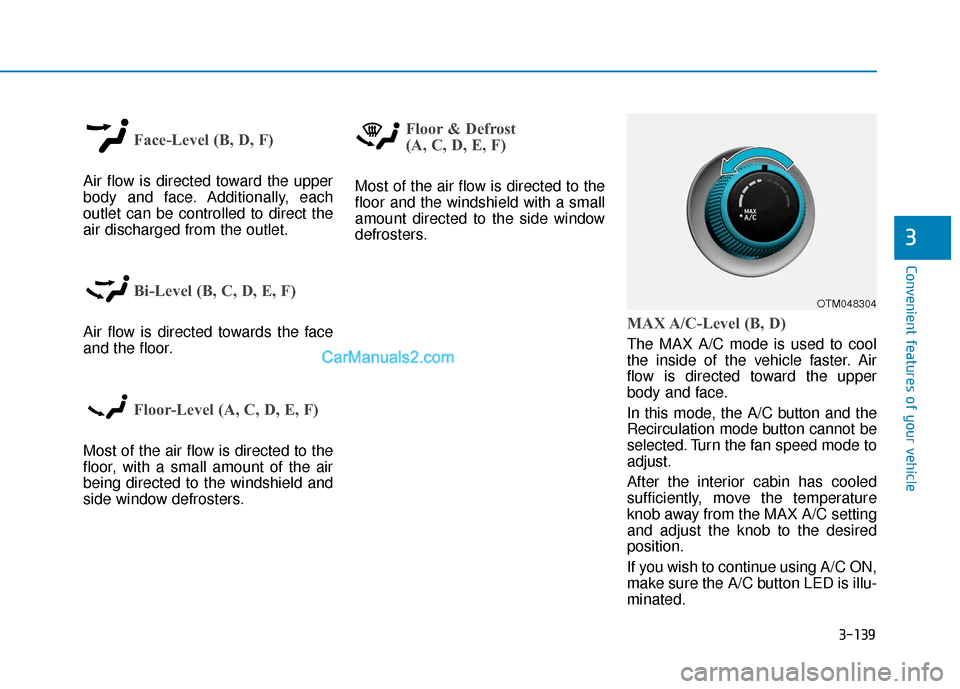
MAX A/C-Level (B, D)
The MAX A/C mode is used to cool
the inside of the vehicle faster. Air
flow is directed toward the upper
body and face.
In this mode, the A/C button and the
Recirculation mode button cannot be
selected. Turn the fan speed mode to
adjust.
After the interior cabin has cooled
sufficiently, move the temperature
knob away from the MAX A/C setting
and adjust the knob to the desired
position.
If you wish to continue using A/C ON,
make sure the A/C button LED is illu-
minated.
OTM048304