Page 11 of 561
1-2
E EX
XT
TE
ER
RI
IO
OR
R
O
OV
VE
ER
RV
VI
IE
EW
W
Your vehicle at a glance
OAEE019014N
■ ■
Front view
The actual shape may differ from the illustration.
1. Hood ......................................................3-49
2. Headlamp ..............................................7-53
3. Daytime running light(DRL)........3-101, 7-57
4. Tires and wheels ..................................7-23
5. Outer side view mirror ..........................3-376. Sunroof ..................................................3-45
7. Wiper blade ..........................................7-17
8. Windows ................................................3-41
9. Front radar ............................................5-51
Page 12 of 561
1-3
Your vehicle at a glance
1
10. Door lock ..............................................3-9
11. Charging door ....................................3-53
12. Rear combination lamp ......................7-58
13. Liftgate ................................................3-5114. High mounted stop lamp ....................7-60
15. Rear View Camera ............................3-116
16. Antenna ................................................4-2
OAEE019005N
■ ■
Rear view
The actual shape may differ from the illustration.
Page 73 of 561

2-58
Safety system of your vehicle
Occupant Classification
System (OCS)
Your vehicle is equipped with an
Occupant Classification System
(OCS) in the front passenger's seat.
Main components of the
Occupant Classification System
A detection device located within
the front passenger seat cushion.
Electronic system to determine
whether the passenger air bag
systems should be activated or
deactivated.
An indicator light located on the
instrument panel which illuminates
the words "PASSENGER AIR BAG
OFF" indicating the front passen-
ger air bag system is deactivated.
The instrument panel air bag indi-
cator light is interconnected with
the OCS.
The OCS is designed to detect the
presence of a properly-seated front
passenger and determine if the pas-
senger's front air bag should be
enabled (may inflate) or not.
The purpose is to help reduce the
risk of injury or death from an inflat-
ing air bag to certain front passenger
seat occupants, such as children, by
requiring the air bag to be automati-
cally turned OFF.For example, if a child restraint of the
type specified in the regulations is on
the seat, the occupant classification
sensor can detect it and cause the
air bag to turn OFF.
Front passenger seat adult occu-
pants who are properly seated and
wearing the seat belt properly,
should not cause the passenger air
bag to be automatically turned OFF.
For small adults it may be turned
OFF, however, if the occupant does
not sit in the seat properly (for exam-
ple, by not sitting upright, by sitting
on the edge of the seat, or by other-
wise being out of position), this could
cause the sensor to turn the air bag
OFF.
You will find the "PASSENGER AIR
BAG OFF" indicator on the center
facia panel. This system detects the
conditions 1-4 in the following table
and activates or deactivates the front
passenger air bag based on these
conditions.
OAEE039070N
Page 90 of 561

3-5
Convenient features of your vehicle
Liftgate unlocking
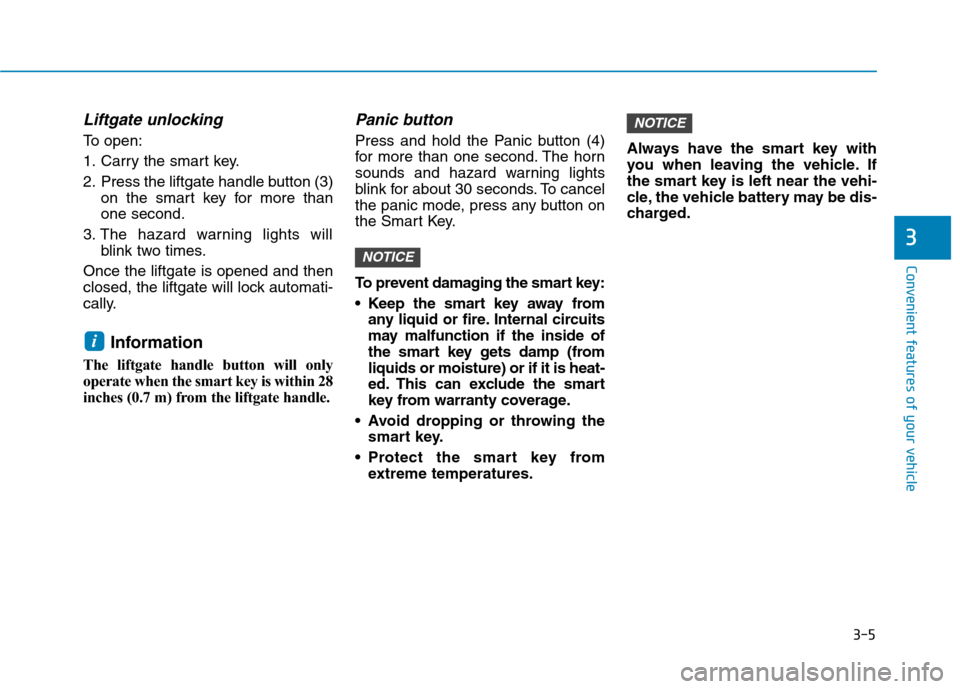
To open:
1. Carry the smart key.
2. Press the liftgate handle button (3)
on the smart key for more than
one second.
3. The hazard warning lights will
blink two times.
Once the liftgate is opened and then
closed, the liftgate will lock automati-
cally.
Information
The liftgate handle button will only
operate when the smart key is within 28
inches (0.7 m) from the liftgate handle.
Panic button
Press and hold the Panic button (4)
for more than one second. The horn
sounds and hazard warning lights
blink for about 30 seconds. To cancel
the panic mode, press any button on
the Smart Key.
To prevent damaging the smart key:
• Keep the smart key away from
any liquid or fire. Internal circuits
may malfunction if the inside of
the smart key gets damp (from
liquids or moisture) or if it is heat-
ed. This can exclude the smart
key from warranty coverage.
Avoid dropping or throwing the
smart key.
Protect the smart key from
extreme temperatures.Always have the smart key with
you when leaving the vehicle. If
the smart key is left near the vehi-
cle, the vehicle battery may be dis-
charged.
NOTICE
NOTICE
i
3
Page 104 of 561

3-19
Convenient features of your vehicle
3
Inside Rearview Mirror
Before you start driving, adjust the
rearview mirror to the center on the
view through the rear window.
When cleaning the mirror, use a
paper towel or similar material
dampened with glass cleaner. Do
not spray glass cleaner directly on
the mirror as that may cause the
liquid cleaner to enter the mirror
housing.
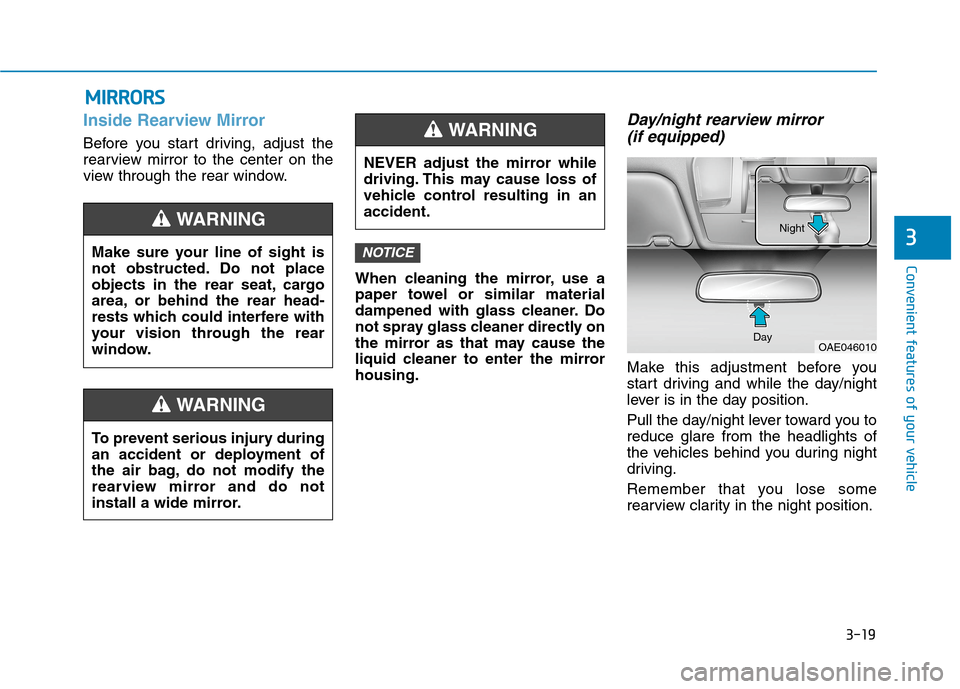
Day/night rearview mirror
(if equipped)
Make this adjustment before you
start driving and while the day/night
lever is in the day position.
Pull the day/night lever toward you to
reduce glare from the headlights of
the vehicles behind you during night
driving.
Remember that you lose some
rearview clarity in the night position.
NOTICE
M MI
IR
RR
RO
OR
RS
S
Make sure your line of sight is
not obstructed. Do not place
objects in the rear seat, cargo
area, or behind the rear head-
rests which could interfere with
your vision through the rear
window.
WARNING
NEVER adjust the mirror while
driving. This may cause loss of
vehicle control resulting in an
accident.
WARNING
To prevent serious injury during
an accident or deployment of
the air bag, do not modify the
rearview mirror and do not
install a wide mirror.
WARNING
OAE046010 DayNight
Page 142 of 561

3-57
Convenient features of your vehicle
3
It shows the charging status of the
battery when it is being charged by
the regenerative brakes (decelerat-
ing or driving on a downhill road).
The more electric energy is charged,
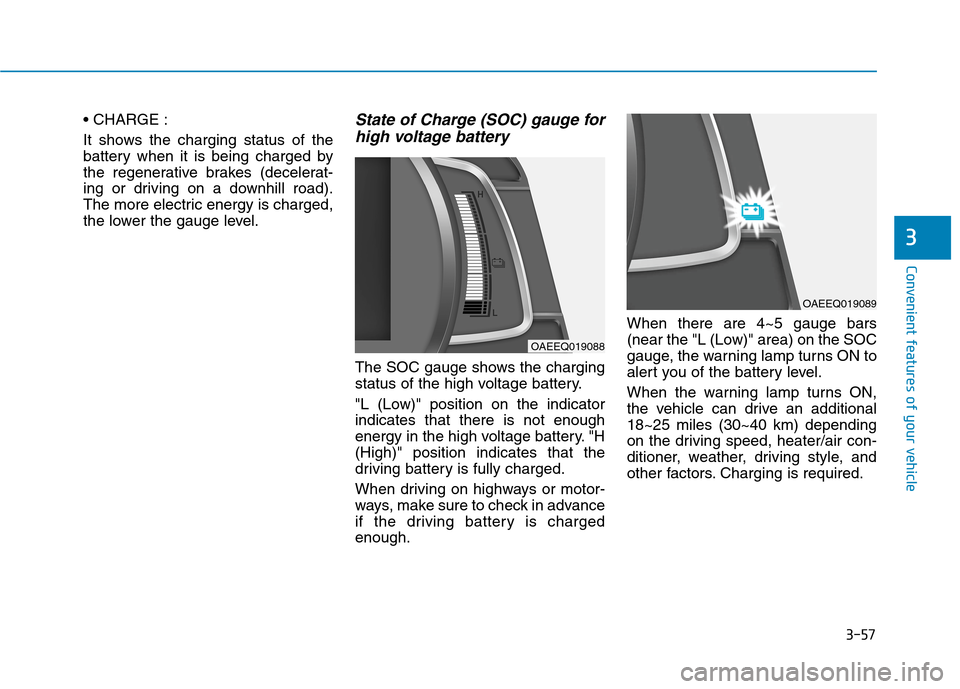
the lower the gauge level.State of Charge (SOC) gauge for
high voltage battery
The SOC gauge shows the charging
status of the high voltage battery.
"L (Low)" position on the indicator
indicates that there is not enough
energy in the high voltage battery. "H
(High)" position indicates that the
driving battery is fully charged.
When driving on highways or motor-
ways, make sure to check in advance
if the driving battery is charged
enough.When there are 4~5 gauge bars
(near the "L (Low)" area) on the SOC
gauge, the warning lamp turns ON to
alert you of the battery level.
When the warning lamp turns ON,
the vehicle can drive an additional
18~25 miles (30~40 km) depending
on the driving speed, heater/air con-
ditioner, weather, driving style, and
other factors. Charging is required.
OAEEQ019088
OAEEQ019089
Page 152 of 561
![Hyundai Ioniq Electric 2020 Owners Manual 3-67
Convenient features of your vehicle
3
Lane Keeping Assist
system indicator light
This indicator light illuminates:
[Green] When the system operat-
ing conditions are satisfied for
LKA.
[White Hyundai Ioniq Electric 2020 Owners Manual 3-67
Convenient features of your vehicle
3
Lane Keeping Assist
system indicator light
This indicator light illuminates:
[Green] When the system operat-
ing conditions are satisfied for
LKA.
[White](/manual-img/35/14896/w960_14896-151.png)
3-67
Convenient features of your vehicle
3
Lane Keeping Assist
system indicator light
This indicator light illuminates:
[Green] When the system operat-
ing conditions are satisfied for
LKA.
[White] When system operating
conditions are not satisfied.
[Yellow] When there is a malfunc-
tion with the lane keeping assist
system.
If this occurs, have your vehicle
inspected by an authorized HYUNDAI
dealer.
For more details, refer to "Lane
Keeping Assist (LKA)" in chapter
5.
LED Headlamp Warning
Light (if equipped)
This warning light illuminates:
When there is a malfunction with
the LED headlamp.
In this case, have the vehicle inspect-
ed by an an authorized HYUNDAI
dealer.
This warning light blinks:
When there is a malfunction with a
LED headlamp related part.
In this case, have the vehicle
inspected by an an authorized
HYUNDAI dealer.
Continuous driving with the LED
Headlamp Warning Light on or
blinking can reduce LED head-
lamp life.
Adaptive Front Lighting
system warning light (if
equipped)
This warning light blinks:
When the POWER button is in the
ON position.
- It illuminates for approximately 3
seconds and then goes off.
When there is a malfunction with
the AFL system.
If there is a malfunction with the
AFL system:
1. Drive carefully to the nearest safe
location and stop your vehicle.
2. Turn the vehicle off and restart the
vehicle ( indicator ON). If the
warning light remains on, have your
vehicle inspected by an authorized
HYUNDAI dealer.
NOTICE
AFL
Page 153 of 561

3-68
Convenient features of your vehicle
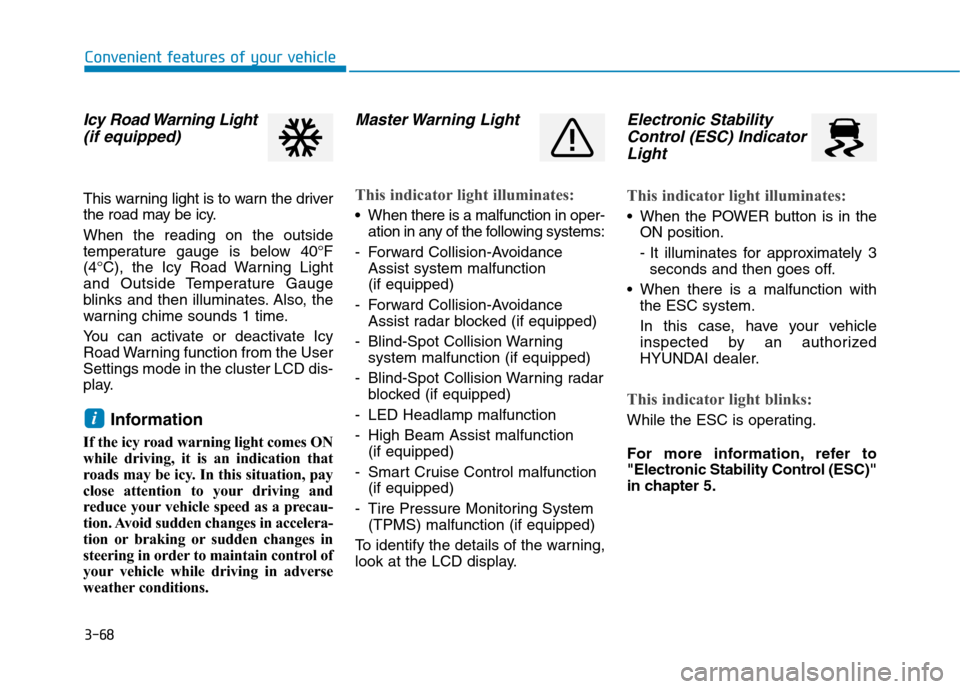
Icy Road Warning Light
(if equipped)
This warning light is to warn the driver
the road may be icy.
When the reading on the outside
temperature gauge is below 40°F
(4°C), the Icy Road Warning Light
and Outside Temperature Gauge
blinks and then illuminates. Also, the
warning chime sounds 1 time.
You can activate or deactivate Icy
Road Warning function from the User
Settings mode in the cluster LCD dis-
play.
Information
If the icy road warning light comes ON
while driving, it is an indication that
roads may be icy. In this situation, pay
close attention to your driving and
reduce your vehicle speed as a precau-
tion. Avoid sudden changes in accelera-
tion or braking or sudden changes in
steering in order to maintain control of
your vehicle while driving in adverse
weather conditions.
Master Warning Light
This indicator light illuminates:
When there is a malfunction in oper-
ation in any of the following systems:
- Forward Collision-Avoidance
Assist system malfunction
(if equipped)
- Forward Collision-Avoidance
Assist radar blocked (if equipped)
- Blind-Spot Collision Warning
system malfunction (if equipped)
- Blind-Spot Collision Warning radar
blocked (if equipped)
- LED Headlamp malfunction
- High Beam Assist malfunction
(if equipped)
- Smart Cruise Control malfunction
(if equipped)
- Tire Pressure Monitoring System
(TPMS) malfunction (if equipped)
To identify the details of the warning,
look at the LCD display.
Electronic Stability
Control (ESC) Indicator
Light
This indicator light illuminates:
When the POWER button is in the
ON position.
- It illuminates for approximately 3
seconds and then goes off.
When there is a malfunction with
the ESC system.
In this case, have your vehicle
inspected by an authorized
HYUNDAI dealer.
This indicator light blinks:
While the ESC is operating.
For more information, refer to
"Electronic Stability Control (ESC)"
in chapter 5.i