Page 192 of 561
3-107
Convenient features of your vehicle
Turn signals and lane change
signals
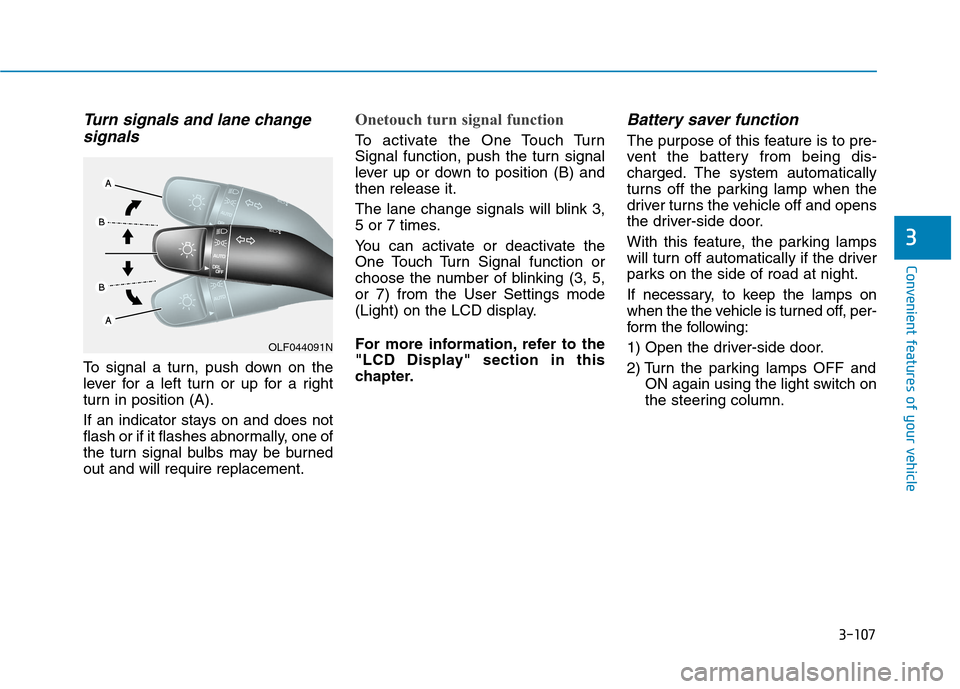
To signal a turn, push down on the
lever for a left turn or up for a right
turn in position (A).
If an indicator stays on and does not
flash or if it flashes abnormally, one of
the turn signal bulbs may be burned
out and will require replacement.
Onetouch turn signal function
To activate the One Touch Turn
Signal function, push the turn signal
lever up or down to position (B) and
then release it.
The lane change signals will blink 3,
5 or 7 times.
You can activate or deactivate the
One Touch Turn Signal function or
choose the number of blinking (3, 5,
or 7) from the User Settings mode
(Light) on the LCD display.
For more information, refer to the
"LCD Display" section in this
chapter.
Battery saver function
The purpose of this feature is to pre-
vent the battery from being dis-
charged. The system automatically
turns off the parking lamp when the
driver turns the vehicle off and opens
the driver-side door.
With this feature, the parking lamps
will turn off automatically if the driver
parks on the side of road at night.
If necessary, to keep the lamps on
when the the vehicle is turned off, per-
form the following:
1) Open the driver-side door.
2) Turn the parking lamps OFF and
ON again using the light switch on
the steering column.
3
OLF044091N
Page 193 of 561
3-108
Convenient features of your vehicle
Headlamp delay function
(if equipped)
If the POWER button is placed in the
ACC position or the OFF position
with the headlamps ON, the head-
lamps (and/or parking lamps) remain
on for about 5 minutes. However, if
the driver’s door is opened and
closed, the headlights are turned off
after 15 seconds. Also, with the vehi-
cle off if the driver's door is opened
and closed, the headlamps (and/or
parking lamps) are turned off after 15
seconds.
The headlamps (and/or parking
lamps) can be turned off by pressing
the lock button on the smart key
twice or turning the light switch to the
OFF or AUTO position.
You can activate or deactivate the
Headlamp Delay function from the
User Settings mode (Light) on the
LCD display.
For more information, refer to the
"LCD Display" section in this
chapter.If the driver gets out of the vehicle
through other doors (except dri-
ver’s door), the battery saver func-
tion does not operate and the
headlamp delay function does not
turn off automatically. Therefore, It
causes the battery to be dis-
charged. In this case, make sure
to turn off the lamp before getting
out of the vehicle.
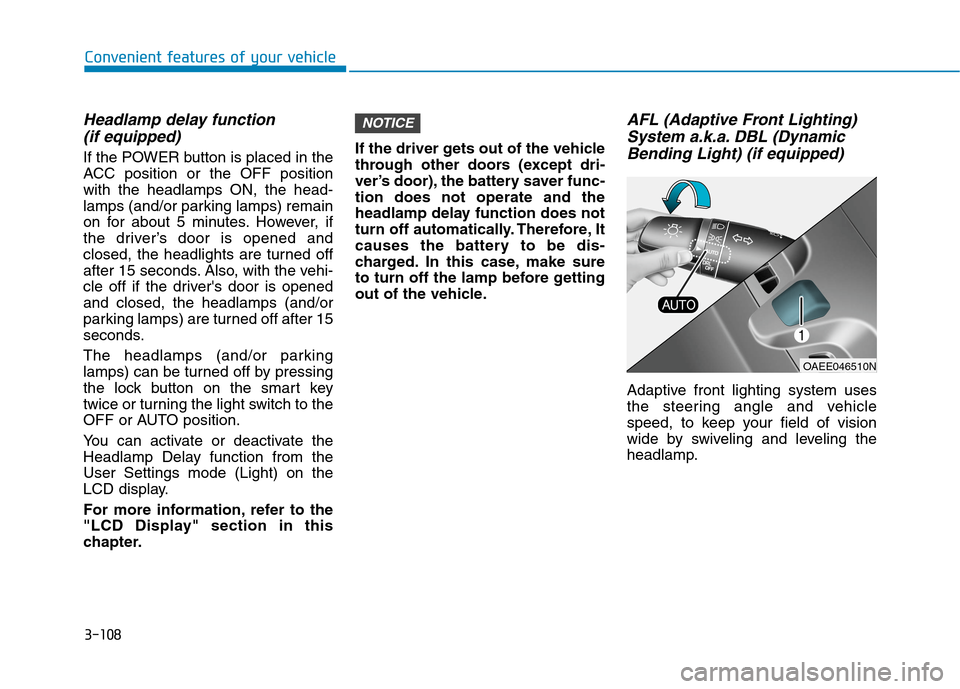
AFL (Adaptive Front Lighting)
System a.k.a. DBL (Dynamic
Bending Light) (if equipped)
Adaptive front lighting system uses
the steering angle and vehicle
speed, to keep your field of vision
wide by swiveling and leveling the
headlamp.
NOTICE
OAEE046510N
Page 194 of 561
3-109
Convenient features of your vehicle
3
Change the switch to the AUTO posi-
tion when the vehicle is in the ready
( ) mode. The adaptive front light-
ing system will operate when the
headlamp is ON. To turn off the AFL
system, change the switch to other
positions. After turning the AFL sys-
tem off, headlamp swiveling no
longer occurs, but leveling operates
continuously.
If the AFL system malfunction indica-
tor comes on, the AFL system is not
working properly. Drive to the near-
est safe location and restart the vehi-
cle ( indicator ON). If the indica-
tor continuously remains on, have
the system be checked by an author-
ized HYUNDAI dealer.Interior Lights
Do not use the interior lights for
extended periods when the vehi-
cle is turned off or the battery will
discharge.
Interior lamp AUTO cut
The interior lamps will automatically
go off approximately 20 minutes after
the vehicle is turned off and the
doors closed. If a door is opened, the
lamp will go off 40 minutes after the
vehicle is turned off. If the doors are
locked by the smart key and the vehi-
cle enters the armed stage of the
theft alarm system, the lamps will go
off five seconds later.
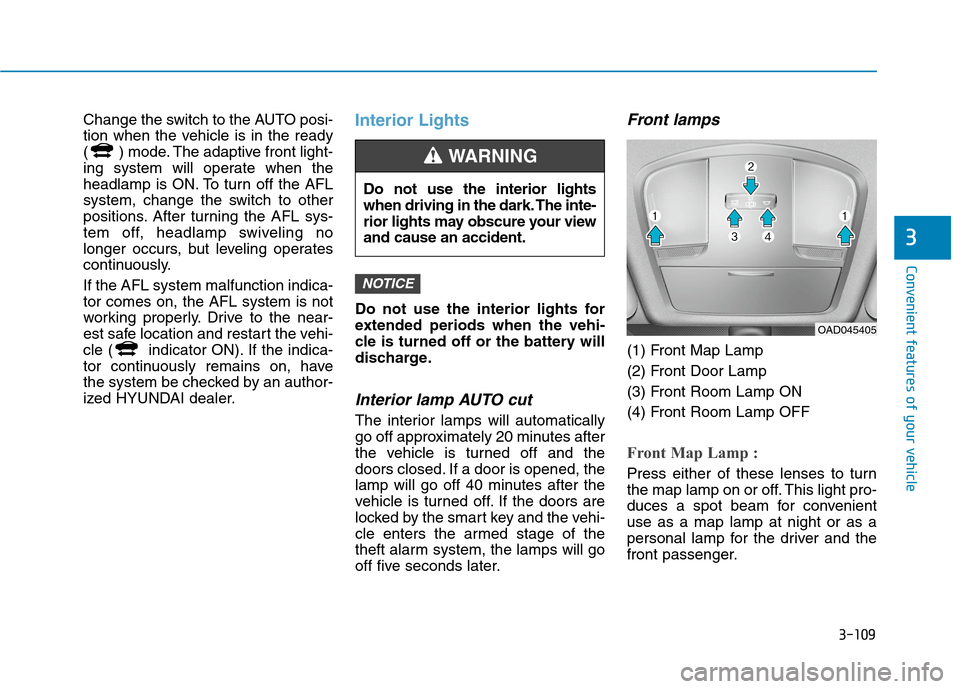
Front lamps
(1) Front Map Lamp
(2) Front Door Lamp
(3) Front Room Lamp ON
(4) Front Room Lamp OFF
Front Map Lamp :
Press either of these lenses to turn
the map lamp on or off. This light pro-
duces a spot beam for convenient
use as a map lamp at night or as a
personal lamp for the driver and the
front passenger.
NOTICE
Do not use the interior lights
when driving in the dark. The inte-
rior lights may obscure your view
and cause an accident.
WARNING
OAD045405
Page 201 of 561
3-116
Convenient features of your vehicle
R RE
EA
AR
R
V
VI
IE
EW
W
M
MO
ON
NI
IT
TO
OR
R
(
(R
RV
VM
M)
)
(
(I
IF
F
E
EQ
QU
UI
IP
PP
PE
ED
D)
)
Rear View Monitor system is a supple-
mental system that shows the area
behind the vehicle on the infotainment
system screen to assist you when
parking or driving. Rear View Monitor with parking
guidance will activate when the
vehicle is in the ready mode and
the shift into R (Reverse) position.
To assist in parking, the rear view
is shown (the parking guide line
disappears) on the screen when
the shift button is shifted from R
(Reverse) to D (Drive) with vehicle
speed below 9 mph (15 km/h).
Rear View Monitor – Top view
When you touch the icon (1) of info-
tainment system, the top view is dis-
played on the screen and shows the
distance from the vehicle in the back
of your vehicle. Touch the icon (1)
again, to switch back to the previous
screen.
OAEE049416
OAEE046417L
OAEE049695N
Page 204 of 561
3-119
Convenient features of your vehicle
3
A AU
UT
TO
OM
MA
AT
TI
IC
C
C
CL
LI
IM
MA
AT
TE
E
C
CO
ON
NT
TR
RO
OL
L
S
SY
YS
ST
TE
EM
M
OAEE049500N
1. Temperature control button
2. Fan speed control button
3. Mode selection button
4. HEAT button
5. AUTO(automatic control) button
6. OFF button
7. Front windshield defrost button
8. Rear window defrost button
9. Air conditioning button
10. Air intake control button
11. Driver only button
12. EV button
13. Climate information screen
Page 211 of 561
3-126
Convenient features of your vehicle
Fan speed control
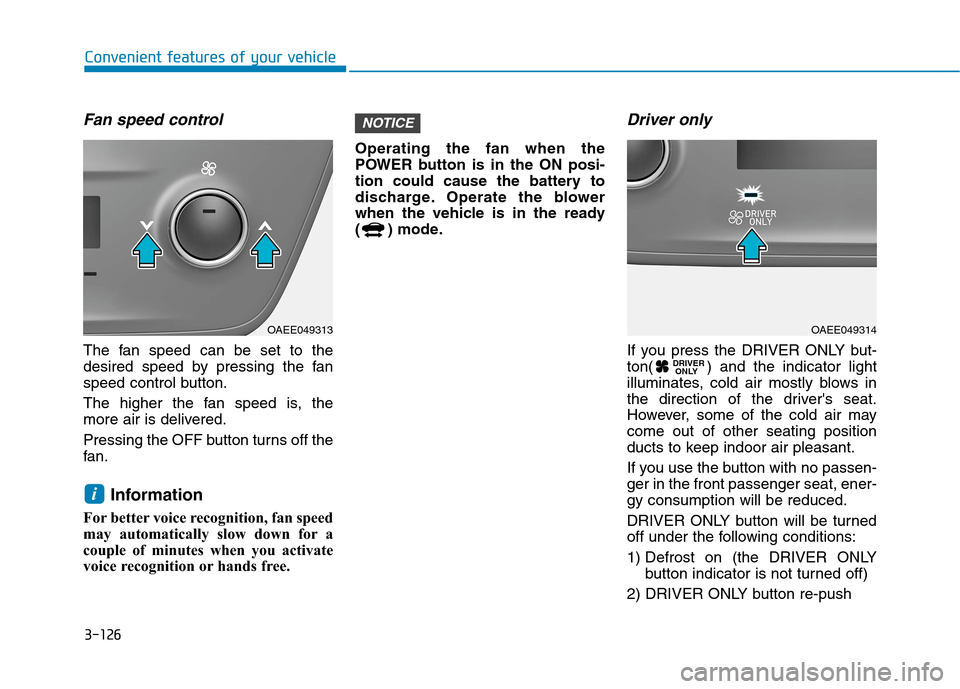
The fan speed can be set to the
desired speed by pressing the fan
speed control button.
The higher the fan speed is, the
more air is delivered.
Pressing the OFF button turns off the
fan.
Information
For better voice recognition, fan speed
may automatically slow down for a
couple of minutes when you activate
voice recognition or hands free.Operating the fan when the
POWER button is in the ON posi-
tion could cause the battery to
discharge. Operate the blower
when the vehicle is in the ready
( ) mode.
Driver only
If you press the DRIVER ONLY but-
ton( ) and the indicator light
illuminates, cold air mostly blows in
the direction of the driver's seat.
However, some of the cold air may
come out of other seating position
ducts to keep indoor air pleasant.
If you use the button with no passen-
ger in the front passenger seat, ener-
gy consumption will be reduced.
DRIVER ONLY button will be turned
off under the following conditions:
1) Defrost on (the DRIVER ONLY
button indicator is not turned off)
2) DRIVER ONLY button re-push DRIVER
ONLY
NOTICE
i
OAEE049313OAEE049314
Page 212 of 561
3-127
Convenient features of your vehicle
3
Air conditioning
Push the A/C button to manually turn
the system on (indicator light will illu-
minate) and off.
HEAT button
Push the HEAT button to turn the
heater on (indicator light will illumi-
nate).
Push the button again to turn the
heater off.
Air conditioner/Heater uses energy
from the battery. If you use the heater
or air conditioner for too long, dis-
tance to empty can be reduced due
to increased power consumption.
Turn off the heater and air conditioner
if not necessary.
EV mode (if equipped)
Push the EV button to enter the EV
mode on the infotainment system
screen.
The EV mode has a total of 7 menus
including Range, Nearby Stations,
Energy Information, Drive Mode,
ECO Driving, Charging/Climate
Settings and EV Settings.
For details on EV mode, refer to
the infotainment system System
manual that is provided separate-
ly.
OAEE049315OAEE049310OAEE049311
Page 213 of 561
3-128
Convenient features of your vehicle
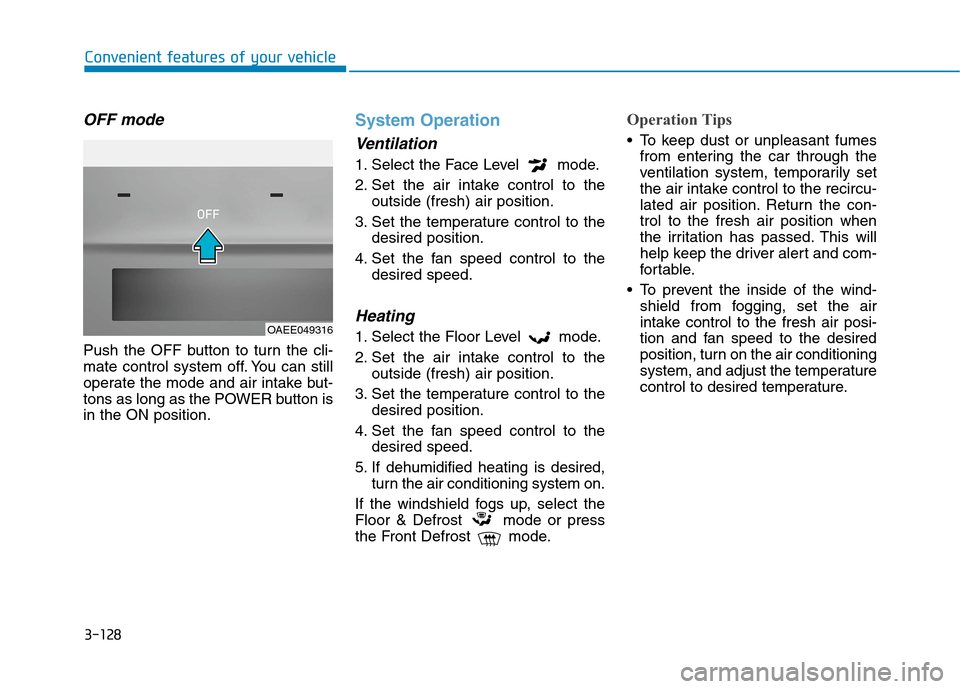
OFF mode
Push the OFF button to turn the cli-
mate control system off. You can still
operate the mode and air intake but-
tons as long as the POWER button is
in the ON position.
System Operation
Ventilation
1. Select the Face Level mode.
2. Set the air intake control to the
outside (fresh) air position.
3. Set the temperature control to the
desired position.
4. Set the fan speed control to the
desired speed.
Heating
1. Select the Floor Level mode.
2. Set the air intake control to the
outside (fresh) air position.
3. Set the temperature control to the
desired position.
4. Set the fan speed control to the
desired speed.
5. If dehumidified heating is desired,
turn the air conditioning system on.
If the windshield fogs up, select the
Floor & Defrost mode or press
the Front Defrost mode.
Operation Tips
To keep dust or unpleasant fumes
from entering the car through the
ventilation system, temporarily set
the air intake control to the recircu-
lated air position. Return the con-
trol to the fresh air position when
the irritation has passed. This will
help keep the driver alert and com-
fortable.
To prevent the inside of the wind-
shield from fogging, set the air
intake control to the fresh air posi-
tion and fan speed to the desired
position, turn on the air conditioning
system, and adjust the temperature
control to desired temperature.
OAEE049316