Page 153 of 561
3-68
Convenient features of your vehicle
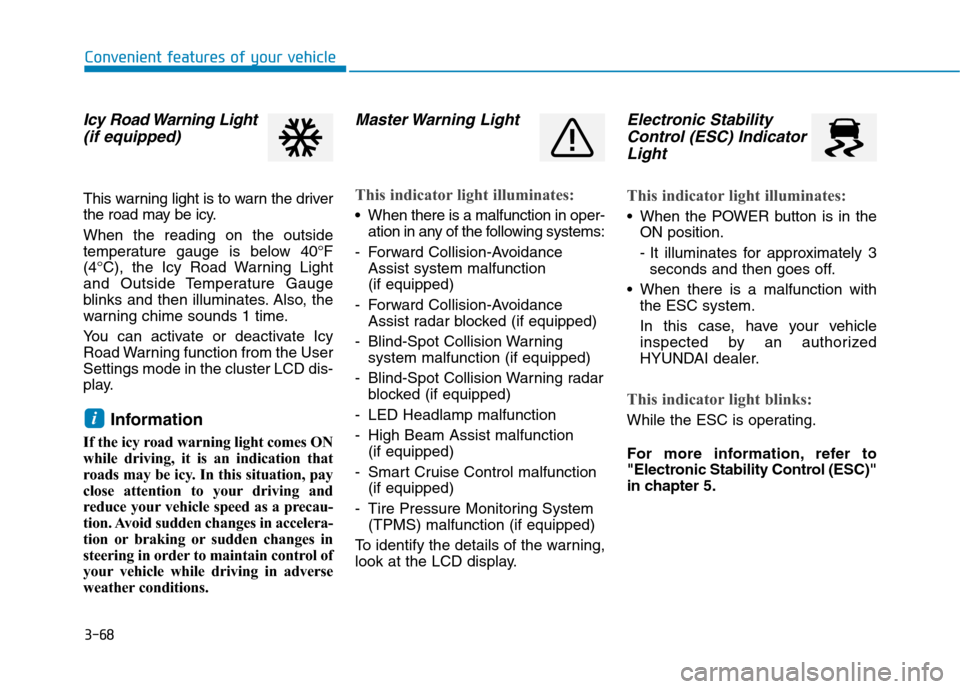
Icy Road Warning Light
(if equipped)
This warning light is to warn the driver
the road may be icy.
When the reading on the outside
temperature gauge is below 40°F
(4°C), the Icy Road Warning Light
and Outside Temperature Gauge
blinks and then illuminates. Also, the
warning chime sounds 1 time.
You can activate or deactivate Icy
Road Warning function from the User
Settings mode in the cluster LCD dis-
play.
Information
If the icy road warning light comes ON
while driving, it is an indication that
roads may be icy. In this situation, pay
close attention to your driving and
reduce your vehicle speed as a precau-
tion. Avoid sudden changes in accelera-
tion or braking or sudden changes in
steering in order to maintain control of
your vehicle while driving in adverse
weather conditions.
Master Warning Light
This indicator light illuminates:
When there is a malfunction in oper-
ation in any of the following systems:
- Forward Collision-Avoidance
Assist system malfunction
(if equipped)
- Forward Collision-Avoidance
Assist radar blocked (if equipped)
- Blind-Spot Collision Warning
system malfunction (if equipped)
- Blind-Spot Collision Warning radar
blocked (if equipped)
- LED Headlamp malfunction
- High Beam Assist malfunction
(if equipped)
- Smart Cruise Control malfunction
(if equipped)
- Tire Pressure Monitoring System
(TPMS) malfunction (if equipped)
To identify the details of the warning,
look at the LCD display.
Electronic Stability
Control (ESC) Indicator
Light
This indicator light illuminates:
When the POWER button is in the
ON position.
- It illuminates for approximately 3
seconds and then goes off.
When there is a malfunction with
the ESC system.
In this case, have your vehicle
inspected by an authorized
HYUNDAI dealer.
This indicator light blinks:
While the ESC is operating.
For more information, refer to
"Electronic Stability Control (ESC)"
in chapter 5.i
Page 157 of 561
3-72
Convenient features of your vehicle
LCD Display Messages
Shift to P
This warning message is displayed if
you try to turn off the vehicle with the
gear in the N (Neutral) position.
At this time, the POWER button
changes to the ACC position (If you
press the POWER button once more,
it will turn to the ON position).
Low Key Battery
This warning message is displayed if
the battery of the smart key is dis-
charged while changing the POWER
button to the OFF position.
Press POWER button while
turning wheel
This warning message is displayed if
the steering wheel does not unlock
normally when the POWER button is
pressed.
You should press the POWER button
while turning the steering wheel right
and left.
Check Steering Wheel Lock
System
This warning message is displayed if
the steering wheel does not lock nor-
mally while the POWER button
changes to the OFF position.
Press brake pedal to start vehicle
This warning message is displayed if
the POWER button changes to the
ACC position twice by pressing the
button repeatedly without depressing
the brake pedal.
You can start the vehicle by depress-
ing the brake pedal.
Key not in vehicle
This warning message is displayed if
the smart key is not in the vehicle
when you press the POWER button.
When attempting to start the vehicle,
always have the smart key with you.
Key not detected
This warning message is displayed if
the smart key is not detected when
you press the POWER button.
Press POWER button again
This message is displayed if you
were unable to start the vehicle when
the POWER button was pressed.
If this occurs, attempt to start the
vehicle by pressing the POWER but-
ton again.
If the warning message appears
each time you press the POWER
button, have your vehicle inspected
by an authorized HYUNDAI dealer.
Page 160 of 561
3-75
Convenient features of your vehicle
3
Turn on FUSE SWITCH
This warning message is displayed if
the fuse switch under the steering
wheel is OFF.
If this message is displayed, turn the
fuse switch on.
For more information, refer to
"Fuses" in chapter 7.
Low Pressure
This warning message is displayed if
the tire pressure is low. The corre-
sponding tire on the vehicle will be
illuminated.
For more information, refer to
"Tire Pressure Monitoring System
(TPMS)" in chapter 6.
Lights Mode
This indicator displays which exterior
light is selected using the lighting
control.
OAEPH059643LOIK057165LOIK047145L
Page 168 of 561
3-83
Convenient features of your vehicle
3
LCD Display Control
The LCD display modes can be
changed by using the control buttons
on the steering wheel.
(1) : MODE button for changing
modes
(2) , : MOVE switch for
changing items
(3) OK : SELECT/RESET button for
setting or resetting the
selected item
L LC
CD
D
D
DI
IS
SP
PL
LA
AY
Y
OAE046402
■ ■ ■ ■T
T T T
y y y y
p p p p
e e e e
A A A A
■
■ ■ ■T
T T T
y y y y
p p p p
e e e e
B B B B
■
■ ■ ■T
T T T
y y y y
p p p p
e e e e
C C C C
Page 181 of 561
3-96
The trip computer is a microcomput-
er-controlled driver information sys-
tem that displays information related
to driving.
Information
Some driving information stored in the
trip computer (for example Average
Vehicle Speed) resets if the battery is
disconnected.
Trip modes
To change the trip mode, toggle the
" , " switch on the steering wheel.
i
T TR
RI
IP
P
C
CO
OM
MP
PU
UT
TE
ER
R
Convenient features of your vehicle
OAE046402 ■ ■ ■ ■
T T T T
y y y y
p p p p
e e e e
B B B B ■ ■ ■ ■
T T T T
y y y y
p p p p
e e e e
A A A A
■ ■ ■ ■
T T T T
y y y y
p p p p
e e e e
C C C C
energy consumption
Drive Info
energy consumption
Accumulated Info
Consumption Info
Digital Speedometer
Driving Style
Energy flow
Page 182 of 561
3-97
Convenient features of your vehicle
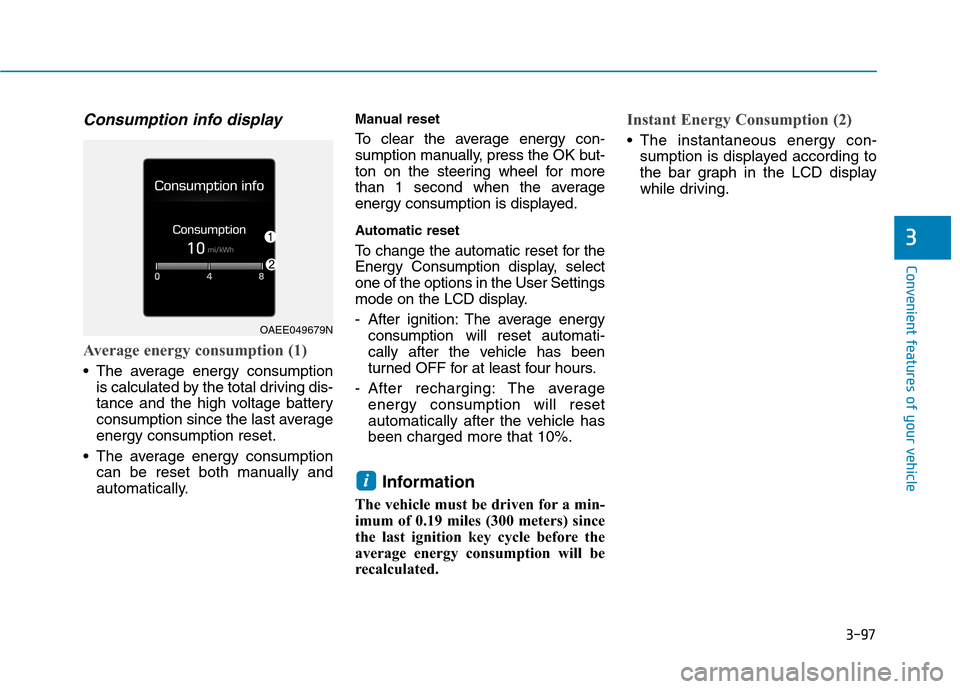
Consumption info display
Average energy consumption (1)
The average energy consumption
is calculated by the total driving dis-
tance and the high voltage battery
consumption since the last average
energy consumption reset.
The average energy consumption
can be reset both manually and
automatically.
Manual reset
To clear the average energy con-
sumption manually, press the OK but-
ton on the steering wheel for more
than 1 second when the average
energy consumption is displayed.
Automatic reset
To change the automatic reset for the
Energy Consumption display, select
one of the options in the User Settings
mode on the LCD display.
- After ignition: The average energy
consumption will reset automati-
cally after the vehicle has been
turned OFF for at least four hours.
- After recharging: The average
energy consumption will reset
automatically after the vehicle has
been charged more that 10%.
Information
The vehicle must be driven for a min-
imum of 0.19 miles (300 meters) since
the last ignition key cycle before the
average energy consumption will be
recalculated.
Instant Energy Consumption (2)
The instantaneous energy con-
sumption is displayed according to
the bar graph in the LCD display
while driving.
i
3
OAEE049679N
Page 192 of 561
3-107
Convenient features of your vehicle
Turn signals and lane change
signals
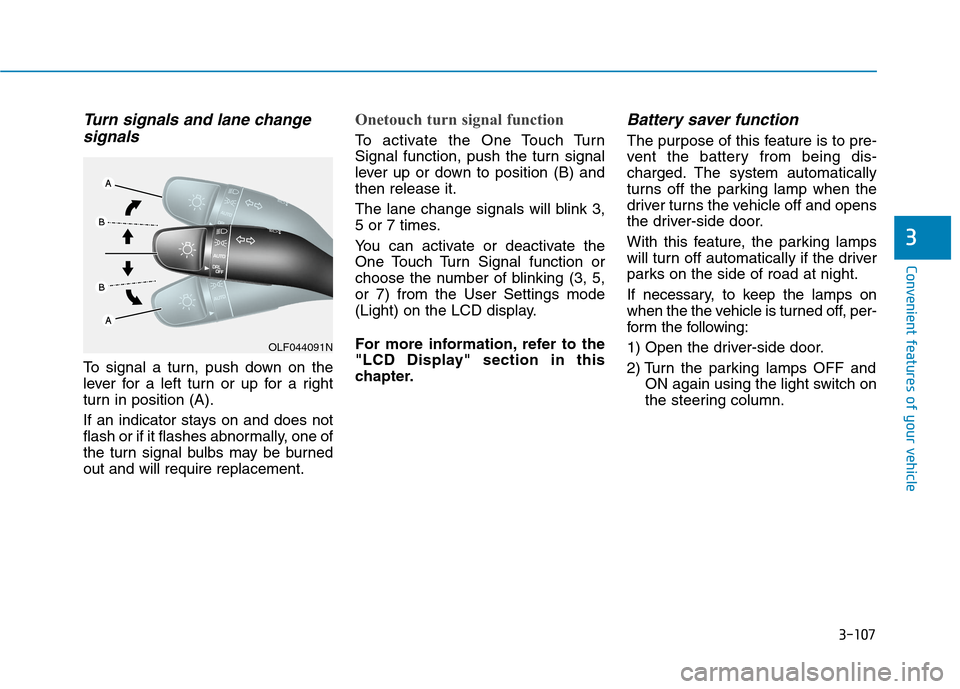
To signal a turn, push down on the
lever for a left turn or up for a right
turn in position (A).
If an indicator stays on and does not
flash or if it flashes abnormally, one of
the turn signal bulbs may be burned
out and will require replacement.
Onetouch turn signal function
To activate the One Touch Turn
Signal function, push the turn signal
lever up or down to position (B) and
then release it.
The lane change signals will blink 3,
5 or 7 times.
You can activate or deactivate the
One Touch Turn Signal function or
choose the number of blinking (3, 5,
or 7) from the User Settings mode
(Light) on the LCD display.
For more information, refer to the
"LCD Display" section in this
chapter.
Battery saver function
The purpose of this feature is to pre-
vent the battery from being dis-
charged. The system automatically
turns off the parking lamp when the
driver turns the vehicle off and opens
the driver-side door.
With this feature, the parking lamps
will turn off automatically if the driver
parks on the side of road at night.
If necessary, to keep the lamps on
when the the vehicle is turned off, per-
form the following:
1) Open the driver-side door.
2) Turn the parking lamps OFF and
ON again using the light switch on
the steering column.
3
OLF044091N
Page 193 of 561
3-108
Convenient features of your vehicle
Headlamp delay function
(if equipped)
If the POWER button is placed in the
ACC position or the OFF position
with the headlamps ON, the head-
lamps (and/or parking lamps) remain
on for about 5 minutes. However, if
the driver’s door is opened and
closed, the headlights are turned off
after 15 seconds. Also, with the vehi-
cle off if the driver's door is opened
and closed, the headlamps (and/or
parking lamps) are turned off after 15
seconds.
The headlamps (and/or parking
lamps) can be turned off by pressing
the lock button on the smart key
twice or turning the light switch to the
OFF or AUTO position.
You can activate or deactivate the
Headlamp Delay function from the
User Settings mode (Light) on the
LCD display.
For more information, refer to the
"LCD Display" section in this
chapter.If the driver gets out of the vehicle
through other doors (except dri-
ver’s door), the battery saver func-
tion does not operate and the
headlamp delay function does not
turn off automatically. Therefore, It
causes the battery to be dis-
charged. In this case, make sure
to turn off the lamp before getting
out of the vehicle.
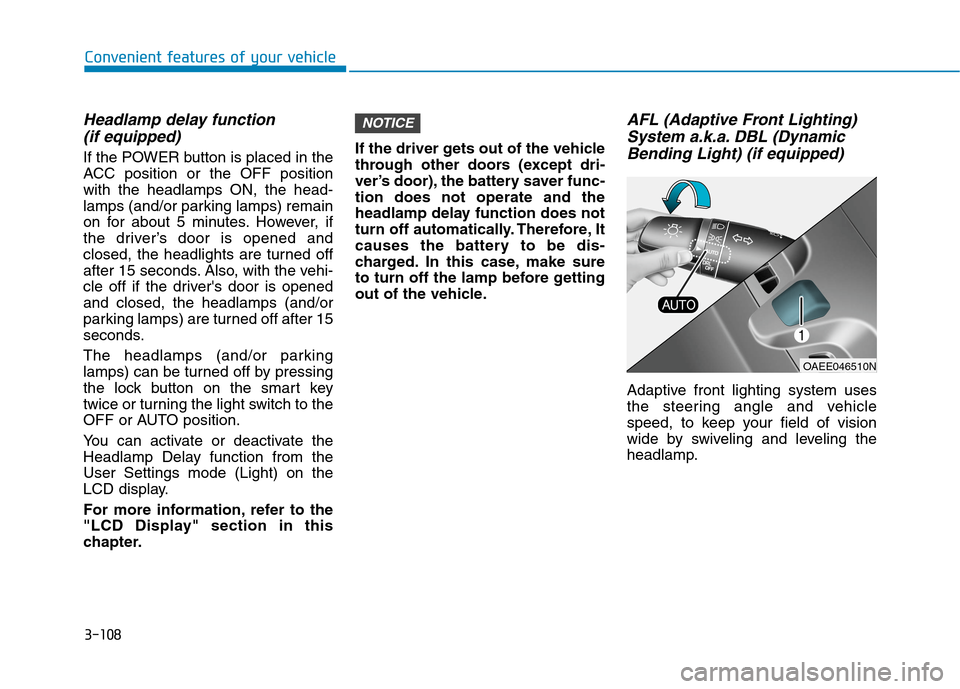
AFL (Adaptive Front Lighting)
System a.k.a. DBL (Dynamic
Bending Light) (if equipped)
Adaptive front lighting system uses
the steering angle and vehicle
speed, to keep your field of vision
wide by swiveling and leveling the
headlamp.
NOTICE
OAEE046510N