2020 Hyundai Elantra door lock
[x] Cancel search: door lockPage 100 of 535

3-16
Convenient features of your vehicle
Child-Protector Rear Door
locks
The child safety lock is provided to
help prevent children seated in the
rear from accidentally opening the
rear doors. The rear door safety locks
should be used whenever children
are in the vehicle.
The child safety lock is located on
the edge of each rear door. When the
child safety lock is in the lock posi-
tion, the rear door will not open if the
inner door handle is pulled.
To lock the child safety lock, insert a
screwdriver (1) into the hole and turn
it to the lock position.To allow a rear door to be opened
from inside the vehicle, unlock the
child safety lock.Safe Exit Assist (SEA) System
(If equipped)
Once the system decides it is dan-
gerous for a passenger to open a car
door by sensing the approaching of a
car from behind when the person is
opening the door, the warning mes-
sage "Watch for traffic" appears and
the alarming sound will continue for
five seconds.
If a car approaching from behind is
too fast or a door is opened sudden-
ly, the alarm system may not set off
in time, which increases the danger
of an accident. Therefore, make sure
nothing is coming in the way before
you open the door.
This function works for ten minutes
even after the ignition is turned off.
The function will be released as soon
as the car doors are locked with the
smart key.
The alarming sound will continue
while the Safe Exit Assist (SEA) sys-
tem is in activation.
The Safe Exit Assist (SEA) system is
activated when you select 'Driver
Assistance
→Blind-Spot Safety →
Safe Exit Assistance (SEA)' from the
User Settings mode in the cluster
LCD display.
If children accidently open the
rear doors while the vehicle is
in motion, they could fall out of
the vehicle. The rear door safety
locks should always be used
whenever children are in the
vehicle.
WARNING
OAD045005N
OAD048541N
Page 101 of 535
3-17
Convenient features of your vehicle
3
This system helps to protect your
vehicle and valuables. The horn will
sound and the hazard warning lights
will blink continuously if any of the
following occur:
- A door is opened without using theremote key or smart key.
- The trunk is opened without using the remote key or smart key.
- The engine hood is opened.
The alarm continues for 30 seconds,
then the system resets. To turn off
the alarm, unlock the doors with the
remote key or smart key.
The Theft Alarm System automati-
cally sets 30 seconds after you lock
the doors and the trunk. For the sys-
tem to activate, you must lock the
doors and the trunk from outside the
vehicle with the remote key or smart
key or by pressing the button on the
outside of the door handles with the
smart key in your possession.
The hazard warning lights will blink
and the chime will sound once to
indicate the system is armed. Once the security system is set,
opening any door, the trunk, or the
hood without using the remote key or
smart key will cause the alarm to
activate.
The Theft Alarm System will not set if
the hood, the trunk, or any door is
not fully closed. If the system will not
set, check the hood, the trunk, or the
doors are fully closed.
Do not attempt to alter this system or
add other devices to it.Information
• Do not lock the doors until all pas-
sengers have left the vehicle. If the
remaining passenger leaves the
vehicle when the system is armed,
the alarm will be activated.
• If the vehicle is not disarmed with the remote key or smart key, open
the doors by using the mechanical
key and place the ignition switch in
the ON position (for remote key) or
start the engine (for smart key) by
directly pressing the ignition switch
with the smart key.
• When the system is disarmed but a door or trunk is not opened within
30 seconds, the system will be
rearmed.
i
T TH
H E
EF
FT
T -
-A
A L
LA
A R
RM
M
S
S Y
Y S
ST
T E
EM
M
Page 109 of 535

3-25
Convenient features of your vehicle
3
Automatic-Dimming Night Vision
Safety™ (NVS®) Mirror
(if equipped)
The NVS®Mirror automatically
reduces glare by monitoring light lev-
els in the front and the rear of the
vehicle. Any object that obstructs
either light sensor will degrade the
automatic dimming control feature.
For more information regarding
NVS
®mirrors and other applica-
tions, please refer to the Gentex
website:
www.gentex.com Your mirror will automatically dim
upon detecting glare from the vehi-
cles traveling behind you. The auto-
dimming function can be controlled
by pressing the Dimming ON/OFF
button:
1. Pressing and holding the button
for 3 seconds turns the auto-dim-
ming function OFF which is indi-
cated by the green Status
Indicator LED turning off.
2. Pressing and holding the button for 3 seconds again turns the auto-
dimming function ON which is indi-
cated by the green Status Indicator
LED turning on.
The mirror defaults to the ON posi-
tion each time the vehicle is started.
Integrated HomeLink®Wireless
Control System
The HomeLink®Wireless Control
System can replace up to three
hand-held radio-frequency (RF)
transmitters with a single built-in
device. This innovative feature will
learn the radio frequency codes of
most current transmitters to operate
devices such as gate operators,
garage door openers, entry door
locks, security systems, even home
lighting. Both standard and rolling
code-equipped transmitters can be
programmed by following the out-
lined procedures.
Additional HomeLink
®information
can be found at: www.homelink.com
or by calling 1-800-355-3515.
Retain the original transmitter of the
RF device you are programming for
use in other vehicles as well as for
future HomeLink
®programming. It is
also suggested that upon the sale of
the vehicle, the programmed
HomeLink
®buttons be erased for
security purposes.
Page 118 of 535
3-34
Convenient features of your vehicle
W
WI
IN
N D
DO
O W
W S
S
OAD045020N
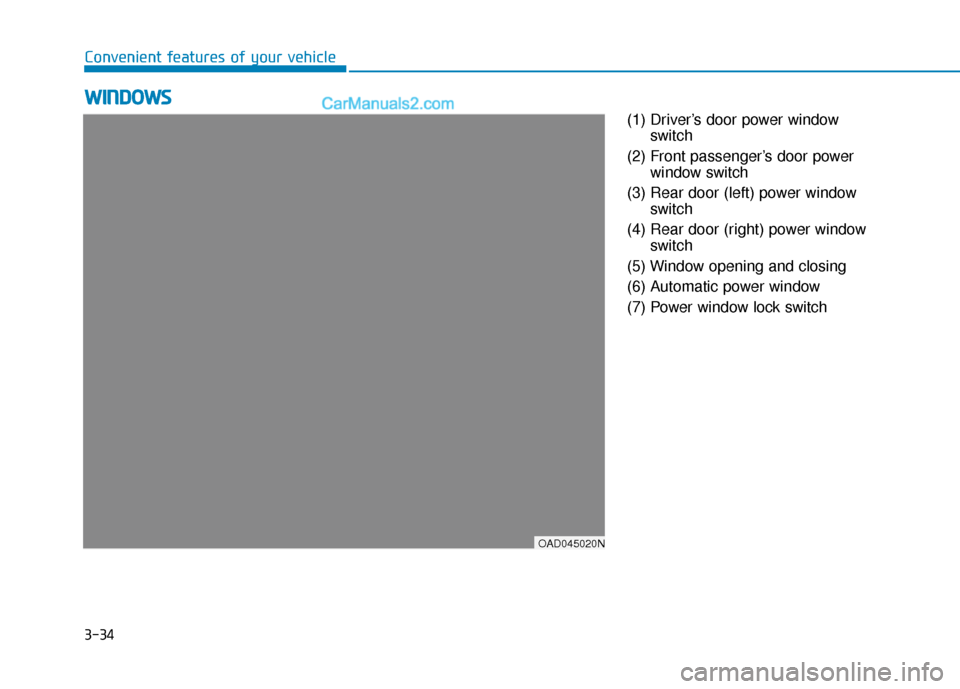
(1) Driver’s door power window
switch
(2) Front passenger’s door power window switch
(3) Rear door (left) power window switch
(4) Rear door (right) power window switch
(5) Window opening and closing
(6) Automatic power window
(7) Power window lock switch
Page 119 of 535
3-35
Convenient features of your vehicle
3
Power Windows
The ignition switch must be in the ON
position to be able to raise or lower
the windows. Each door has a Power
Window switch to control that door's
window. The driver has a Power
Window Lock switch which can block
the operation of passenger windows.
The power windows will operate for
approximately 30 seconds after the
ignition switch is placed in the ACC
or LOCK/OFF position. However, if
the front doors are opened, the
Power Windows cannot be operated
even within the 30 second period.
Information
• In cold and wet climates, power win-dows may not work properly due to
freezing conditions.
• While driving with the rear win- dows down or with the sunroof (if
equipped) opened (or partially
opened), your vehicle may demon-
strate a wind buffeting or pulsation
noise. This noise is normal and can
be reduced or eliminated by taking
the following actions. If the noise
occurs with one or both of the rear
windows down, partially lower both
front windows approximately 1 inch
(2.5 cm). If you experience the noise
with the sunroof open, slightly close
the sunroof.
Window opening and closing
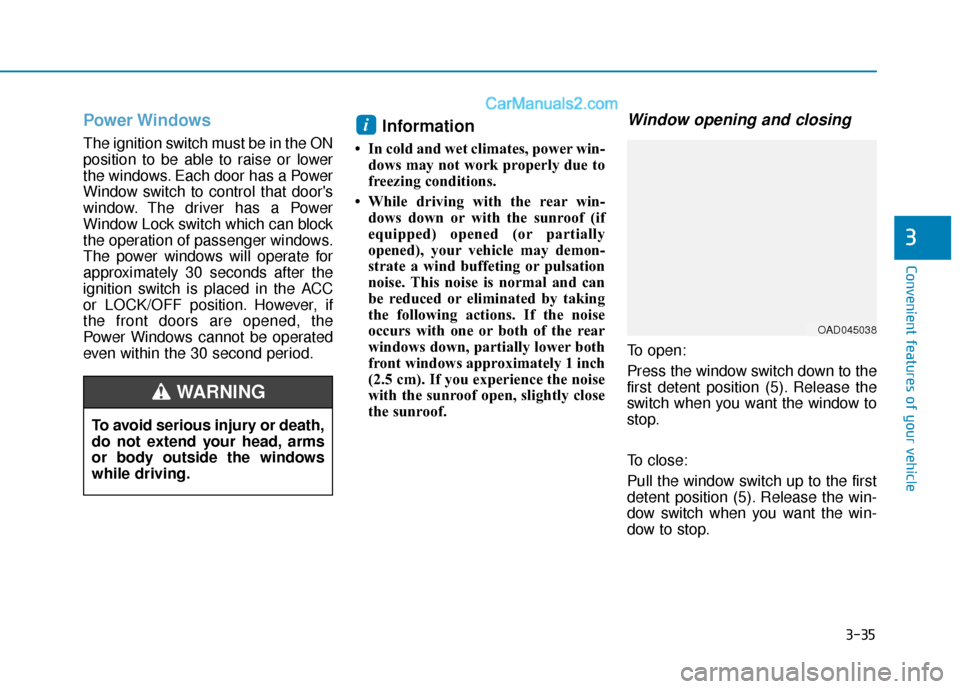
To open:
Press the window switch down to the
first detent position (5). Release the
switch when you want the window to
stop.
To close:
Pull the window switch up to the first
detent position (5). Release the win-
dow switch when you want the win-
dow to stop.
i
To avoid serious injury or death,
do not extend your head, arms
or body outside the windows
while driving.
WARNING
OAD045038
Page 122 of 535
3-38
Convenient features of your vehicle
Power window lock switch
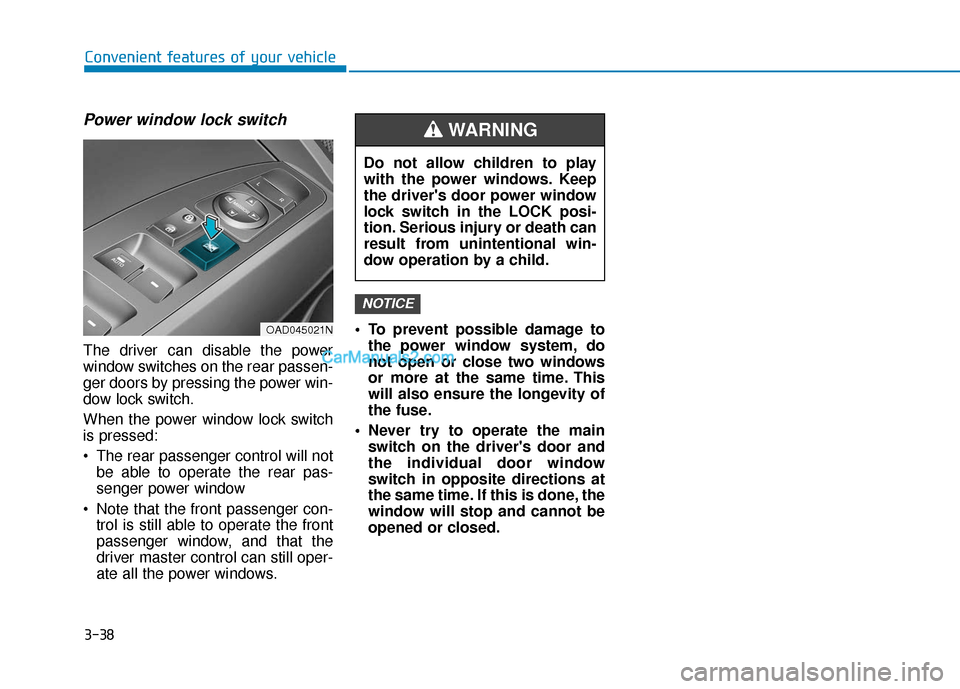
The driver can disable the power
window switches on the rear passen-
ger doors by pressing the power win-
dow lock switch.
When the power window lock switch
is pressed:
The rear passenger control will notbe able to operate the rear pas-
senger power window
Note that the front passenger con- trol is still able to operate the front
passenger window, and that the
driver master control can still oper-
ate all the power windows. To prevent possible damage to
the power window system, do
not open or close two windows
or more at the same time. This
will also ensure the longevity of
the fuse.
Never try to operate the main switch on the driver's door and
the individual door window
switch in opposite directions at
the same time. If this is done, the
window will stop and cannot be
opened or closed.
NOTICE
Do not allow children to play
with the power windows. Keep
the driver's door power window
lock switch in the LOCK posi-
tion. Serious injury or death can
result from unintentional win-
dow operation by a child.
WARNING
OAD045021N
Page 128 of 535
3-44
Convenient features of your vehicle
Closing the hood
1. Before closing the hood, check thefollowing:
ment must be correctly installed.
bustible material must be
removed from the engine com-
partment.
2. Return the support rod to its clip to prevent it from rattling.
3. Lower the hood halfway (front edge approximately 12 inches (30
cm) from the bumper) before drop-
ping the hood to its locked posi-
tion. Then double check to make
sure the hood is secure. If the
hood can be raised again, it is not
securely locked. Open it again and
close it with more force.
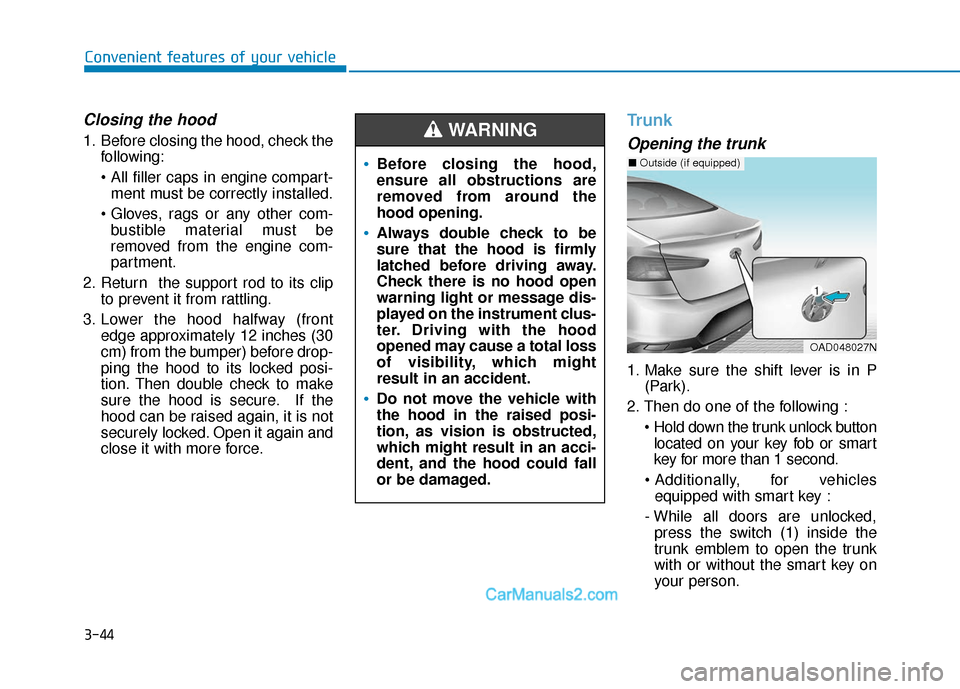
Trunk
Opening the trunk
1. Make sure the shift lever is in P(Park).
2. Then do one of the following : located on your key fob or smart
key for more than 1 second.
for vehicles equipped with smart key :
- While all doors are unlocked, press the switch (1) inside the
trunk emblem to open the trunk
with or without the smart key on
your person.
Before closing the hood,
ensure all obstructions are
removed from around the
hood opening.
Always double check to be
sure that the hood is firmly
latched before driving away.
Check there is no hood open
warning light or message dis-
played on the instrument clus-
ter. Driving with the hood
opened may cause a total loss
of visibility, which might
result in an accident.
Do not move the vehicle with
the hood in the raised posi-
tion, as vision is obstructed,
which might result in an acci-
dent, and the hood could fall
or be damaged.
WARNING
OAD048027N
■ Outside (if equipped)
Page 129 of 535

3-45
Convenient features of your vehicle
3
- If any door is locked or all doorsare locked, the button (1) can still
be used to open the trunk, as
long as the smart key is on your
person.
- Use the trunk release lever.
3. Lift the trunk lid up.Closing the trunk
Lower the trunk lid and press down
until it locks.
To prevent damage to the trunk lid
torsion bar and the attached hard-
ware, always close the trunk
before driving.
Information
In cold and wet climates, trunk lock
and trunk mechanisms may not work
properly due to freezing conditions.
Emergency trunk safety release
Your vehicle is equipped with an
Emergency Trunk Safety Release
lever located inside the trunk. When
someone is inadvertently locked in
the trunk, the trunk can be opened
by moving the lever in the direction of
the arrow and pushing the trunk
open.
i
NOTICE
Always keep the trunk lid com-
pletely closed while the vehicle
is in motion. If it is left open or
ajar, poisonous exhaust gases
containing carbon monoxide
(CO) may enter the vehicle and
serious illness or death may
result.
WARNING
OAD048028N
■ Inside
The switch (1) on the trunk is
made of rubber. Do not press it
using a sharp object such as a
key, screwdriver, or drill.
CAUTION
OAD048029N