2020 HONDA RIDGELINE ECU
[x] Cancel search: ECUPage 4 of 591

Contents
This owner’s manual should be considered a permanent part of the
vehicle and should remain with the vehicle when it is sold.
This owner’s manual covers all models of your vehicle. You may find
descriptions of equipment and features that are not on your
particular model.
Images throughout this owner’s manual (including the front cover)
represent features and equipment that are available on some, but
not all, models. Your particular mo del may not have some of these
features.
This owner’s manual is for vehicles sold in the United States and
Canada.
The information and specifications in cluded in this publication were
in effect at the time of approval for printing. Honda Motor Co., Ltd.
reserves the right, however, to discontinue or change specifications
or design at any time without notice and without incurring any
obligation.2 Safe Driving P. 29
For Safe Driving P. 30 Seat Belts P. 35 Airbags P. 42
2Instrument Panel P. 73
Indicators P. 74 Gauges and Multi-Information Display P. 106
2Controls P. 111
Clock P. 112 Locking and Unlocking the Doors P. 113
Security System P. 132 Opening and Closing the Windows P. 135
Adjusting the Mirrors P. 160 Adjusting the Seats P. 162
2Features P. 195
Audio System P. 196
General Information on the Audio System P. 276
HomeLink ® Universal Transceiver P. 320 Bluetooth® HandsFreeLink ® P. 323
2 Driving P. 357
Before Driving P. 358 Towing a Trailer P. 366
Braking P. 462Parking Your Vehicle P. 466
2Maintenance P. 481
Before Performing Maintenance P. 482 Maintenance MinderTM P. 485
Checking and Maintaining Wiper Blades P. 507
Climate Control System Maintenance P. 521
2Handling the Unexpected P. 531
Tools P. 532 If a Tire Goes Flat P. 533
Overheating P. 549 Indicator, Coming On/Blinking P. 551
When You Cannot Unlock the Fuel Fill Door P. 563
2 Information P. 567
Specifications P. 568 Identification Numbers P. 570
Emissions Testing P. 573 Warranty Coverages P. 575
Page 9 of 591

7
Quick Reference Guide
❚Side Curtain Airbags (P51)
❚Grab Handle
❚Coat Hook (P176)
❚Seat Belts (P38)
❚Sun Visors
❚Vanity Mirrors
❚Moonroof Switch* (P139)
❚Map Lights (P172)
❚HomeLink® Buttons (P321)
❚Sunglasses Holder (P177)
❚Front Seat (P162)
❚Side Airbags (P49)
❚Seat Belt (Installing a Child Seat) (P63)
❚Seat Belt to Secure a Child Seat (P65)
❚LATCH to Secure a Child Seat (P60)
❚Rear Seat (P165)
❚Map Lights (P172)
❚Back Window Switch* (P137)
* Not available on all models
Page 14 of 591

12
Quick Reference Guide
Instrument Panel (P73)
System Indicators
Malfunction Indicator
Lamp
Low Oil Pressure
Indicator
Charging System
IndicatorAnti-lock Brake System
(
ABS ) Indicator
Vehicle Stability Assist
TM
(VSA® ) System Indicator
VSA ® OFF Indicator
Electric Power Steering
(EPS) System Indicator
Lights Indicators
Lights On Indicator
High Beam Indicator
Immobilizer System
Indicator
Seat Belt Reminder
Indicator
System Indicators
System Message
IndicatorParking Brake and
Brake System
Indicator (Red)Supplemental
Restraint System
Indicator
Low Fuel Indicator
Gauges (P106)/Multi-Information Display (P107)/System Indicators (P74)
Low Tire Pressure/
TPMS Indicator Turn Signal and
Hazard Warning
Indicators
Smart Entry System
Indicator Ambient Meter
Shift Position Indicator/
Transmission System
Indicator Fuel Gauge
TachometerTemperature
GaugeSpeedometer
Multi-Information
Display
Brake System
Indicator (Amber)
All-wheel drive system
(AWD ) Indicator*
Blind spot information
System Indicator*
System Indicators
Collision Mitigation Braking
SystemTM (CMBSTM) Indicator
Road Departure Mitigation
(RDM) Indicator
Security System Alarm
Indicator
U.S.
Canada U.S.
Canada
Fog Light Indicator
ECON Mode Indicator
Auto High-Beam
Indicator
*
Lane Keeping Assist
System (
LKAS) Indicator
(Green/Amber)
Adaptive Cruise
Control ( ACC)
Indicator (Green/
Amber)
Intelligent Traction
Management Indicator
Bed Lights On Indicator
Auto Idle Stop System
Indicator (Amber)/
Auto Idle Stop
Indicator (Green)
M (Sequential mode)
Indicator/Sequential Mode
Gear Selection Indicator
Page 28 of 591

26
Quick Reference Guide
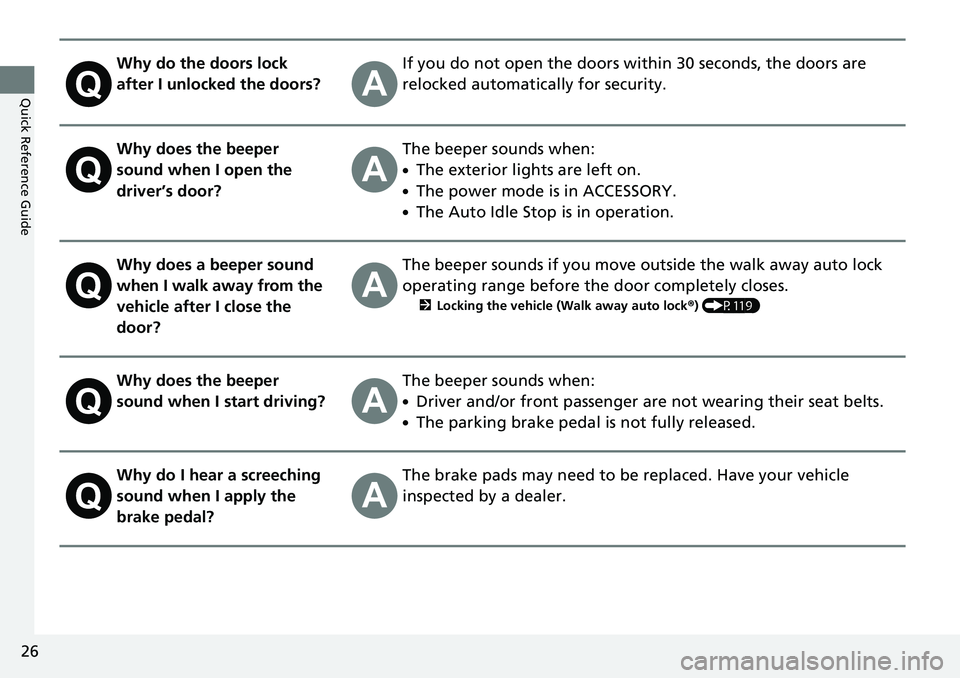
Why do the doors lock
after I unlocked the doors?If you do not open the doors within 30 seconds, the doors are
relocked automatically for security.
Why does the beeper
sound when I open the
driver’s door?The beeper sounds when:
●The exterior lights are left on.
●The power mode is in ACCESSORY.
●The Auto Idle Stop is in operation.
Why does a beeper sound
when I walk away from the
vehicle after I close the
door?The beeper sounds if you move outside the walk away auto lock
operating range before the door completely closes.
2Locking the vehicle (Walk away auto lock ®) (P119)
Why does the beeper
sound when I start driving?The beeper sounds when:
●Driver and/or front passenger are not wearing their seat belts.
●The parking brake pedal is not fully released.
Why do I hear a screeching
sound when I apply the
brake pedal?The brake pads may need to be replaced. Have your vehicle
inspected by a dealer.
Page 40 of 591

38
uuSeat Belts uFastening a Seat Belt
Safe Driving
Fastening a Seat Belt
After adjusting a front seat to the proper position, and while sitting upright and well
back in the seat:
2 Adjusting the Seats P. 162
1.Pull the seat belt out slowly.
2. Insert the latch plate into the buckle, then
tug on the belt to make sure the buckle is
secure.
u Make sure that the belt is not twisted or
caught on anything.
1Fastening a Seat Belt
No one should sit in a seat with an inoperative seat
belt or one that does not appear to be working
correctly. Using a seat be lt that is not working
properly may not protect the occupant in a crash.
Have a dealer check the belt as soon as possible.
Never insert any foreign obj ects into the buckle or
retractor mechanism.
If the seat belt appears to be locked in a fully
retracted position, firmly pull out on the shoulder belt
once, then push it back in.
Then smoothly pull it out of the retractor and fasten.
If you are unable to release the seat belt from a fully
retracted position, do not al low anyone to sit in the
seat, and take your vehicle to a dealer for repair.
2 About Your Seat Belts P. 35
2 Seat Belt Inspection P. 41
Pull out slowly.
Correct
Seated
Posture.
Latch
Plate
Buckle
Page 41 of 591

Continued39
uuSeat Belts uFastening a Seat Belt
Safe Driving
3. Position the lap part of the belt as low as
possible across your hips, then pull up on
the shoulder part of the belt so the lap part
fits snugly. This lets your strong pelvic
bones take the force of a crash and reduces
the chance of internal injuries.
4. If necessary, pull up on the belt again to
remove any slack, then check that the belt
rests across the center of your chest and
over your shoulder. This spreads the forces
of a crash over the strongest bones in your
upper body.
The front seats have adjustab le shoulder anchors to accommodate taller and shorter
occupants.
1.Move the anchor up and down while
holding the release buttons.
2. Position the anchor so that the belt rests
across the center of your chest and over
your shoulder.1 Fastening a Seat Belt
To release the belt, push the red PRESS button and
then guide the belt by hand until it has retracted
completely.
When exiting the vehicle, be sure the belt is properly
stowed so that it will not get caught in the closing
door.
3WARNING
Improperly positioning the seat belts can
cause serious injury or death in a crash.
Make sure all seat belts are properly
positioned before driving.Lap belt
as low as
possible
■Adjusting the Shoulder Anchor1 Adjusting the Shoulder Anchor
After an adjustment, make sure that the shoulder
anchor position is secure.
The shoulder anchor height can be adjusted to four
levels. If the belt contacts your neck, lower the height
one level at a time.
Push
Push
Page 58 of 591

uuChild Safety uProtecting Child Passengers
56
Safe Driving
• Any child who is too small to wear a seat belt correctly must be restrained in an
approved child seat that is properly secu red to the vehicle using either the seat
belt or the lower anchor s of the LATCH system.
• Never hold a child on your lap because it is impossible to protect them in the
event of a collision.
• Never put a seat belt over yourself and a child. During a crash, the belt would
likely press deep into the child an d cause serious or fatal injuries.
• Never let two children use the same seat belt. Both children could be very
seriously injured in a crash.
• Do not allow children to operate the doors, windows or seat adjustments.
• Do not leave children in the vehicle unattended, especially in hot weather when
the inside of the vehicle can get hot enough to kill them. They could also activate
vehicle controls causing it to move unexpectedly.1 Protecting Child Passengers
To deactivate a lockable retractor, release the buckle
and allow the seat belt to wind up all the way.
To remind you of the pa ssenger’s front airbag
hazards and child safety, your vehicle has warning
labels on the dashboard (U.S. models) and on the
front visors. Please read and follow the instructions
on these labels. 2 Safety Labels P. 71
3WARNING
Allowing a child to play with a seat belt or
wrap one around their neck can result in
serious injury or death.
Instruct children not to play with any seat
belt and make sure any unused seat belt a
child can reach is buckled, fully retracted,
and locked.
3WARNING
Allowing a child to play on the pickup bed
can result in serious injury or death by
opening or closing the tailgate.
Page 59 of 591

57
uuChild Safety uSafety of Infants and Small Children
Continued
Safe Driving
Safety of Infants and Small Children
An infant must be properly restrained in a rear-facing, reclining child seat until the
infant reaches the seat manufacturer’s weig ht or height limit for the seat, and the
infant is at least one year old.
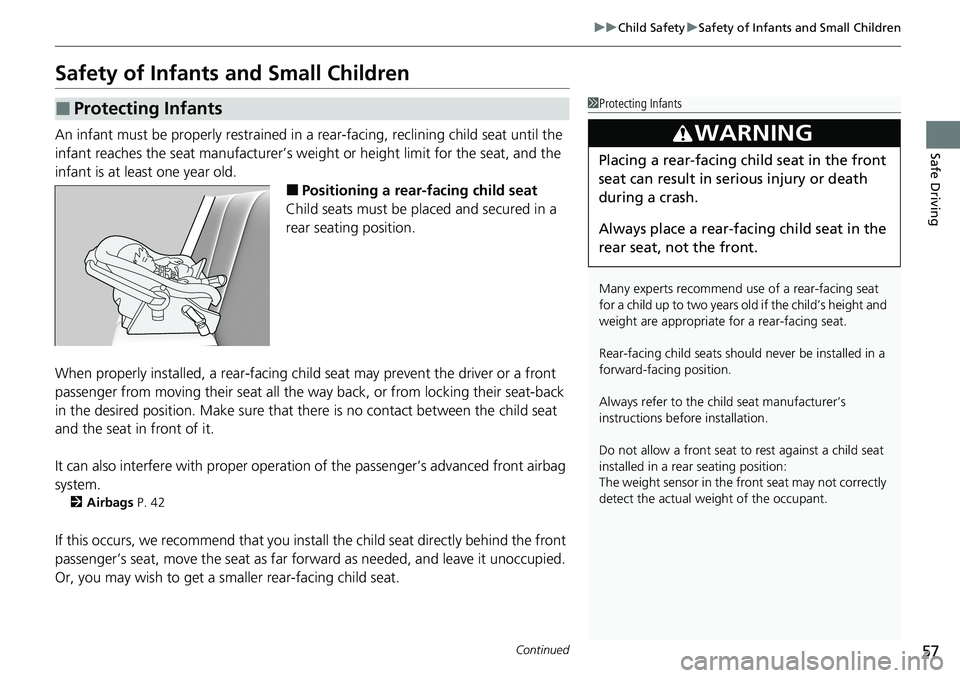
■Positioning a rear-facing child seat
Child seats must be placed and secured in a
rear seating position.
When properly installed, a rear-facing chil d seat may prevent the driver or a front
passenger from moving their seat all the wa y back, or from locking their seat-back
in the desired position. Make sure that there is no contact between the child seat
and the seat in front of it.
It can also interfere with proper operation of the passenger’s advanced front airbag
system.
2 Airbags P. 42
If this occurs, we recommend that you insta ll the child seat directly behind the front
passenger’s seat, move the seat as far fo rward as needed, and leave it unoccupied.
Or, you may wish to get a smaller rear-facing child seat.
■Protecting Infants1 Protecting Infants
Many experts recommend us e of a rear-facing seat
for a child up to two years old if the child’s height and
weight are appropriate for a rear-facing seat.
Rear-facing child seats should never be installed in a
forward-facing position.
Always refer to the child seat manufacturer’s
instructions before installation.
Do not allow a front seat to rest against a child seat
installed in a rear seating position:
The weight sensor in the fr ont seat may not correctly
detect the actual weight of the occupant.
3WARNING
Placing a rear-facing child seat in the front
seat can result in serious injury or death
during a crash.
Always place a rear-fac ing child seat in the
rear seat, not the front.