2020 GMC ACADIA brake
[x] Cancel search: brakePage 2 of 20

2
Memory Seat ButtonsF
Electric Parking Brake Switch/Instrument Panel Illumination Control
Turn Signal Lever/Exterior Lamp Controls/IntelliBeam ButtonFWindshield Wipers Lever
Engine Start-Stop Button
Driver Information Center
Power Liftgate ControlF
Cruise Control/Forward Collision AlertF/Heated Steering WheelF Buttons
Power Mirror/ Window Controls
Audio Volume Controls (behind steering wheel)
Driver Information Center Controls/Voice Recognition Buttons
Audio Next-Previous Favorite Station Controls (behind steering wheel)
Steering Wheel Adjustment Lever
INSTRUMENT PANEL
Check Engine
Engine Oil Pressure
Lane Keep Assist
Airbag Readiness
Cruise Control Set
Service Electric Parking Brake
Traction Control/StabiliTrak Active
Charging System
Security
Seat Belt Reminder
Brake System Warning
BRAKE Electric Parking Brake
Symbols
Page 3 of 20

3
Refer to your Owner’s Manual to learn about the information being relayed by the lights, gauges and indicators on the instrument cluster.
See Introduction in your Owner’s Manual.
Infotainment System Touch ScreenInfotainment System Controls
Electronic Precision Shift Transmission Controls
Driver Mode Control/Hill Descent ButtonF/Lane Keep AssistF Button
Driver’s Heated/Ventilated Seat ButtonsF
Auto Engine Stop-Start Disable/Traction Control-StabiliTrak/Hazard Warning Flashers/Park Assist Buttons
USB Ports/Accessory Power Outlet
Climate Controls
Passenger’s Heated/Ventilated Seat ButtonsF
IntelliBeam Lighting
Lights On Reminder
Antilock Brake System Warning
Low Tire Pressure
Power Steering Warning
Vehicle Ahead
StabiliTrak Off
2 Passenger Seat Belt Reminder
F Optional equipment
Page 5 of 20

5
KEYLESS (PUSHBUTTON) START
AUTO ENGINE STOP/START OPERATION
The Remote Keyless Entry transmitter must be in the vehicle to turn on the ignition.
STARTING THE ENGINE
With the vehicle in Park or Neutral, press the brake pedal and then press the ENGINE START/STOP button to start the engine. The green indicator on the button will illuminate.
Note: If the Remote Keyless Entry transmitter battery is weak, place the transmitter in the pocket in the center console storage area to enable the engine to start. Replace the transmitter battery as soon as possible.
STOPPING THE ENGINE/OFF
Shift to Park and press the ENGINE START/STOP button to turn off the engine.
Power will be available for 10 minutes to operate the audio system until the driver’s door is opened and to operate the windows and sunroofF until any door is opened.
ACCESSORY MODE
With the engine off and the brake pedal NOT depressed, press the ENGINE START/STOP
button to place the ignition system in the accessory mode. The amber indicator on the button will illuminate. See Driving and Operating in your Owner’s Manual.
The fuel-saving stop/start system automatically turns off the engine, referred to as an Auto Stop, when the brake pedal is pressed and the vehicle is at a complete stop, if operating conditions are met. In Auto Stop mode, the tachometer gauge will read AUTO STOP. When the brake pedal is released or the accelerator pedal is pressed, the engine will restart. After parking the vehicle and turning off the engine, the tachometer gauge will read OFF.
The engine may remain running or restart when the vehicle is stopped if:
• A minimum vehicle speed is not reached.
• The engine or transmission is not at the required operating temperature.
• The outside temperature is not in the required operating range.
• The shift lever is in any gear other than Drive (D).
• The battery charge is low.
• The current climate control settings require the engine to run.
• The Auto Stop has reached the maximum allowed time.
AUTO ENGINE STOP/START DISABLE
Press the �$ button on the center console when the engine is running to turn off the stop/start system. The button indicator is not illuminated when the system is off.
The system automatically turns on each time the vehicle is started.
See Driving and Operating in your Owner’s Manual.
F Optional equipment
Page 10 of 20

10F Optional equipment
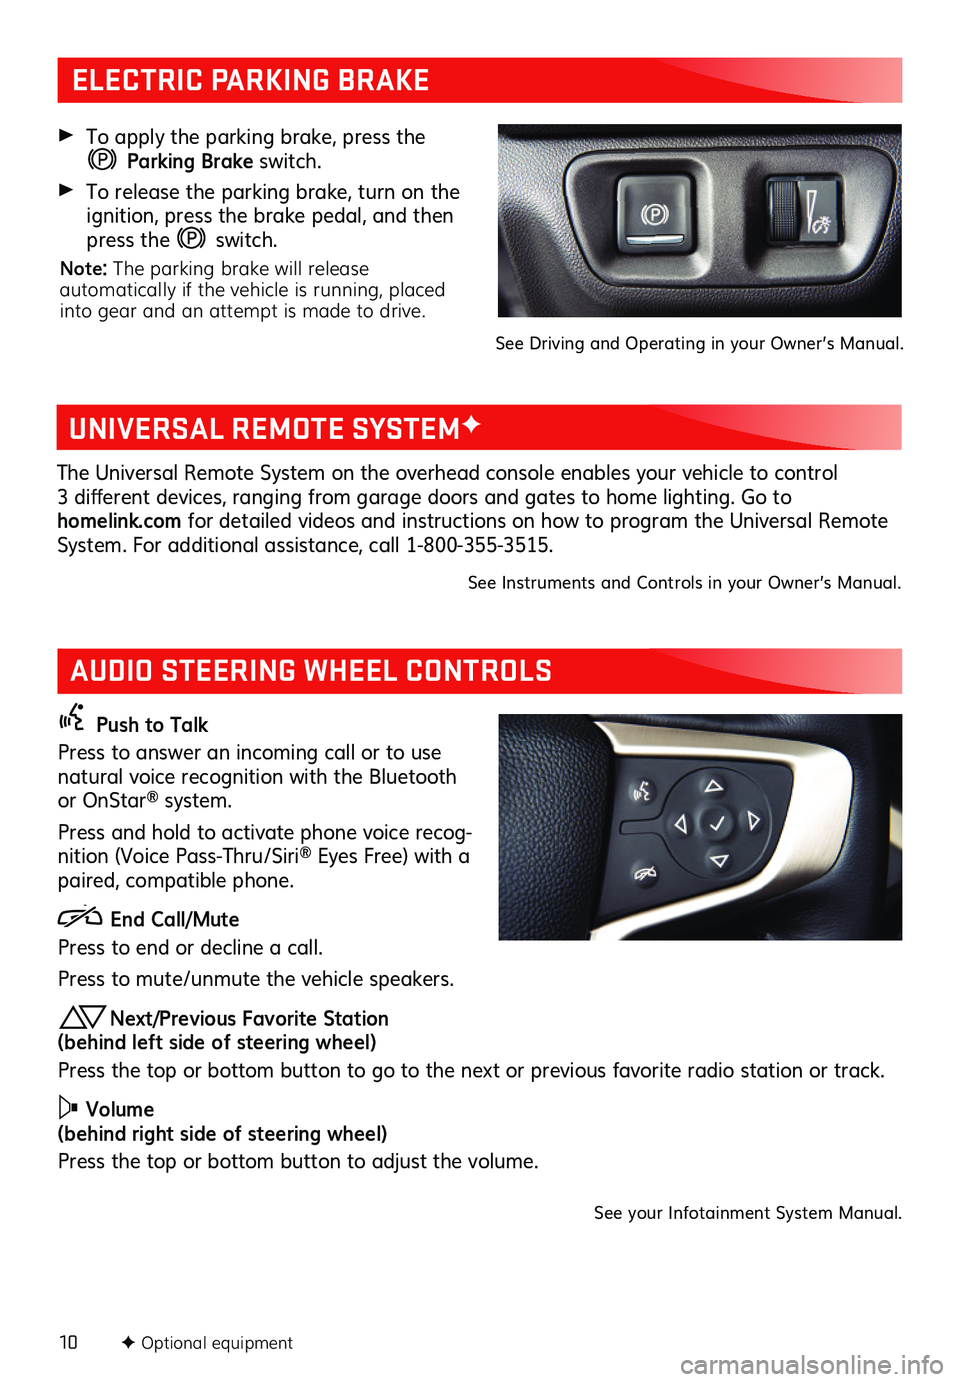
AUDIO STEERING WHEEL CONTROLS
Push to Talk
Press to answer an incoming call or to use natural voice recognition with the Bluetooth or OnStar® system.
Press and hold to activate phone voice recog-nition (Voice Pass-Thru/Siri® Eyes Free) with a paired, compatible phone.
End Call/Mute
Press to end or decline a call.
Press to mute/unmute the vehicle speakers.
Next/Previous Favorite Station (behind left side of steering wheel)
Press the top or bottom button to go to the next or previous favorite radio station or track.
Volume (behind right side of steering wheel)
Press the top or bottom button to adjust the volume.
See your Infotainment System Manual.
ELECTRIC PARKING BRAKE
To apply the parking brake, press the
Parking Brake switch.
To release the parking brake, turn on the ignition, press the brake pedal, and then press the switch.
Note: The parking brake will release automatically if the vehicle is running, placed into gear and an attempt is made to drive.
See Driving and Operating in your Owner’s Manual.
UNIVERSAL REMOTE SYSTEMF
The Universal Remote System on the overhead console enables your vehicle to control 3 different devices, ranging from garage doors and gates to home lighting. Go to homelink.com for detailed videos and instructions on how to program the Universal Remote System. For additional assistance, call 1-800-355-3515.
See Instruments and Controls in your Owner’s Manual.
Page 16 of 20

16
DRIVER ASSISTANCE SYSTEMS
Safety or driver assistance features are no substitute for the driver’s responsibility to operate the vehicle in a safe manner. The driver should remain attentive to traffic, surroundings and road conditions at all times. Read your Owner’s Manual for important feature limitations and information.
SAFETY ALERT SEATF – The driver’s seat pulses — left side, right side or simultaneously — to alert the driver of the direction of potential hazards.
Audible alerts or seat pulsing alerts may be selected. To change the alert settings, go to Settings > Vehicle > Collision/Detection > Alert Type.
LANE CHANGE ALERT WITH SIDE BLIND ZONE ALERT – While driving, the system displays a warning symbol on the left or right side mirror when a vehicle is detected in that side blind zone area or rapidly approaching that area. The warning symbol flashes if a turn signal is activated when a vehicle has been detected on the same side.
To turn on or off, go to Settings > Vehicle > Collision/Detection > Lane Change Alert.
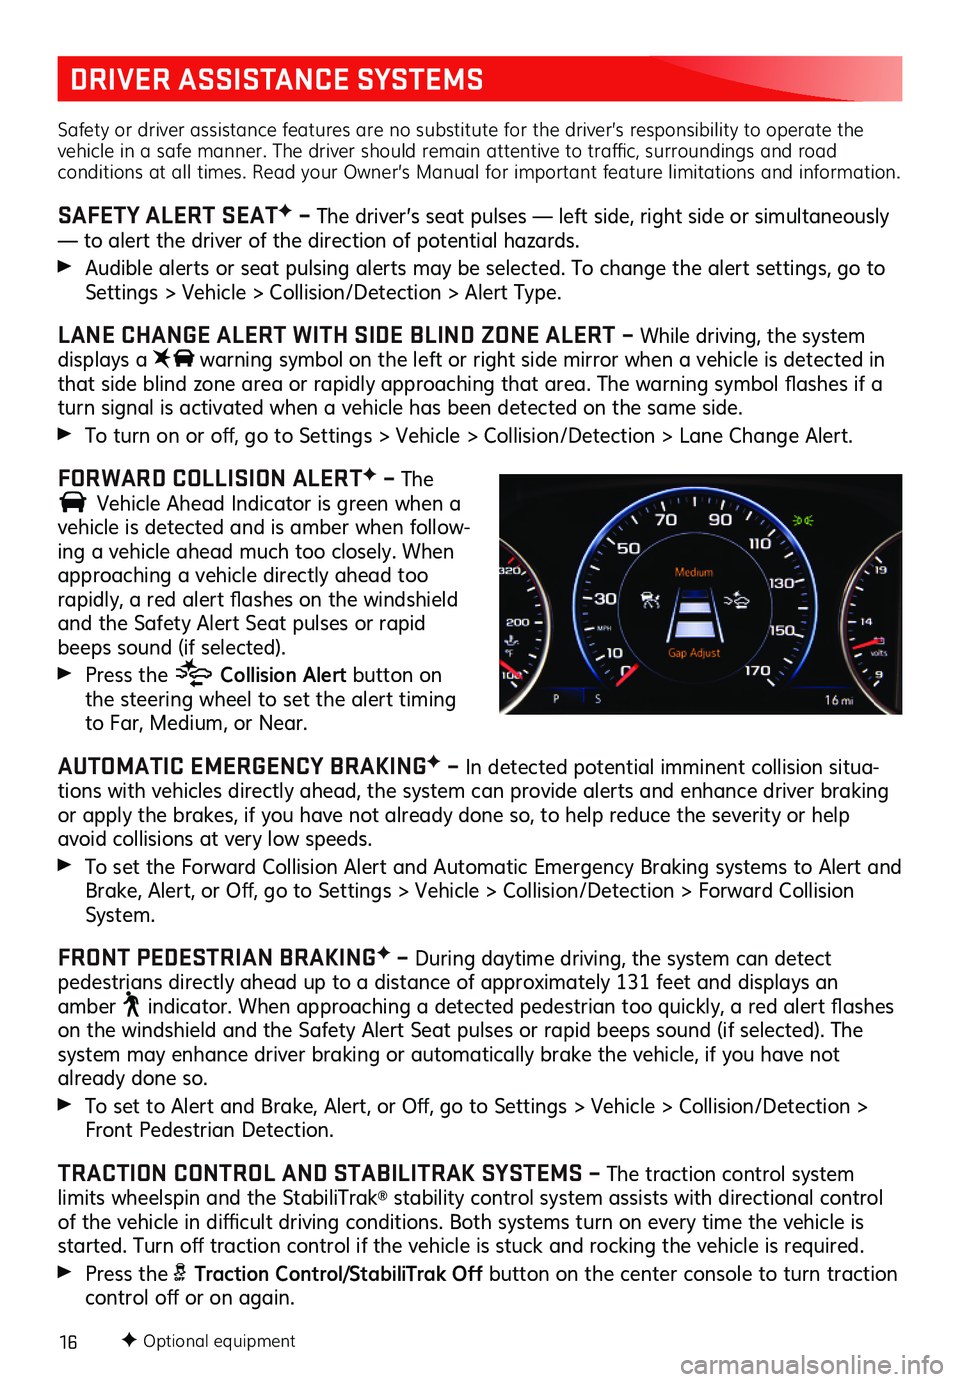
FORWARD COLLISION ALERTF – The
Vehicle Ahead Indicator is green when a
vehicle is detected and is amber when follow-ing a vehicle ahead much too closely. When approaching a vehicle directly ahead too
rapidly, a red alert flashes on the windshield and the Safety Alert Seat pulses or rapid beeps sound (if selected).
Press the Collision Alert button on the steering wheel to set the alert timing to Far, Medium, or Near.
AUTOMATIC EMERGENCY BRAKINGF – In detected potential imminent collision situa-tions with vehicles directly ahead, the system can provide alerts and enhance driver braking or apply the brakes, if you have not already done so, to help reduce the severity or help avoid collisions at very low speeds.
To set the Forward Collision Alert and Automatic Emergency Braking systems to Alert and Brake, Alert, or Off, go to Settings > Vehicle > Collision/Detection > Forward Collision System.
FRONT PEDESTRIAN BRAKINGF – During daytime driving, the system can detect
pedestrians directly ahead up to a distance of approximately 131 feet and displays an amber indicator. When approaching a detected pedestrian too quickly, a red alert flashes on the windshield and the Safety Alert Seat pulses or rapid beeps sound (if selected). The system may enhance driver braking or automatically brake the vehicle, if you have not already done so.
To set to Alert and Brake, Alert, or Off, go to Settings > Vehicle > Collision/Detection > Front Pedestrian Detection.
TRACTION CONTROL AND STABILITRAK SYSTEMS – The traction control system limits wheelspin and the StabiliTrak® stability control system assists with directional control of the vehicle in difficult driving conditions. Both systems turn on every time the vehicle is started. Turn off traction control if the vehicle is stuck and rocking the vehicle is required.
Press the Traction Control/StabiliTrak Off button on the center console to turn traction control off or on again.
F Optional equipment
Page 18 of 20

18
CRUISE CONTROL
SETTING CRUISE CONTROL
1. Press the On/Off button. The Cruise Control symbol will illuminate in white on the instrument cluster.
2. When traveling at the desired speed, press the SET– button to set the speed. The
symbol will illuminate in green on the instrument cluster.
ADJUSTING CRUISE CONTROL
RES+ Resume/Accelerate
Press to resume a set speed. When the
system is active, press to increase speed.
SET– Set/Coast
When the system is active, press to decrease speed.
Cancel
Press to cancel the Cruise Control without erasing the set speed from memory. Pressing the brake pedal will also cancel the Cruise Control.
The set speed is erased when Cruise Control or the vehicle ignition is turned off.
ADAPTIVE CRUISE CONTROL–ADVANCEDF
The system maintains the Cruise Control set speed and a following gap — the time between your vehicle and a vehicle detected directly ahead — by accelerating or braking automati-cally while you continue to steer.
Press the Following Gap button to select a following gap setting of Far, Medium, or Near. This is also the Forward Collision AlertF setting.
Press and hold the Cancel button to switch between regular Cruise Control and Adaptive Cruise Control–Advanced.
See Driving and Operating in your Owner’s Manual.
F Optional equipment
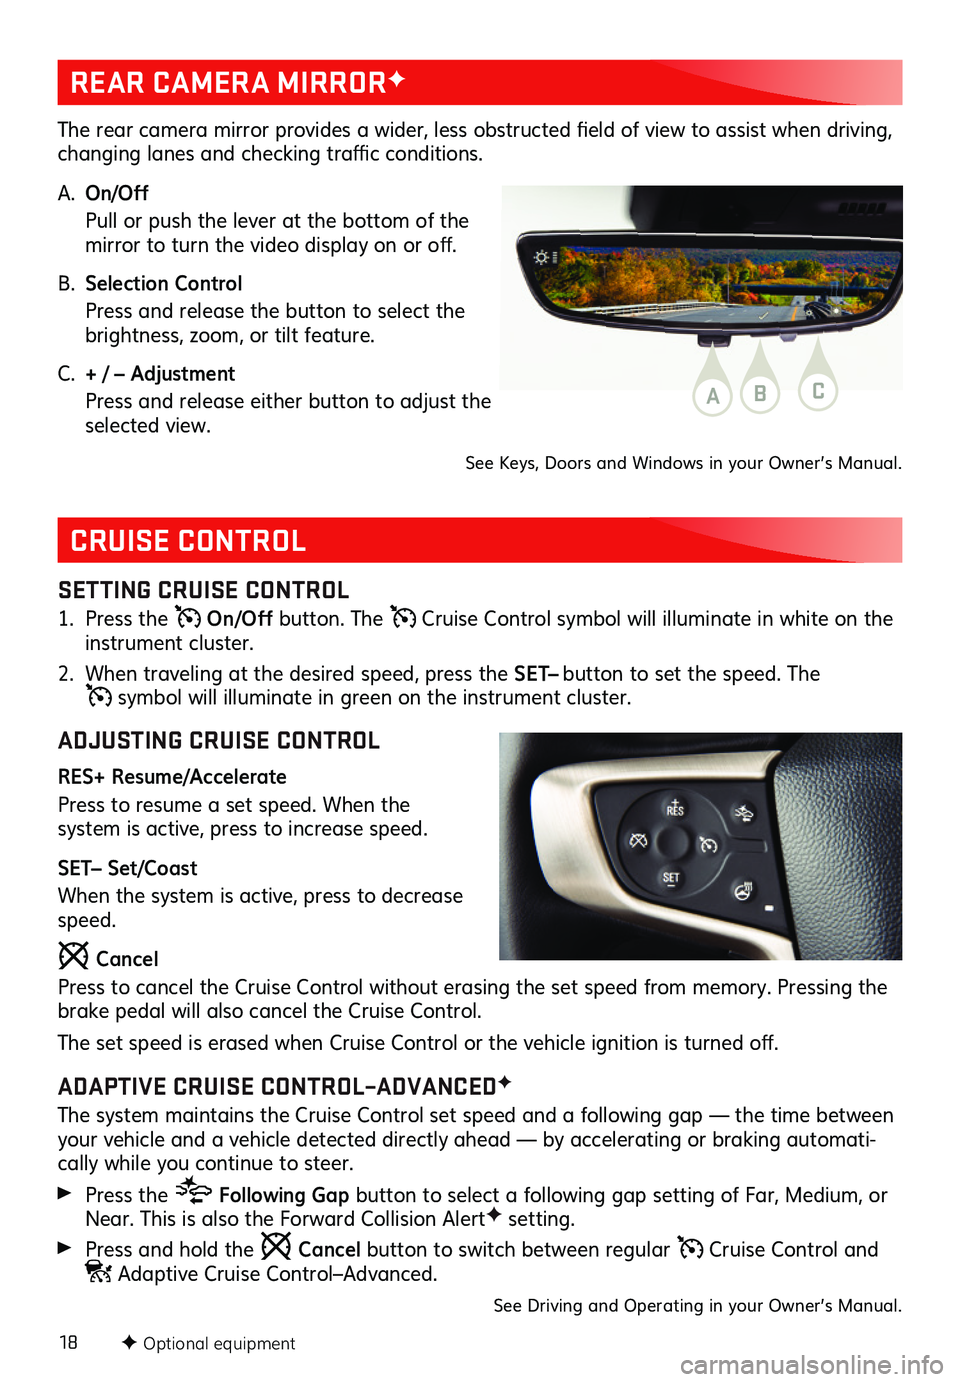
REAR CAMERA MIRRORF
The rear camera mirror provides a wider, less obstructed field of view to assist when driving, changing lanes and checking traffic conditions.
A. On/Off
Pull or push the lever at the bottom of the mirror to turn the video display on or off.
B. Selection Control
Press and release the button to select the brightness, zoom, or tilt feature.
C. + / – Adjustment
Press and release either button to adjust the selected view.
See Keys, Doors and Windows in your Owner’s Manual.
ABC
Page 19 of 20

19
TRACTION SELECT
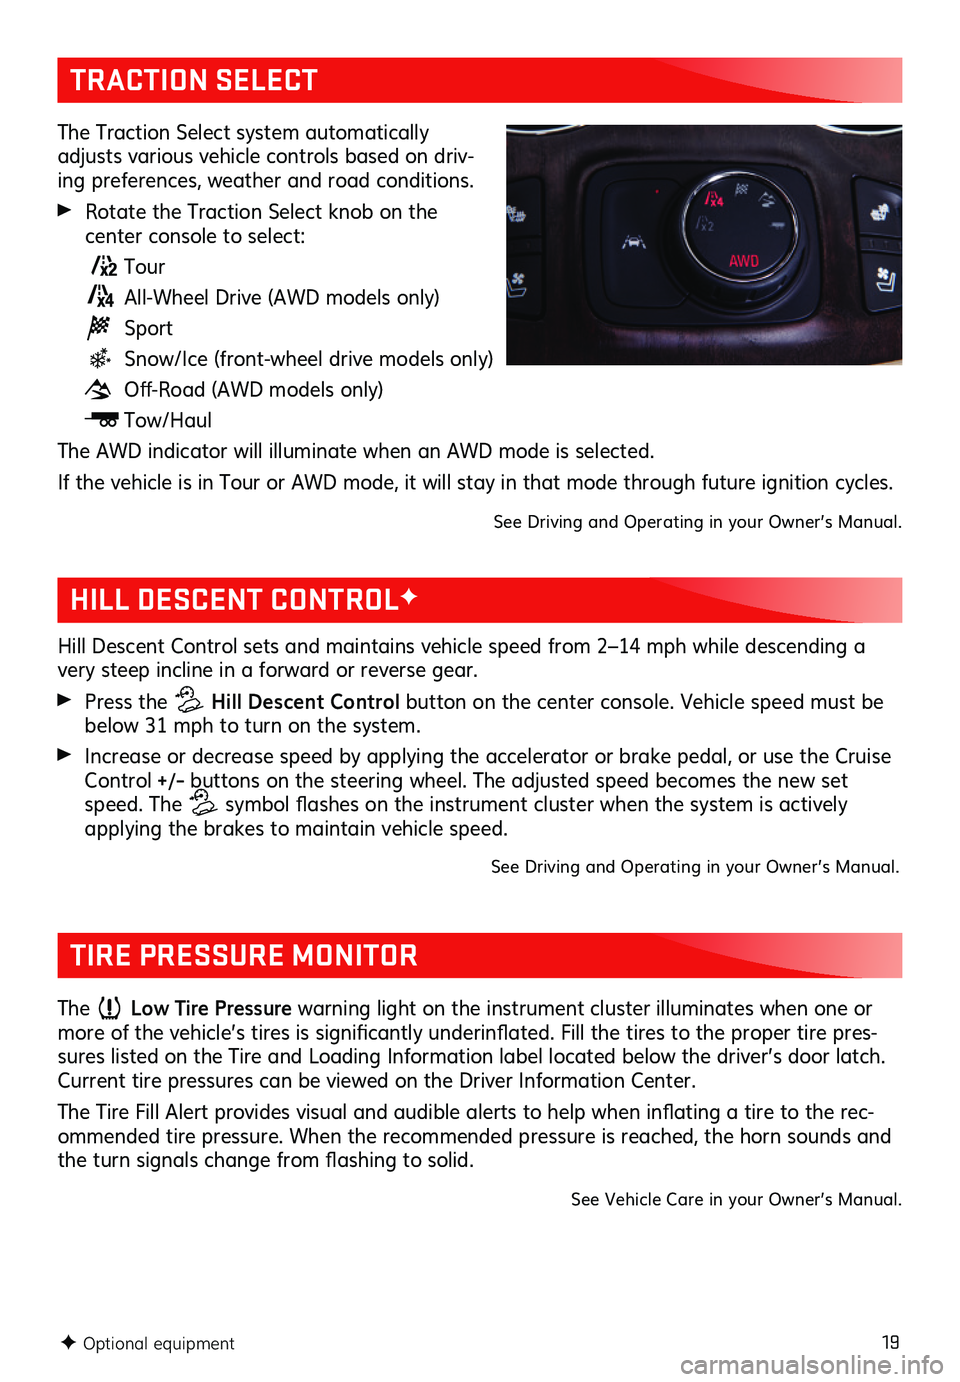
The Traction Select system automatically adjusts various vehicle controls based on driv-ing preferences, weather and road conditions.
Rotate the Traction Select knob on the
center console to select:
Tour
All-Wheel Drive (AWD models only)
Sport
Snow/Ice (front-wheel drive models only)
Off-Road (AWD models only)
Tow/Haul
The AWD indicator will illuminate when an AWD mode is selected.
If the vehicle is in Tour or AWD mode, it will stay in that mode through future ignition cycles.
See Driving and Operating in your Owner’s Manual.
F Optional equipment
HILL DESCENT CONTROLF
Hill Descent Control sets and maintains vehicle speed from 2–14 mph while descending a very steep incline in a forward or reverse gear.
Press the Hill Descent Control button on the center console. Vehicle speed must be below 31 mph to turn on the system.
Increase or decrease speed by applying the accelerator or brake pedal, or use the Cruise Control +/– buttons on the steering wheel. The adjusted speed becomes the new set speed. The symbol flashes on the instrument cluster when the system is actively applying the brakes to maintain vehicle speed.
See Driving and Operating in your Owner’s Manual.
TIRE PRESSURE MONITOR
The Low Tire Pressure warning light on the instrument cluster illuminates when one or more of the vehicle’s tires is significantly underinflated. Fill the tires to the proper tire pres-sures listed on the Tire and Loading Information label located below the driver’s door latch. Current tire pressures can be viewed on the Driver Information Center.
The Tire Fill Alert provides visual and audible alerts to help when inflating a tire to the rec-ommended tire pressure. When the recommended pressure is reached, the horn sounds and the turn signals change from flashing to solid.
See Vehicle Care in your Owner’s Manual.