2020 DODGE CHARGER window
[x] Cancel search: windowPage 309 of 412

SERVICING AND MAINTENANCE307
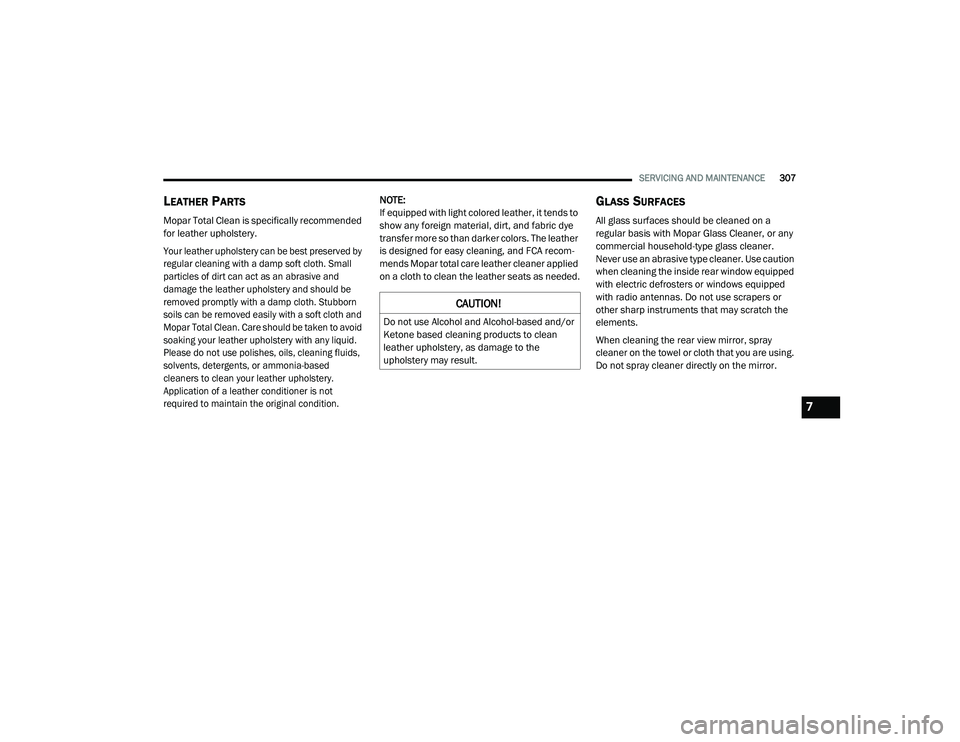
LEATHER PARTS
Mopar Total Clean is specifically recommended
for leather upholstery.
Your leather upholstery can be best preserved by
regular cleaning with a damp soft cloth. Small
particles of dirt can act as an abrasive and
damage the leather upholstery and should be
removed promptly with a damp cloth. Stubborn
soils can be removed easily with a soft cloth and
Mopar Total Clean. Care should be taken to avoid
soaking your leather upholstery with any liquid.
Please do not use polishes, oils, cleaning fluids,
solvents, detergents, or ammonia-based
cleaners to clean your leather upholstery.
Application of a leather conditioner is not
required to maintain the original condition.
NOTE:
If equipped with light colored leather, it tends to
show any foreign material, dirt, and fabric dye
transfer more so than darker colors. The leather
is designed for easy cleaning, and FCA recom
-
mends Mopar total care leather cleaner applied
on a cloth to clean the leather seats as needed.
GLASS SURFACES
All glass surfaces should be cleaned on a
regular basis with Mopar Glass Cleaner, or any
commercial household-type glass cleaner.
Never use an abrasive type cleaner. Use caution
when cleaning the inside rear window equipped
with electric defrosters or windows equipped
with radio antennas. Do not use scrapers or
other sharp instruments that may scratch the
elements.
When cleaning the rear view mirror, spray
cleaner on the towel or cloth that you are using.
Do not spray cleaner directly on the mirror.
CAUTION!
Do not use Alcohol and Alcohol-based and/or
Ketone based cleaning products to clean
leather upholstery, as damage to the
upholstery may result.
7
20_LD_OM_EN_USC_t.book Page 307
Page 314 of 412

312TECHNICAL SPECIFICATIONS
CNG AND LP FUEL SYSTEM
M
ODIFICATIONS
Modifications that allow the engine to run on
Compressed Natural Gas (CNG) or Liquid
Propane (LP) may result in damage to the
engine, emissions, and fuel system
components. Problems that result from running
CNG or LP are not the responsibility of the
manufacturer and may void or not be covered
under the New Vehicle Limited Warranty.
MMT IN GASOLINE
Methylcyclopentadienyl Manganese Tricarbonyl
(MMT) is a manganese-containing metallic
additive that is blended into some gasoline to
increase octane. Gasoline blended with MMT
provides no performance advantage beyond
gasoline of the same octane number without
MMT. Gasoline blended with MMT reduces spark
plug life and reduces emissions system
performance in some vehicles. The manufacturer
recommends that gasoline without MMT be used
in your vehicle. The MMT content of gasoline may
not be indicated on the gasoline pump; therefore,
you should ask your gasoline retailer whether the
gasoline contains MMT. MMT is prohibited in
Federal and California reformulated gasoline.
FUEL SYSTEM CAUTIONSNOTE:
Intentional tampering with the emissions
control system can result in civil penalties being
assessed against you.
CARBON MONOXIDE WARNINGS
CAUTION!
Follow these guidelines to maintain your
vehicle’s performance:
The use of leaded gasoline is prohibited by
Federal law. Using leaded gasoline can
impair engine performance and damage
the emissions control system.
An out-of-tune engine or certain fuel or igni -
tion malfunctions can cause the catalytic
converter to overheat. If you notice a pungent
burning odor or some light smoke, your
engine may be out of tune or malfunctioning
and may require immediate service. Contact
an authorized dealer for service assistance.
The use of fuel additives, which are now being
sold as octane enhancers, is not recom -
mended. Most of these products contain high
concentrations of methanol. Fuel system
damage or vehicle performance problems
resulting from the use of such fuels or addi -
tives is not the responsibility of the manufac -
turer and may void or not be covered under
the New Vehicle Limited Warranty.
WARNING!
Carbon monoxide (CO) in exhaust gases is
deadly. Follow the precautions below to
prevent carbon monoxide poisoning:
Do not inhale exhaust gases. They contain
carbon monoxide, a colorless and odorless
gas, which can kill. Never run the engine in
a closed area, such as a garage, and never
sit in a parked vehicle with the engine
running for an extended period. If the
vehicle is stopped in an open area with the
engine running for more than a short
period, adjust the ventilation system to
force fresh, outside air into the vehicle.
Guard against carbon monoxide with
proper maintenance. Have the exhaust
system inspected every time the vehicle is
raised. Have any abnormal conditions
repaired promptly. Until repaired, drive with
all side windows fully open.
20_LD_OM_EN_USC_t.book Page 312
Page 335 of 412

MULTIMEDIA333
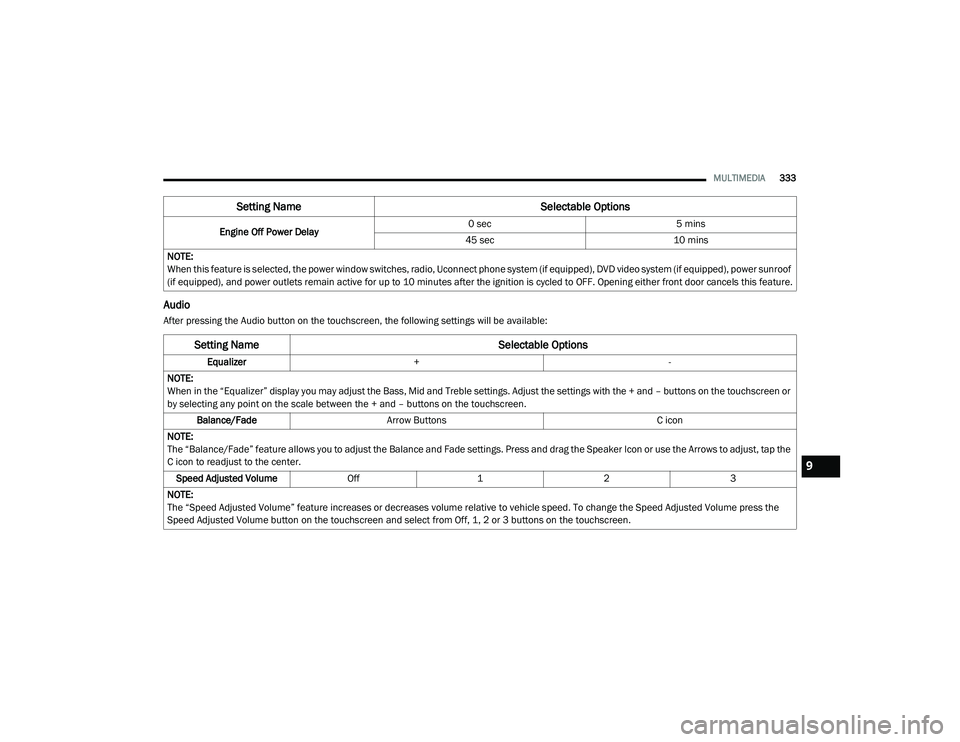
Audio
After pressing the Audio button on the touchscreen, the following settings will be available:Engine Off Power Delay
0 sec
5 mins
45 sec 10 mins
NOTE:
When this feature is selected, the power window switches, radio, Uconnect phone system (if equipped), DVD video system (if equipped), power sunroof
(if equipped), and power outlets remain active for up to 10 minutes after the ignition is cycled to OFF. Opening either front door cancels this feature.
Setting Name Selectable Options
Setting NameSelectable Options
Equalizer+ -
NOTE:
When in the “Equalizer” display you may adjust the Bass, Mid and Treble settings. Adjust the settings with the + and – buttons on the touchscreen or
by selecting any point on the scale between the + and – buttons on the touchscreen. Balance/Fade Arrow Buttons C icon
NOTE:
The “Balance/Fade” feature allows you to adjust the Balance and Fade settings. Press and drag the Speaker Icon or use the Arrows to adjust, tap the
C icon to readjust to the center. Speed Adjusted Volume Off123
NOTE:
The “Speed Adjusted Volume” feature increases or decreases volume relative to vehicle speed. To change the Speed Adjusted Volume press the
Speed Adjusted Volume button on the touchscreen and select from Off, 1, 2 or 3 buttons on the touchscreen.
9
20_LD_OM_EN_USC_t.book Page 333
Page 350 of 412

348MULTIMEDIA
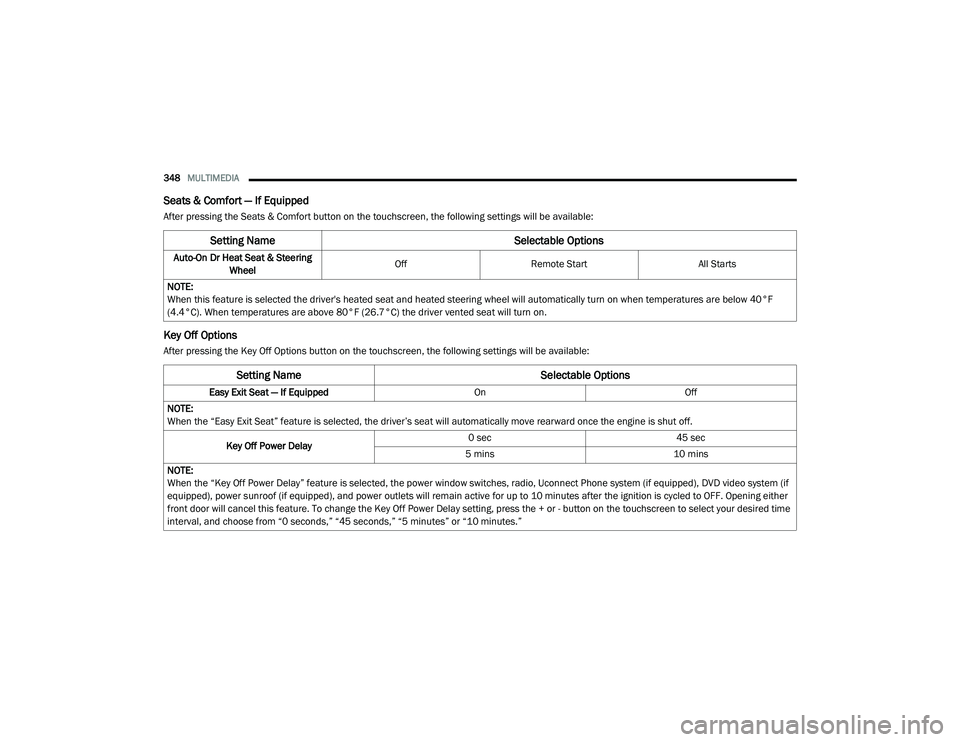
Seats & Comfort — If Equipped
After pressing the Seats & Comfort button on the touchscreen, the following settings will be available:
Key Off Options
After pressing the Key Off Options button on the touchscreen, the following settings will be available:
Setting Name Selectable Options
Auto-On Dr Heat Seat & Steering
Wheel Off
Remote Start All Starts
NOTE:
When this feature is selected the driver's heated seat and heated steering wheel will automatically turn on when temperatures are below 40°F
(4.4°C). When temperatures are above 80°F (26.7°C) the driver vented seat will turn on.
Setting Name Selectable Options
Easy Exit Seat — If EquippedOnOff
NOTE:
When the “Easy Exit Seat” feature is selected, the driver’s seat will automatically move rearward once the engine is shut off.
Key Off Power Delay 0 sec
45 sec
5 mins 10 mins
NOTE:
When the “Key Off Power Delay” feature is selected, the power window switches, radio, Uconnect Phone system (if equipped), DVD video system (if
equipped), power sunroof (if equipped), and power outlets will remain active for up to 10 minutes after the ignition is cycled to OFF. Opening either
front door will cancel this feature. To change the Key Off Power Delay setting, press the + or - button on the touchscreen to select your desired time
interval, and choose from “0 seconds,” “45 seconds,” “5 minutes” or “10 minutes.”
20_LD_OM_EN_USC_t.book Page 348
Page 367 of 412

MULTIMEDIA365
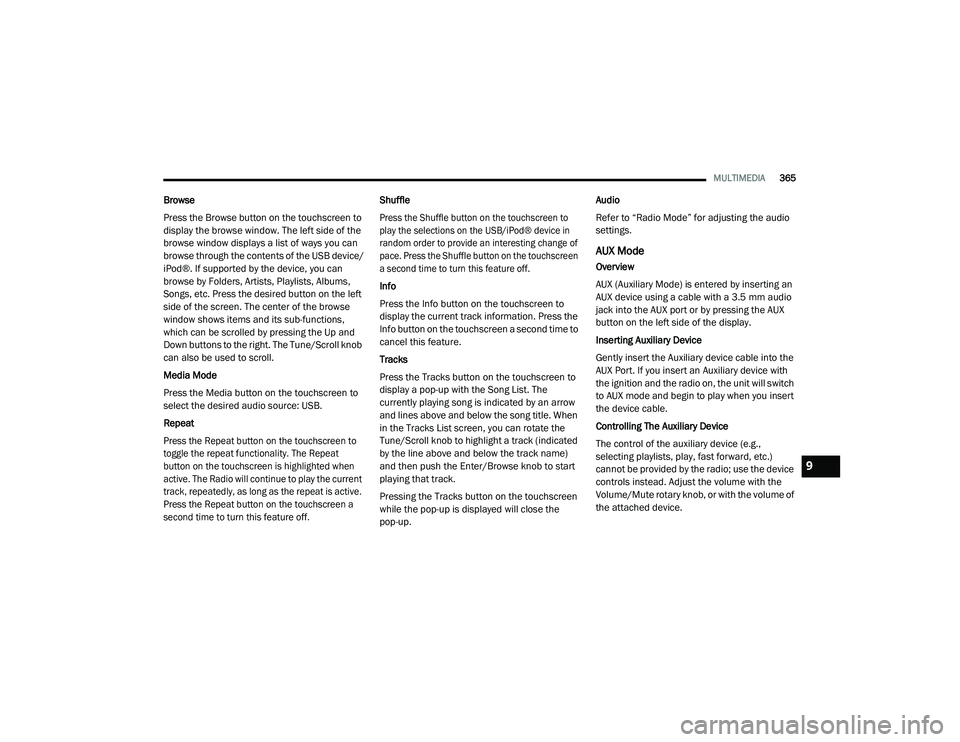
Browse
Press the Browse button on the touchscreen to
display the browse window. The left side of the
browse window displays a list of ways you can
browse through the contents of the USB device/
iPod®. If supported by the device, you can
browse by Folders, Artists, Playlists, Albums,
Songs, etc. Press the desired button on the left
side of the screen. The center of the browse
window shows items and its sub-functions,
which can be scrolled by pressing the Up and
Down buttons to the right. The Tune/Scroll knob
can also be used to scroll.
Media Mode
Press the Media button on the touchscreen to
select the desired audio source: USB.
Repeat
Press the Repeat button on the touchscreen to
toggle the repeat functionality. The Repeat
button on the touchscreen is highlighted when
active. The Radio will continue to play the current
track, repeatedly, as long as the repeat is active.
Press the Repeat button on the touchscreen a
second time to turn this feature off.
Shuffle
Press the Shuffle button on the touchscreen to
play the selections on the USB/iPod® device in
random order to provide an interesting change of
pace. Press the Shuffle button on the touchscreen
a second time to turn this feature off.
Info
Press the Info button on the touchscreen to
display the current track information. Press the
Info button on the touchscreen a second time to
cancel this feature.
Tracks
Press the Tracks button on the touchscreen to
display a pop-up with the Song List. The
currently playing song is indicated by an arrow
and lines above and below the song title. When
in the Tracks List screen, you can rotate the
Tune/Scroll knob to highlight a track (indicated
by the line above and below the track name)
and then push the Enter/Browse knob to start
playing that track.
Pressing the Tracks button on the touchscreen
while the pop-up is displayed will close the
pop-up.Audio
Refer to “Radio Mode” for adjusting the audio
settings.
AUX Mode
Overview
AUX (Auxiliary Mode) is entered by inserting an
AUX device using a cable with a 3.5 mm audio
jack into the AUX port or by pressing the AUX
button on the left side of the display.
Inserting Auxiliary Device
Gently insert the Auxiliary device cable into the
AUX Port. If you insert an Auxiliary device with
the ignition and the radio on, the unit will switch
to AUX mode and begin to play when you insert
the device cable.
Controlling The Auxiliary Device
The control of the auxiliary device (e.g.,
selecting playlists, play, fast forward, etc.)
cannot be provided by the radio; use the device
controls instead. Adjust the volume with the
Volume/Mute rotary knob, or with the volume of
the attached device.
9
20_LD_OM_EN_USC_t.book Page 365
Page 383 of 412

MULTIMEDIA381
Advanced Phone Connectivity
Transfer Call To And From Mobile Phone
The Uconnect Phone allows ongoing calls to be
transferred from your mobile phone to the Uconnect
Phone without terminating the call. To transfer an
ongoing call from your connected mobile phone to
the Uconnect Phone or vice versa, press the
Transfer button on the Phone main screen.
Connect Or Disconnect Link Between The
Uconnect Phone And Mobile Phone
If you would like to connect or disconnect the
Bluetooth® connection between a Uconnect
Phone paired mobile phone and the Uconnect
Phone, follow the instructions described in your
mobile phone User's Manual.
Things You Should Know About Your
Uconnect Phone
Voice Command
For the best performance:
Adjust the rearview mirror to provide at least
½-inch (1 cm) gap between the overhead
console (if equipped) and the mirror.
Always wait for the beep before speaking.
Speak normally, without pausing, just as you
would speak to a person sitting a few feet/
meters away from you.
Ensure that no one other than you is
speaking during a voice command period.
Performance is maximized under:
Low-To-Medium Blower Setting
Low-To-Medium Vehicle Speed
Low Road Noise
Smooth Road Surface
Fully Closed Windows
Dry Weather Condition Even though the system is designed for many
languages and accents, the system may not
always work for some.
NOTE:
It is recommended that you do not store names
in your favorites phonebook while the vehicle is
in motion.
Phonebook (Mobile and Favorites) name
recognition rate is optimized when the entries
are not similar. You can say “O” (letter “O”) for
“0” (zero).
Even though international dialing for most
number combinations is supported, some
shortcut dialing number combinations may not
be supported.
Far End Audio Performance
Audio quality is maximized under:
Low-To-Medium Blower Setting
Low-To-Medium Vehicle Speed
Low Road Noise
Smooth Road Surface
WARNING!
ALWAYS drive safely with your hands on the
wheel. You have full responsibility and
assume all risks related to the use of the
Uconnect features and applications in this
vehicle. Only use Uconnect when it is safe to
do so. Failure to do so may result in an
accident involving serious injury or death.
9
20_LD_OM_EN_USC_t.book Page 381
Page 384 of 412

382MULTIMEDIA
Fully Closed Windows
Dry Weather Conditions
Operation From The Driver's Seat
Performance such as audio clarity, echo, and
loudness to a large degree rely on the phone
and network, and not the Uconnect Phone.
Echo at the far end can sometimes be reduced
by lowering the in-vehicle audio volume.
Bluetooth® Communication Link
Mobile phones have been found to lose
connection to the Uconnect Phone. When this
happens, the connection can generally be
re-established by switching the mobile phone
OFF/ON. Your mobile phone is recommended to
remain in Bluetooth® ON mode.
Power-Up
After switching the ignition key from OFF to
either the ON/RUN or ACC position, or after a
language change, you must wait at least 15
seconds prior to using the system.
STEERING WHEEL AUDIO CONTROLS —
IF EQUIPPED
The remote sound system controls are located
on the rear surface of the steering wheel. Reach
behind the wheel to access the switches.
Steering Wheel Audio Controls (Back View Of Steering Wheel)
The right-hand control is a rocker-type switch
with a push button in the center and controls
the volume and mode of the sound system.
Pushing the top of the rocker switch will
increase the volume, and pushing the bottom of
the rocker switch will decrease the volume.
Pushing the center button will make the radio
switch between the various modes available
(AM/FM/SAT/AUX, etc.). The left-hand control is a rocker-type switch with
a push button in the center. The function of the
left-hand control is different depending on
which mode you are in.
The following describes the left-hand control
operation in each mode.
RADIO OPERATION
Pushing the top of the switch will “Seek” up for
the next listenable station and pushing the
bottom of the switch will “Seek” down for the
next listenable station.
The button located in the center of the left-hand
control will tune to the next preset station that
you have programmed in the radio preset button.
MEDIA MODE
Pushing the top of the switch once goes to the
next track on the selected media (AUX/USB/
Bluetooth®). Pushing the bottom of the switch
once goes to the beginning of the current track,
or to the beginning of the previous track if it is
within eight seconds after the current track
begins to play.
NOTE:
While In Media Mode, the center button on the
left rocker switch is nonfunctional.
20_LD_OM_EN_USC_t.book Page 382
Page 397 of 412

395
INDEX
A
About Your Brakes......................................... 308Adaptive Cruise Control (ACC)
(Cruise Control).............................................. 177Adding Engine Coolant (Antifreeze)............... 282Adding Fuel.................................................... 200Adding Washing Fluid.................................... 270Additives, Fuel............................................... 310AdjustForward....................................................... 34Rearward..................................................... 34Air Bag........................................................... 135Advance Front Air Bag............................... 135Air Bag Operation...................................... 136Air Bag Warning Light................................ 134Driver Knee Air Bag................................... 137Enhanced Accident Response......... 141, 249Event Data Recorder (EDR)....................... 249Front Air Bag............................................. 135If Deployment Occurs................................ 140Knee Impact Bolsters................................ 137Maintaining Your Air Bag System.............. 142Maintenance............................................. 142Redundant Air Bag Warning Light.............135Side Air Bags............................................. 137Transporting Pets...................................... 155
Air Bag Light.................................. 95, 134, 156
Air Cleaner, Engine (Engine Air Cleaner Filter)... 275
Air Conditioner Maintenance........................ 275Air Conditioner Refrigerant........................... 275Air Conditioner System................................. 275Air Conditioning.................................. 53, 57, 61Air Conditioning Filter..............................63, 276Air Conditioning, Operating Tips....................... 62Air Filter........................................................ 275Air PressureTires......................................................... 294AlarmArm The System................................... 24, 25Panic........................................................... 15Rearm The System...................................... 25Security Alarm...................................... 24, 98Alarm SystemSecurity Alarm............................................. 24All Wheel DriveTowing...................................................... 249Alterations/ModificationsVehicle........................................................... 9Android Auto................................................. 389Antifreeze (Engine Coolant)........ 281, 313, 314Disposal................................................... 283
Anti-Lock Brake System (ABS)....................... 106Anti-Lock Warning Light................................ 101Apple CarPlay................................................ 389Arming SystemSecurity Alarm.............................................24Assist, Hill Start............................................. 111Audio Settings............................................... 361Audio Systems (Radio).................................. 321Auto Down Power Windows..............................65Auto Up Power Windows..................................65Automatic Door Locks...............................29, 30Automatic Headlights.......................................47Automatic High Beams.....................................46Automatic Temperature Control (ATC).......57, 62Automatic Transmission....................... 167, 286Adding Fluid......... 286, 315, 317, 318, 320Fluid And Filter Change............................. 286Fluid Change............................................. 286Fluid Level Check...................................... 285Fluid Type............ 285, 315, 317, 318, 320Special Additives...................................... 285Automatic Transmission
Limp Home Mode................................... 29, 171AutoPark....................................................... 16011
20_LD_OM_EN_USC_t.book Page 395