2020 CITROEN C5 AIRCROSS sat nav
[x] Cancel search: sat navPage 12 of 292

10
Choice of display mode
Each mode corresponds to the type of
information displayed in the instrument panel.
-
"
DIALS": standard display of the analogue
and digital speedometers, the rev counter,
the fuel level indicator, the engine coolant
temperature indicator and the distance
recorder.
-
"
NAVIGATION": standard display,
additionally showing the current navigation
information (map and navigation
instructions). -
"
DRIVING": standard display, additionally
showing the current driving aid systems
information.
-
"
MINIMAL": minimal display with digital
speedometer and the distance recorders
and, in the event of a warning only, the
fuel level indicator and the engine coolant
temperature indicator.
-
"
PERSONAL": minimal display and
possibility of selecting optional information
to be displayed in the customisable areas
on the left and right.
To enter settings for the "PERSONAL"
display mode and select the information to
be displayed in the customisable areas of the
instrument panel:
To modify the display mode of the instrument
panel:
F
T
urn the knob located to the left of the
steering wheel to display and scroll through
the different modes on the left-hand side of
the instrument panel.
F
O
nce the selected display mode appears,
press on the knob to validate.
The new display mode is applied instantly.
If the knob is not moved, the selected display
mode is automatically applied after a few
moments.
With CITROËN Connect Radio
F Press Settings in the upper bar
of the touch screen.
F
Sel
ect "Configuration ".
F
Sel
ect "Instrument panel
personalisation ". With CITROËN Connect Nav
F Press
Settings in the upper bar
of the touch screen.
F
Sel
ect "
OPTIONS ".
F
Sel
ect "
Instrument panel
personalisation ".
F
F
or each personalised display area, left and
right, select a type of information using the
corresponding scroll arrows in the touch
screen:
• "
Driving aids ".
• "
Fault " (empt y).
• "
Temperatures " (engine oil).
• "
Media ".
• "
Navigation ".
• "
Trip computer ".
• "Vigilance level ".
•
"Rev counter ".
F
C
onfirm to save and quit.
If the current display mode is "PERSONAL", the
new selection is displayed immediately.
As a
safety measure, these adjustments
must be carried out with the vehicle
stationary.
Instruments
Page 36 of 292

34
CITROËN Connect Nav side banners
Left-hand side
- E xterior temperature (a blue warning lamp
appears when there is a
risk of ice).
-
A
ccess to the Settings of the touch screen
and digital instrument panel (date/time,
languages, units, etc.).
-
R
eminder of the air conditioning information,
and direct access to the corresponding
menu.
Right-hand side
-
Time.
-
Notifications.
-
R
eminder of the air conditioning information,
and direct access to the corresponding
menu.
Date and time adjustment
With CITROËN Connect
Radio
F Select the Settings menu in
the upper banner of the touch
screen.
F
Sel
ect " Configuration ".
F
Sel
ect "Date and time ".
F
Sel
ect " Date " or "Time ".
F
C
hoose the display formats.
F
C
hange the date and/or time using the
numeric keypad.
F
C
onfirm with " OK".
With CITROËN Connect Nav
Setting of the time and date is only available if
synchronisation with the GPS is deactivated.
F
Sel
ect the Settings menu in the
touch screen banner.
F
P
ress the " OPTIONS " button to go to the
secondary page. F
Sel
ect "
Setting the time- date".
F
Sel
ect the "
Date" or "Time " tab.
F
S
et the date and/or time using the numeric
keypad.
F
C
onfirm with "
OK".
Additional settings
You can choose:
-
T he time zone.
-
T
he display format of the date and time
(12 h / 24 h).
-
T
he summer time management function
(+1
h o ur).
-
T
he synchronisation with GPS (UTC).
The system does not automatically
manage the change between winter and
summer time (depending on the country
of s a l e).
CITROËN Connect Radio upper
banner
- Time and exterior temperature (a blue warning lamp appears when there is a risk
of i c e).
-
R
eminder of the air conditioning information,
and direct access to the corresponding
menu.
-
R
eminder of the Radio Media and
Telephone menus information.
-
Notifications.
-
A
ccess to the Settings of the touch screen
and digital instrument panel (date/time,
languages, units, etc.).
Instruments
Page 251 of 292
5
First steps
Example of a "voice command" for
navigation:
"Navigate to address 11
regent
street, London "
Example of a "voice command" for
the radio and media:
" Play ar tist Madonna "
Example of a "voice command" for
the telephone:
" Call David Miller' "
The voice commands, with a
choice of
17
languages (Arabic, Brazilian, Czech,
Danish, Dutch, English, Farsi, French,
German, Italian, Norwegian, Polish,
Portuguese, Russian, Spanish, Swedish,
Turkish), are made using the language
previously chosen and set in the system.
For some voice commands, there are
alternative synonyms.
Example: Guide to/Navigate to/Go to/...
The voice commands in Arabic for:
"Navigate to address" and "Display POI in
the city", are not available.
Information – Using the system
Press the Push To Talk button
and tell me what you'd like
after the tone. Remember you
can interrupt me at any time
by pressing this button. If you
press it again while I'm waiting
for you to speak, it'll end the
conversation. If you need to
start over, say "cancel". If you
want to undo something, say
"undo". And to get information
and tips at any time, just say
"help". If you ask to me do
something and there's some
information missing that I need,
I'll give you some examples
or take you through it step by
step. There's more information
available in "novice" mode.
You can set the dialogue mode
to "expert" when you feel
comfortable. When the voice commands are
activated by briefly pressing the
button, help is displayed on the
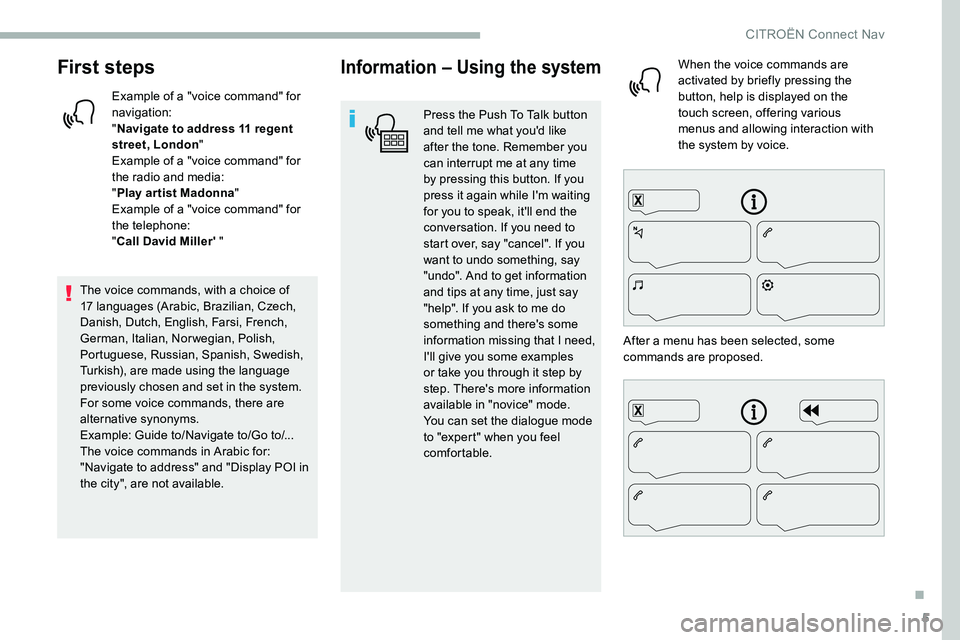
touch screen, offering various
menus and allowing interaction with
the system by voice.
After a
menu has been selected, some
commands are proposed.
.
CITROËN Connect Nav
Page 263 of 292
17
Select "Weather ".
Press this button to display primary
information.
Press this button to display the
detailed weather information.
The temperature displayed at 6
a.m. will
be the maximum temperature for the day.
The temperature displayed at 6
p.m. will
be the minimum temperature for the night.
Applications
Connectivity
Press Applications to display the
primary page.
Press " Connectivity " to go to the CarPlay
®,
MirrorLinkTM or Android Auto functions.
CarPlay® smartphone
connection
USB sockets
Depending on equipment, for more information
on the USB sockets compatible with the
CarPlay
®, MirrorLinkTM or Android Auto
applications, refer to the "Ease of use and
comfort" section. The synchronisation of a
smartphone
allows users to display applications
adapted to the CarPlay
®, MirrorLinkTM
or Android Auto technology of the
smartphone on the vehicle screen. For
the CarPlay
® technology, the CarPlay®
function must be activated on the
smartphone beforehand.
For the communication process between
the smartphone and the system to
work, it is essential in all cases that the
smartphone is unlocked.
As the principles and standards are
constantly changing, it is recommended
that you keep the smar tphone's
operating system up-to- date, as well
as the date and time of the smar tphone
and of the system .
For the list of eligible smartphones, go to
the Brand's national website. Connect a
USB cable. The
smartphone charges when
connected by the USB cable.
Press " Telephone " to display the
CarPlay
® inter face.
Or Connect a
USB cable. The
smartphone charges when
connected by the USB cable.
From the system, press
" Applications " to display the
primary page.
Press " Connectivity " to go to the CarPlay
®
function.
Press "CarPlay " to display the
CarPlay
® inter face.
On connecting the USB cable, the
CarPlay
® function deactivates the
system's Bluetooth® mode.
When the USB cable is disconnected and
the ignition is switched off then back on,
the system will not automatically switch to
Radio Media mode, a change of source
will have to be done manually.
.
CITROËN Connect Nav
Page 274 of 292
28
Press the "OPTIONS" button to go to the
secondary page.
Select "Email" to display the list of
messages.
Select the " Received" or "Sent " or
" Not read " tab.
Select the message chosen in one of the lists.
Settings
Audio settings
Press Settings to display the
primary page.
Select " Audio settings ".
Select " Ambiences ".
Or
" Position ".
Or
" Sound ". Or
"
Voice ".
Or
" Ringtone ".
Press " OK" to save the settings.
The balance/distribution (or spatialisation
with the Arkamys
© system) is audio
processing that allows the quality of the
sound to be adapted according to the
number of passengers in the vehicle.
Available only with the front and rear
speakers configuration.
The Ambience (6
optional ambiences)
and Bass , Medium and Tr e b l e audio
settings are different and independent for
each audio source.
Activate or deactivate " Loudness".
The settings for " Position" (All
passengers, Driver and Front only) are
common to all sources.
Activate or deactivate " Touch tones",
" Volume linked to speed " and "Auxiliary
input ".
On-board audio: the Arkamys Sound
Staging
© optimises the distribution of
sound in the passenger compartment.
Setting the profiles
Press Settings to display the
primary page.
Press " Play" to start playing the
message.
Access to " Email" depends on the
compatibility of the smartphone and the
integral system. Press the "
OPTIONS" button to go to the
secondary page.
Select "Setting of the profiles ".
Select " Profile 1 " or "Profile 2 " or "Profile 3 "
or " Common profile ".
Press this button to enter a
name for
the profile using the virtual keypad.
Press " OK" to confirm.
Press this button to add
a
photograph to the profile.
Insert a USB memory stick containing
t he photograph in the USB socket.
Select the photograph.
Press " OK" to accept the transfer of
the photograph.
Press " OK" again to save the
settings.
CITROËN Connect Nav
Page 275 of 292
29
The location for the photograph is
square; the system reshapes the original
photograph if in another format.Press this button to reinitialise the
profile selected.
Reinitialisation of the profile selected
activates the English language by default.
Select " Audio settings ".
Select " Ambiences ".
Or
" Position ".
Or
" Sound ".
Or
" Voice ".
Or
" Ringtone ".
Press " OK" to save the settings.
Select a "
Profile" (1
or 2 or 3) to associate the
" Audio settings " with it.Modifying system settings
Press Settings to display the
primary page.
Press the " OPTIONS" button to go to the
secondary page.
Select "Screen configuration ".
Select " Animation ".
Activate or deactivate: " Automatic
text scrolling ".
Select " Brightness ".
Move the slider to adjust the
brightness of the screen and/or of
the instrument panel.
Press Settings to display the
primary page.
Press the " OPTIONS" button to go to the
secondary page.
Select "System settings ".
Select " Units" to change the units of distance,
fuel consumption and temperature.
Select " Factory settings " to return to the initial
settings. Resetting the system to "Factory settings"
activates English by default, as well as
degrees Fahrenheit, and turns off summer
time.
Select " System info " to display the versions of
the different modules installed in the system.
Selecting the language
Press Settings to display the
primary page.
Press the " OPTIONS" button to go to the
secondary page.
Select "Languages " to change the
language.
Setting the date
Press Settings to display the
primary page.
Press the " OPTIONS" button to go to the
secondary page.
Select "Set time-date ".
.
CITROËN Connect Nav
Page 276 of 292
30
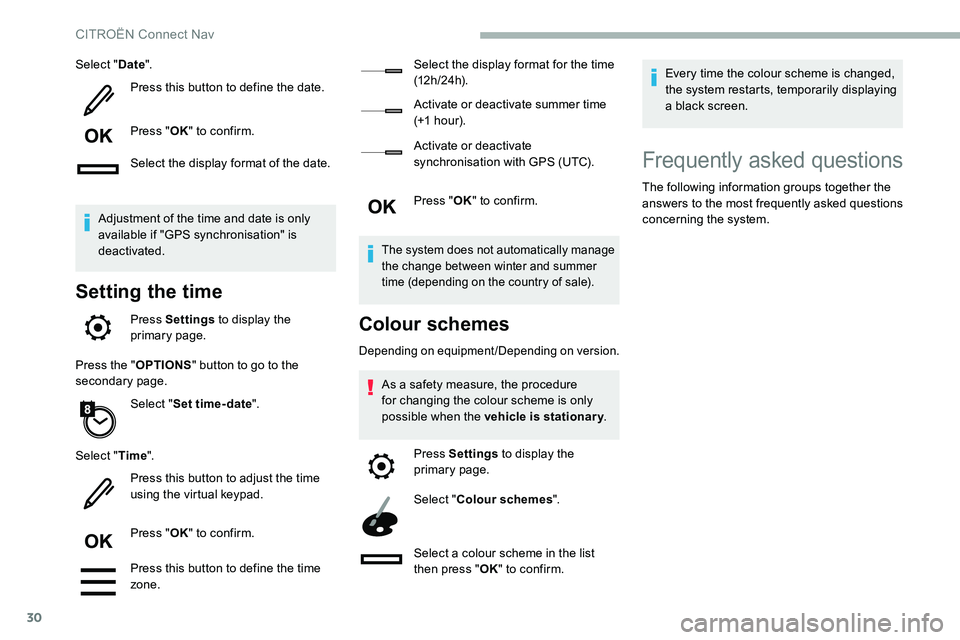
Select "Date".
Press this button to define the date.
Press " OK" to confirm.
Select the display format of the date.
Adjustment of the time and date is only
available if "GPS synchronisation" is
deactivated.
Setting the time
Press Settings to display the
primary page.
Press the " OPTIONS" button to go to the
secondary page.
Select "Set time-date ".
Select " Time".
Press this button to adjust the time
using the virtual keypad.
Press " OK" to confirm.
Press this button to define the time
zone. Select the display format for the time
(12 h / 24 h).
Activate or deactivate summer time
(+1
h o ur).
Activate or deactivate
synchronisation with GPS (UTC).
Press " OK" to confirm.
The system does not automatically manage
the change between winter and summer
time (depending on the country of sale).
Colour schemes
Depending on equipment/Depending on version.
As a safety measure, the procedure
f or changing the colour scheme is only
possible when the vehicle is stationary .
Press Settings to display the
primary page.
Select " Colour schemes ".
Select a
colour scheme in the list
then press " OK" to confirm. Every time the colour scheme is changed,
the system restarts, temporarily displaying
a
black screen.
Frequently asked questions
The following information groups together the
answers to the most frequently asked questions
concerning the system.
CITROËN Connect Nav
Page 278 of 292
32
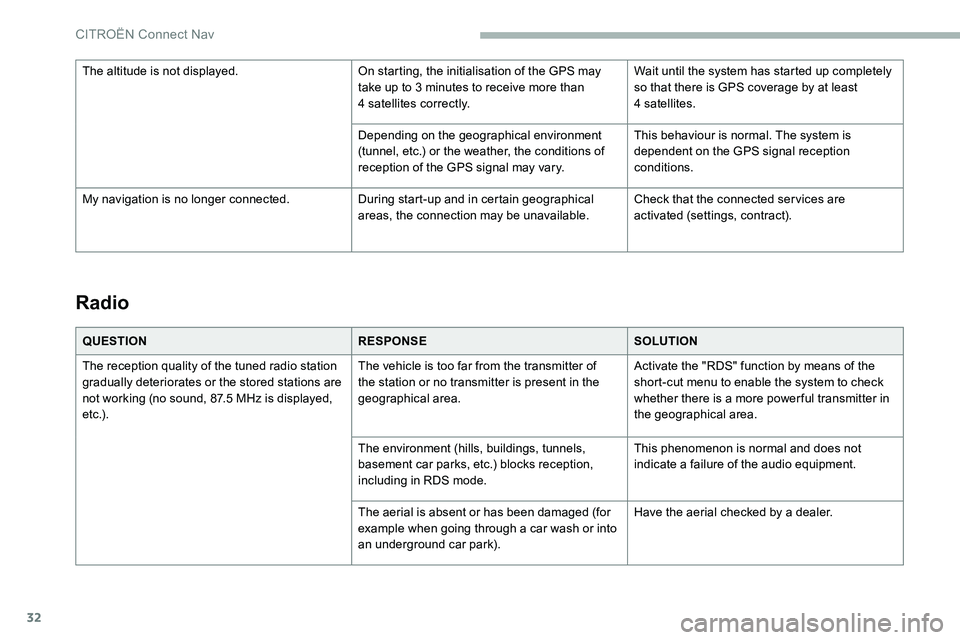
Radio
QUESTIONRESPONSESOLUTION
The reception quality of the tuned radio station
gradually deteriorates or the stored stations are
not working (no sound, 87.5
MHz is displayed,
e t c .) . The vehicle is too far from the transmitter of
the station or no transmitter is present in the
geographical area.
Activate the "RDS" function by means of the
short-cut menu to enable the system to check
whether there is a
more power ful transmitter in
the geographical area.
The environment (hills, buildings, tunnels,
basement car parks, etc.) blocks reception,
including in RDS mode. This phenomenon is normal and does not
indicate a
failure of the audio equipment.
The aerial is absent or has been damaged (for
example when going through a
car wash or into
an underground car park). Have the aerial checked by a
dealer.
The altitude is not displayed.
On starting, the initialisation of the GPS may
take up to 3 minutes to receive more than
4
satellites correctly.
Wait until the system has started up completely
so that there is GPS coverage by at least
4
satellites.
Depending on the geographical environment
(tunnel, etc.) or the weather, the conditions of
reception of the GPS signal may vary. This behaviour is normal. The system is
dependent on the GPS signal reception
conditions.
My navigation is no longer connected. During start-up and in certain geographical
areas, the connection may be unavailable.Check that the connected ser vices are
activated (settings, contract).
CITROËN Connect Nav