2020 CHRYSLER 300 service
[x] Cancel search: servicePage 253 of 328

SERVICING AND MAINTENANCE251
(Continued)
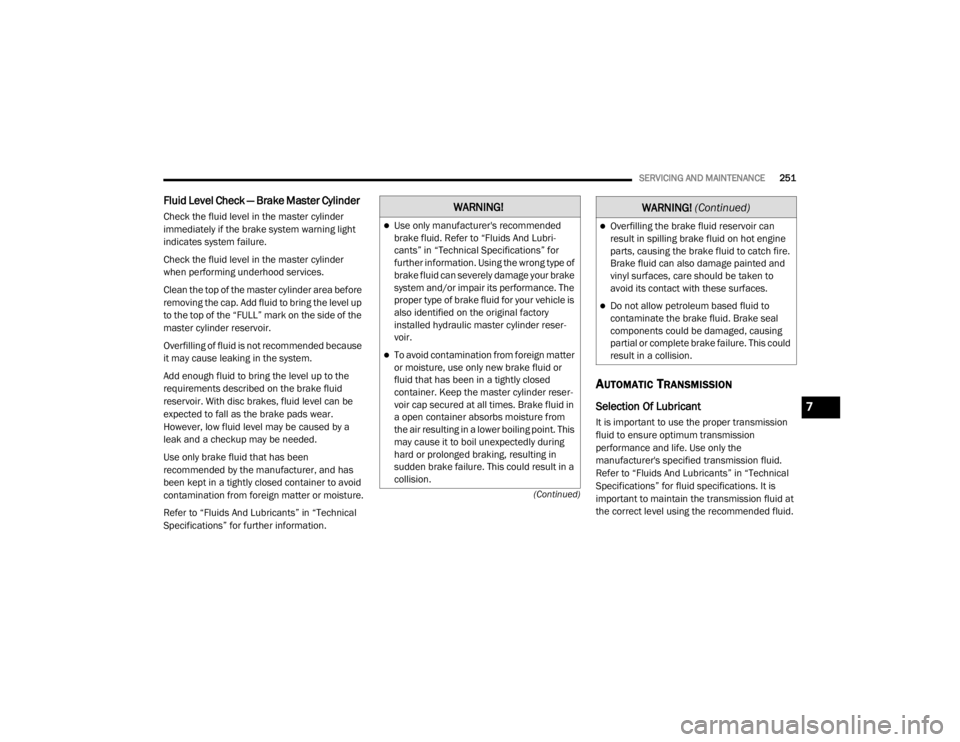
Fluid Level Check — Brake Master Cylinder
Check the fluid level in the master cylinder
immediately if the brake system warning light
indicates system failure.
Check the fluid level in the master cylinder
when performing underhood services.
Clean the top of the master cylinder area before
removing the cap. Add fluid to bring the level up
to the top of the “FULL” mark on the side of the
master cylinder reservoir.
Overfilling of fluid is not recommended because
it may cause leaking in the system.
Add enough fluid to bring the level up to the
requirements described on the brake fluid
reservoir. With disc brakes, fluid level can be
expected to fall as the brake pads wear.
However, low fluid level may be caused by a
leak and a checkup may be needed.
Use only brake fluid that has been
recommended by the manufacturer, and has
been kept in a tightly closed container to avoid
contamination from foreign matter or moisture.
Refer to “Fluids And Lubricants” in “Technical
Specifications” for further information.
AUTOMATIC TRANSMISSION
Selection Of Lubricant
It is important to use the proper transmission
fluid to ensure optimum transmission
performance and life. Use only the
manufacturer's specified transmission fluid.
Refer to “Fluids And Lubricants” in “Technical
Specifications” for fluid specifications. It is
important to maintain the transmission fluid at
the correct level using the recommended fluid.
WARNING!
Use only manufacturer's recommended
brake fluid. Refer to “Fluids And Lubri -
cants” in “Technical Specifications” for
further information. Using the wrong type of
brake fluid can severely damage your brake
system and/or impair its performance. The
proper type of brake fluid for your vehicle is
also identified on the original factory
installed hydraulic master cylinder reser -
voir.
To avoid contamination from foreign matter
or moisture, use only new brake fluid or
fluid that has been in a tightly closed
container. Keep the master cylinder reser -
voir cap secured at all times. Brake fluid in
a open container absorbs moisture from
the air resulting in a lower boiling point. This
may cause it to boil unexpectedly during
hard or prolonged braking, resulting in
sudden brake failure. This could result in a
collision.
Overfilling the brake fluid reservoir can
result in spilling brake fluid on hot engine
parts, causing the brake fluid to catch fire.
Brake fluid can also damage painted and
vinyl surfaces, care should be taken to
avoid its contact with these surfaces.
Do not allow petroleum based fluid to
contaminate the brake fluid. Brake seal
components could be damaged, causing
partial or complete brake failure. This could
result in a collision.
WARNING! (Continued)
7
20_LX_OM_EN_USC_t.book Page 251
Page 254 of 328

252SERVICING AND MAINTENANCE
NOTE:
No chemical flushes should be used in any
transmission; only the approved lubricant
should be used.
Special Additives
The manufacturer strongly recommends
against using any special additives in the
transmission. Automatic Transmission Fluid
(ATF) is an engineered product and its
performance may be impaired by supplemental
additives. Therefore, do not add any fluid
additives to the transmission. Avoid using
transmission sealers as they may adversely
affect seals.
Fluid Level Check
The fluid level is preset at the factory and does
not require adjustment under normal operating
conditions. Routine fluid level checks are not
required; therefore the transmission has no
dipstick. An authorized dealer can check your
transmission fluid level using special service
tools. If you notice fluid leakage or transmission
malfunction, visit an authorized dealer
immediately to have the transmission fluid level
checked. Operating the vehicle with an
improper fluid level can cause severe
transmission damage.
Fluid And Filter Changes
Under normal operating conditions, the fluid
installed at the factory will provide satisfactory
lubrication for the life of the vehicle.
Routine fluid and filter changes are not
required. However, change the fluid and filter if
the fluid becomes contaminated (with water,
etc.), or if the transmission is disassembled for
any reason.
CAUTION!
Using a transmission fluid other than the
manufacturer’s recommended fluid may
cause deterioration in transmission shift
quality and/or torque converter shudder.
Refer to “Fluids And Lubricants” in “Technical
Specifications” for fluid specifications.
CAUTION!
Do not use chemical flushes in your
transmission as the chemicals can damage
your transmission components. Such damage
is not covered by the New Vehicle Limited
Warranty.
CAUTION!
If a transmission fluid leak occurs, visit an
authorized dealer immediately. Severe
transmission damage may occur. An
authorized dealer has the proper tools to
adjust the fluid level accurately.
20_LX_OM_EN_USC_t.book Page 252
Page 255 of 328

SERVICING AND MAINTENANCE253
ALL WHEEL DRIVE (AWD) — IF
E
QUIPPED
The All Wheel Drive system consists of a
transfer case and front differential. The exterior
surface of these components should be
inspected for evidence of fluid leaks. Confirmed
leaks should be repaired as soon as possible.
The transfer case fluid fill/inspection plug is
located in the middle of the rear housing. To
inspect the transfer case fluid level, remove the
fill/inspection plug. The fluid level should be
even with the bottom of the hole. Use this plug
to add fluid as required.
The front differential fill plug is located on the
outer cover near the halfshaft attachment. To
inspect the differential fluid level, remove the fill
plug. The fluid level should be even with or
slightly below the bottom of the hole.
Fluid Changes
Refer to “Scheduled Servicing” in “Servicing
And Maintenance” for the proper maintenance
intervals.
REAR AXLE
For normal service, periodic fluid level checks
are not required. When the vehicle is serviced
for other reasons the exterior surfaces of the
axle assembly should be inspected. If gear oil
leakage is suspected inspect the fluid level.
Refer to “Fluids And Lubricants” in “Technical
Specifications” for further information.
RAISING THE VEHICLE
In the case where it is necessary to raise the
vehicle, go to an authorized dealer or service
station.
TIRES
TIRE SAFETY INFORMATION
Tire safety information will cover aspects of the
following information: Tire Markings, Tire
Identification Numbers, Tire Terminology and
Definitions, Tire Pressures, and Tire Loading.
Tire Markings
Tire Markings
1 — US DOT Safety Standards Code (TIN)
2 — Size Designation
3 — Service Description
4 — Maximum Load
5 — Maximum Pressure
6 — Treadwear, Traction and Tempera -
ture Grades
7
20_LX_OM_EN_USC_t.book Page 253
Page 257 of 328

SERVICING AND MAINTENANCE255
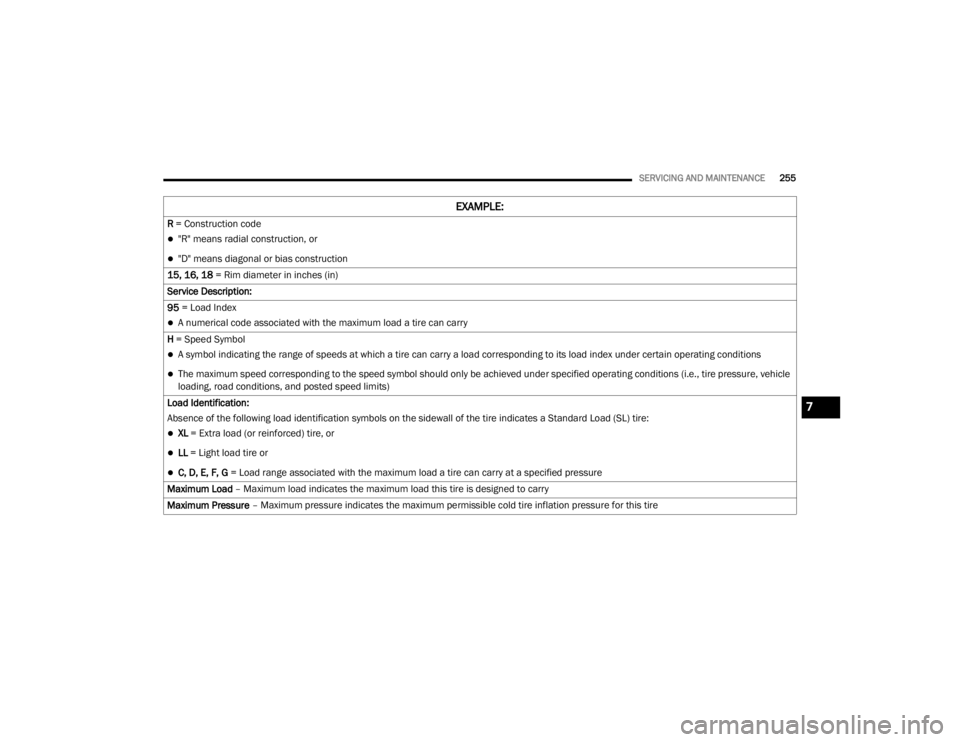
R = Construction code
"R" means radial construction, or
"D" means diagonal or bias construction
15, 16, 18 = Rim diameter in inches (in)
Service Description:
95 = Load Index
A numerical code associated with the maximum load a tire can carry
H = Speed Symbol
A symbol indicating the range of speeds at which a tire can carry a load corresponding to its load index under certain operating conditions
The maximum speed corresponding to the speed symbol should only be achieved under specified operating conditions (i.e., tire pressure, vehicle
loading, road conditions, and posted speed limits)
Load Identification:
Absence of the following load identification symbols on the sidewall of the tire indicates a Standard Load (SL) tire:
XL = Extra load (or reinforced) tire, or
LL = Light load tire or
C, D, E, F, G = Load range associated with the maximum load a tire can carry at a specified pressure
Maximum Load – Maximum load indicates the maximum load this tire is designed to carry
Maximum Pressure – Maximum pressure indicates the maximum permissible cold tire inflation pressure for this tire
EXAMPLE:
7
20_LX_OM_EN_USC_t.book Page 255
Page 265 of 328

SERVICING AND MAINTENANCE263
Tire Repair
If your tire becomes damaged, it may be
repaired if it meets the following criteria:
The tire has not been driven on when flat.
The damage is only on the tread section of
your tire (sidewall damage is not repairable).
The puncture is no greater than a ¼ of an
inch (6 mm).
Consult an authorized tire dealer for tire repairs
and additional information.
Damaged Run Flat tires, or Run Flat tires that
have experienced a loss of pressure should be
replaced immediately with another Run Flat tire
of identical size and service description (Load
Index and Speed Symbol). Replace the tire
pressure sensor as well as it is not designed to
be reused.
Run Flat Tires — If Equipped
Run Flat tires allow you the capability to drive
50 miles (80 km) at 50 mph (80 km/h) after a
rapid loss of inflation pressure. This rapid loss
of inflation is referred to as the Run Flat mode.
A Run Flat mode occurs when the tire inflation
pressure is of/or below 14 psi (96 kPa). Once a
Run Flat tire reaches the run flat mode it has
limited driving capabilities and needs to be
replaced immediately. A Run Flat tire is not
repairable. When a run flat tire is changed after
driving with underinflated tire condition, please
replace the TPM sensor as it is not designed to
be reused when driven under run flat mode
14 psi (96 kPa) condition.
NOTE:
TPM Sensor must be replaced after driving the
vehicle on a flat tire condition.
It is not recommended driving a vehicle loaded
at full capacity or to tow a trailer while a tire is in
the run flat mode.
See the tire pressure monitoring section for
more information.
Tire Spinning
When stuck in mud, sand, snow, or ice
conditions, do not spin your vehicle's wheels
above 30 mph (48 km/h) or for longer than
30 seconds continuously without stopping.
Refer to “Freeing A Stuck Vehicle” in “In Case Of
Emergency” for further information.
WARNING!
Fast spinning tires can be dangerous. Forces
generated by excessive wheel speeds may
cause tire damage or failure. A tire could
explode and injure someone. Do not spin your
vehicle's wheels faster than 30 mph (48 km/h)
for more than 30 seconds continuously when
you are stuck, and do not let anyone near a
spinning wheel, no matter what the speed.
7
20_LX_OM_EN_USC_t.book Page 263
Page 266 of 328

264SERVICING AND MAINTENANCE
Tread Wear Indicators
Tread wear indicators are in the original
equipment tires to help you in determining
when your tires should be replaced.
Tire Tread
These indicators are molded into the bottom of
the tread grooves. They will appear as bands
when the tread depth becomes a 1/16 of an
inch (1.6 mm). When the tread is worn to the
tread wear indicators, the tire should be
replaced.
Refer to “Replacement Tires” in this section for
further information.
Life Of Tire
The service life of a tire is dependent upon
varying factors including, but not limited to:
Driving style.
Tire pressure - Improper cold tire inflation
pressures can cause uneven wear patterns
to develop across the tire tread. These
abnormal wear patterns will reduce tread life,
resulting in the need for earlier tire replace -
ment.
Distance driven.
Performance tires, tires with a speed rating of
V or higher, and Summer tires typically have
a reduced tread life. Rotation of these tires
per the vehicle scheduled maintenance is
highly recommended. NOTE:
Wheel valve stem must be replaced as well
when installing new tires due to wear and tear
in existing tires.
Keep dismounted tires in a cool, dry place with
as little exposure to light as possible. Protect
tires from contact with oil, grease, and gasoline.
Replacement Tires
The tires on your new vehicle provide a balance
of many characteristics. They should be
inspected regularly for wear and correct cold
tire inflation pressures. The manufacturer
strongly recommends that you use tires
equivalent to the originals in size, quality and
performance when replacement is needed.
Refer to the paragraph on “Tread Wear
Indicators” in this section. Refer to the Tire and
Loading Information placard or the Vehicle
Certification Label for the size designation of
your tire. The Load Index and Speed Symbol for
your tire will be found on the original equipment
tire sidewall.
See the Tire Sizing Chart example found in the
“Tire Safety Information” section of this manual
for more information relating to the Load Index
and Speed Symbol of a tire.
1 — Worn Tire
2 — New Tire
WARNING!
Tires and the spare tire should be replaced
after six years, regardless of the remaining
tread. Failure to follow this warning can result
in sudden tire failure. You could lose control
and have a collision resulting in serious injury
or death.
20_LX_OM_EN_USC_t.book Page 264
Page 272 of 328

270SERVICING AND MAINTENANCE
TIRE ROTATION RECOMMENDATIONS
Tires on the front and rear axles of vehicles
operate at different loads and perform different
steering, driving, and braking functions. For
these reasons, they wear at unequal rates.
These effects can be reduced by timely rotation
of tires. The benefits of rotation are especially
worthwhile with aggressive tread designs such
as those on all season type tires. Rotation will
increase tread life, help to maintain mud, snow
and wet traction levels, and contribute to a
smooth, quiet ride.
Refer to “Scheduled Servicing” in “Servicing
And Maintenance” for the proper maintenance
intervals. The reasons for any rapid or unusual
wear should be corrected prior to rotation being
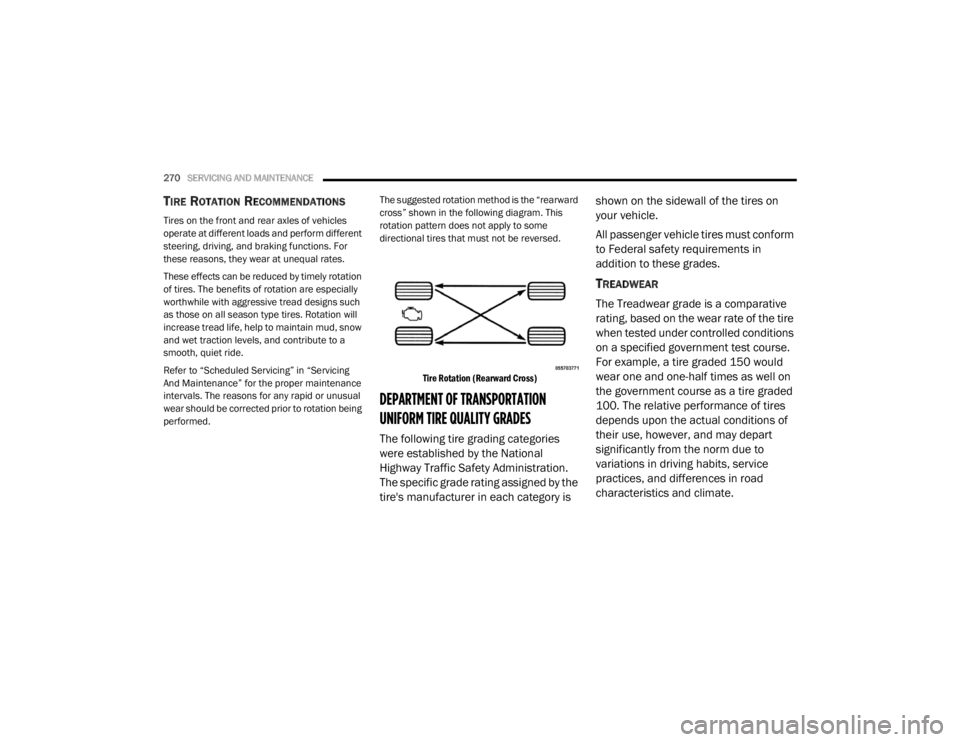
performed. The suggested rotation method is the “rearward
cross” shown in the following diagram. This
rotation pattern does not apply to some
directional tires that must not be reversed.
Tire Rotation (Rearward Cross)
DEPARTMENT OF TRANSPORTATION
UNIFORM TIRE QUALITY GRADES
The following tire grading categories
were established by the National
Highway Traffic Safety Administration.
The specific grade rating assigned by the
tire's manufacturer in each category is shown on the sidewall of the tires on
your vehicle.
All passenger vehicle tires must conform
to Federal safety requirements in
addition to these grades.
TREADWEAR
The Treadwear grade is a comparative
rating, based on the wear rate of the tire
when tested under controlled conditions
on a specified government test course.
For example, a tire graded 150 would
wear one and one-half times as well on
the government course as a tire graded
100. The relative performance of tires
depends upon the actual conditions of
their use, however, and may depart
significantly from the norm due to
variations in driving habits, service
practices, and differences in road
characteristics and climate.
20_LX_OM_EN_USC_t.book Page 270
Page 273 of 328

SERVICING AND MAINTENANCE271
TRACTION GRADES
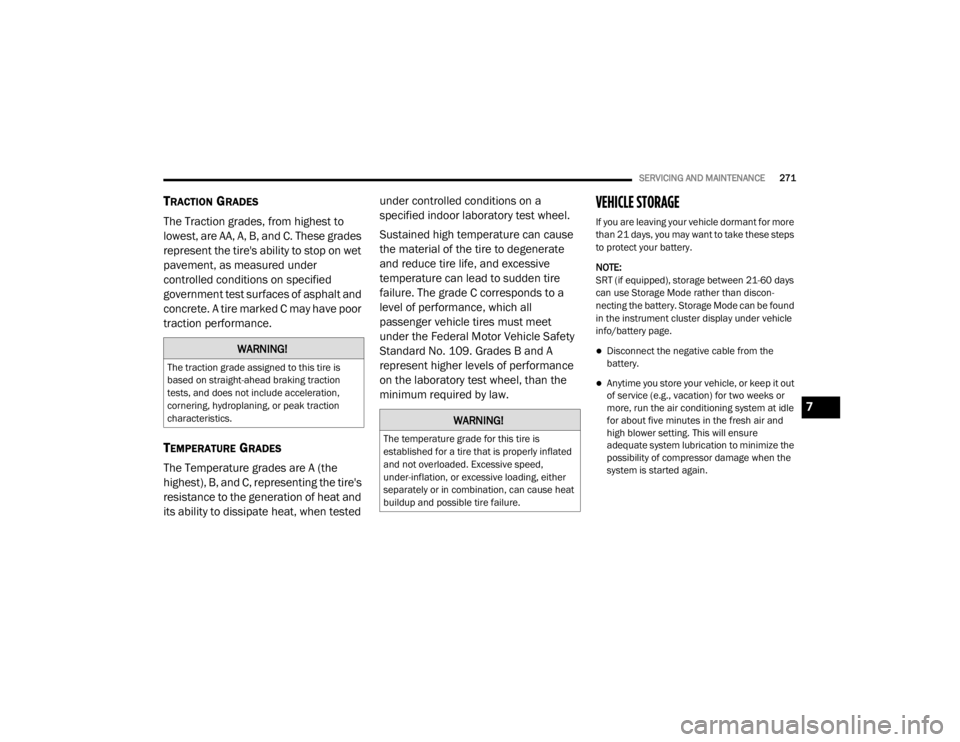
The Traction grades, from highest to
lowest, are AA, A, B, and C. These grades
represent the tire's ability to stop on wet
pavement, as measured under
controlled conditions on specified
government test surfaces of asphalt and
concrete. A tire marked C may have poor
traction performance.
TEMPERATURE GRADES
The Temperature grades are A (the
highest), B, and C, representing the tire's
resistance to the generation of heat and
its ability to dissipate heat, when tested under controlled conditions on a
specified indoor laboratory test wheel.
Sustained high temperature can cause
the material of the tire to degenerate
and reduce tire life, and excessive
temperature can lead to sudden tire
failure. The grade C corresponds to a
level of performance, which all
passenger vehicle tires must meet
under the Federal Motor Vehicle Safety
Standard No. 109. Grades B and A
represent higher levels of performance
on the laboratory test wheel, than the
minimum required by law.
VEHICLE STORAGE
If you are leaving your vehicle dormant for more
than 21 days, you may want to take these steps
to protect your battery.
NOTE:
SRT (if equipped), storage between 21-60 days
can use Storage Mode rather than discon
-
necting the battery. Storage Mode can be found
in the instrument cluster display under vehicle
info/battery page.
Disconnect the negative cable from the
battery.
Anytime you store your vehicle, or keep it out
of service (e.g., vacation) for two weeks or
more, run the air conditioning system at idle
for about five minutes in the fresh air and
high blower setting. This will ensure
adequate system lubrication to minimize the
possibility of compressor damage when the
system is started again.
WARNING!
The traction grade assigned to this tire is
based on straight-ahead braking traction
tests, and does not include acceleration,
cornering, hydroplaning, or peak traction
characteristics.
WARNING!
The temperature grade for this tire is
established for a tire that is properly inflated
and not overloaded. Excessive speed,
under-inflation, or excessive loading, either
separately or in combination, can cause heat
buildup and possible tire failure.
7
20_LX_OM_EN_USC_t.book Page 271