2020 CHRYSLER 300 ECU
[x] Cancel search: ECUPage 227 of 328
IN CASE OF EMERGENCY225
IF YOUR ENGINE OVERHEATS
In any of the following situations, you can
reduce the potential for overheating by taking
the appropriate action.
On the highways — slow down.
In city traffic — while stopped, place the trans -
mission in NEUTRAL, but do not increase the
engine idle speed while preventing vehicle
motion with the brakes.
NOTE:
There are steps that you can take to slow down
an impending overheat condition:
If your Air Conditioner (A/C) is on, turn it off.
The A/C system adds heat to the engine
cooling system and turning the A/C off can
help remove this heat.
You can also turn the temperature control to
maximum heat, the mode control to floor and
the blower control to high. This allows the
heater core to act as a supplement to the
radiator and aids in removing heat from the
engine cooling system.
MANUAL PARK RELEASE
To move the vehicle in cases where the
transmission will not shift out of PARK (such as
a depleted battery), a Manual Park Release is
available.
WARNING!
You or others can be badly burned by hot
engine coolant (antifreeze) or steam from
your radiator. If you see or hear steam coming
from under the hood, do not open the hood
until the radiator has had time to cool. Never
try to open a cooling system pressure cap
when the radiator or coolant bottle is hot.
CAUTION!
Driving with a hot cooling system could
damage your vehicle. If the temperature
gauge reads HOT (H), pull over and stop the
vehicle. Idle the vehicle with the air
conditioner turned off until the pointer drops
back into the normal range. If the pointer
remains on HOT (H), and you hear continuous
chimes, turn the engine off immediately and
call for service.
WARNING!
Always secure your vehicle by fully applying
the parking brake before activating the
Manual Park Release. In addition, you should
be seated in the driver's seat with your foot
firmly on the brake pedal when activating the
Manual Park Release. Activating the Manual
Park Release will allow your vehicle to roll
away if it is not secured by the parking brake,
or by proper connection to a tow vehicle.
Activating the Manual Park Release on an
unsecured vehicle could lead to serious injury
or death for those in or around the vehicle.
6
20_LX_OM_EN_USC_t.book Page 225
Page 228 of 328
226IN CASE OF EMERGENCY
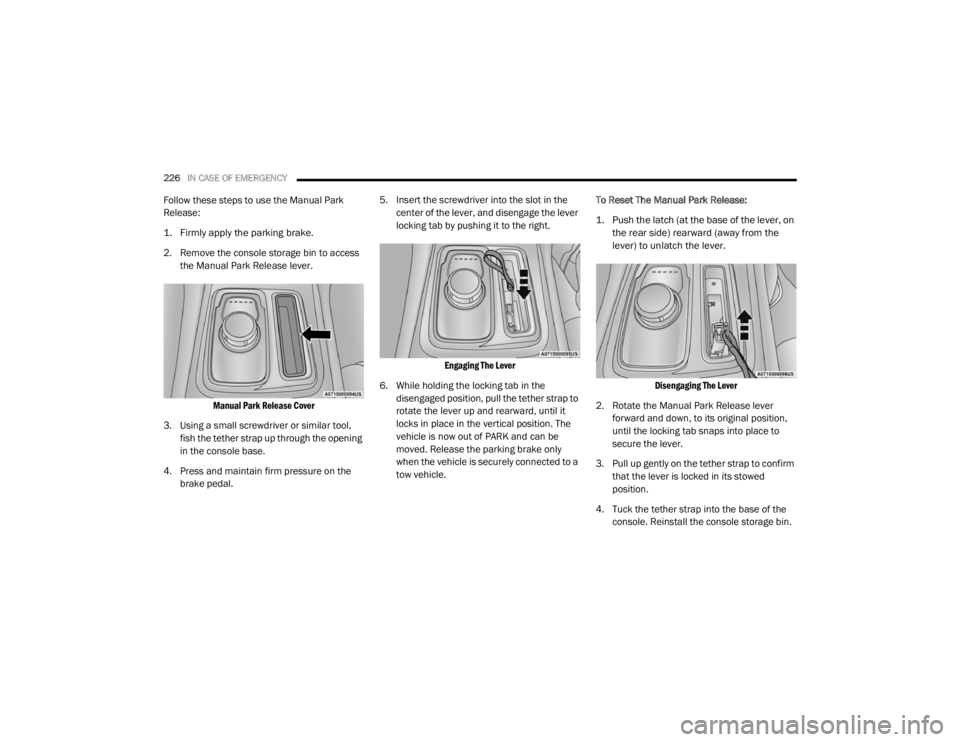
Follow these steps to use the Manual Park
Release:
1. Firmly apply the parking brake.
2. Remove the console storage bin to access
the Manual Park Release lever.
Manual Park Release Cover
3. Using a small screwdriver or similar tool, fish the tether strap up through the opening
in the console base.
4. Press and maintain firm pressure on the brake pedal. 5. Insert the screwdriver into the slot in the
center of the lever, and disengage the lever
locking tab by pushing it to the right.
Engaging The Lever
6. While holding the locking tab in the disengaged position, pull the tether strap to
rotate the lever up and rearward, until it
locks in place in the vertical position. The
vehicle is now out of PARK and can be
moved. Release the parking brake only
when the vehicle is securely connected to a
tow vehicle. To Reset The Manual Park Release:
1. Push the latch (at the base of the lever, on
the rear side) rearward (away from the
lever) to unlatch the lever.
Disengaging The Lever
2. Rotate the Manual Park Release lever forward and down, to its original position,
until the locking tab snaps into place to
secure the lever.
3. Pull up gently on the tether strap to confirm that the lever is locked in its stowed
position.
4. Tuck the tether strap into the base of the console. Reinstall the console storage bin.
20_LX_OM_EN_USC_t.book Page 226
Page 230 of 328
228IN CASE OF EMERGENCY
(Continued)
TOWING A DISABLED VEHICLE
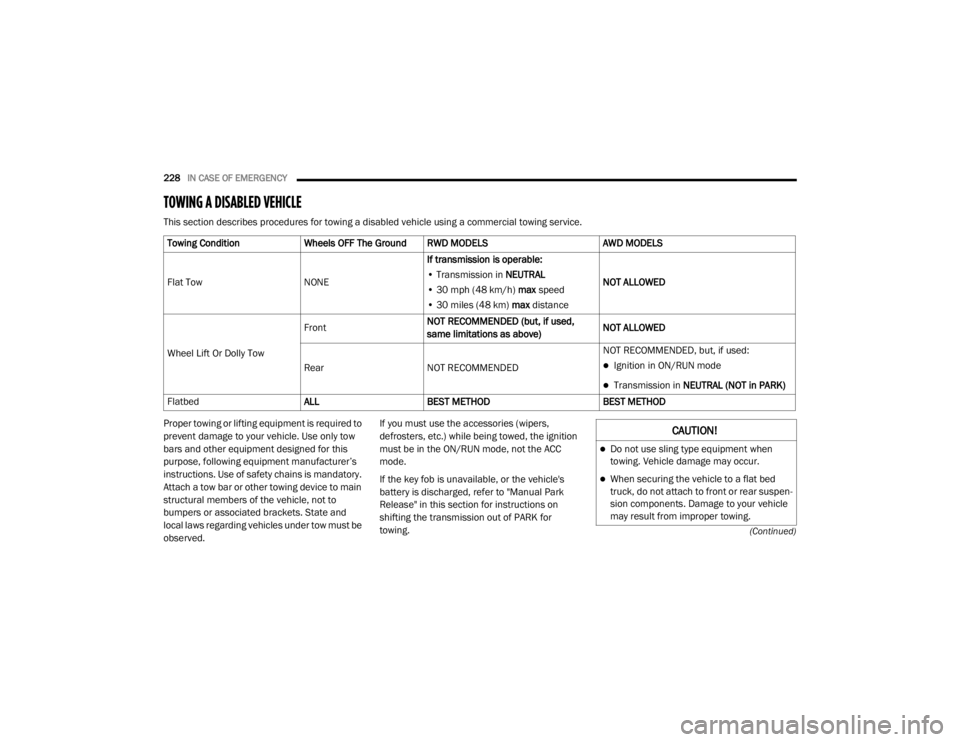
This section describes procedures for towing a disabled vehicle using a commercial towing service.
Proper towing or lifting equipment is required to
prevent damage to your vehicle. Use only tow
bars and other equipment designed for this
purpose, following equipment manufacturer’s
instructions. Use of safety chains is mandatory.
Attach a tow bar or other towing device to main
structural members of the vehicle, not to
bumpers or associated brackets. State and
local laws regarding vehicles under tow must be
observed.If you must use the accessories (wipers,
defrosters, etc.) while being towed, the ignition
must be in the ON/RUN mode, not the ACC
mode.
If the key fob is unavailable, or the vehicle's
battery is discharged, refer to "Manual Park
Release" in this section for instructions on
shifting the transmission out of PARK for
towing.
Towing Condition
Wheels OFF The Ground RWD MODELS AWD MODELS
Flat Tow NONEIf transmission is operable:
• Transmission in NEUTRAL
• 30 mph (48 km/h) max speed
• 30 miles (48 km) max distance NOT ALLOWED
Wheel Lift Or Dolly Tow Front
NOT RECOMMENDED (but, if used,
same limitations as above) NOT ALLOWED
Rear NOT RECOMMENDED NOT RECOMMENDED, but, if used:
Ignition in ON/RUN mode
Transmission in
NEUTRAL (NOT in PARK)
Flatbed ALLBEST METHOD BEST METHOD
CAUTION!
Do not use sling type equipment when
towing. Vehicle damage may occur.
When securing the vehicle to a flat bed
truck, do not attach to front or rear suspen -
sion components. Damage to your vehicle
may result from improper towing.
20_LX_OM_EN_USC_t.book Page 228
Page 248 of 328

246SERVICING AND MAINTENANCE
(Continued)
Removing Wiper From Wiper Arm
5. Gently lower the wiper arm onto the glass.
Installing The Front Wipers
1. Lift the wiper arm off of the glass, until the wiper arm is in the full up position.
2. Position the wiper blade under the hook on the tip of the wiper arm with the wiper
locking tab open.
3. Insert the receiver bracket on the wiper assembly into the hook on the tip of the arm
through the opening in the wiper blade
under the locking tab. 4. Slide the wiper blade onto the arm until
motion stops, then fold down the locking
tab to secure.
NOTE:
The locking tab will not snap into place until the
blade is properly positioned on the wiper arm
hook.
5. Gently lower the wiper blade onto the glass.EXHAUST SYSTEM
The best protection against carbon monoxide
entry into the vehicle body is a properly
maintained engine exhaust system.
If you notice a change in the sound of the
exhaust system; or if the exhaust fumes can be
detected inside the vehicle; or when the
underside or rear of the vehicle is damaged;
have an authorized technician inspect the
complete exhaust system and adjacent body
areas for broken, damaged, deteriorated, or
mispositioned parts. Open seams or loose
connections could permit exhaust fumes to
seep into the passenger compartment. In
addition, have the exhaust system inspected
each time the vehicle is raised for lubrication or
oil change. Replace as required.
1 — Wiper
2 — Wiper Arm J Hook
3 — Locking Tab
WARNING!
Exhaust gases can injure or kill. They
contain carbon monoxide (CO), which is
colorless and odorless. Breathing it can
make you unconscious and can eventually
poison you. To avoid breathing CO, refer to
“Safety Tips” in “Safety” for further informa -
tion.
A hot exhaust system can start a fire if you
park over materials that can burn. Such
materials might be grass or leaves coming
into contact with your exhaust system. Do
not park or operate your vehicle in areas
where your exhaust system can contact
anything that can burn.
CAUTION!
The catalytic converter requires the use of
unleaded fuel only. Leaded gasoline will
destroy the effectiveness of the catalyst as
an emissions control device and may seri -
ously reduce engine performance and
cause serious damage to the engine.
20_LX_OM_EN_USC_t.book Page 246
Page 253 of 328
SERVICING AND MAINTENANCE251
(Continued)
Fluid Level Check — Brake Master Cylinder
Check the fluid level in the master cylinder
immediately if the brake system warning light
indicates system failure.
Check the fluid level in the master cylinder
when performing underhood services.
Clean the top of the master cylinder area before
removing the cap. Add fluid to bring the level up
to the top of the “FULL” mark on the side of the
master cylinder reservoir.
Overfilling of fluid is not recommended because
it may cause leaking in the system.
Add enough fluid to bring the level up to the
requirements described on the brake fluid
reservoir. With disc brakes, fluid level can be
expected to fall as the brake pads wear.
However, low fluid level may be caused by a
leak and a checkup may be needed.
Use only brake fluid that has been
recommended by the manufacturer, and has
been kept in a tightly closed container to avoid
contamination from foreign matter or moisture.
Refer to “Fluids And Lubricants” in “Technical
Specifications” for further information.
AUTOMATIC TRANSMISSION
Selection Of Lubricant
It is important to use the proper transmission
fluid to ensure optimum transmission
performance and life. Use only the
manufacturer's specified transmission fluid.
Refer to “Fluids And Lubricants” in “Technical
Specifications” for fluid specifications. It is
important to maintain the transmission fluid at
the correct level using the recommended fluid.
WARNING!
Use only manufacturer's recommended
brake fluid. Refer to “Fluids And Lubri -
cants” in “Technical Specifications” for
further information. Using the wrong type of
brake fluid can severely damage your brake
system and/or impair its performance. The
proper type of brake fluid for your vehicle is
also identified on the original factory
installed hydraulic master cylinder reser -
voir.
To avoid contamination from foreign matter
or moisture, use only new brake fluid or
fluid that has been in a tightly closed
container. Keep the master cylinder reser -
voir cap secured at all times. Brake fluid in
a open container absorbs moisture from
the air resulting in a lower boiling point. This
may cause it to boil unexpectedly during
hard or prolonged braking, resulting in
sudden brake failure. This could result in a
collision.
Overfilling the brake fluid reservoir can
result in spilling brake fluid on hot engine
parts, causing the brake fluid to catch fire.
Brake fluid can also damage painted and
vinyl surfaces, care should be taken to
avoid its contact with these surfaces.
Do not allow petroleum based fluid to
contaminate the brake fluid. Brake seal
components could be damaged, causing
partial or complete brake failure. This could
result in a collision.
WARNING! (Continued)
7
20_LX_OM_EN_USC_t.book Page 251
Page 286 of 328
284 (Continued)
MULTIMEDIA
UCONNECT SYSTEMS
For detailed information about your Uconnect
system, refer to your Uconnect Owner’s Manual
Supplement.
NOTE:
Uconnect screen images are for illustration
purposes only and may not reflect exact soft-
ware for your vehicle.
CYBERSECURITY
Your vehicle may be a connected vehicle and
may be equipped with both wired and wireless
networks. These networks allow your vehicle to
send and receive information. This information
allows systems and features in your vehicle to
function properly.
Your vehicle may be equipped with certain
security features to reduce the risk of
unauthorized and unlawful access to vehicle
systems and wireless communications. Vehicle
software technology continues to evolve over
time and FCA US LLC, working with its suppliers,
evaluates and takes appropriate steps as
needed. Similar to a computer or other devices, your vehicle may require software updates to
improve the usability and performance of your
systems or to reduce the potential risk of
unauthorized and unlawful access to your
vehicle systems.
The risk of unauthorized and unlawful access to
your vehicle systems may still exist, even if the
most recent version of vehicle software (such as
Uconnect software) is installed.
NOTE:
FCA US LLC or your dealer may contact you
directly regarding software updates.
To help further improve vehicle security and
minimize the potential risk of a security
breach, vehicle owners should:
Routinely check
www.driveuconnect.com
(U.S. Residents) or
www.driveuconnect.ca
(Canadian Residents) to learn about avail -
able Uconnect software updates.
Only connect and use trusted media
devices (e.g. personal mobile phones,
USBs, CDs).
Privacy of any wireless and wired
communications cannot be assured. Third
parties may unlawfully intercept information
and private communications without your
WARNING!
It is not possible to know or to predict all of
the possible outcomes if your vehicle’s
systems are breached. It may be possible
that vehicle systems, including safety related
systems, could be impaired or a loss of
vehicle control could occur that may result in
an accident involving serious injury or death.
ONLY insert media (e.g., USB, SD card, or CD)
into your vehicle if it came from a trusted
source. Media of unknown origin could
possibly contain malicious software, and if
installed in your vehicle, it may increase the
possibility for vehicle systems to be breached.
As always, if you experience unusual
vehicle behavior, take your vehicle to your
nearest authorized dealer immediately.
WARNING! (Continued)
20_LX_OM_EN_USC_t.book Page 284
Page 287 of 328
MULTIMEDIA285
consent. For further information, refer to “Data
Collection & Privacy” in your Uconnect Owner’s
Manual Supplement or “Onboard Diagnostic
System (OBD II) Cybersecurity” in “Getting To
Know Your Instrument Panel”.
UCONNECT SETTINGS
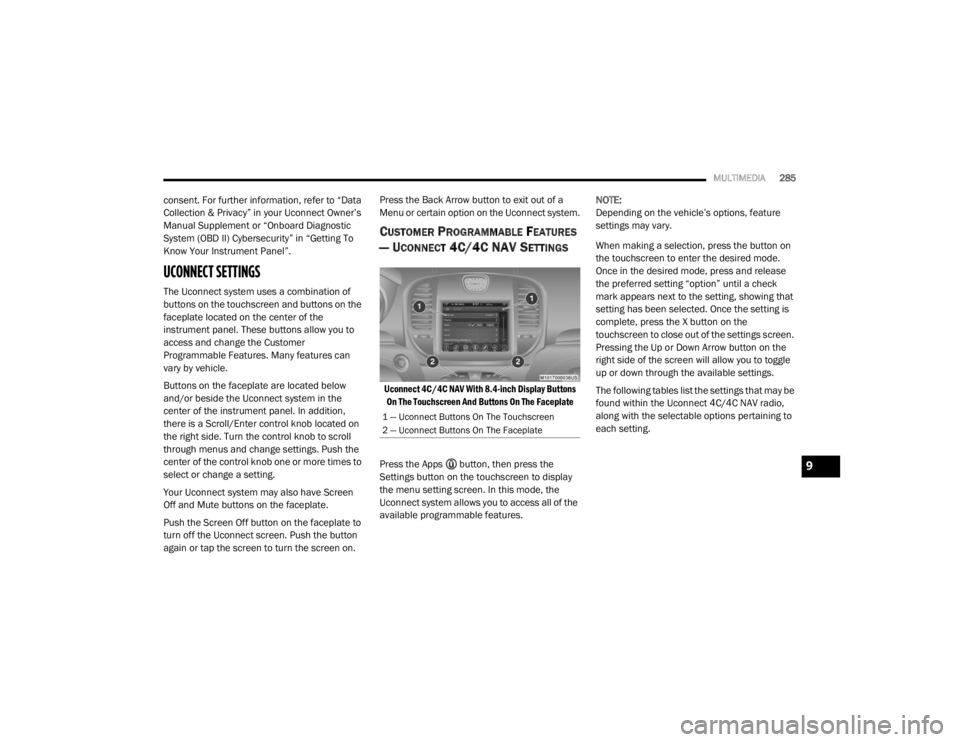
The Uconnect system uses a combination of
buttons on the touchscreen and buttons on the
faceplate located on the center of the
instrument panel. These buttons allow you to
access and change the Customer
Programmable Features. Many features can
vary by vehicle.
Buttons on the faceplate are located below
and/or beside the Uconnect system in the
center of the instrument panel. In addition,
there is a Scroll/Enter control knob located on
the right side. Turn the control knob to scroll
through menus and change settings. Push the
center of the control knob one or more times to
select or change a setting.
Your Uconnect system may also have Screen
Off and Mute buttons on the faceplate.
Push the Screen Off button on the faceplate to
turn off the Uconnect screen. Push the button
again or tap the screen to turn the screen on. Press the Back Arrow button to exit out of a
Menu or certain option on the Uconnect system.
CUSTOMER PROGRAMMABLE FEATURES
— U
CONNECT 4C/4C NAV SETTINGS
Uconnect 4C/4C NAV With 8.4-inch Display Buttons
On The Touchscreen And Buttons On The Faceplate
Press the Apps button, then press the
Settings button on the touchscreen to display
the menu setting screen. In this mode, the
Uconnect system allows you to access all of the
available programmable features. NOTE:
Depending on the vehicle’s options, feature
settings may vary.
When making a selection, press the button on
the touchscreen to enter the desired mode.
Once in the desired mode, press and release
the preferred setting “option” until a check
mark appears next to the setting, showing that
setting has been selected. Once the setting is
complete, press the X button on the
touchscreen to close out of the settings screen.
Pressing the Up or Down Arrow button on the
right side of the screen will allow you to toggle
up or down through the available settings.
The following tables list the settings that may be
found within the Uconnect 4C/4C NAV radio,
along with the selectable options pertaining to
each setting.
1 — Uconnect Buttons On The Touchscreen
2 — Uconnect Buttons On The Faceplate
9
20_LX_OM_EN_USC_t.book Page 285
Page 317 of 328

315
INDEX
A
About Your Brakes......................................... 275Adaptive Cruise Control (ACC)
(Cruise Control).............................................. 163Adding Engine Coolant (Antifreeze)............... 248Adding Fuel.................................................... 188Adding Washing Fluid.................................... 238Additives, Fuel............................................... 277AdjustForward....................................................... 31Rearward..................................................... 31Air Bag........................................................... 123Advance Front Air Bag............................... 123Air Bag Operation...................................... 124Air Bag Warning Light................................ 122Driver Knee Air Bag................................... 125Enhanced Accident Response......... 129, 230Event Data Recorder (EDR)....................... 230Front Air Bag............................................. 123If Deployment Occurs................................ 128Knee Impact Bolsters................................ 125Maintaining Your Air Bag System.............. 129Maintenance............................................. 129Redundant Air Bag Warning Light.............123Side Air Bags............................................. 125Transporting Pets...................................... 142
Air Bag Light.................................. 85, 122, 143Air Cleaner, Engine
(Engine Air Cleaner Filter)............................. 241Air Conditioner Maintenance........................ 242Air Conditioner Refrigerant........................... 242Air Conditioner System...........................50, 242Air Conditioning Filter..............................57, 243Air Conditioning, Operating Tips....................... 56Air Filter........................................................ 241Air PressureTires......................................................... 261AlarmArm The System................................... 22, 23Panic........................................................... 13Rearm The System...................................... 23Security Alarm...................................... 22, 87Alarm SystemSecurity Alarm............................................. 22All Wheel DriveTowing...................................................... 229All Wheel Drive (AWD)................................... 253Alterations/ModificationsVehicle........................................................... 9Android Auto................................................. 308Antifreeze (Engine Coolant)................. 248, 280Disposal................................................... 249
Anti-Lock Brake System (ABS)..........................95Anti-Lock Warning Light...................................90Apple CarPlay................................................ 309Arming SystemSecurity Alarm.............................................22Assist, Hill Start............................................. 100Audio Systems (Radio).................................. 284Auto Down Power Windows..............................58Auto Up Power Windows..................................58Automatic Door Locks...............................27, 28Automatic Headlights.......................................44Automatic High Beams.....................................43Automatic Temperature Control (ATC)..............55Automatic Transmission................................ 153Adding Fluid............................ 252, 281, 283Fluid And Filter Change............................. 252Fluid Change............................................. 252Fluid Level Check............................. 251, 252Fluid Type............................... 251, 281, 283Special Additives...................................... 252Automatic Transmission Limp
Home Mode........................................... 27, 157AutostickOperation.................................................. 158AUX Cord....................................................... 302Auxiliary Electrical Outlet (Power Outlet)..........74
11
20_LX_OM_EN_USC_t.book Page 315