Page 243 of 355
Chevrolet TRAX Owner Manual (GMNA-Localizing-U.S./Canada/Mexico-
13556235) - 2020 - CRC - 9/19/19
242 Vehicle Care
LED Lighting
This vehicle has several LED lamps.
For replacement of any LED lighting
assembly, contact your dealer.
Headlamps, Front Turn
Signal and Parking
Lamps
Base Level Headlamp
Assembly
The base model vehicle has
halogen high-beam and low-beam
headlamps, a parking lamp, an LED
sidemarker lamp, and turn signal
lamps on the headlamp assembly.Driver Side Shown, PassengerSide Similar
1. Turn Signal Lamp
2. High-Beam Headlamp
3. Low-Beam Headlamp/Parking Lamp
High-Beam Headlamp/
Low-Beam Headlamp
1. Open the hood. See Hood
0 216.
For the driver side, remove the
windshield washer bottle filter
neck by firmly pulling it
straight out.
2. Remove the headlamp bulb access cover.
3. Turn the bulb counterclockwise and pull straight back.
Page 244 of 355

Chevrolet TRAX Owner Manual (GMNA-Localizing-U.S./Canada/Mexico-
13556235) - 2020 - CRC - 9/19/19
Vehicle Care 243
4. Disconnect the wiring harnessconnector from the bulb.
5. Install the new bulb in the headlamp assembly by turning
clockwise.
6. Reconnect the wiring harness connector.
7. Install the headlamp bulb access cover.
For the driver side, reinstall the
windshield washer bottle filter
neck by firmly pushing it
straight into the bottle. Ensure
that the filter neck clip engages
into the underhood electrical
center retainer.
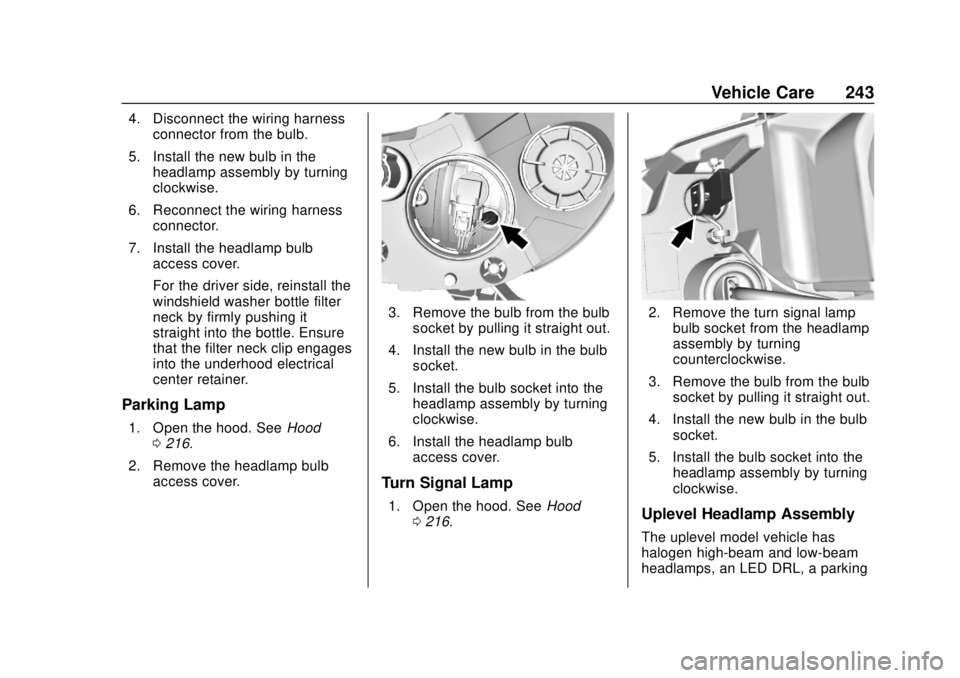
Parking Lamp
1. Open the hood. See Hood
0 216.
2. Remove the headlamp bulb access cover.
3. Remove the bulb from the bulbsocket by pulling it straight out.
4. Install the new bulb in the bulb socket.
5. Install the bulb socket into the headlamp assembly by turning
clockwise.
6. Install the headlamp bulb access cover.
Turn Signal Lamp
1. Open the hood. See Hood
0 216.
2. Remove the turn signal lamp
bulb socket from the headlamp
assembly by turning
counterclockwise.
3. Remove the bulb from the bulb socket by pulling it straight out.
4. Install the new bulb in the bulb socket.
5. Install the bulb socket into the headlamp assembly by turning
clockwise.
Uplevel Headlamp Assembly
The uplevel model vehicle has
halogen high-beam and low-beam
headlamps, an LED DRL, a parking
Page 245 of 355
Chevrolet TRAX Owner Manual (GMNA-Localizing-U.S./Canada/Mexico-
13556235) - 2020 - CRC - 9/19/19
244 Vehicle Care
lamp, an LED sidemarker lamp, and
turn signal lamps on the headlamp
assembly.
1. Turn Signal Lamp
2. High-Beam Headlamp/Low-Beam Headlamp
High-Beam Headlamp/
Low-Beam Headlamp
1. Open the hood. See Hood
0 216.
2. Remove the headlamp bulb
access cover.
3. Turn the bulb counterclockwise and pull straight back.
4. Disconnect the wiring harnessconnector from the bulb.
5. Install the new bulb in the headlamp assembly by turning
clockwise.
6. Reconnect the wiring harness connector.
7. Install the headlamp bulb access cover.
Turn Signal Lamp
1. Open the hood. See Hood
0 216.
Page 246 of 355

Chevrolet TRAX Owner Manual (GMNA-Localizing-U.S./Canada/Mexico-
13556235) - 2020 - CRC - 9/19/19
Vehicle Care 245
2. Remove the turn signal lampbulb socket from the headlamp
assembly by turning
counterclockwise.
3. Remove the bulb from the bulb socket by pulling it straight out.
4. Install the new bulb in the bulb socket.
5. Install the bulb socket into the headlamp assembly by turning
clockwise.
Taillamps, Turn Signal,
Sidemarker, Stoplamps,
and Back-Up Lamps
Base Level Taillamp Assembly
The base model vehicle has a
halogen taillamp/stoplamp, a
stoplamp, a turn signal lamp, a
back-up lamp, and a sidemarker
lamp on the taillamp assembly.
Driver Side Shown, Passenger
Side Similar
1. Taillamp/Stoplamp
2. Back-Up Lamp
3. Turn Signal Lamp
4. Taillamp
5. Sidemarker Lamp
Passenger Side Shown, DriverSide Similar
1. Remove and retain both screws attaching the taillamp
assembly to the vehicle body.
2. Pull the taillamp assembly straight back to detach it from
the vehicle body. Take care
that the cable duct remains in
place.
3. Remove the bulb socket from the taillamp assembly.
4. Remove the old bulb from the bulb socket by pulling it
straight out.
Page 248 of 355

Chevrolet TRAX Owner Manual (GMNA-Localizing-U.S./Canada/Mexico-
13556235) - 2020 - CRC - 9/19/19
Vehicle Care 247
4. Remove the old bulb from thebulb socket by pulling it
straight out.
5. Insert a new bulb into the bulb socket.
6. Install the bulb socket into the taillamp asembly.
7. Install the taillamp assembly to the vehicle body with the two
screws.
License Plate Lamp
Lamp Assembly
Bulb Assembly
To replace one of these bulbs: 1. Push the left end of the lamp
assembly toward the right.
2. Turn the lamp assembly down to remove it.
3. Turn the bulb socket (1) counterclockwise to remove it
from the lamp assembly (3).
4. Pull the bulb (2) straight out of the bulb socket (1).
5. Push the replacement bulb straight into the bulb socket
and turn the bulb socket
clockwise to install it into the
lamp assembly.
6. Turn the lamp assembly into the lamp assembly opening
engaging the clip side first.
7. Push on the lamp side opposite the clip until the lamp assembly
snaps into place.
Page 254 of 355

Chevrolet TRAX Owner Manual (GMNA-Localizing-U.S./Canada/Mexico-
13556235) - 2020 - CRC - 9/19/19
Vehicle Care 253
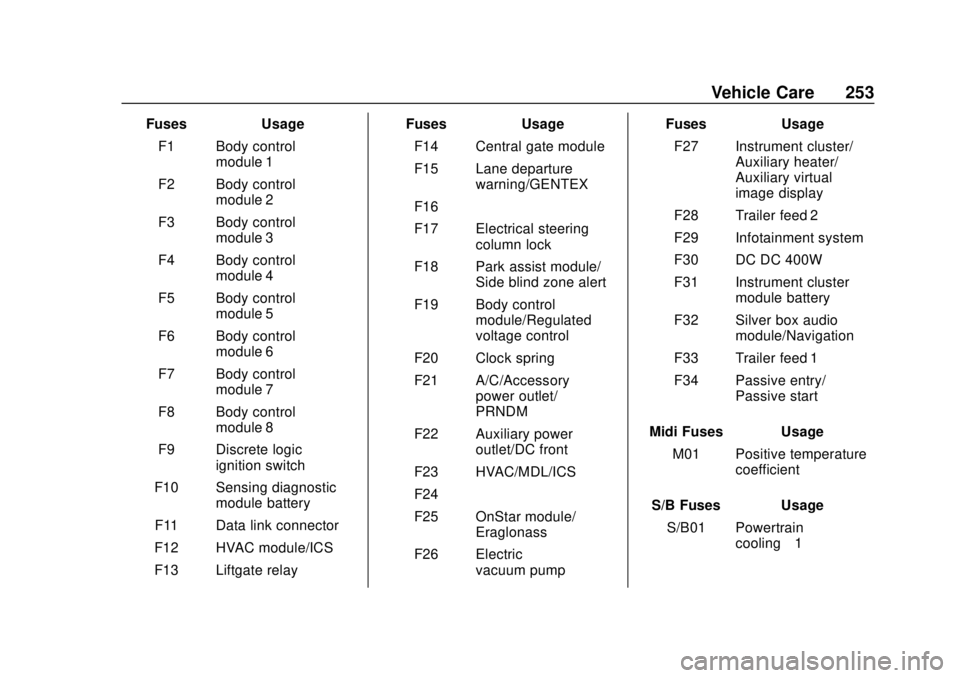
FusesUsage
F1 Body control module 1
F2 Body control module 2
F3 Body control module 3
F4 Body control module 4
F5 Body control module 5
F6 Body control module 6
F7 Body control module 7
F8 Body control module 8
F9 Discrete logic ignition switch
F10 Sensing diagnostic module battery
F11 Data link connector
F12 HVAC module/ICS
F13 Liftgate relay Fuses
Usage
F14 Central gate module
F15 Lane departure warning/GENTEX
F16 –
F17 Electrical steering column lock
F18 Park assist module/ Side blind zone alert
F19 Body control module/Regulated
voltage control
F20 Clock spring
F21 A/C/Accessory power outlet/
PRNDM
F22 Auxiliary power outlet/DC front
F23 HVAC/MDL/ICS
F24 –
F25 OnStar module/ Eraglonass
F26 Electric vacuum pump Fuses
Usage
F27 Instrument cluster/ Auxiliary heater/
Auxiliary virtual
image display
F28 Trailer feed 2
F29 Infotainment system
F30 DC DC 400W
F31 Instrument cluster module battery
F32 Silver box audio module/Navigation
F33 Trailer feed 1
F34 Passive entry/ Passive start
Midi Fuses Usage M01 Positive temperature coefficient
S/B Fuses Usage S/B01 Powertrain cooling–1
Page 278 of 355
Chevrolet TRAX Owner Manual (GMNA-Localizing-U.S./Canada/Mexico-
13556235) - 2020 - CRC - 9/19/19
Vehicle Care 277
3. If the vehicle has a subwooferassembly on top of the spare
tire, remove it by turning the
center retainer
counterclockwise.
4. If the vehicle does not have a subwoofer, turn the retainer
counterclockwise to remove the
spare tire.
5. Remove the spare tire, jack, and tools and place them near
the tire being changed.
Removing the Flat Tire and
Installing the Spare Tire
1. Do a safety check beforeproceeding. See If a Tire Goes
Flat 0274.
2. Remove the wheel cover, if the
vehicle has one, to reach the
wheel bolts.
3. Turn the wheel wrenchcounterclockwise to loosen the
wheel nuts. Do not remove
them yet.
4. Place the jack at the positionmarked with a half circle.
Page 279 of 355

Chevrolet TRAX Owner Manual (GMNA-Localizing-U.S./Canada/Mexico-
13556235) - 2020 - CRC - 9/19/19
278 Vehicle Care
5. Place the hex tube end of thewrench over the hex head of
the jack to attach it.
6. Turn the wheel wrench clockwise until the lift head is
firmly contacting the proper
lifting point nearest the flat tire.
{Warning
Getting under a vehicle when it is
lifted on a jack is dangerous.
If the vehicle slips off the jack,
you could be badly injured or
(Continued)
Warning (Continued)
killed. Never get under a vehicle
when it is supported only by
a jack.
{Warning
Raising the vehicle with the jack
improperly positioned can
damage the vehicle and even
make the vehicle fall. To help
avoid personal injury and vehicle
damage, be sure to fit the jack lift
head into the proper location
before raising the vehicle.
{Warning
Lifting a vehicle and getting under
it to do maintenance or repairs is
dangerous without the
appropriate safety equipment and
training. If a jack is provided with(Continued)
Warning (Continued)
the vehicle, it is designed only for
changing a flat tire. If it is used for
anything else, you or others could
be badly injured or killed if the
vehicle slips off the jack. If a jack
is provided with the vehicle, only
use it for changing a flat tire.
7. Turn the wheel wrench clockwise to raise the vehicle
far enough off the ground so
there is enough room for the
spare tire to fit underneath the
wheel well.
8. Turn the wheel nuts counterclockwise to
remove them.
9. Remove the flat tire.
{Warning
Rust or dirt on a wheel, or on
the parts to which it is
fastened, can make wheel
(Continued)