2020 CHEVROLET BOLT EV On star
[x] Cancel search: On starPage 194 of 347
Chevrolet BOLT EV Owner Manual (GMNA-Localizing-U.S./Canada/Mexico-
13556250) - 2020 - CRC - 2/11/20
Driving and Operating 193
3. Press momentarily on the EPBswitch.
The EPB is released when the red
parking brake status light is off.
If the amber parking brake warning
light is on, release the EPB by
pressing down on the EPB switch
and holding it down. Continue to
hold the switch until the red parking
brake status light is off. If either light
stays on after release is attempted,
see your dealer.
Caution
Driving with the parking brake on
can overheat the brake system
and cause premature wear or
damage to brake system parts.
Make sure that the parking brake
is fully released and the brake
warning light is off before driving.
Automatic EPB Release
The EPB will automatically release if
the vehicle is running, placed into
gear, and an attempt is made to drive away. Avoid rapid acceleration
when the EPB is applied, to
preserve parking brake lining life.
Brake Assist
Brake Assist detects rapid brake
pedal applications due to
emergency braking situations and
provides additional braking to
activate the Antilock Brake System
(ABS) if the brake pedal is not
pushed hard enough to activate
ABS normally. Minor noise, brake
pedal pulsation, and/or pedal
movement during this time may
occur. Continue to apply the brake
pedal as the driving situation
dictates. Brake Assist disengages
when the brake pedal is released.
Hill Start Assist (HSA)
{Warning
Do not rely on the HSA feature.
HSA does not replace the need to
pay attention and drive safely.
(Continued)
Warning (Continued)
You may not hear or feel alerts or
warnings provided by this system.
Failure to use proper care when
driving may result in injury, death,
or vehicle damage. See
Defensive Driving0173.
When the vehicle is stopped on a
grade, Hill Start Assist (HSA)
prevents the vehicle from rolling in
an unintended direction during the
transition from brake pedal release
to accelerator pedal apply. The
brakes release when the accelerator
pedal is applied. If the accelerator
pedal is not applied within a few
minutes, the Electric Parking Brake
will apply. The brakes may also
release under other conditions. Do
not rely on HSA to hold the vehicle.
HSA is available when the vehicle is
facing uphill in a forward gear,
or when facing downhill in
R (Reverse). The vehicle must
come to a complete stop on a grade
for HSA to activate.
Page 196 of 347
Chevrolet BOLT EV Owner Manual (GMNA-Localizing-U.S./Canada/Mexico-
13556250) - 2020 - CRC - 2/11/20
Driving and Operating 195
vehicle wheel brakes to assist the
driver in keeping the vehicle on the
intended path.
If cruise control is being used and
TCS or StabiliTrak/ESC begins to
limit wheel spin, cruise control will
disengage. Cruise control may be
turned back on when road
conditions allow.
Both systems come on
automatically when the vehicle is
started and begins to move. The
systems may be heard or felt while
they are operating or while
performing diagnostic checks. This
is normal and does not mean there
is a problem with the vehicle.
It is recommended to leave both
systems on for normal driving
conditions, but it may be necessary
to turn TCS off if the vehicle gets
stuck in sand, mud, ice, or snow.
See“Turning the Systems Off and
On” later in this section.
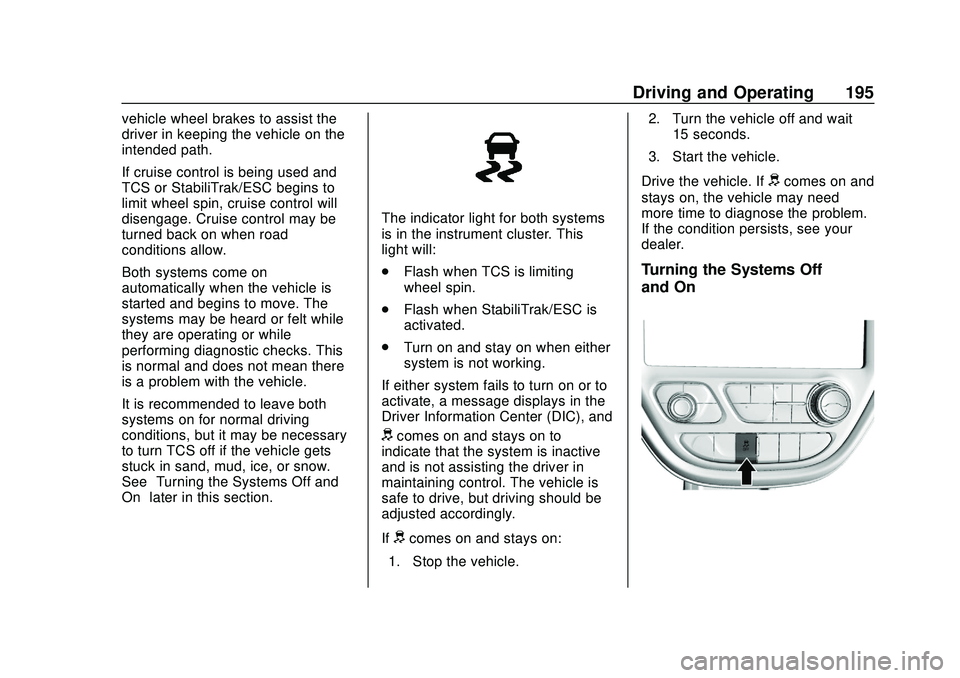
The indicator light for both systems
is in the instrument cluster. This
light will:
.
Flash when TCS is limiting
wheel spin.
. Flash when StabiliTrak/ESC is
activated.
. Turn on and stay on when either
system is not working.
If either system fails to turn on or to
activate, a message displays in the
Driver Information Center (DIC), and
dcomes on and stays on to
indicate that the system is inactive
and is not assisting the driver in
maintaining control. The vehicle is
safe to drive, but driving should be
adjusted accordingly.
If
dcomes on and stays on:
1. Stop the vehicle. 2. Turn the vehicle off and wait
15 seconds.
3. Start the vehicle.
Drive the vehicle. If
dcomes on and
stays on, the vehicle may need
more time to diagnose the problem.
If the condition persists, see your
dealer.
Turning the Systems Off
and On
Page 211 of 347
Chevrolet BOLT EV Owner Manual (GMNA-Localizing-U.S./Canada/Mexico-
13556250) - 2020 - CRC - 2/11/20
210 Driving and Operating
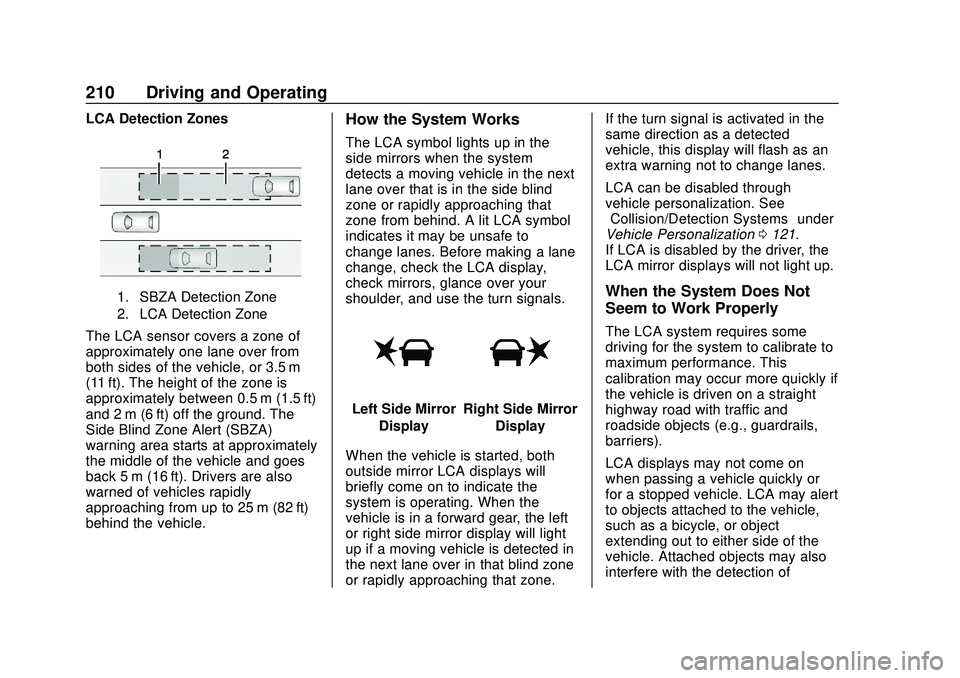
LCA Detection Zones
1. SBZA Detection Zone
2. LCA Detection Zone
The LCA sensor covers a zone of
approximately one lane over from
both sides of the vehicle, or 3.5 m
(11 ft). The height of the zone is
approximately between 0.5 m (1.5 ft)
and 2 m (6 ft) off the ground. The
Side Blind Zone Alert (SBZA)
warning area starts at approximately
the middle of the vehicle and goes
back 5 m (16 ft). Drivers are also
warned of vehicles rapidly
approaching from up to 25 m (82 ft)
behind the vehicle.
How the System Works
The LCA symbol lights up in the
side mirrors when the system
detects a moving vehicle in the next
lane over that is in the side blind
zone or rapidly approaching that
zone from behind. A lit LCA symbol
indicates it may be unsafe to
change lanes. Before making a lane
change, check the LCA display,
check mirrors, glance over your
shoulder, and use the turn signals.
Left Side MirrorDisplayRight Side Mirror Display
When the vehicle is started, both
outside mirror LCA displays will
briefly come on to indicate the
system is operating. When the
vehicle is in a forward gear, the left
or right side mirror display will light
up if a moving vehicle is detected in
the next lane over in that blind zone
or rapidly approaching that zone. If the turn signal is activated in the
same direction as a detected
vehicle, this display will flash as an
extra warning not to change lanes.
LCA can be disabled through
vehicle personalization. See
“Collision/Detection Systems”
under
Vehicle Personalization 0121.
If LCA is disabled by the driver, the
LCA mirror displays will not light up.
When the System Does Not
Seem to Work Properly
The LCA system requires some
driving for the system to calibrate to
maximum performance. This
calibration may occur more quickly if
the vehicle is driven on a straight
highway road with traffic and
roadside objects (e.g., guardrails,
barriers).
LCA displays may not come on
when passing a vehicle quickly or
for a stopped vehicle. LCA may alert
to objects attached to the vehicle,
such as a bicycle, or object
extending out to either side of the
vehicle. Attached objects may also
interfere with the detection of
Page 216 of 347
Chevrolet BOLT EV Owner Manual (GMNA-Localizing-U.S./Canada/Mexico-
13556250) - 2020 - CRC - 2/11/20
Driving and Operating 215
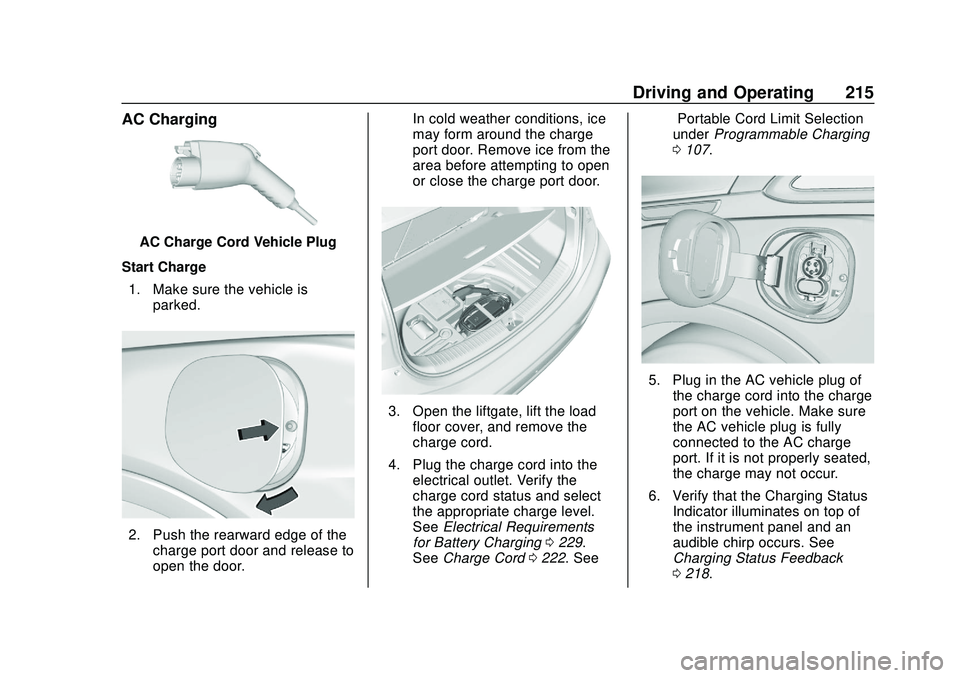
AC Charging
AC Charge Cord Vehicle Plug
Start Charge 1. Make sure the vehicle is parked.
2. Push the rearward edge of thecharge port door and release to
open the door. In cold weather conditions, ice
may form around the charge
port door. Remove ice from the
area before attempting to open
or close the charge port door.
3. Open the liftgate, lift the load
floor cover, and remove the
charge cord.
4. Plug the charge cord into the electrical outlet. Verify the
charge cord status and select
the appropriate charge level.
See Electrical Requirements
for Battery Charging 0229.
See Charge Cord 0222. See “Portable Cord Limit Selection”
under
Programmable Charging
0 107.
5. Plug in the AC vehicle plug of
the charge cord into the charge
port on the vehicle. Make sure
the AC vehicle plug is fully
connected to the AC charge
port. If it is not properly seated,
the charge may not occur.
6. Verify that the Charging Status Indicator illuminates on top of
the instrument panel and an
audible chirp occurs. See
Charging Status Feedback
0218.
Page 217 of 347
Chevrolet BOLT EV Owner Manual (GMNA-Localizing-U.S./Canada/Mexico-
13556250) - 2020 - CRC - 2/11/20
216 Driving and Operating
7. To arm the charge cord theftalert, lock the vehicle twice with
the RKE transmitter. To disarm
this feature, see Charging
Options 0117.
End Charge 1. Unlock the vehicle with the RKE transmitter to disarm the
charge cord theft alert.
2. Unplug the vehicle plug of the charge cord from the vehicle.
Unlock the vehicle plug of the
charge cord from the vehicle by
pressing the button on the top
of the charge cord plug.
3. Close the charge port door by pressing firmly in the center
until it latches.
4. Unplug the charge cord from the electrical outlet.
5. Place the charge cord into the storage compartment.DC Charging (If Equipped)
DC Charging Station Hardware
Check the charge station DC
vehicle plug for compatibility with
the DC charge port on this vehicle.
When recharging at a DC fast
charge station, the power cable
connected to the vehicle must be
less than 10 m (33 ft) in length.
Follow the steps listed on the
charging station to perform a DC
vehicle charge.
If for any reason DC charging does
not begin or is interrupted, check
the DC charge station display for
messages. Unplug to restart the DC
charge process.
Start Charge
1. Make sure the vehicle is parked.
2. Push the rearward edge of the charge port door and release to
open the door.
In cold weather conditions, ice
may form around the charge
port door. The charge port door may not open on the first
attempt. Remove ice from the
area and repeat attempting to
open the charge port door.
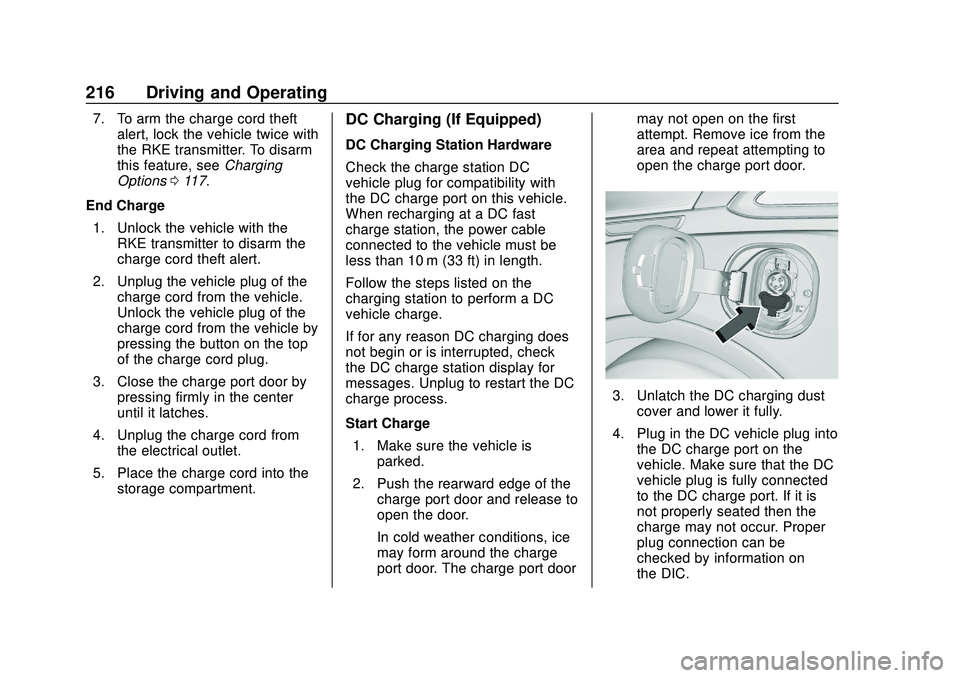
3. Unlatch the DC charging dust
cover and lower it fully.
4. Plug in the DC vehicle plug into the DC charge port on the
vehicle. Make sure that the DC
vehicle plug is fully connected
to the DC charge port. If it is
not properly seated then the
charge may not occur. Proper
plug connection can be
checked by information on
the DIC.
Page 218 of 347
Chevrolet BOLT EV Owner Manual (GMNA-Localizing-U.S./Canada/Mexico-
13556250) - 2020 - CRC - 2/11/20
Driving and Operating 217
5. Follow the steps listed on thecharging station to start
charging.
6. Once charging, the DC vehicle plug will be locked to the DC
charge port and cannot be
disconnected while charging is
active.
7. Verify that the Charging Status Indicator illuminates on top of
the instrument panel and an
audible chirp occurs. See
Charging Status Feedback
0218.
Caution
Do not attempt to disconnect the
DC vehicle plug while charging is
active. This action may damage
the vehicle or charging station
hardware.
Stop Charge
Controls on the charging station can
be used to stop the charge process
at any time. To stop the charge when inside the
vehicle, use the Stop button on the
Charging screen, or press the
button on top of the AC vehicle cord
handle.
Stop Charge
—Automatic
When the vehicle no longer needs
to use power from the charging
station, it will stop charging and the
DC vehicle plug will be unlocked
from the DC charge port.
Energy can still be consumed from
the charging station when the
vehicle’s displays and indicators
show that the battery is fully
charged. This is to ensure the
battery is in optimal temperature
operating range to maximize vehicle
range. See Programmable Charging
0 107.
End Charge 1. Wait until the charging process has been fully stopped, the
vehicle plug is unlocked, and
the Charging Status Indicator is
solid green or off. If the vehicle plug does not
unlock from the vehicle charge
port after a charge, contact
Roadside Assistance for
assistance. See
Roadside
Assistance Program 0316.
2. Unplug the DC vehicle plug from the DC charge port on the
vehicle and close the dust
cover.
3. Close the charge port door by pressing firmly in the center
until it latches.
4. The Electric Parking Brake should be manually
disengaged before driving the
vehicle.
5. To start another DC charge, remove the DC vehicle plug
and reconnect.
Delayed Charging
Override
To temporarily override a delayed
charge event, unplug the charge
cord from the charge port and then
Page 227 of 347
Chevrolet BOLT EV Owner Manual (GMNA-Localizing-U.S./Canada/Mexico-
13556250) - 2020 - CRC - 2/11/20
226 Driving and Operating
OPSymbol Fault/Condition/Event
(Off (No Light)nFlashing RedRb
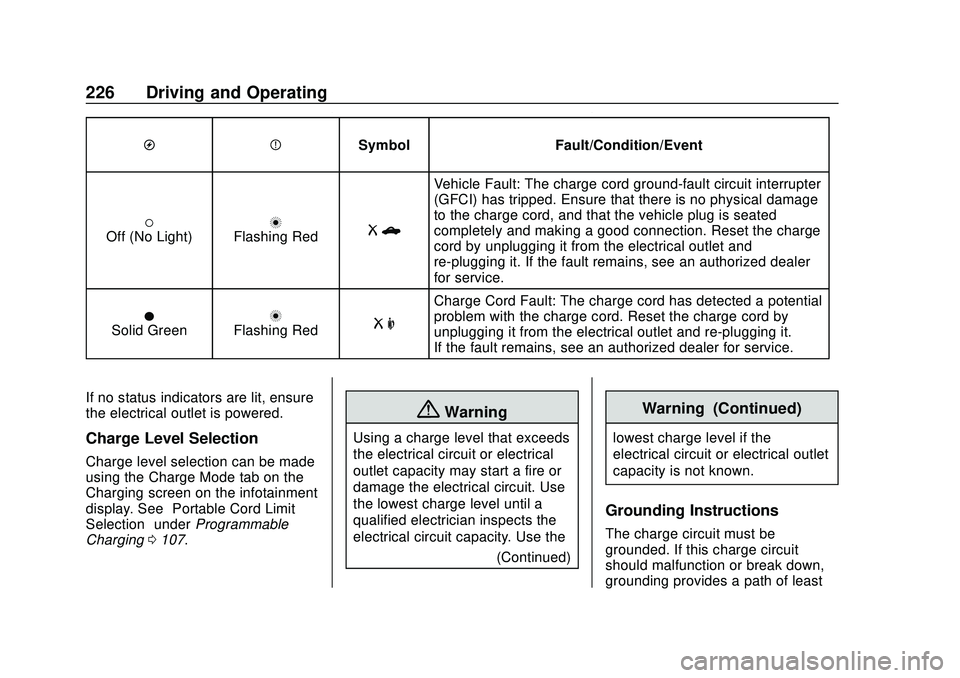
Vehicle Fault: The charge cord ground-fault circuit interrupter
(GFCI) has tripped. Ensure that there is no physical damage
to the charge cord, and that the vehicle plug is seated
completely and making a good connection. Reset the charge
cord by unplugging it from the electrical outlet and
re-plugging it. If the fault remains, see an authorized dealer
for service.
OSolid GreennFlashing RedR m
Charge Cord Fault: The charge cord has detected a potential
problem with the charge cord. Reset the charge cord by
unplugging it from the electrical outlet and re-plugging it.
If the fault remains, see an authorized dealer for service.
If no status indicators are lit, ensure
the electrical outlet is powered.
Charge Level Selection
Charge level selection can be made
using the Charge Mode tab on the
Charging screen on the infotainment
display. See “Portable Cord Limit
Selection” underProgrammable
Charging 0107.
{Warning
Using a charge level that exceeds
the electrical circuit or electrical
outlet capacity may start a fire or
damage the electrical circuit. Use
the lowest charge level until a
qualified electrician inspects the
electrical circuit capacity. Use the
(Continued)
Warning (Continued)
lowest charge level if the
electrical circuit or electrical outlet
capacity is not known.
Grounding Instructions
The charge circuit must be
grounded. If this charge circuit
should malfunction or break down,
grounding provides a path of least
Page 229 of 347
Chevrolet BOLT EV Owner Manual (GMNA-Localizing-U.S./Canada/Mexico-
13556250) - 2020 - CRC - 2/11/20
228 Driving and Operating
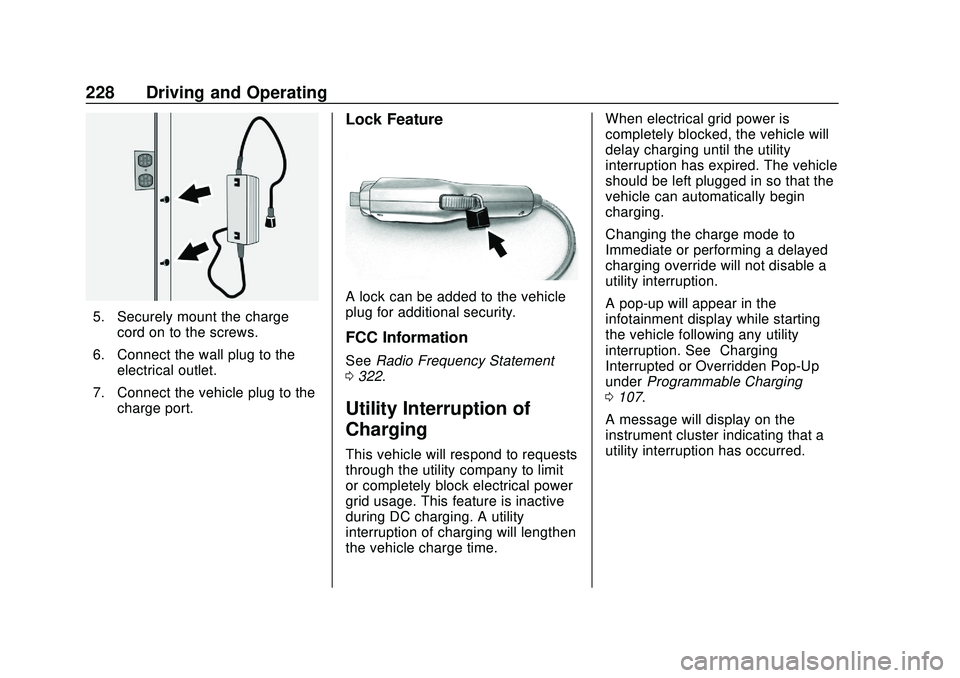
5. Securely mount the chargecord on to the screws.
6. Connect the wall plug to the electrical outlet.
7. Connect the vehicle plug to the charge port.
Lock Feature
A lock can be added to the vehicle
plug for additional security.
FCC Information
See Radio Frequency Statement
0 322.
Utility Interruption of
Charging
This vehicle will respond to requests
through the utility company to limit
or completely block electrical power
grid usage. This feature is inactive
during DC charging. A utility
interruption of charging will lengthen
the vehicle charge time. When electrical grid power is
completely blocked, the vehicle will
delay charging until the utility
interruption has expired. The vehicle
should be left plugged in so that the
vehicle can automatically begin
charging.
Changing the charge mode to
Immediate or performing a delayed
charging override will not disable a
utility interruption.
A pop-up will appear in the
infotainment display while starting
the vehicle following any utility
interruption. See
“Charging
Interrupted or Overridden Pop-Up”
under Programmable Charging
0 107.
A message will display on the
instrument cluster indicating that a
utility interruption has occurred.