Page 143 of 685
142
Controls
Clock
Adjusting the Clock
The clock is automatically updated through the navigation system, so the time does
not need to be adjusted.
You can adjust the time manually in the information screen with the power mode in
ON.
■Using the Settings menu on the information screen
1.Press the SETTINGS button.
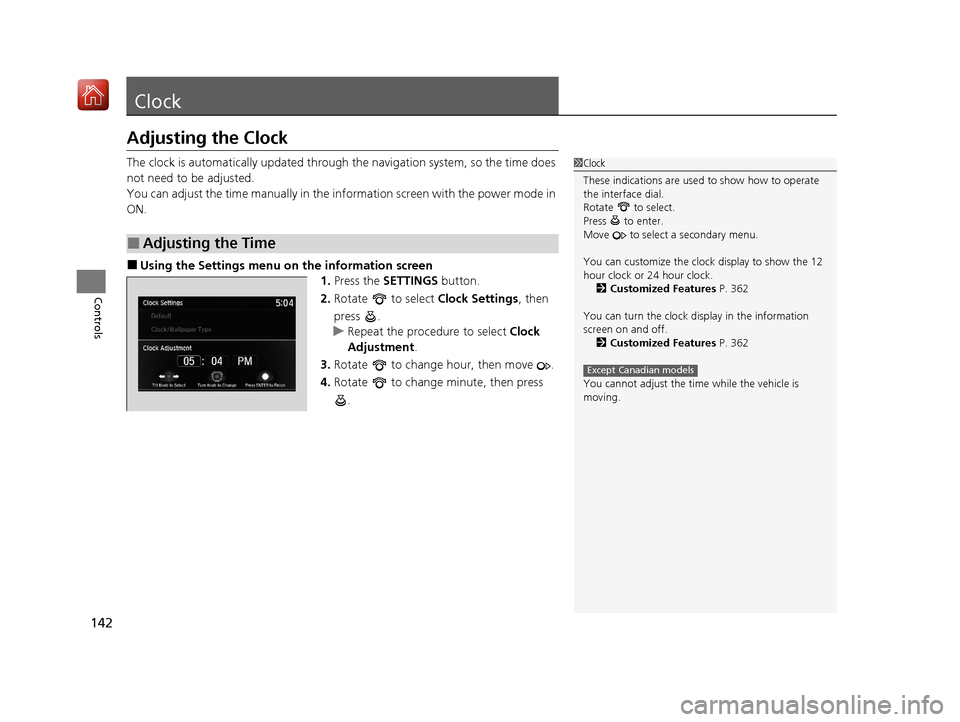
2. Rotate to select Clock Settings, then
press .
u Repeat the procedure to select Clock
Adjustment .
3. Rotate to change hour, then move .
4. Rotate to change minute, then press
.
■Adjusting the Time
1Clock
These indications are used to show how to operate
the interface dial.
Rotate to select.
Press to enter.
Move to select a secondary menu.
You can customize the clock display to show the 12
hour clock or 24 hour clock. 2 Customized Features P. 362
You can turn the clock display in the information
screen on and off. 2 Customized Features P. 362
You cannot adjust the time while the vehicle is
moving.
Except Canadian models
20 ACURA MDX E-AWD-31TRX6302.book 142 ページ 2020年2月11日 火曜日 午後1時 45分
Page 244 of 685
243
Features
Audio System Basic Operation
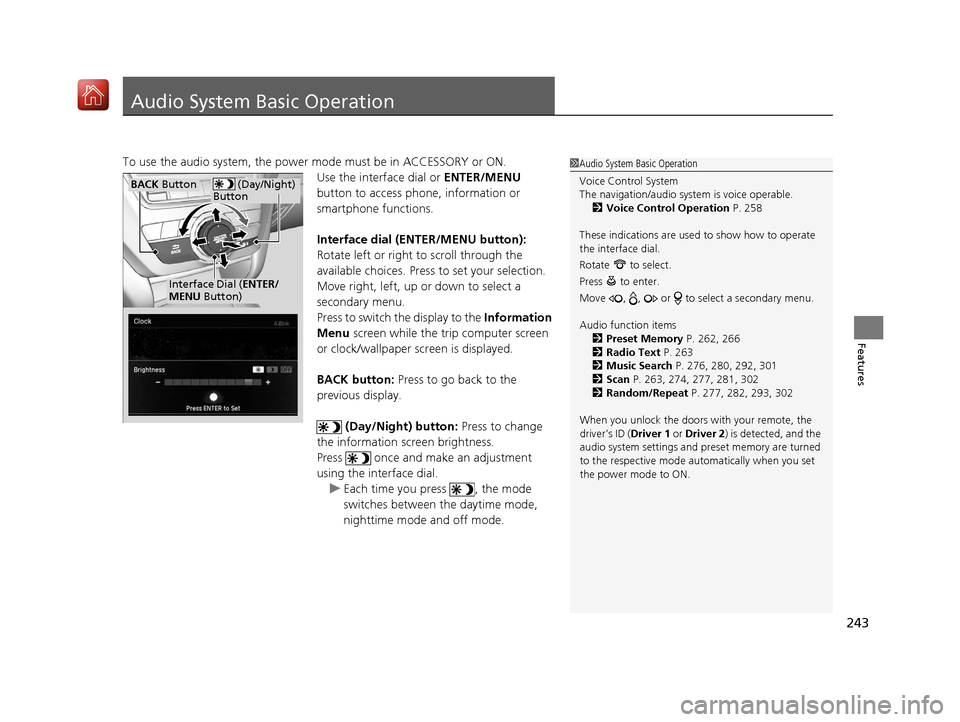
To use the audio system, the power mode must be in ACCESSORY or ON.Use the interface dial or ENTER/MENU
button to access phone, information or
smartphone functions.
Interface dial (E NTER/MENU button):
Rotate left or right to scroll through the
available choices. Press to set your selection.
Move right, left, up or down to select a
secondary menu.
Press to switch the display to the Information
Menu screen while the trip computer screen
or clock/wallpaper screen is displayed.
BACK button: Press to go back to the
previous display.
(Day/Night) button: Press to change
the information screen brightness.
Press once and make an adjustment
using the interface dial. u Each time you press , the mode
switches between the daytime mode,
nighttime mode and off mode.1Audio System Basic Operation
Voice Control System
The navigation/audio system is voice operable.
2 Voice Control Operation P. 258
These indications are used to show how to operate
the interface dial.
Rotate to select.
Press to enter.
Move , , or to se lect a secondary menu.
Audio function items 2 Preset Memory P. 262, 266
2 Radio Text P. 263
2 Music Search P. 276, 280, 292, 301
2 Scan P. 263, 274, 277, 281, 302
2 Random/Repeat P. 277, 282, 293, 302
When you unlock the doors with your remote, the
driver’s ID ( Driver 1 or Driver 2) is detected, and the
audio system settings and pr eset memory are turned
to the respective mode automatically when you set
the power mode to ON.
(Day/Night)
ButtonBACK Button
Interface Dial ( ENTER/
MENU Button)
20 ACURA MDX E-AWD-31TRX6302.book 243 ページ 2020年2月11日 火曜日 午後1時 45分
Page 249 of 685
248
uuAudio System Basic Operation uInformation Screen
Features
Information Screen
Displays the navigation, HFL information, clock/wallpaper, trip computer, Apple
CarPlay and Android Auto. From this screen, you can go to various setup options.
Press the NAV, PHONE , INFO and SMARTPHONE buttons to go to the
corresponding display.
■Switching the Display
Phone Info Smartphone
SMARTPHONE Button
PHONE Button
NAV
Button INFO Button
Navigation
20 ACURA MDX E-AWD-31TRX6302.book 248 ページ 2020年2月11日 火曜日 午後1時
45分
Page 250 of 685
249
uuAudio System Basic Operation uInformation Screen
Continued
Features
■Navigation
Shows the navigation screen.
2 Refer to the Navigation System Manual
■Phone
Shows the HFL information.
2 Bluetooth ® HandsFreeLink ® P. 397
■Info
Shows the AcuraLink/Messages , Trip Computer , Clock , Traffic Incidents ,
Power Distribution Monitor or Voice Recognition Guide . Press or INFO
button to display the Information Menu screen.
AcuraLink/Messages :
Shows a AcuraLink ® message menu list.
2 AcuraLink Message P. 442
Trip Computer:
Current Drive
Shows the range, instant and average fuel economy, and EV/total drive of the
current trip, as well as the average fuel economy from your last trip.
History of Trip A
Shows the range, average fuel economy and distances traveled for the current trip,
as well as the average fuel economy and distances traveled during the last three
driving cycles.
Each time you reset the trip meter A, th e information on the display updates. The
history of the previous three driving cycles is kept.
20 ACURA MDX E-AWD-31TRX6302.book 249 ページ 2020年2月11日 火曜日 午後1時 45分
Page 255 of 685
uuAudio System Basic Operation uInformation Screen
254
Features
You can change, store, and delete the wallpaper on the information screen.
■Import wallpaper
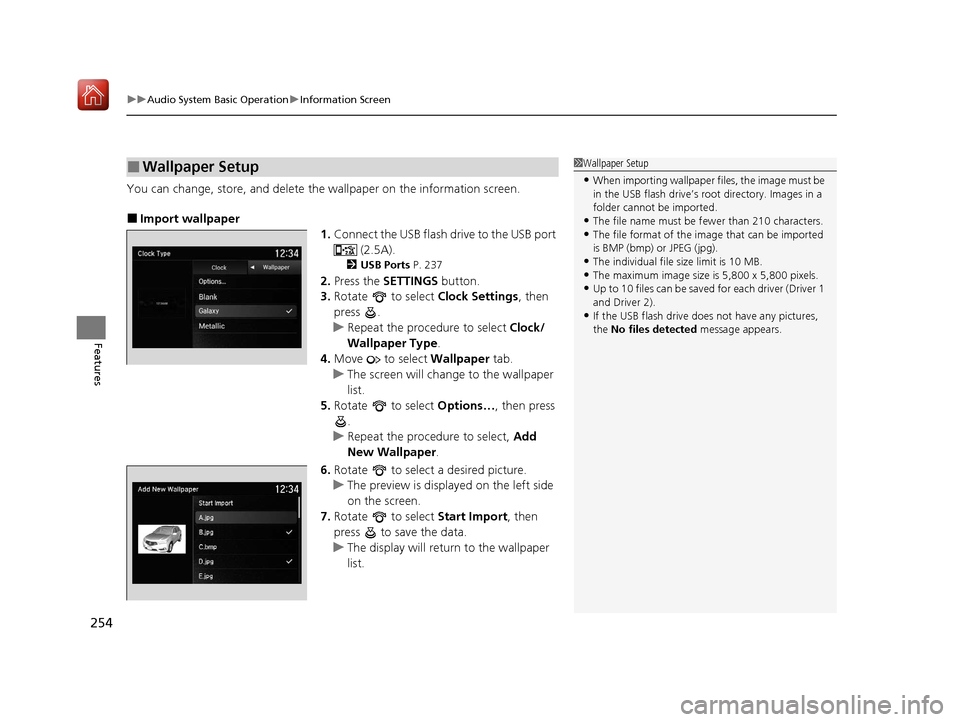
1.Connect the USB flash drive to the USB port
(2.5A).
2USB Ports P. 237
2.Press the SETTINGS button.
3. Rotate to select Clock Settings, then
press .
u Repeat the procedure to select Clock/
Wallpaper Type .
4. Move to select Wallpaper tab.
u The screen will change to the wallpaper
list.
5. Rotate to select Options…, then press
.
u Repeat the procedure to select, Add
New Wallpaper .
6. Rotate to select a desired picture.
u The preview is displayed on the left side
on the screen.
7. Rotate to select Start Import, then
press to save the data.
u The display will return to the wallpaper
list.
■Wallpaper Setup1Wallpaper Setup
•When importing wallpaper files, the image must be
in the USB flash drive’s root directory. Images in a
folder cannot be imported.
•The file name must be fewer than 210 characters.•The file format of the im age that can be imported
is BMP (bmp) or JPEG (jpg).
•The individual file size limit is 10 MB.•The maximum image size is 5,800 x 5,800 pixels.
•Up to 10 files can be saved for each driver (Driver 1
and Driver 2).
•If the USB flash drive doe s not have any pictures,
the No files detected message appears.
20 ACURA MDX E-AWD-31TRX6302.book 254 ページ 2020年2月11日 火曜日 午後1時 45分
Page 256 of 685
255
uuAudio System Basic Operation uInformation Screen
Features
■Select wallpaper
1. Press the SETTINGS button.
2. Rotate to select Clock Settings, then press .
u Repeat the procedure to select Clock/Wallpaper Type .
3. Move to select Wallpaper.
u The screen changes to the wallpaper list.
4. Rotate to select a desired wallpaper, then press .
u The preview is displayed on the left side on the screen.
u The pop-up menu appears on the screen.
5. Rotate to select Set, then press .
u The display will return to the Clock Settings screen.
■Delete wallpaper
1. Press the SETTINGS button.
2. Rotate to select Clock Settings, then press .
u Repeat the procedure to select Clock/Wallpaper Type .
3. Move to select Wallpaper.
u The screen changes to the wallpaper list.
4. Rotate to select a wallpaper that you want to delete, then press .
u The preview is displayed on the left side on the screen.
u The pop-up menu appears on the screen.
5. Rotate to select Delete, then press .
u The confirmation me ssage will appear.
6. Rotate to select Yes, then press to delete completely.
u The display will return to the wallpaper list.
20 ACURA MDX E-AWD-31TRX6302.book 255 ページ 2020年2月11日 火曜日 午後1時 45分
Page 368 of 685
367
uuCustomized Features u
Continued
Features
Auto Time Zone
Clock/Wallpaper Type
Clock Adjustment
Clock
Settings
Clock Format
Default
Auto Daylight
Clock Reset
AcuraLink Msg Notice
Delete AcuraLink Messages
AcuraLink Settings
AcuraLink Subscription Status
Default
20 ACURA MDX E-AWD-31TRX6302.book 367 ページ 2020年2月11日 火曜日 午後1時 45分
Page 369 of 685
368
uuCustomized Features u
Features
Voice Prompt
Brightness
Contrast
Black Level
Default
Display
System
Settings
Voice Reco.
Sync Display Brightness
System Device Information
Header Clock Display
Language
Operation Restriction Tips*
Others
Default
Apple CarPlay Device List
Android Auto Device List
Smartphone
Settings
Smartphone Volume
Factory Data Reset
Units
Song By Voice
Song By Voice Phonetic Modification
Phonebook Phonetic Modification
Guidance Volume
FeedbackGuidance Volume
Verbal Reminder
* Not available on all models
20 ACURA MDX E-AWD-31TRX6302.book 368 ページ 2020年2月11日 火曜日 午後1時 45分