2019 VOLKSWAGEN TRANSPORTER roof
[x] Cancel search: roofPage 337 of 486
Action Indicator lamp Fig. 267
Attempt to switch on: lights up orange for approximately Attempt to switch on or off using button @ or@ when the battery in the remote con-trol is low. The auxiliary coolant heater is blocked bl.
2 seconds, then flashes green in very short intervals for an-other 2 seconds. The switch-on signal is not processed. Attempt to switch off: lights up orange for approximately 2 seconds, then turns red for another 2 seconds. The switch-off signal is not processed.
Attempt to switch on or off using button @ or@ when the battery in the remote con-trol is empty.
Flashes orange in very short intervals for approximately 5 seconds. The switch-on or switch-off signal is not pro-cessed.
•> If you are at the edge of the receiving range, the remote control may not be able to receive the confirmation signal from the sen-sor in the vehicle. If this is the case, the remote control will show a fault even though the supplementary heating system has ac-tually been switched on or off. Move closer to the vehicle and try pressing the corresponding button on the remote control again.
b) If the automatic switch-off for electrical consumers page 365 is activated or if the reserve level in lhe fuel tank page 340 has been reached, the auxiliary coolant heater may be blocked automatically.
Settings for remote control
The supplementary heating system is activated or deactivated by means of the remote control. The Start Time menu can be used to program the oper-ating duration and the heating level (auxiliary air heater) or the operating mode (auxiliary coolant heater).
• Press any button on the roof display to activate the roof display.
• Press and hold down the (ill) button for several seconds.
• Press the function button ...... or ,... as often as necessary until "REMOTE CONT." is displayed.
• Press the (ill) button to confirm.
• Press the function button ...... or ,... until the re-quired temperature or mode is displayed.
• Press the (ill) button to confirm the selected heating level or operating mode. The operating du-ration menu is displayed.
• Press the function button ...... or ,... until the re-quired operating duration is displayed.
• Press button @)to confirm the operating dura-tion. A summary of the settings is displayed.
Replacing the battery for the remote control
Auxiliary air heater: the battery is located on the back of the remote control underneath a cover 266 [ID. Pull off the cover® towards the rear.
Auxiliary coolant heater: the battery is located on the back of the remote control underneath a cover 267 [ID. Use a flat object, e.g. a coin, to turn the slot anti-clockwise in order to open the cover
®-
When changing the batteries, ensure you insert them the right way (poles) and that they are the same type
Range
The receiver is located in the vehicle interior. The remote control key has a range of several hundred metres when the battery is fully charged. The range of the remote control key can be considera-bly reduced by obstacles between the remote con-trol key and the vehicle, bad weather conditions, and a flat battery.
To achieve optimal range, hold the remote control vertically with the aerial 266 or 267 at the top. Do not hold the aer-ial with your fingers or the palm of your hand.
The distance between the remote control and the vehicle must be at least 2 metres.
CD
• The remote control contains electronic com-ponents. Protect the remote control from mois-ture, excessive vibration and direct sunlight.
• Unsuitable batteries can damage the remote control. Only replace discharged batteries with a new battery of the same voltage rating, size and specification.
Discharged batteries must be disposed of in W accordance with regulations governing the protection of the environment.
The battery in the remote control may contain W perchlorate. Please comply with legislation regarding disposal.
m Protect the remote control against inadver-L!.J tent operation in order to prevent the supple-mentary heater from being switched on uninten-
Air conditioning system I 337
Page 338 of 486
Programming the supplementary heating system
r('n First read and observe the introductory L-Wl Information and safety warnings & on page 332.
In vehicles with camping equipment (California), the supplementary heater is programmed via the central control panel =>page 192.
Setting the date
Before being used for the first time and if the vehi-cle battery has been disconnected and reconnec-ted, the date needs to be set.
• Press any button on the roof display to activate the roof display.
• Press button @!) until the date is displayed.
• Press button @!) again. The day flashes.
• Press the function button .... or T until the re-quired day is displayed.
• Press button @!) again to confirm the day. The month flashes.
• Proceed in the same way for the month and the year.
Time
The time is automatically taken from the instrument cluster.
Setting the start time
You can programme up to three different start times. Only one of these can be activated at a time.
The following steps must be carried out in less than 10 seconds as the procedure will otherwise be stopped.
• Press any button on the roof display to activate the roof display.
• Press until OFF is displayed.
• Press the @) button, press function button .... or T as often as necessary until ON is displayed.
• Press the@) button to confirm.
• Press the function button .... or T until the re-quired temperature or mode is displayed.
• Press the @!) button to confirm.
• Press the function button .... or T as often as necessary until the start time to be switched on or off is displayed.
338 I While dnvmg
• Press the function button .... or T until the re-quired day of week is displayed. If a day is not dis-played, no day has been programmed, only a time. The supplementary heater will then be switched on at this programmed time.
• Press the @) button to confirm the selected day of the week. The hour menu is displayed.
• Proceed in the same way for the hour, for mi-nutes as well as the operating duration.
• Press the @) button to confirm the settings. A summary of the settings is displayed.
The start time for which the changes have been made has been activated. To activate additional start times, press and hold down for several seconds, select the start time with the func-tion buttons .... or T and then proceed as descri-bed above.
Deactivating the start time
If changes have been made for a start time, this start time still remains activated. To deactivate the start time, proceed as follows:
• Press any button on the roof display to activate the roof display.
• Push and hold down button for several seconds, then press the@) button until an active start time that is to be deactivated is displayed.
• Press the function button .... or T as often as necessary until OFF is displayed.
• Press the @) button to confirm.
The start time has now been deactivated and is no longer shown on the roof display.
A WARNING
Never program the supplementary heating system so that Is switched on and run In un-ventllated or enclosed areas. The fumes from the supplementary heating system contain carbon monoxide, which Is an odourless and colourless poisonous gas. Carbon monoxide can cause people to lose consciousness. lt can also cause death.
Page 339 of 486
Switching the childproof lock on and off
B7f·0201
Fig. 268 On the roof display: symbol for switched-on child proof lock
r-T'n First read and observe the introductory L-.bU information and safety warnings & on page 332.
Activating the childproof lock
• Press any button on the roof display to activate the roof display.
• Press and hold down the @) button for several seconds.
• Press the function button .... or ..-until CHILD-PROOF LOCK is displayed.
• Press the@) button.
Operation
r-T'n First read and observe the introductory L-.bU information and safety warnings & on page 332.
The supplementary heating exhaust system, loca-ted under the vehicle, must not be blocked by snow, mud or other items. The exhaust fumes must not be obstructed in any way. The emissions gen-erated by the supplementary heating system are removed via an exhaust pipe fitted underneath the vehicle.
If the charge level of the additional battery is low, the supplementary heating system will switch off automatically or cannot be switched on.
m Operating noises can be heard if the supple-l!J mentary heating system is switched on.
• Press the function button .... until ON is dis-played, in order to switch child proof lock on. The display will show this symbol =>Fig. 268.
• Press the @] button to confirm.
Deactivating the childproof lock
• Switch on the ignition.
• Press and hold down the@] button for several seconds.
• Press the function button....._ or..-until CHILD-PROOF LOCK is displayed.
• Press the@) button.
• Press the function button .... until OFF is dis-played. in order to switch child proof lock off.
• Press the@) button to confirm. The =>Fig. 268 symbol on the display goes out.
If the child proof lock has been switched on and the ignition has been switched off, it is not possible to switch the supplementary heating system on man-ually.
lt is still possible to switch off the supplementary heating system manually.
r::l The charge of the additional battery will be W reduced if the supplementary water heater is operated several times over an extended period of time. Drive the vehicle for a sufficient length of time to recharge the additional battery. As a rule of thumb, drive the vehicle for the length of time you ran the system.
Page 366 of 486
Automatic switch-off for electrical consumers
The intelligent vehicle electrical system automati-cally implements a range of measures to prevent the battery from discharging under high loads:
• The idling speed is increased so that the alter-nator provides more electricity.
• The performance of large electrical consumers may be reduced or they may be switched off com-pletely.
• The supply of electricity to the 12-volt sockets and the cigarette lighter is interrupted temporarily while the engine is being started.
The vehicle electrical system cannot always pre-vent the vehicle battery from discharging. For ex-ample, if the ignition is left on for an extended peri-od of time with the engine off, or if the parking light is left on when the vehicle is parked for an exten-ded period.
What can cause the vehicle battery to discharge?
• Long periods at a standstill in which the engine is not running, especially if the ignition is switched on.
• The use of electrical consumers when the en-gine is switched off.
• When the supplementary heater is in operation =>page 332.
A WARNING
Incorrectly attaching the battery and using In-correct vehicle batteries can cause short cir-cuits, fire and serious Injuries.
366 I Cleaning and maintenance
A WARNING (Continued)
• Always use maintenance-free and leak-proof batteries that have the same properties, specifications and dimensions as the factory-fitted vehicle battery.
A WARNING
A highly explosive mixture of gases Is given off when the vehicle battery is being charged.
• Vehicle batteries should only be charged in well-ventilated spaces.
• Never charge a vehicle battery once it has been frozen. Discharged vehicle batteries can even freeze at temperatures of around o•c (+32.FJ.
• The vehicle battery has to be replaced if it has ever been frozen.
• Incorrectly connected cables can cause a short circuit. First connect the positive cable and then the negative cable.
CD
• Never make or break connections between vehicle batteries if the ignition is switched on or the engine is running. Never use a vehicle battery that does not correspond with the vehi-cle's specifications. The vehicle's electrical system or electronic components could be damaged, which could lead to electrical faults, for example In the start/stop system.
• Never connect equipment that provides electricity, such as solar panels or a battery charger, to the 12-volt socket or to the cigarette lighter to charge the vehicle battery. This can damage the vehicle electrical system.
Dispose of the vehicle baltery as required by legislation. Batteries may contain toxic sub-stances such as sulphuric acid and lead.
Electrolyte can pollute the environment. Clean up any service fluid leakages and dis-pose of them property.
Page 381 of 486

Washing the vehicle
r-f'n First read and observe the introductory Information and safety warnings & on page 380.
The longer substances such as insects, bird drop-pings, resinous tree sap, road dirt, industrial de-posits, tar, soot or road salt and other corrosive materials remain on the vehicle, the more damage they do to the paintwork. High temperatures (for in-stance in strong sunlight) accelerate the corrosion process. The underside of the vehicle should also be cleaned thoroughly and regularly.
Car washes
Please observe the signs on the automatic car wash. Before using an automatic car wash take the usual precautions, such as closing all windows and folding in the exterior mirrors, in order to avoid damage to the vehicle. You must consult the car wash operator if there are special parts on your ve-hicle such as spoilers, roof luggage carrier systems or radio aerials ::.CD.
The paint is so hard-wearing that the car can nor-mally be washed without problems in an automatic car wash. However, the effect on the paint de-pends to a large extent on the design of the car wash. Volkswagen Commercial Vehicles recom-mends the use of car washes without brushes.
To remove any wax residue from the windows and to stop wipers rubbing, please note the following points ::.page 382, Cleaning windows and exterior mirrors.
Washing the car by hand
When washing by hand, first soften the dirt with plenty of water and rinse off as well as possible.
Then clean the vehicle with a soft sponge, a glove or a brush using only light pressure. Start with the roof and work from the top to the bottom. Use a shampoo for very stubborn dirt only.
The sponge or glove should be wrung out thor-oughly at regular intervals.
Clean the wheels, sill panels etc. last. Use a differ-ent sponge for this purpose.
A WARNING
Parts of the vehicle with sharp edges can cause Injury.
• Protect your hands and arms from cuts on sharp parts, for example when cleaning the underbody or the inside of the wheel hous-lngs.
A WARNING
After the car has been washed, the braking effect could set in later than normal and ex-tend the braking distance as the brake discs and brake pads will be wet, or iced up In win-ter.
• You can "dry and de-ice" the brakes by performing careful braking manoeuvres. Make sure that you do not endanger any oth-er road users or violate any legal regulations when doing so.
CD
• The water should be no warmer than +so•c (+140.FJ.
• Do not wash the vehicle in direct sunlight in order to avoid damage to the vehicle palntwork.
• Never clean with insect sponges, rough kitchen sponges or similar products as these can damage the surface.
• Never clean the headlights with a dry cloth or sponge. Always use a wet cloth or sponge. lt is best to use soapy water.
• Washing the vehicle In cold weather: if the vehicle is rinsed with a hose, do not direct the water at the lock cylinders or the gaps around the doors, boot, or bonnet. The locks and seals could freeze.
CD
Observe the following guidelines before driving the vehicle into an automatic car wash in order to avoid damage to the vehicle:
• Ensure that the gap between the guide rails In the car wash is sufficient for the vehicle track. If the track is too narrow your wheels and tyres will be damaged.
• Switch off the rain sensor before driving the vehicle Into an automatic car wash.
• Check that the car wash is tall and wide enough for your vehicle.
• Fold In the exterior mirrors. Electrically fold-Ing exterior mirrors must be moved electrically. Do not fold them in and out by hand.
• In order to prevent damage to the palntwork on the bonnet, fold the wipers back onto the windscreen after drying the wiper blades. Do not drop the wipers onto the glass.
• Lock the tailgate to prevent it from opening accidentally In the car wash.
Page 410 of 486
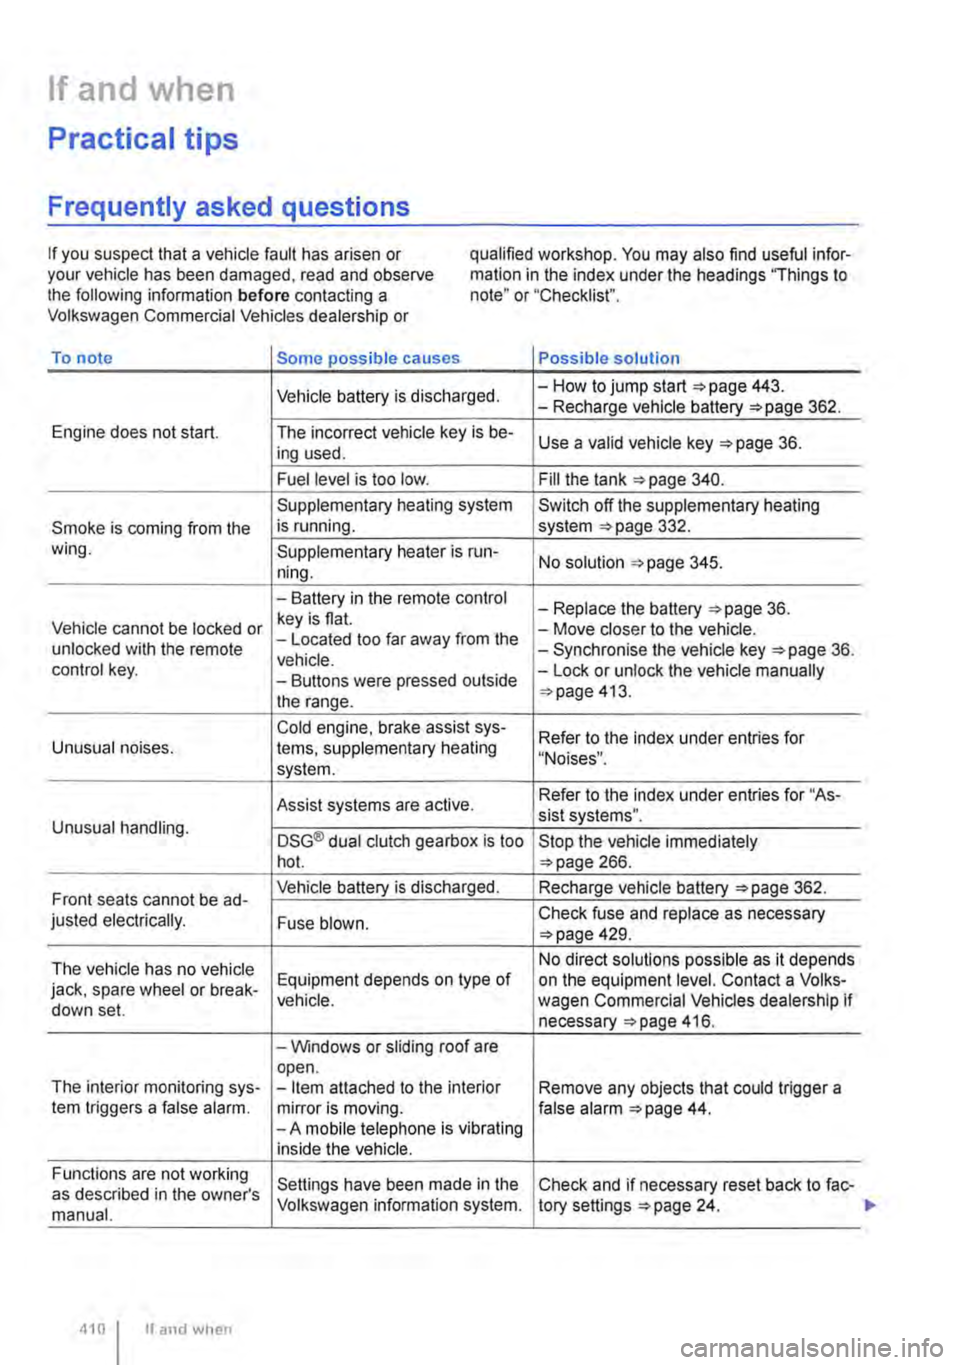
If and when
Practical tips
Frequently asked questions
If you suspect that a vehicle fault has arisen or your vehicle has been damaged, read and observe the following information before contacting a Volkswagen Commercial Vehicles dealership or
qualified workshop. You may also find useful infor-mation in the index under the headings "Things to note" or "Checklist".
To note Some possible causes Possible solution
Vehicle battery is discharged. -How to jump start =>page 443. -Recharge vehicle battery 362.
Engine does not start. The incorrect vehicle key is be-Use a valid vehicle key 36. ing used.
Fuel level is too low. Fill the tank 340.
Supplementary heating system Switch off the supplementary heating
Smoke is coming from the is running. system 332. wing. Supplementary heater is run-No solution 345. ning.
-Battery in the remote control -Replace the battery 36. Vehicle cannot be locked or key is flat. -Move closer to the vehicle. unlocked with the remote -Located too far away from the -Synchronise the vehicle key =>page 36. vehicle. control key. -Buttons were pressed outside -Lock or unlock the vehicle manually
the range. 413.
Cold engine. brake assist sys-Refer to the index under entries for Unusual noises. tems, supplementary heating "Noises". system.
Assist systems are active. Refer to the index under entries for "As-sist systems". Unusual handling. DSG® dual clutch gearbox is too Stop the vehicle immediately hot. 266.
Front seats cannot be ad-Vehicle battery is discharged. Recharge vehicle battery 362.
justed electrically. Fuse blown. Check fuse and replace as necessary 429.
The vehicle has no vehicle No direct solutions possible as it depends
jack, spare wheel or break-Equipment depends on type of on the equipment level. Contact a Volks-vehicle. wagen Commercial Vehicles dealership if down set. necessary 416.
-Windows or sliding roof are open. The interior monitoring sys--Item attached to the interior Remove any objects that could trigger a tem triggers a false alarm. mirror is moving. false alarm 44. -A mobile telephone is vibrating inside the vehicle.
Functions are not working Settings have been made in the Check and if necessary reset back to fac-as described in the owner's manual. Volkswagen information system. tory settings 24.
410 I If and when
Page 411 of 486
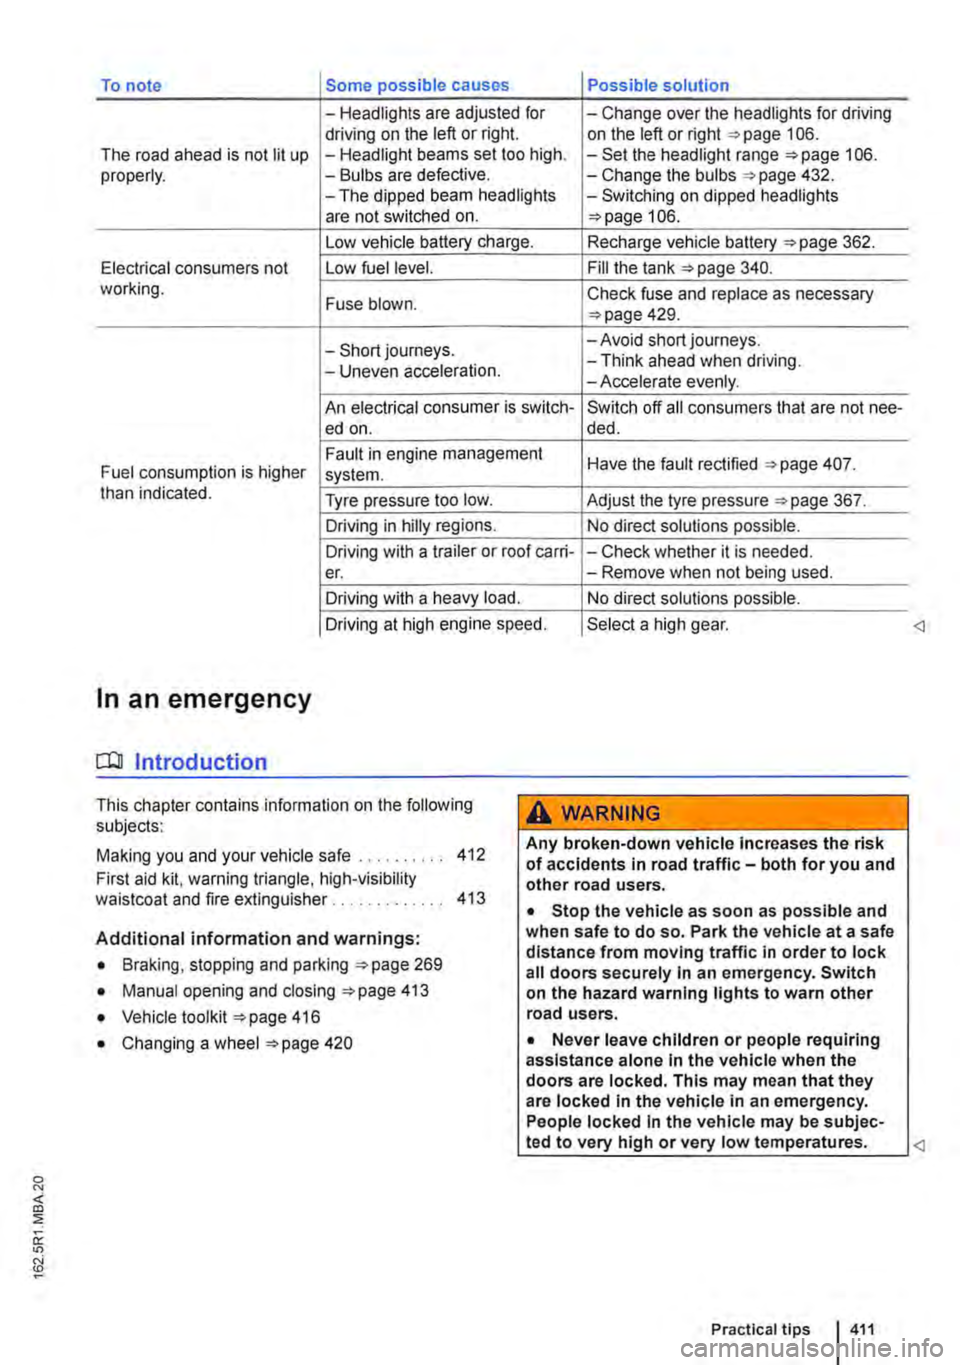
To note Some possible causes Possible solution
-Headlights are adjusted for -Change over the headlights for driving driving on the left or right. on the left or right 106. The road ahead is not lit up -Headlight beams set too high. -Set the headlight range 106. properly. -Bulbs are defective. -Change the bulbs 432. -The dipped beam headlights -Switching on dipped headlights are not switched on. 106.
Low vehicle battery charge. Recharge vehicle battery 362.
Electrical consumers not Low fuel level. Fill the tank 340. working. Fuse blown. Check fuse and replace as necessary 429.
-Short journeys. -Avoid short journeys.
-Uneven acceleration. -Think ahead when driving. -Accelerate evenly.
An electrical consumer is switch-Switch off all consumers that are not nee-ed on. de d.
Fault in engine management Have the fault rectified 407. Fuel consumption is higher system. than indicated. Tyre pressure too low. Adjust the tyre pressure 367.
Driving in hilly regions. No direct solutions possible.
Driving with a trailer or roof carri--Check whether it is needed. er. -Remove when not being used.
Driving with a heavy load. No direct solutions possible.
Driving at high engine speed. Select a high gear.
In an emergency
COl Introduction
This chapter contains information on the following subjects:
Making you and your vehicle safe . . 412
First aid kit. warning triangle, high-visibility waistcoat and fire extinguisher . . . . . . . . . . . . . 413
Additional information and warnings:
• Braking, stopping and parking 269
• Manual opening and closing 413
• Vehicle toolkit 416
• Changing a wheel 420
A WARNING
Any broken-down vehicle Increases the risk of accidents in road traffic-both for you and other road users.
• Stop the vehicle as soon as possible and when safe to do so. Park the vehicle at a safe distance from moving traffic In order to lock all doors securely In an emergency. Switch on the hazard warning lights to warn other road users.
• Never leave children or people requiring assistance alone In the vehicle when the doors are locked. This may mean that they are locked In the vehicle in an emergency. People locked In the vehicle may be subjec-
Page 413 of 486
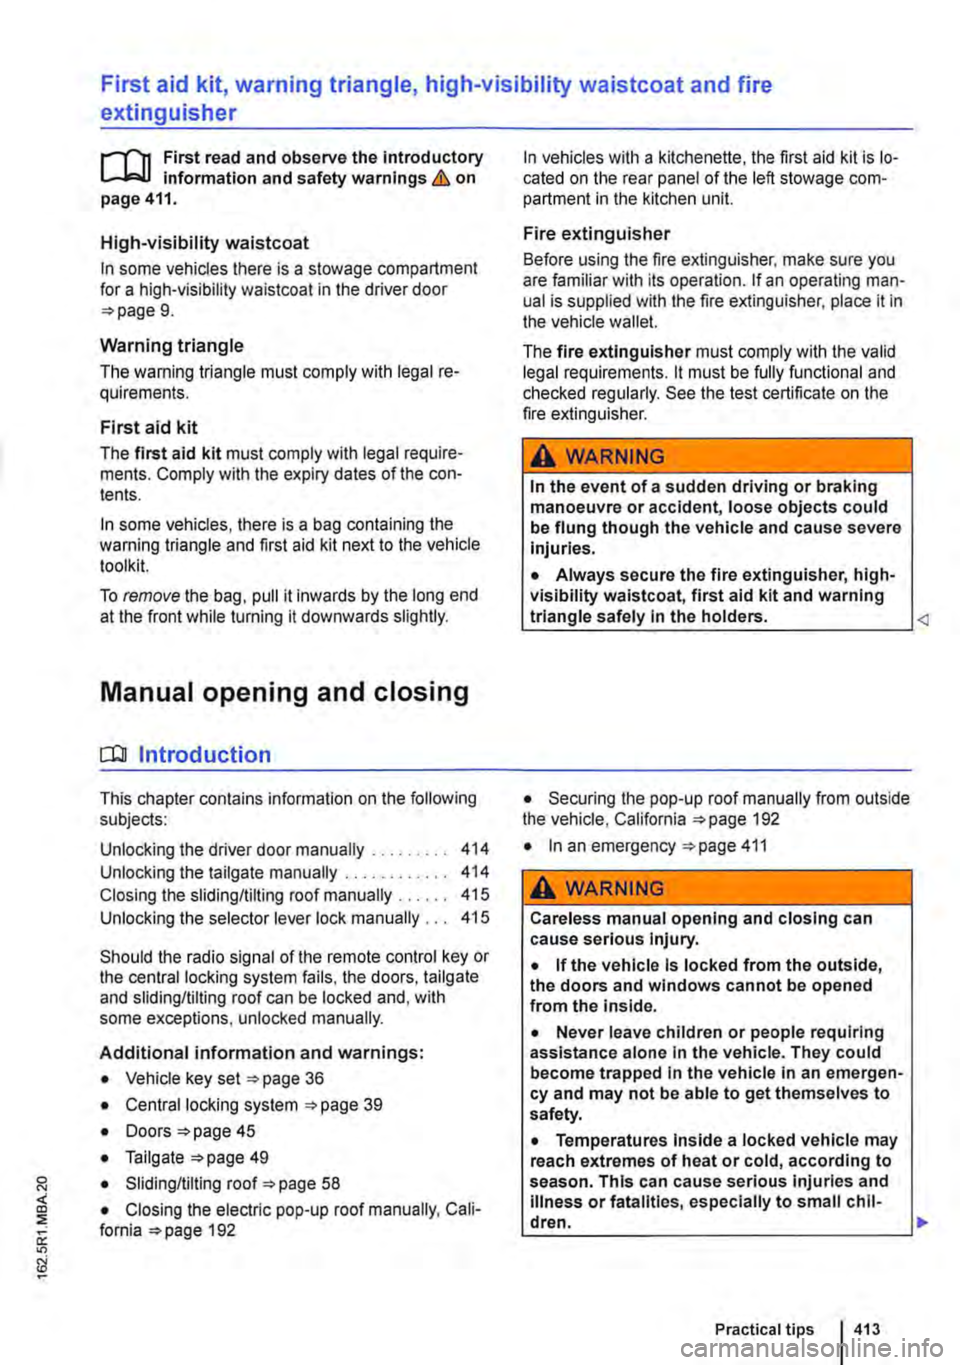
First aid kit, warning triangle, high-visibility waistcoat and fire
extinguisher
l"'""'('n First read and observe the introductory L.-J,::,JI Information and safety warnings & on page 411.
High-visibility waistcoat
In some vehicles there is a stowage compartment for a high-visibility waistcoat in the driver door 9.
Warning triangle
The warning triangle must comply with legal re-quirements.
First aid kit
The first aid kit must comply with legal require-ments. Comply with the expiry dates of the con-tents.
In some vehicles, there is a bag containing the warning triangle and first aid kit next to the vehicle toolkit.
To remove the bag, pull it inwards by the long end at the front while turning it downwards slightly.
Manual opening and closing
COl Introduction
This chapter contains information on the following subjects:
Unlocking the driver door manually . . . . . . . . . 414 Unlocking the tailgate manually ............ 414
Closing the sliding/tilting roof manually . . . . . 415
Unlocking the selector lever lock manually . . . 415
Should the radio signal of the remote control key or the central locking system fails, the doors, tailgate and sliding/tilting roof can be locked and, with some exceptions, unlocked manually.
Additional information and warnings:
• Vehicle key set 36
• Central locking system 39
• Doors 45
• Tailgate 49
• Sliding/tilting roof 58
• Closing the electric pop-up roof manually, Cali-fornia 192
In vehicles with a kitchenette, the first aid kit is lo-cated on the rear panel of the left stowage com-partment in the kitchen unit.
Fire extinguisher
Before using the fire extinguisher, make sure you are familiar with its operation. If an operating man-ual is supplied with the fire extinguisher, place it in the vehicle wallet.
The fire extinguisher must comply with the valid legal requirements. lt must be fully functional and checked regularly. See the test certificate on the fire extinguisher.
A WARNING
In the event of a sudden driving or braking manoeuvre or accident, loose objects could be flung though the vehicle and cause severe Injuries.
• Always secure the fire extinguisher, high-visibility waistcoat, first aid kit and warning triangle safely In the holders.
• In an emergency 411
A WARNING
Careless manual opening and closing can cause serious Injury.
• If the vehicle Is locked from the outside, the doors and windows cannot be opened from the inside.
• Never leave children or people requiring assistance alone In the vehicle. They could become trapped In the vehicle In an emergen-cy and may not be able to get themselves to safety.
• Temperatures Inside a locked vehicle may reach extremes of heat or cold, according to season. This can cause serious Injuries and Illness or fatalities, especially to small chil-dren. .,.
Practical tips 413