Page 113 of 394
Coming
Home
Action
Switch off: – Automatically after delay period is over.
– Automatically, if a vehicle door or the rear hatch is still
open about 30 seconds after activation.
– Turn light switch to the �/ position.
– Switch the ignition on.
Leaving
Home Action
Switch on: – Unlock the vehicle if the light switch is in the �!�5�4�/ posi-
tion and the low-light sensor registers darkness.
Switch off: – Automatically after preset delay period is over.
– Lock the vehicle.
– Turn the light switch to the �/ position.
– Switch the ignition on.
The length of time the lights stay on can be adjusted or the feature can be activated and deac-tivated in the Infotainment system by pressing the �#�!�2 button followed by the �
Page 123 of 394
The windshield wiper arms can be moved to the service position only when the vehicle is not moving.
Rain sensor
Fig. 82 Windshield wiper lever: Adjusting the rain sensor 1 (if equipped).
Fig. 83 Inside the front windshield above the inside mirror: Sensitive rain sensor surface.
�
Page 124 of 394

Possible reasons for changes in the way the rain sensor works
The rain sensor may misread what is happening in the detection zone of its sensitive rain-sensor
surface ⇒ fig. 83 (arrow) and not work for a number of reasons, which may include:
�x Worn out wiper blades: Worn out wiper blades may leave a film of water or wiping streaks; this can cause the wipers to run longer, to wipe more often, or to wipe continuously at high speed.
�x Insects: Insects hitting the windshield may trigger the wipers.
�x Salt streaks: Salt streaks on the windshield from winter driving can cause wiping more often or continuously on glass that is almost dry.
�x Dirt: Caked-on dust, wax, any other buildup on the windshield (lotus effect), or car-wash detergent residue can lower the rain sensor's sensitivity and cause it to react too slowly or not at all.
�x Crack or chip in the windshield: If a stone hits and chips the windshield while the rain sensor is on, this will trigger a wiper cycle. After that, the rain sensor will recognize the change and recalibrate itself to respond to the sensitive surface's reduced detection zone. Depending on the size of the chip, the sensor's reaction pattern may or may not change.
WARNING
The rain sensor cannot always recognize rain and activate the wipers.
�x Switch the wipers on manually when water on the windshield reduces visibility.
Clean the rain sensor's sensitive surface ⇒ fig. 83 (arrows) regularly and check the wiper blades for wear or damage.
To remove wax and coats of polish safely, we recommend using an alcohol-based windshield cleaner.
Checking and refilling windshield washer fluid
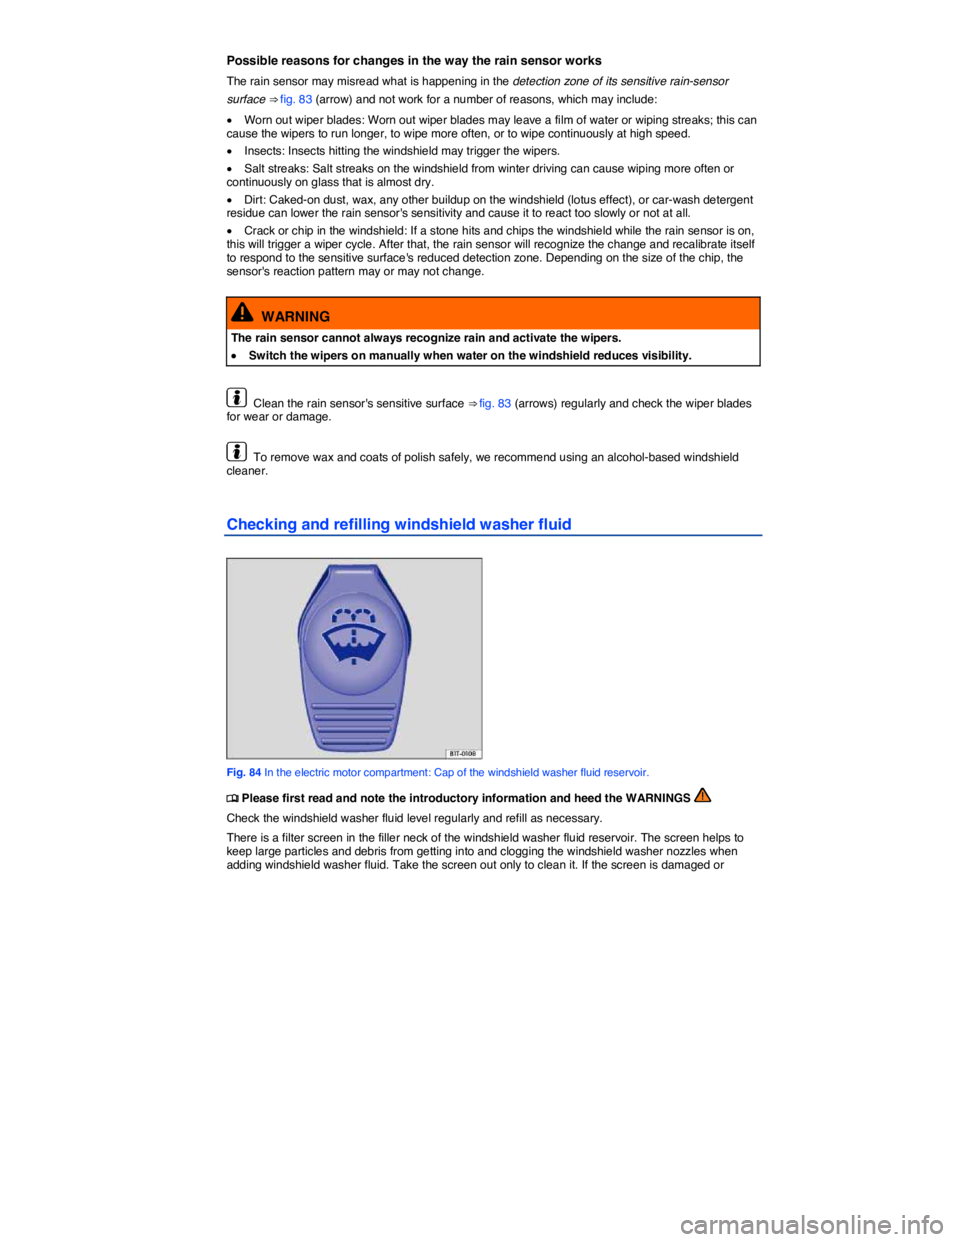
Fig. 84 In the electric motor compartment: Cap of the windshield washer fluid reservoir.
�
Page 128 of 394

The self-dimming feature can be switched on and off with the switch on the inside mirror (2) A or (2) B. When self-dimming is activated, the indicator light (1) is on.
There are two sensors in the interior mirror housing:
�x One sensor on the side facing the interior to measure light from the rear of the vehicle ⇒ fig. 85 A
(3) or ⇒ fig. 85 B (3).
�x One sensor on the side facing the windshield to measure light from the front of the vehicle ⇒ fig. 85 C (4).
If the ignition is switched on, the mirror automatically darkens depending on the amount of light shining into the vehicle from the rear.
The self-dimming feature is deactivated when you shift the transmission into reverse or switch on the interior lights or the reading light.
Do not attach external navigation devices to the windshield or in the vicinity of the self-dimming inside
mirror ⇒ .
WARNING
The illuminated display on an external navigation device can cause the self-dimming inside mirror to malfunction, which can result in crashes and serious injuries.
�x Malfunctions in the self-dimming function can result in the inside mirror being unable to evaluate the exact distance of vehicles in the rear or other objects.
If the light striking the sensor is filtered or blocked (such as by a sunshade), the self-dimming inside mirror will not work properly or may not work at all.
Outside mirrors
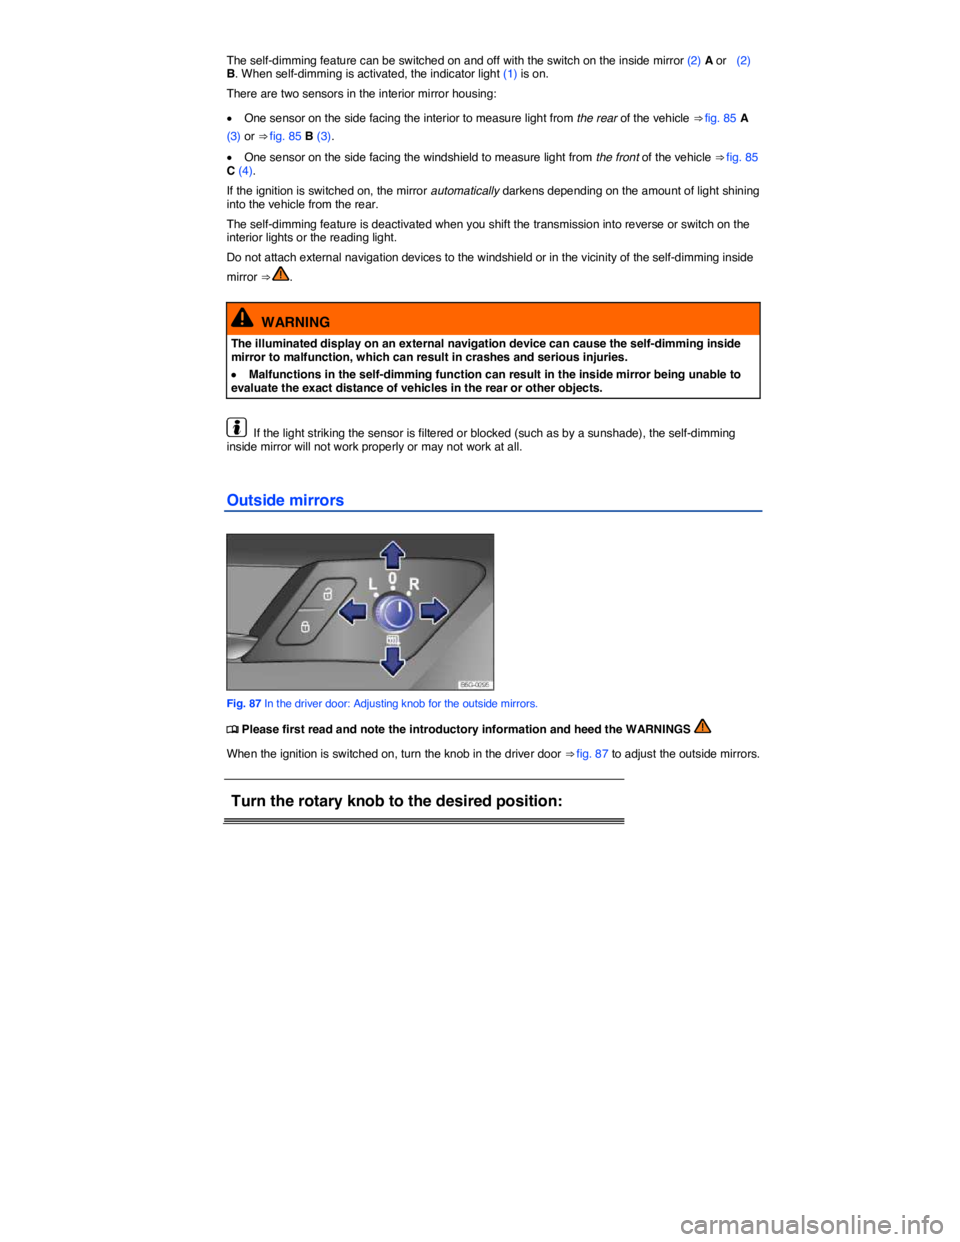
Fig. 87 In the driver door: Adjusting knob for the outside mirrors.
�
Page 285 of 394

detected. This is especially true for low or high objects. The system will no longer sound warn-ings about these objects. Ignoring signals from the Park Distance Control system could result in serious damage to the vehicle.
�x The sensors in the bumpers can be damaged or become misaligned in low speed impacts and parking maneuvers. Damaged or misaligned sensors cannot accurately detect or report objects that might be within range of the PDC system.
�x To help make sure that the system works properly, always keep the sensors in the bumpers clean and free of snow and ice; do not cover the sensors with stickers or other objects.
�x When cleaning the sensors with power washers or steam cleaners, only spray the sensors directly for a very short time, and always keep the washer nozzle at least 4 inches (10 cm) from the sensors.
�x Noise from rough roads, cobblestones, other vehicles and the surrounding area, for exam-ple, can prevent the Park Distance Control system from accurately detecting and reporting people and objects that may be within range of the sensors.
�x Aftermarket components such as bicycle racks can impair the function of the Park Distance Control system.
Volkswagen recommends practicing with the Park Distance Control system in a location or parking space with no traffic in order to become familiar with the system and how it works.
Operation
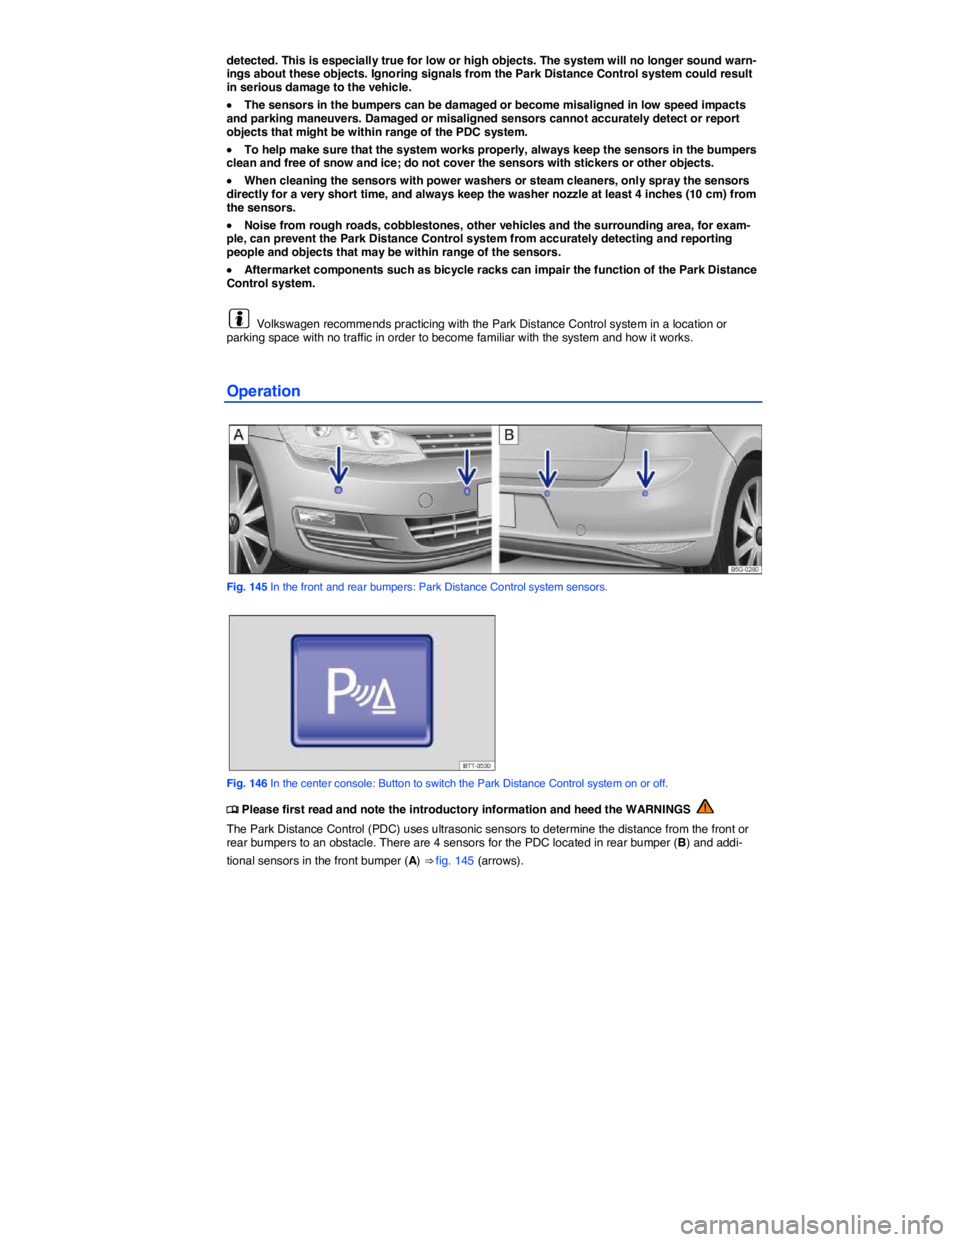
Fig. 145 In the front and rear bumpers: Park Distance Control system sensors.
Fig. 146 In the center console: Button to switch the Park Distance Control system on or off.
�
Page 286 of 394

The intermittent and permanent signal chimes given by the front PDC sensors are of a higher pitch than those given by the rear PDC sensors. This is a standard feature.
The warning signals can be adjusted in the Infotainment system menu ⇒ Infotainment system.
Switching the Park Distance Control (PDC) system on and off
In order to Operation (when the ignition is switched on)
Manually activate
PDC:
Press the �� button once.
Manually deactivate
PDC: Push the �� button again.
Manually deactivate
the display (sound
stays active):
Press a function selection button on the factory-
installed Infotainment system
OR: Tap the �O function key on the screen.
Automatically acti-
vate PDC:
Shift into Reverse (R).
OR: Depending on vehicle equipment, if the vehicle
rolls backwards.
Automatically deac-
tivate PDC:
Shift into Park (P).
OR: Drive forward faster than about 5–10 mph (10–
15 km/h).
Mute the PDC vol-
ume:
Tap the �� function key.
Switch from mini
PDC display to full-
screen mode.
Shift into Reverse (R).
OR: Depending on vehicle equipment, if the vehicle
rolls backwards.
OR: Tap the mini PDC function key.
Switch to the rear-
view camera dis-
play (if equipped):
Shift into Reverse (R).
OR: Tap the �Z function key.
Page 287 of 394

The indicator light in the �� button ⇒ fig. 146 lights up and stays on as long as the feature is active.
Automatic activation
When the PDC is activated automatically, a mini PDC display appears on the left-hand side of the
screen ⇒ fig. 148.
Automatic activation of the PDC when driving slowly towards an obstacle located in front of the vehicle only works when the speed falls below about 6–9 mph (10–15 km/h) for the first time. If the PDC was switched off using the �� button, performing one of the following actions with the ignition switched on can automatically reactivate the PDC:
�x If the vehicle accelerates to a speed greater than 6–9 mph (10–15 km/h) and then drops below that speed again.
�x OR: If the selector lever is moved to Park (P) and then out of that position again.
�x OR: If automatic activation is turned off and on again in the Infotainment system.
Automatic activation of the mini PDC display can be turned on or off in the Infotainment system ⇒ Infotainment system.
When the box in the automatic activation function key is checked �=, signal chimes sound from a distance of about 20 inches (50 cm) from the obstacle.
WARNING
Never rely completely on the PDC for information about people and objects that might be in the way of the vehicle and could be struck by the vehicle causing serious personal injury.
�x The PDC sensors have blind spots where they cannot detect people or objects.
�x Always watch for people, especially small children and animals, because the sensors may not always be able to detect them.
If you hear a long beep of about 3 seconds when you first turn PDC on or the indicator light in the button starts blinking, this means there is a malfunction in the Park Distance Control system. Switch off the Park Distance Control system with the button and have it immediately checked by an authorized Volkswagen dealer or an authorized Volkswagen Service Facility.
PDC signal chimes and displays
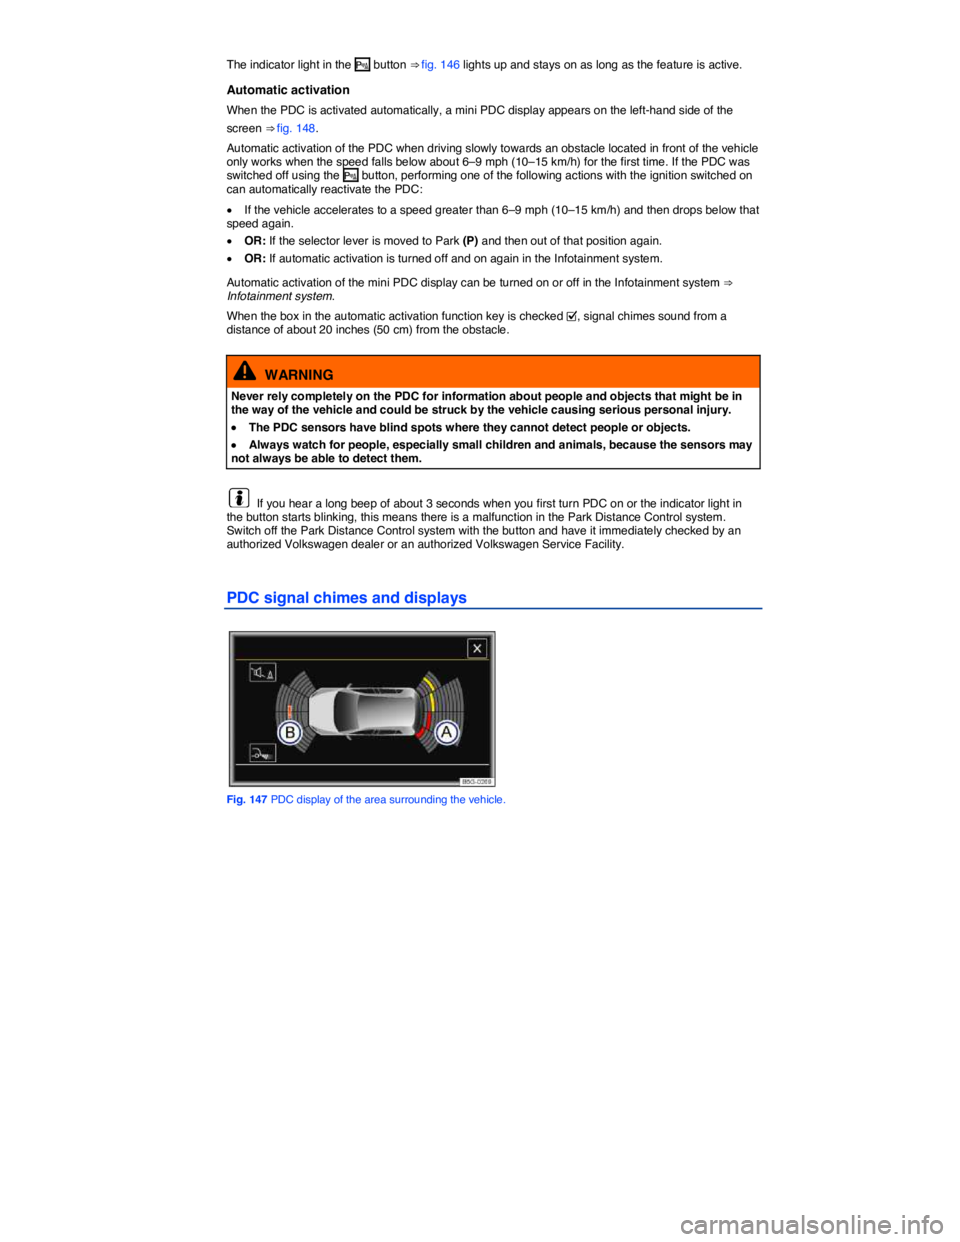
Fig. 147 PDC display of the area surrounding the vehicle.
Page 290 of 394
Vehicles with PDC at the front and rear
Area of the vehicle Distance of
the vehicle
from an ob-
stacle
Signal
tone
Segment color
if an obstacle
has been de-
tected
color display
only)
(B) Front
center
about 12 –
47 in.
(31 – 120 cm)
Front
side
about 12 –
23 in.
(31 – 60 cm)
(A),
(B)
Obstacle outside of
the collision area
about 0 – 12 in.
(0 – 30 cm)
Intermittent
tone
Red
(A),
(B)
Obstacle in the
collision area
about 0 – 12 in.
(0 – 30 cm)
Constant
tone
Red
WARNING
Do not allow the images shown on the screen to distract you from the traffic around you.
NOTICE
Failure to observe the illuminated text messages can lead to the vehicle being damaged.
It can take a few seconds before the area scanned by the sensors is displayed on the screen of the factory-installed Infotainment system.
PDC menu
�