2019 TOYOTA PROACE CITY VERSO instrument panel
[x] Cancel search: instrument panelPage 203 of 272
203
TOYOTA Connect Radio
11
TOYOTA Connect Radio
Multimedia audio system -
Applications - Bluetooth®
telephone
NOTIC E
The functions and settings described vary
according to the vehicle version and configuration.
WARNI NG
For safety reasons and because they require sustained attention by the driver, the following operations must be carried out with the vehicle stationary and the ignition on:– Pairing the smartphone with the system in Bluetooth mode.– Using the smartphone.– Connection to the CarPlay®, MirrorLinkTM or Android Auto applications (certain applications interrupt their display while the vehicle is moving).– Changing the system settings and configuration.
NOTIC E
The system is protected in such a way that it will only operate in the vehicle.The Energy Economy Mode message is displayed when the system is about to enter the corresponding mode.
First steps
With the engine running, a press mutes the sound.With the ignition off, a press turns the system on.Increase or decrease the volume using the wheel or the "plus" or "minus" buttons (depending on the equipment).Use the buttons on either side of or below the touch screen for access to the menus, then press the virtual buttons in the touch screen.Depending on the model, use the "Source" or "Menu" buttons on the left of the touch screen for access to the menus, then press the virtual
buttons in the touch screen.At all times it is possible to display the rolling menus by pressing the screen briefly with three fingers.All of the touch areas of the screen are white.For pages with multiple tabs at the bottom of the screen, it is possible to switch between pages either by tapping the tab for the desired page, or by using a finger, sliding the pages to the left or to the right.
Press in the grey zone to go back up a level or to confirm.Press the back arrow to go back a level or confirm.
WARNI NG
The touch screen is of the "capacitive" type.To clean the screen, use a soft, non-abrasive cloth (e.g. spectacles cloth) with no additional
product.Do not use sharp objects on the screen.Do not touch the screen with wet hands.
Certain information is displayed permanently in the upper bar of the touch screen:– Air conditioning status information (depending on version), and direct access to the corresponding menu.– Radio Media and Telephone menu status information.– Privacy status information.– Access to the touch screen and digital instrument panel settings.Audio source selection (depending on equipment):– FM/DAB/AM radio stations (depending on equipment).– Telephone connected via Bluetooth and Bluetooth multimedia broadcast (streaming).– USB Memory stick.– Media player connected via the auxiliary socket (depending on equipment).
Page 214 of 272
214
Press this button to activate the profile.
Press the back arrow again to confirm.
Press this button to reset the selected profile.
Adjusting the brightness
Press Settings to display the main page.
Press Brightness.
Move the slider to adjust the brightness of the screen and/or the instrument panel (depending on version).Press in the shaded area to confirm.
Modifying system settings
Press Settings to display the main page.
Press "Configuration" to access the secondary page.
Press "System configuration".
Press the "Units" tab to change the units of distance, fuel consumption and temperature.Press the "Factory settings" tab to restore the initial settings.
WARNI NG
Returning the system to factory settings activates the English language by default (depending on version).
Press the "System info" tab to display the versions of the various modules installed in the system.Press the "Privacy" tab,orPress Settings to display the main page.
Press "Privacy" to activate or deactivate the private data mode.Activate or deactivate:
– "No sharing (data, vehicle position)".– "Only data sharing”– "Data and vehicle position sharing"Press the back arrow to confirm.
Press Settings to display the main page.
Press "Configuration" to access the secondary page.Press "Screen configuration".
Press "Brightness".Move the slider to adjust the brightness of the screen and/or the instrument panel (depending on version).
Press the back arrow to confirm.
Press "Animation".Activate or deactivate: “Automatic scrolling”.Select "Animated transitions".
Press the back arrow to confirm.
Selecting the language
Press Settings to display the main page.
Press "Configuration" to access the secondary page.Select "Language" to change the language.Press the back arrow to confirm.
Setting the time
Press Settings to display the main page.
Press "Configuration" to access the secondary page.Press "Date and time".
Select "Time".Press this button to set the time using the virtual keypad.Press "OK" to save the time.
Page 217 of 272
217
TOYOTA Connect Nav
12
TOYOTA Connect Nav
GPS navigation -
Applications - Multimedia
audio system - Bluetooth®
telephone
NOTIC E
The functions and settings described vary according to the vehicle version and configuration.
WARNI NG
For safety reasons and because they require sustained attention by the driver, the following operations must be carried out with the vehicle stationary and the ignition on:– Pairing the smartphone with the system in Bluetooth mode.– Using the smartphone.– Connection to the CarPlay®, MirrorLinkTM or Android Auto applications (certain applications interrupt their display while the vehicle is moving).– Watching a video (the video stops when the
vehicle starts to move again).– Changing the system settings and configuration.
NOTIC E
The system is protected in such a way that it will only operate in the vehicle.The Energy Economy Mode message is displayed when the system is about to enter the corresponding mode.
NOTIC E
System and map updates can be downloaded from the Brand’s website.The update procedure is also available on the website.
First steps
With the engine running, a press mutes the sound.With the ignition off, a press turns the system on.Increase or decrease the volume using the wheel or the "plus" or "minus" buttons (depending on the equipment).Use the menu buttons on either side of or below the touch screen for access to the menus, then press the virtual buttons in the touch screen.Depending on the model, use the "Source" or "Menu" buttons to access the rolling menus, then press the virtual buttons in the touch screen.Display the rolling menus at any time by pressing the screen briefly with three fingers.
All of the touch areas of the screen are white.Press the back arrow to go back a level.Press "OK" to confirm.
WARNI NG
The touch screen is of the "capacitive" type.To clean the screen, use a soft, non-abrasive cloth (e.g. spectacles cloth) with no additional product.
Do not use sharp objects on the screen.Do not touch the screen with wet hands.
Certain information is displayed permanently in the side bars or in the upper bar of the touch screen (depending on equipment):– Air conditioning status information (depending on version), and direct access to the corresponding menu.– Go directly to the audio source selection option, to view the list of radio stations (or list of titles depending on the source).– Go to the "Notifications" of messages, emails, map updates and, depending on the services, the navigation notifications.– Go to the settings for the touch screen and the digital instrument panel.Audio source selection (depending on equipment):– FM/DAB/AM radio stations (depending on equipment).– Telephone connected via Bluetooth and Bluetooth multimedia broadcast (streaming).
Page 239 of 272
239
TOYOTA Connect Nav
12
NOTIC E
The location for the photograph is square; the system reshapes the original photograph if in another format.
Press this button to reset the selected profile.
WARNI NG
Resetting the selected profile activates the English language by default.
Select a "Profile" (1 or 2 or 3) to link "Audio settings" with it.Select "Audio settings".
Then select "Ambience", "Position"; "Sound", "Voice" or "Ringtone".Press "OK" to save the selected profile’s settings.
Modifying system settings
Press Settings to display the main page.
Press the "OPTIONS" button to access the secondary page.Select "Screen configuration".
Select "Animation".Activate or deactivate:Automatic scrolling
Select "Brightness".Move the slider to adjust the brightness of the screen and/or the instrument panel.Press Settings to display the main page.
Press the "OPTIONS" button to access the secondary page.Select "System settings".
Select "Units" to change the units of distance, fuel consumption and temperature.Select "Factory settings" to restore the initial settings.
WARNI NG
Resetting the system to "Factory settings" activates English and degrees Fahrenheit and deactivates summer time.
Select "System info" to display the versions of the various modules installed in the system.
Selecting the language
Press Settings to display the main page.
Press the "OPTIONS" button to access the secondary page.Select "Languages" to change the language.
Setting the date
Press Settings to display the main page.
Press the "OPTIONS" button to access the secondary page.Select "Setting the time-date".
Select "Date".Press this button to set the date.
Press "OK" to confirm.
Select the display format for the date.
NOTIC E
Time and date setting is only available if "GPS synchronisation" is deactivated.
Setting the time
Press Settings to display the main page.
Press the "OPTIONS" button to access the secondary page.Select "Setting the time-date".
Select "Time".Press this button to set the time using the virtual keypad.Press "OK" to confirm.
Page 246 of 272
246
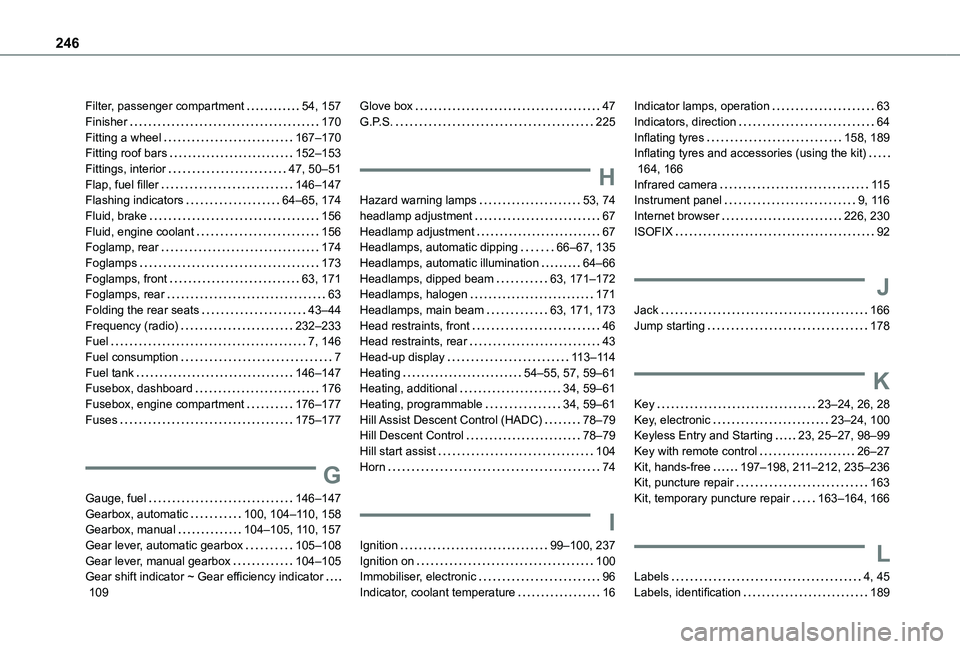
Filter, passenger compartment 54, 157Finisher 170Fitting a wheel 167–170Fitting roof bars 152–153Fittings, interior 47, 50–51Flap, fuel filler 146–147Flashing indicators 64–65, 174Fluid, brake 156Fluid, engine coolant 156Foglamp, rear 174Foglamps 173Foglamps, front 63, 171Foglamps, rear 63Folding the rear seats 43–44Frequency (radio) 232–233Fuel 7, 146Fuel consumption 7Fuel tank 146–147Fusebox, dashboard 176Fusebox, engine compartment 176–177Fuses 175–177
G
Gauge, fuel 146–147Gearbox, automatic 100, 104–11 0, 158Gearbox, manual 104–105, 11 0, 157Gear lever, automatic gearbox 105–108Gear lever, manual gearbox 104–105Gear shift indicator ~ Gear efficiency indicator 109
Glove box 47G.P.S. 225
H
Hazard warning lamps 53, 74headlamp adjustment 67Headlamp adjustment 67Headlamps, automatic dipping 66–67, 135Headlamps, automatic illumination 64–66Headlamps, dipped beam 63, 171–172Headlamps, halogen 171Headlamps, main beam 63, 171, 173Head restraints, front 46Head restraints, rear 43Head-up display 11 3–11 4Heating 54–55, 57, 59–61Heating, additional 34, 59–61Heating, programmable 34, 59–61Hill Assist Descent Control (HADC) 78–79Hill Descent Control 78–79
Hill start assist 104Horn 74
I
Ignition 99–100, 237Ignition on 100Immobiliser, electronic 96Indicator, coolant temperature 16
Indicator lamps, operation 63Indicators, direction 64Inflating tyres 158, 189Inflating tyres and accessories (using the kit) 164, 166Infrared camera 11 5Instrument panel 9, 11 6Internet browser 226, 230ISOFIX 92
J
Jack 166Jump starting 178
K
Key 23–24, 26, 28Key, electronic 23–24, 100Keyless Entry and Starting 23, 25–27, 98–99
Key with remote control 26–27Kit, hands-free 197–198, 2 11–212, 235–236Kit, puncture repair 163Kit, temporary puncture repair 163–164, 166
L
Labels 4, 45Labels, identification 189