2019 TOYOTA CAMRY HYBRID headlights
[x] Cancel search: headlightsPage 15 of 592
15Pictorial index
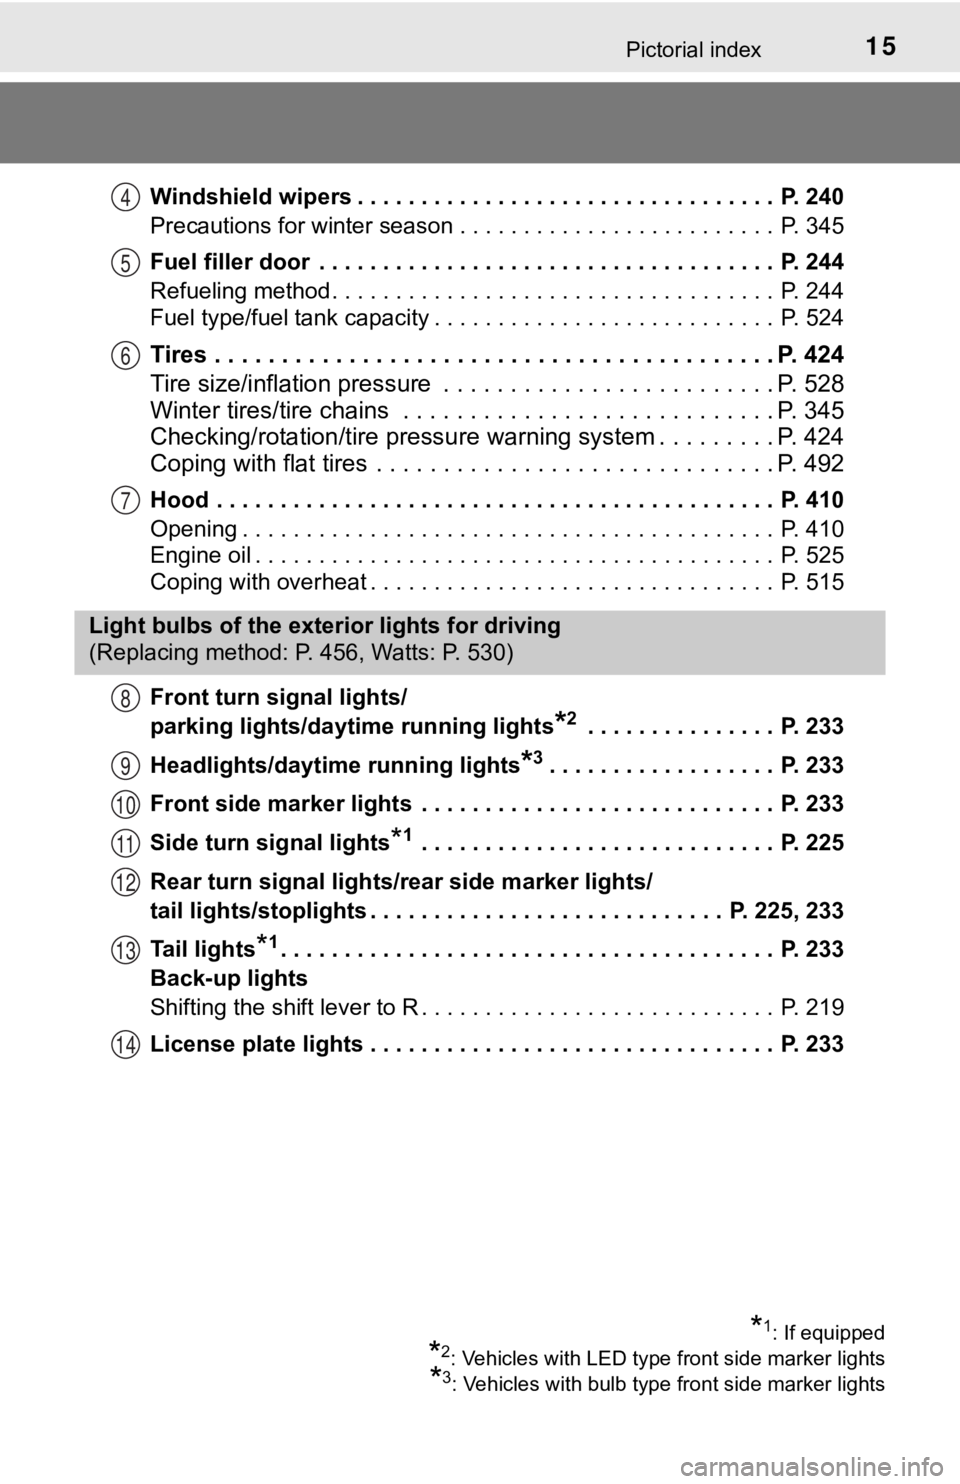
Windshield wipers . . . . . . . . . . . . . . . . . . . . . . . . . . . . . . . . . P. 240
Precautions for winter season . . . . . . . . . . . . . . . . . . . . . . . . . P. 345
Fuel filler door . . . . . . . . . . . . . . . . . . . . . . . . . . . . . . . . . . . . P. 244
Refueling method . . . . . . . . . . . . . . . . . . . . . . . . . . . . . . . . . . . P. 244
Fuel type/fuel tank capacity . . . . . . . . . . . . . . . . . . . . . . . . . . . P. 524
Tires . . . . . . . . . . . . . . . . . . . . . . . . . . . . . . . . . . . . . . . . . . P. 424
Tire size/inflation pressure . . . . . . . . . . . . . . . . . . . . . . . . . P. 528
Winter tires/tire chains . . . . . . . . . . . . . . . . . . . . . . . . . . . . P. 345
Checking/rotation/tire pressur e warning system . . . . . . . . .P. 424
Coping with flat tires . . . . . . . . . . . . . . . . . . . . . . . . . . . . . . P. 492
Hood . . . . . . . . . . . . . . . . . . . . . . . . . . . . . . . . . . . . . . . . . . . . P. 410
Opening . . . . . . . . . . . . . . . . . . . . . . . . . . . . . . . . . . . . . . . . . . P. 410
Engine oil . . . . . . . . . . . . . . . . . . . . . . . . . . . . . . . . . . . . . . . . . P. 525
Coping with overheat . . . . . . . . . . . . . . . . . . . . . . . . . . . . . . . . P. 515
Front turn signal lights/
parking lights/daytime running lights
*2 . . . . . . . . . . . . . . . P. 233
Headlights/daytime running lights
*3. . . . . . . . . . . . . . . . . . P. 233
Front side marker lights . . . . . . . . . . . . . . . . . . . . . . . . . . . . P. 233
Side turn signal lights
*1 . . . . . . . . . . . . . . . . . . . . . . . . . . . . P. 225
Rear turn signal lights/r ear side marker lights/
tail lights/stoplights . . . . . . . . . . . . . . . . . . . . . . . . . . . . P. 225, 233
Tail lights
*1. . . . . . . . . . . . . . . . . . . . . . . . . . . . . . . . . . . . . . . P. 233
Back-up lights
Shifting the shift lever to R . . . . . . . . . . . . . . . . . . . . . . . . . . . . P. 219
License plate lights . . . . . . . . . . . . . . . . . . . . . . . . . . . . . . . . P. 233
4
5
6
7
Light bulbs of the exter ior lights for driving
(Replacing method: P. 456, Watts: P. 530)
8
9
10
11
12
13
14
*1: If equipped
*2: Vehicles with LED type front side marker lights
*3: Vehicles with bulb type front side marker lights
Page 17 of 592
17Pictorial index
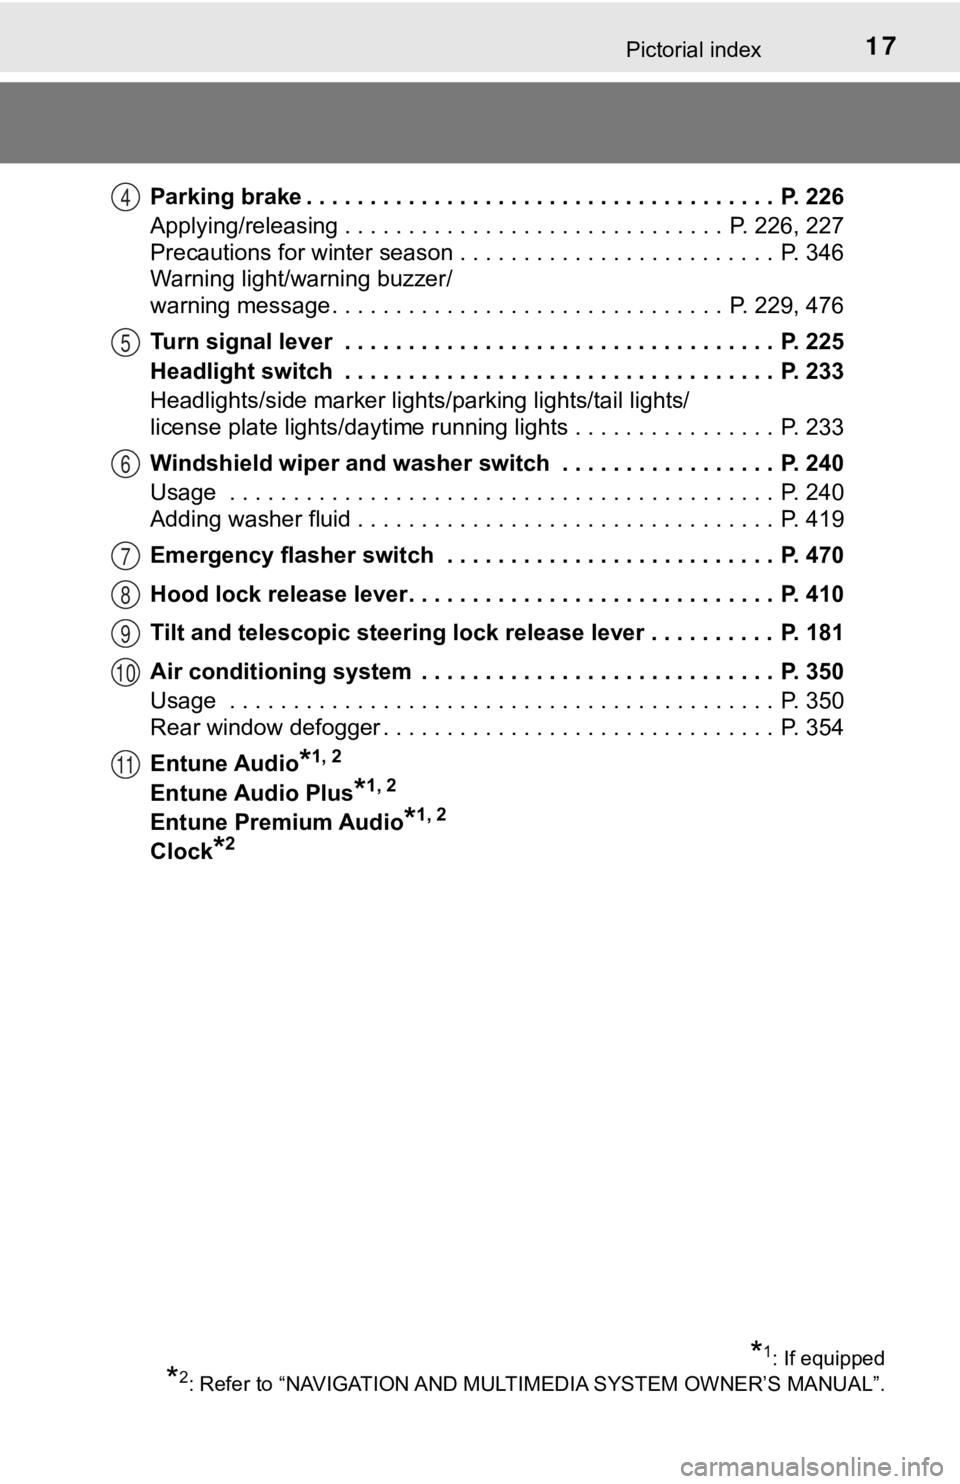
Parking brake . . . . . . . . . . . . . . . . . . . . . . . . . . . . . . . . . . . . . P. 226
Applying/releasing . . . . . . . . . . . . . . . . . . . . . . . . . . . . . . P. 226, 227
Precautions for winter season . . . . . . . . . . . . . . . . . . . . . . . . . P. 346
Warning light/warning buzzer/
warning message . . . . . . . . . . . . . . . . . . . . . . . . . . . . . . . P. 229, 476
Turn signal lever . . . . . . . . . . . . . . . . . . . . . . . . . . . . . . . . . . P. 225
Headlight switch . . . . . . . . . . . . . . . . . . . . . . . . . . . . . . . . . . P. 233
Headlights/side marker lights/parking lights/tail lights/
license plate lights/daytime running lights . . . . . . . . . . . . . . . . P. 233
Windshield wiper and washer switch . . . . . . . . . . . . . . . . . P. 240
Usage . . . . . . . . . . . . . . . . . . . . . . . . . . . . . . . . . . . . . . . . . . . P. 240
Adding washer fluid . . . . . . . . . . . . . . . . . . . . . . . . . . . . . . . . . P. 419
Emergency flasher switch . . . . . . . . . . . . . . . . . . . . . . . . . . P. 470
Hood lock release lever. . . . . . . . . . . . . . . . . . . . . . . . . . . . . P. 410
Tilt and telescopic steering lock release lever . . . . . . . . . . P. 181
Air conditioning system . . . . . . . . . . . . . . . . . . . . . . . . . . . . P. 350
Usage . . . . . . . . . . . . . . . . . . . . . . . . . . . . . . . . . . . . . . . . . . . P. 350
Rear window defogger . . . . . . . . . . . . . . . . . . . . . . . . . . . . . . . P. 354
Entune Audio
*1, 2
Entune Audio Plus*1, 2
Entune Premium Audio*1, 2
Clock*2
4
5
6
7
8
9
10
11
*1: If equipped
*2: Refer to “NAVIGATION AND MULT IMEDIA SYSTEM OWNER’S MANUAL”.
Page 115 of 592

1152. Instrument cluster
2
Instrument cluster
■Odometer
Displays the total distance the vehicle has been driven.
■Trip meter A/trip meter B
Displays the distance the vehicl e has been driven since the met er
was last reset. Trip meters A and B can be used to record and d is-
play different distances independently.
To reset, display the desired trip meter and press and hold the “ODO/
TRIP” switch.
Displays suggestions to the drive r in the following situations. To select
a response to a displayed suggestion, use the meter control swi tches.
The suggestion function can be turned on/off.
(Customizable features:P. 547)
■
Suggestion to turn off the headlights
If the headlights are left on for a certain amount of time afte r the
power switch has been turned off, if the headlight switch is in the
“AUTO” position, a suggestion m essage will be displayed asking if
you wish to turn the headlights off. To turn the headlights off , select
“Yes”.
If a front door is opened after the power switch is turned off, this sugges-
tion message will not be displayed.
Odometer/trip meter
Suggestion function
Page 131 of 592

1312. Instrument cluster
2
Instrument cluster
■Odometer
Displays the total distance the vehicle has been driven.
■Trip meter A/trip meter B
Displays the distance the vehicl e has been driven since the met er
was last reset. Trip meters A and B can be used to record and d is-
play different distances independently.
To reset, display the desired trip meter and press and hold the “ODO/
TRIP” switch.
Displays suggestions to the drive r in the following situations. To select
a response to a displayed suggestion, use the meter control swi tches.
The suggestion function can be turned on/off.
(Customizable features:P. 547)
■
Suggestion to turn off the headlights
If the headlights are left on for a certain amount of time afte r the
power switch has been turned off, if the headlight switch is in the
“AUTO” position, a suggestion m essage will be displayed asking if
you wish to turn the headlights off. To turn the headlights off , select
“Yes”.
If a front door is opened after the power switch is turned off, this sugges-
tion message will not be displayed.
Odometer/trip meter
Suggestion function
Page 183 of 592
1833-4. Adjusting the steering wheel and mirrors
3
Operation of each component
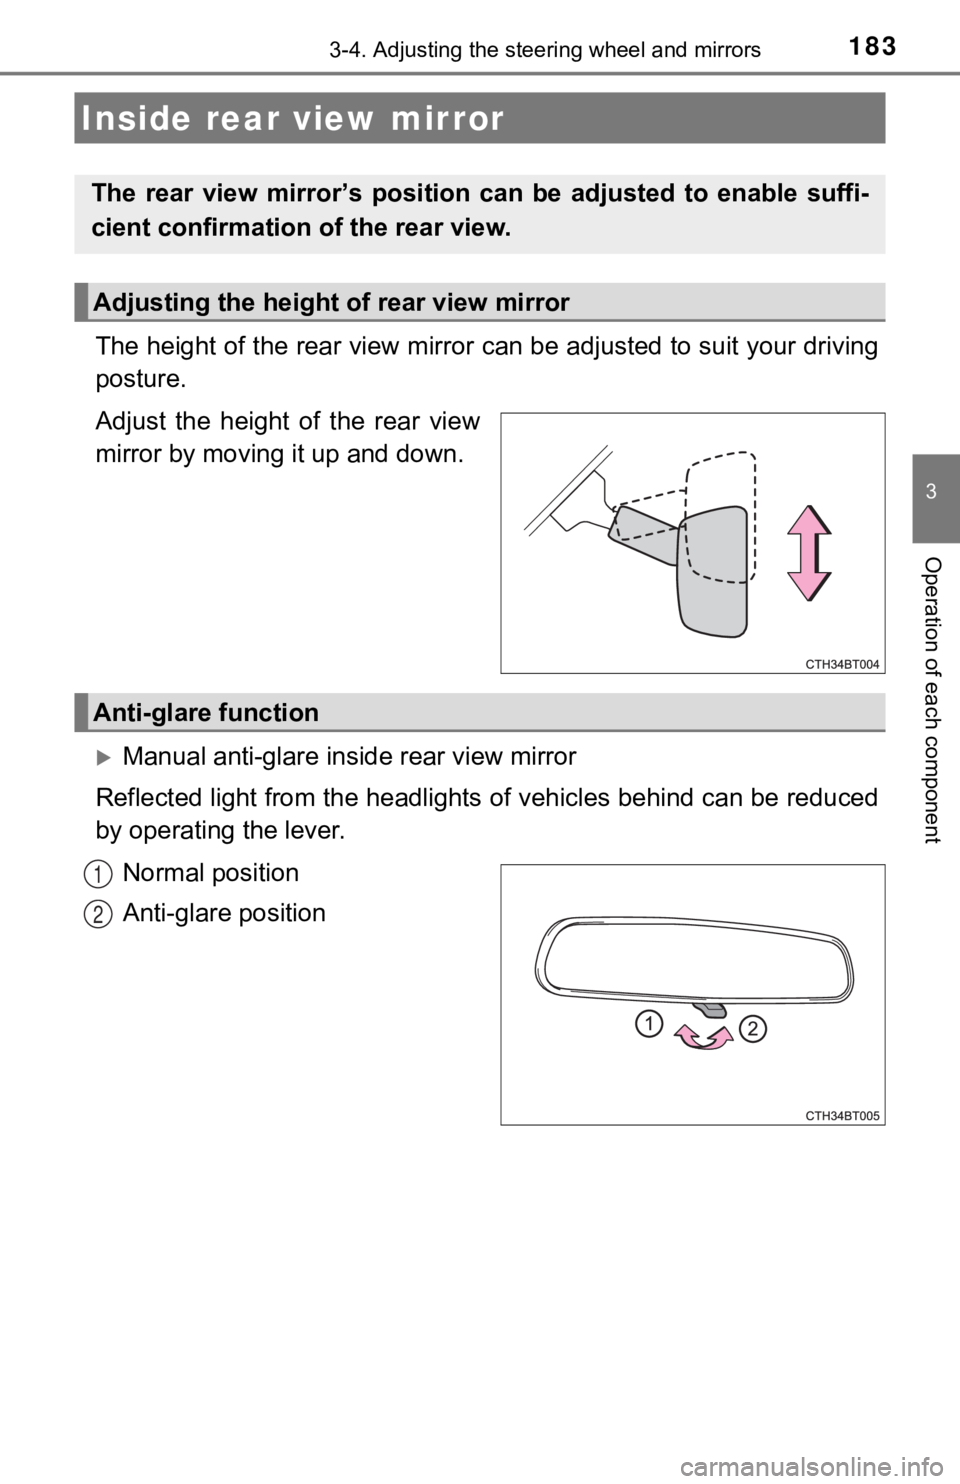
The height of the rear view mirror can be adjusted to suit your driving
posture.
Adjust the height of the rear view
mirror by moving it up and down.
Manual anti-glare inside rear view mirror
Reflected light from the headlights of vehicles behind can be r educed
by operating the lever.
Normal position
Anti-glare position
Inside rear view mirror
The rear view mirror’s position ca n be adjusted to enable suffi-
cient confirmation of the rear view.
Adjusting the height of rear view mirror
Anti-glare function
1
2
Page 184 of 592

1843-4. Adjusting the steering wheel and mirrors
Auto anti-glare inside rear view mirror
Responding to the level of brightness of the headlights of vehi cles
behind, the reflected light is automatically reduced.
Changing automatic anti-glare
function mode
On/Off
When the automatic anti-glare
function is in ON mode, the indica-
tor illuminates.
The function will set to ON mode
each time the power switch is
turned to ON mode.
Pressing the button turns the func-
tion to OFF mode. (The indicator
also turns off.)
■ To prevent sensor error (vehicles with an auto anti-glare inside rear view
mirror)
Indicator
To ensure that the sensors operate prop-
erly, do not touch or cover them.
WARNING
Do not adjust the position of the mirror while driving.
Doing so may lead to mishandling of the vehicle and cause an ac cident,
resulting in death or serious injury.
Page 233 of 592
233
4
Driving
4-3. Operating the lights and wipers
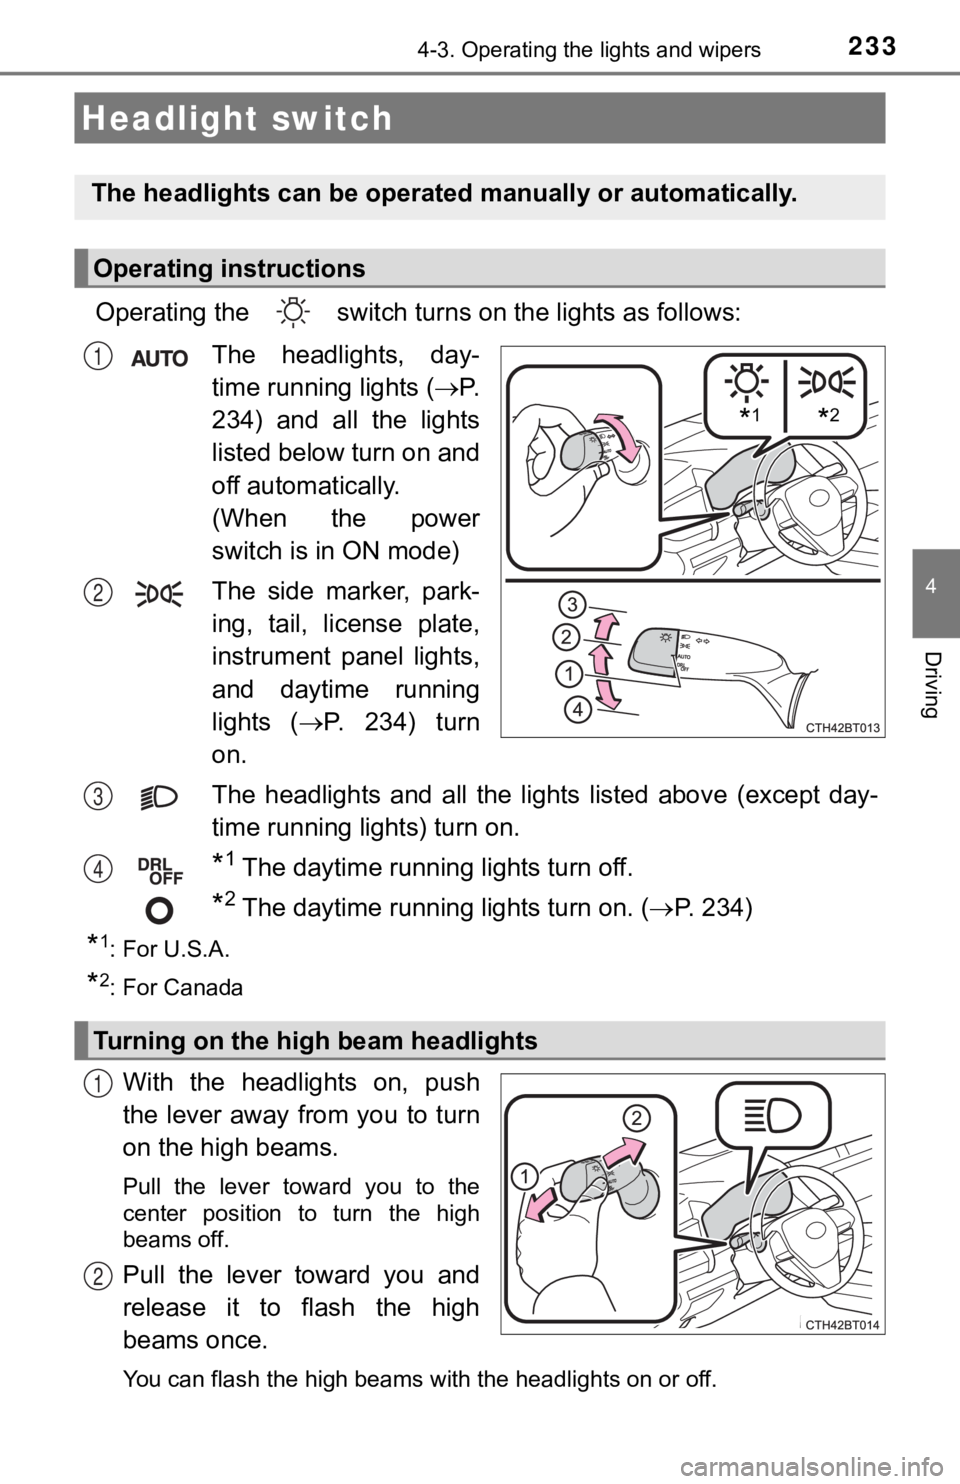
Operating the switch turn s on the lights as follows:
The headlights, day-
time running lights
( P.
234) and all the lights
listed below turn on and
off automatically.
(When the power
switch is in ON mode)
The side marker, park-
ing, tail, license plate,
instrument panel lights,
and daytime running
lights
( P. 234) turn
on.
The headlights and all the li ghts listed above (except day-
time running lights) turn on.
*1 The daytime running lights turn off.
*2 The daytime running lights turn on. ( P. 2 3 4 )
*1: For U.S.A.
*2: For Canada
With the headlights on, push
the lever away from you to turn
on the high beams.
Pull the lever toward you to the
center position to turn the high
beams off.
Pull the lever toward you and
release it to flash the high
beams once.
You can flash the high beams with the headlights on or off.
Headlight switch
The headlights can be operated manually or automatically.
Operating instructions
*1*2
1
2
3
4
Turning on the high beam headlights
1
2
Page 234 of 592

2344-3. Operating the lights and wipers
AFS (Adaptive Front-lighting System) secures excellent visibility at
intersections and on curves by automatically adjusting the dire ction of
the light axis of the headlights according to vehicle speed and the
degree of the tire’s angle as controlled by steering input.
AFS operates at speeds of 6 mph (10 km/h) or higher.
■Daytime running light system
●Type A:
The daytime running lights illuminate using the same lights as the headlights
and illuminate darker than the headlights.
Type B:
The daytime running lights illuminate using the same lights as the parking
lights and illuminate brighter than the parking lights.
● To make your vehicle more visible to other drivers during dayti me driving,
the daytime running lights turn on automatically when all of th e following
conditions are met. (The daytime running lights are not designe d for use at
night.)
• The hybrid system is operating
• The parking brake is released
• The headlight switch is in the (Canada only), or
* posi-
tion
*: When the surroundings are bright
The daytime running lights remain on after they illuminate, even if the parking
brake is set again.
● For U.S.A.: Daytime running lights can be turned off by operati ng the switch.
● Compared to turning on the headlights, the daytime running ligh t system
offers greater durability and consumes less electricity, so it can help improve
fuel economy.
■ Headlight control sensor
AFS (Adaptive Front-light ing System) (if equipped)
The sensor may not function properly if an
object is placed on the sensor, or anything
that blocks the sensor is affixed to the
windshield.
Doing so interferes with the sensor
detecting the level of ambient light and
may cause the automatic headlight sys-
tem to malfunction.