2019 Ram 3500 Chassis Cab radio
[x] Cancel search: radioPage 39 of 607

GETTING TO KNOW YOUR VEHICLE 37
NOTE:
Changes or modifications not expressly approved by the
party responsible for compliance could void the user’s
authority to operate the equipment.
Automatic Door Locks — If Equipped
The auto door lock feature default condition is enabled.
When enabled, the door locks will lock automatically when
the vehicle's speed exceeds 15 mph (24 km/h). The auto door
lock feature can be enabled or disabled by an authorized
dealer per written request of the customer. Please see an
authorized dealer for service.
Automatic Doors Unlock — If Equipped
This feature unlocks all of the doors of the vehicle when
either front door is opened. This will occur only after the
vehicle has been shifted into the PARK position after the
vehicle has been driven (shifted out of PARK and all doors
closed).Automatic Doors Unlock Programming — If Equipped
The Automatic Doors Unlock feature can be enabled or
disabled as follows:
• For vehicles not equipped with a touchscreen radio, refer
to “Instrument Cluster Display” in “Getting To Know
Your Instrument Panel” for further information.
• For vehicles equipped with a touchscreen radio, refer to “Uconnect Settings” in “Multimedia” for further informa -
tion.
NOTE:
Use the Auto Unlock Doors feature in accordance with local
laws.
2
Page 46 of 607

44 GETTING TO KNOW YOUR VEHICLE
Power Lumbar — If Equipped
Vehicles equipped with power driver or passenger seats may
be also be equipped with power lumbar. The power lumbar
switch is located on the outboard side of the power seat.
Push the switch forward to increase the lumbar support.
Push the switch rearward to decrease the lumbar support.Lumbar Control Switch
Driver Memory Seats — If Equipped
This feature allows the driver to store up to two different
memory profiles for easy recall through memory buttons.
Each memory profile contains desired position settings for the driver’s seat, side mirrors, adjustable pedals (if
equipped), and a set of desired radio station presets. Your
remote keyless entry key fob can also be programmed to
recall the same positions when the unlock button is pushed.
NOTE:
Your vehicle is equipped with two key fobs, one key fob can
be linked to memory position 1 and the other key fob can be
linked to memory position 2.
The driver memory seat buttons are located on the driver
door, next to the door handle.
Driver Memory Seat Buttons
Page 47 of 607

GETTING TO KNOW YOUR VEHICLE 45
Programming The Memory Feature
To create a new memory profile, perform the following:
1. Cycle the vehicle’s ignition to the ON/RUN position (donot start the engine).
2. Adjust all memory profile settings to desired preferences (i.e., driver’s seat, outside mirrors, adjustable pedals (if
equipped), and radio station presets).
3. Push and release the set (S) button on the memory switch.
4. Within five seconds, push and release either of the memory buttons (1) or (2). The instrument cluster display
will show which memory position has been set.
NOTE:
Memory profiles can be set without the vehicle in PARK. Linking And Unlinking The Remote Keyless Entry Key
Fob To Memory
Your key fob can be programmed to recall one of two
pre-programmed memory profiles by pushing the unlock
button on the key fob.
NOTE:
Before programming your key fob you must select the
“Personal Settings Linked to Key Fob” feature through the
Uconnect Settings. Refer to “Uconnect Settings” in “Multi
-
media” for further information.
To program your key fob, perform the following:
1. Cycle the vehicle’s ignition to the OFF position.
2. Select a desired memory profile 1 or 2.
NOTE:
If a memory profile has not already been set, refer to
"Programming The Memory Feature" in this section for
instructions on how to set a memory profile.
3. Once the profile has been recalled, push and release the set (S) button on the memory switch.
2
Page 79 of 607

GETTING TO KNOW YOUR VEHICLE 77
•Transmission In NEUTRAL Position — When the igni-
tion is ON, and the transmission is in the NEUTRAL posi -
tion, the Rain Sensing system will not operate until the
wiper switch is moved, vehicle speed is greater than
5 mph (8 km/h), or the gear selector is moved out of the
NEUTRAL position.
• Remote Start Mode Inhibit — On vehicles equipped with
Remote Starting system, Rain Sensing wipers are not oper -
ational when the vehicle is in the remote start mode. Once
the operator is in the vehicle and has placed the ignition
switch in the RUN position, Rain Sensing wiper operation
can resume, if it has been selected, and no other inhibit
conditions (mentioned previously) exist.
CLIMATE CONTROLS
The Climate Control System allows you to regulate the
temperature, air flow, and direction of air circulating
throughout the vehicle. The controls are located on the
touchscreen (if equipped), on the sides of the touchscreen, or
on the instrument panel below the radio.
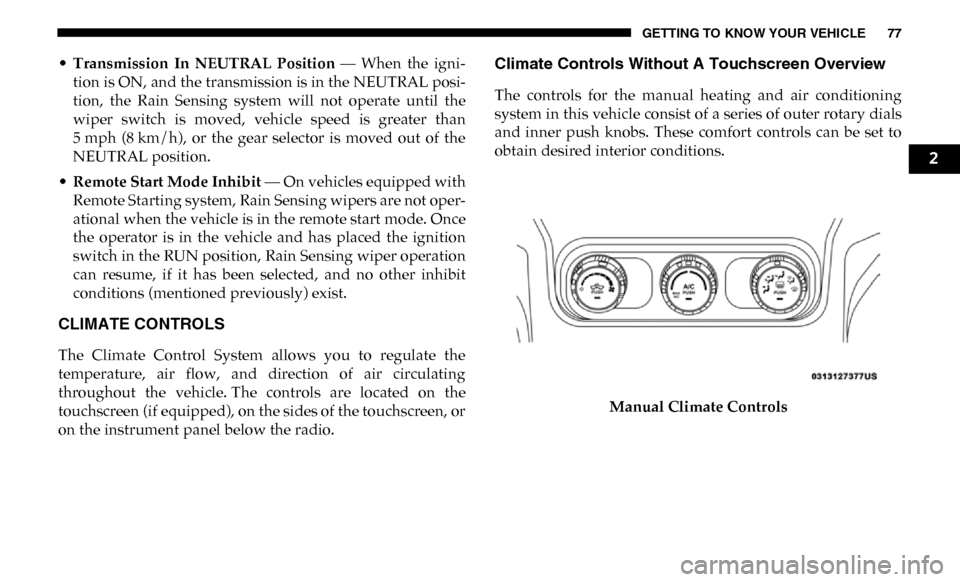
Climate Controls Without A Touchscreen Overview
The controls for the manual heating and air conditioning
system in this vehicle consist of a series of outer rotary dials
and inner push knobs. These comfort controls can be set to
obtain desired interior conditions.
Manual Climate Controls
2
Page 88 of 607

86 GETTING TO KNOW YOUR VEHICLE
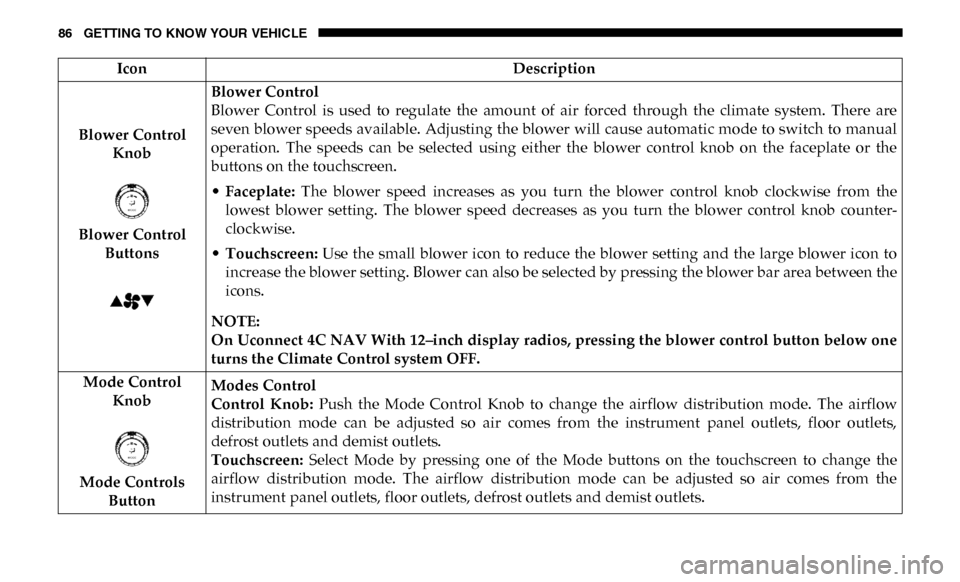
Blower Control Knob
Blower Control Buttons Blower Control
Blower Control is used to regulate the amount of air forced through the climate system. There are
seven blower speeds available. Adjusting the blower will cause automatic mode to switch to manual
operation. The speeds can be selected using either the blower control knob on the faceplate or the
buttons on the touchscreen.
•
Faceplate: The blower speed increases as you turn the blower control knob clockwise from the
lowest blower setting. The blower speed decreases as you turn the blower control knob counter -
clockwise.
• Touchscreen: Use the small blower icon to reduce the blower setting and the large blower icon to
increase the blower setting. Blower can also be selected by pressing the blower bar area between the
icons.
NOTE:
On Uconnect 4C NAV With 12–inch display radios, pressing the blower control button below one
turns the Climate Control system OFF.
Mode Control Knob
Mode Controls Button Modes Control
Control Knob:
Push the Mode Control Knob to change the airflow distribution mode. The airflow
distribution mode can be adjusted so air comes from the instrument panel outlets, floor outlets,
defrost outlets and demist outlets.
Touchscreen: Select Mode by pressing one of the Mode buttons on the touchscreen to change the
airflow distribution mode. The airflow distribution mode can be adjusted so air comes from the
instrument panel outlets, floor outlets, defrost outlets and demist outlets.
Icon
Description
Page 100 of 607

98 GETTING TO KNOW YOUR VEHICLE
Before You Begin Programming HomeLink
Be sure that your vehicle is parked outside of the garage
before you begin programming.
For more efficient programming and accurate transmission
of the radio-frequency signal it is recommended that a new
battery be placed in the hand-held transmitter of the device
that is being programmed to the HomeLink system.
To erase the channels, place the ignition in the ON/RUN
position, and push and hold the two outside HomeLink
buttons (I and III) for up to 20 seconds or until the orange
indicator flashes.
NOTE:
• Erasing all channels should only be performed whenprogramming HomeLink for the first time. Do not erase
channels when programming additional buttons.
• If you have any problems, or require assistance, please call toll-free 1-800-355-3515 or, on the Internet at HomeLink.com
for information or assistance.
Programming A Rolling Code
For programming garage door openers that were manufac
-
tured after 1995. These garage door openers can be identified
by the “LEARN” or “TRAIN” button located where the
hanging antenna is attached to the garage door opener.
NOTE:
It is NOT the button that is normally used to open and close
the door. The name and color of the button may vary by
manufacturer.
Page 103 of 607

GETTING TO KNOW YOUR VEHICLE 101
5. Press and hold the programmed HomeLink button andobserve the indicator light.
• If the indicator light stays on constantly, programming is complete and the garage door/device should acti -
vate when the HomeLink button is pressed.
• To program the two remaining HomeLink buttons, repeat each step for each remaining button. DO NOT
erase the channels.
Reprogramming A Single HomeLink Button (Non-Rolling
Code)
To reprogram a channel that has been previously trained,
follow these steps:
1. Cycle the ignition to the ON/RUN position.
2. Press and hold the desired HomeLink button until the indicator light begins to flash after 20 seconds. Do not
release the button.
3. Without releasing the button, proceed with “Program -
ming A Non-Rolling Code” step 2 and follow all
remaining steps.Canadian/Gate Operator Programming
For programming transmitters in Canada/United States that
require the transmitter signals to “time-out” after several
seconds of transmission.
Canadian radio frequency laws require transmitter signals to
time-out (or quit) after several seconds of transmission –
which may not be long enough for HomeLink to pick up the
signal during programming. Similar to this Canadian law,
some U.S. gate operators are designed to time-out in the
same manner.
It may be helpful to unplug the device during the cycling
process to prevent possible overheating of the garage door or
gate motor.
1. Cycle the ignition to the ON/RUN position.
2. Place the hand-held transmitter 1 to 3 inches (3 to 8 cm) away from the HomeLink button you wish to program
while keeping the HomeLink indicator light in view.
2
Page 105 of 607

GETTING TO KNOW YOUR VEHICLE 103
Security
It is advised to erase all channels before you sell or turn in
your vehicle.
To do this, push and hold the two outside buttons for 20
seconds until the orange indicator flashes. Note that all chan-
nels will be erased. Individual channels cannot be erased.
The HomeLink Universal Transceiver is disabled when the
Vehicle Security Alarm is active.
Troubleshooting Tips
If you are having trouble programming HomeLink, here are
some of the most common solutions:
• Replace the battery in the Garage Door Opener hand-held transmitter.
• Push the LEARN button on the Garage Door Opener to complete the training for a Rolling Code.
• Did you unplug the device for programming and remember to plug it back in?
If you have any problems, or require assistance, please call
toll-free 1-800-355-3515 or, on the Internet at HomeLink.com
for information or assistance.
General Information
The following regulatory statement applies to all Radio
Frequency (RF) devices equipped in this vehicle:
This device complies with Part 15 of the FCC Rules and with
Innovation, Science and Economic Development Canada
license-exempt RSS standard(s). Operation is subject to the
following two conditions:
1. This device may not cause harmful interference, and
2. This device must accept any interference received, including interference that may cause undesired opera -
tion.
NOTE:
Changes or modifications not expressly approved by the
party responsible for compliance could void the user’s
authority to operate the equipment.
2