2019 Peugeot Expert Ventilation
[x] Cancel search: VentilationPage 4 of 324

2
.
.
Instrument Panel 9
W arning and indicator lamps 1 0
Indicators
23
Distance recorders
2
7
Lighting dimmer
2
7
Trip computer
2
8
Setting the time and date
2
9
Electronic key with remote control function
and built-in key,
3
1
Unlocking/Complete or selective unlocking
3
3
Back-up procedures
3
8
Central locking / unlocking
4
1
Electric sliding side door(s)
4
3
General recommendations
for the sliding side doors
4
5
Hands-free sliding side door(s)
4
7
Side-hinged rear doors
4
9
Tailgate
5
0
Tailgate rear screen
5
0
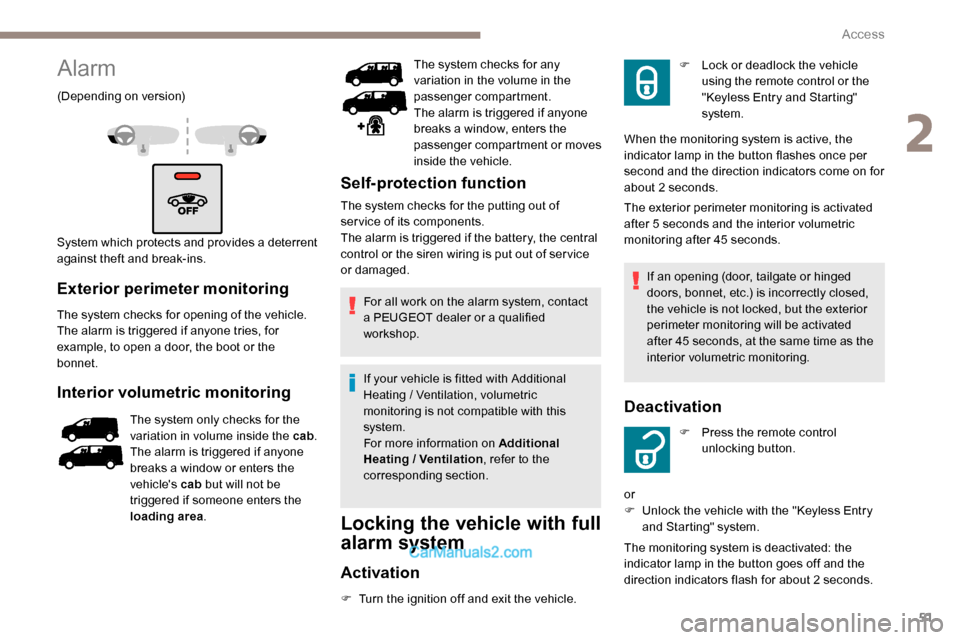
Alarm
51
Electric windows
5
3Correct driving position
5
4
Front seats
5
4
2-seat front bench seat
5
6
Steering wheel adjustment
5
8
Mirrors 59
Moduwork
6
0
Precautions for the seats and bench seats
6
3
Fixed one-piece bench seat 6 4
Fixed rear seat and bench seat 6 6
Rear seat and bench seat on rails 6 8
Individual rear seat(s) on rails
7
1
Crew cab, fixed
7
3
Crew cab, folding
7
4
Interior fittings
7
5
Loading area fittings
7
9
Seating area fittings
8
1
Panoramic sunroof
8
2
Retractable sliding table
8
3
Heating and Ventilation
8
6
Heating
87
Manual air conditioning
8
7
Dual-zone automatic air conditioning
8
8
Recirculation of interior air
9
0
Front demisting - defrosting
9
0
Rear screen and/or door mirrors
demisting - defrosting
9
1
Rear heating - air conditioning
9
2
Additional Heating / Ventilation
9
2
Courtesy lamp(s)
9
5Lighting control stalk
9
7
Direction indicators
9
8
Daytime running lamps/Sidelamps
9
9
Automatic illumination of headlamps
9
9
Guide-me-home and welcome lighting
9
9
Cornering lighting
1
00
Automatic headlamp dipping
1
01
Manual headlamp beam height adjustment 1 02
Interior ambient lighting 1 02
Wiper control stalk 1 03
Automatic wiping
1
04
Changing a wiper blade
1
06
General safety recommendations
1
07
Hazard warning lamps
1
08
Emergency or assistance call
1
08
Audible warning
1
09
Electronic stability control (ESC)
1
09
Advanced Grip Control
1
12
Seat belts
1
13
Airbags
117
Child seats
1
20
Deactivating the front passenger airbag
1
22
ISOFIX child seats
1
29
Manual child lock
1
36
Electric child lock
1
36
Child lock on rear windows
1
37
Over view
Instruments
Access Ease of use and comfort
Safety
Lighting and visibility
Instruments and controls 4
L abels 5
Eco-driving
Contents
Page 6 of 324

4
Instruments and controls
Depending on the vehicle's equipment,
the storage compartments may be open
or closed. This configuration is shown for
illustrative purposes.
Steering mounted controls
1.Glove box
Deactivation of the front passenger airbag
(inside the glove box)
2. 12 V accessory socket (120 W)
Obser ve the maximum power rating to
avoid damaging the accessory 3.
USB socket
4. JACK socket
5. Instrument panel
6. Storage compartments
Cup or can holder
7. Cooled glove box (if the vehicle is so
equipped)
Via a ventilation nozzle, if opened, engine
running and air conditioning on
8. Upper glove box
9. 220 V accessory socket (150 W, if the
vehicle is so equipped)
Obser ve the maximum power rating to
avoid damaging the accessory.
10. Horn
11. Courtesy lamp
Warning lamp display for seat belts and
front passenger airbag
Interior rear view mirror
Surveillance mirror
Emergency and assistance call buttons
12 . Heating
Manual air conditioning
Dual-zone automatic air conditioning
Front demisting - defrosting
Rear screen demisting – defrosting
13. "START/STOP" button
14 . Gearbox
15. Monochrome screen with audio system
Touch screen with PEUGEOT Connect
Radio or PEUGEOT Connect Nav 16.
Bonnet release
17. Dashboard fuses
18. Head-up display
1. External lighting/direction indicator
controls
2. Wiper/screenwash/trip computer controls
3. Audio system adjustment controls
(depending on version)
Over view
Page 7 of 324

5
4.Controls for speed limiter/cruise control/
adaptive cruise control
5. Instrument panel display mode selection
wheel
6. Voice synthesis control (depending on
ve r s i o n)
Volume adjustment (depending on
ve r s i o n)
7. Audio system adjustment controls
(depending on version)
Central switch panel
1.Locking/unlocking from the inside
2. Left-hand electric sliding side door
3. Electric child lock
4. Right-hand electric sliding side door
5. Cab/loading area selectivity
6. Hazard warning lamps
7. DSC/ASR system
8. Tyre under-inflation detection
9. Stop & Start
10. Heated windscreen
Side control bar
1.Grip control
2. Head-up display
3. Parking sensors
4. Additional Heating / Ventilation
5. Alarm
6. Manual headlamp beam height
adjustment
7. Lane departure warning system
8. Blind spot monitoring system
9. Automatic headlamp dipping
Labels
Side-hinged rear doors section.
Moduwork section.
.
Over view
Page 8 of 324

6
Rear seat and bench seat on rails section.
Precautions for the seats and bench seats
section.
Retractable sliding table section.Additional heating/ventilation
section.
Deactivating the front passenger airbag
section.
ISOFIX child seats section.
Manual child lock section. Bonnet
section.
12 V batter y section.
Temporary puncture repair kit , Spare wheel
and Identification markings sections.
Over view
Page 53 of 324

51
Alarm
(Depending on version)
System which protects and provides a deterrent
against theft and break-ins.
Exterior perimeter monitoring
The system checks for opening of the vehicle.
The alarm is triggered if anyone tries, for
example, to open a door, the boot or the
bonnet.
Interior volumetric monitoring
The system only checks for the
variation in volume inside the cab .
The alarm is triggered if anyone
breaks a window or enters the
vehicle's cab but will not be
triggered if someone enters the
loading area . The system checks for any
variation in the volume in the
passenger compartment.
The alarm is triggered if anyone
breaks a window, enters the
passenger compartment or moves
inside the vehicle.
Self-protection function
The system checks for the putting out of
ser vice of its components.
The alarm is triggered if the battery, the central
control or the siren wiring is put out of ser vice
or damaged.
For all work on the alarm system, contact
a PEUGEOT dealer or a qualified
workshop.
If your vehicle is fitted with Additional
Heating / Ventilation, volumetric
monitoring is not compatible with this
system.
For more information on Additional
Heating / Ventilation , refer to the
corresponding section.
Locking the vehicle with full
alarm system
Activation
F Turn the ignition off and exit the vehicle. The exterior perimeter monitoring is activated
after 5 seconds and the interior volumetric
monitoring after 45 seconds.
If an opening (door, tailgate or hinged
doors, bonnet, etc.) is incorrectly closed,
the vehicle is not locked, but the exterior
perimeter monitoring will be activated
after 45 seconds, at the same time as the
interior volumetric monitoring.
Deactivation
F Lock or deadlock the vehicle using the remote control or the
"Keyless Entry and Starting"
system.
When the monitoring system is active, the
indicator lamp in the button flashes once per
second and the direction indicators come on for
about 2 seconds.
F
P
ress the remote control
unlocking button.
or
F
U
nlock the vehicle with the "Keyless Entry
and Starting" system.
The monitoring system is deactivated: the
indicator lamp in the button goes off and the
direction indicators flash for about 2 seconds.
2
Access
Page 78 of 324

76
Use the Velcro to connect the transverse mats
in row 2 with the longitudinal mats in rows 2
and 3.
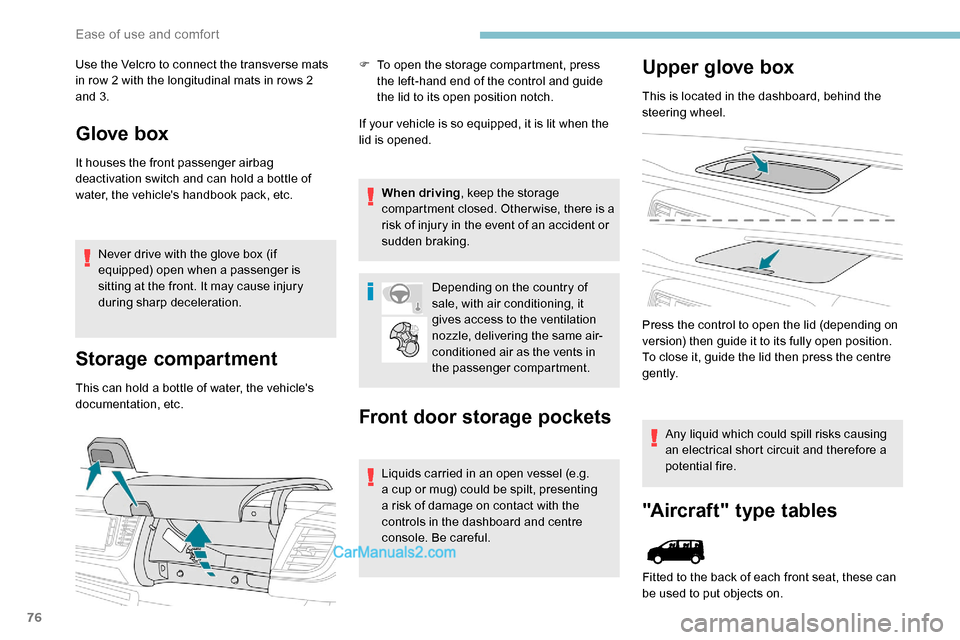
Glove box
It houses the front passenger airbag
deactivation switch and can hold a bottle of
water, the vehicle's handbook pack, etc.Never drive with the glove box (if
equipped) open when a passenger is
sitting at the front. It may cause injury
during sharp deceleration.
Storage compartment
This can hold a bottle of water, the vehicle's
documentation, etc. F
T
o open the storage compartment, press
the left-hand end of the control and guide
the lid to its open position notch.
If your vehicle is so equipped, it is lit when the
lid is opened.
When driving , keep the storage
compartment closed. Otherwise, there is a
risk of injury in the event of an accident or
sudden braking.
Depending on the country of
sale, with air conditioning, it
gives access to the ventilation
nozzle, delivering the same air-
conditioned air as the vents in
the passenger compartment.
Front door storage pockets
Liquids carried in an open vessel (e.g.
a cup or mug) could be spilt, presenting
a risk of damage on contact with the
controls in the dashboard and centre
console. Be careful.
Upper glove box
This is located in the dashboard, behind the
steering wheel.
Press the control to open the lid (depending on
version) then guide it to its fully open position.
To close it, guide the lid then press the centre
g e nt l y.
Any liquid which could spill risks causing
an electrical short circuit and therefore a
potential fire.
"Aircraft" type tables
Fitted to the back of each front seat, these can
be used to put objects on.
Ease of use and comfort
Page 88 of 324

86
To move the table or an individual seat
for wards or backwards, make sure that
the seat's backrest is upright and the table
is stowed.When stowing the table tops, never put
your hand in the sliding area, you may
get your fingers trapped. Use the handle
provided.
Heating and Ventilation
Advice
Using the ventilation and air
conditioning system
F
T
o ensure that the air is distributed
evenly, keep the external air intake
grilles at the base of the windscreen,
the nozzles, the vents, the air outlets
and the air extractor in the boot free
from obstructions.
F
D
o not cover the sunshine sensor,
located on the dashboard; this is used
for regulation of the automatic air
conditioning system.
F
O
perate the air conditioning system for
at least 5 to 10 minutes once or twice
a month to keep it in per fect working
o r d e r.
F
I
f the system does not produce cold air,
switch it off and contact a PEUGEOT
dealer or a qualified workshop.
When towing the maximum load on a
steep gradient in high temperatures,
switching off the air conditioning increases
the available engine power and so
improves the towing ability. Avoid driving for too long with the
ventilation off or with prolonged operation
of the recirculation of interior air - risk of
misting and deterioration of the air quality!
If the interior temperature is very high
after the vehicle has stood for a long
time in the sunshine, air the passenger
compartment for a few moments.
Put the air flow control at a setting high
enough to quickly change the air in the
passenger compartment.
The condensation created by the air
conditioning results in a discharge of
water under the vehicle which is per fectly
normal.
Ease of use and comfort
Page 89 of 324

87
Servicing the ventilation and air
conditioning system
F
E
nsure that the cabin filter is in good
condition and have the filter elements
replaced regularly.
It is recommend to use a combined
passenger compartment filter. Thanks to
its special active additive, it contributes
to the purification of the air breathed by
the occupants and the cleanliness of the
passenger compartment (reduction of
allergic symptoms, bad odours and greasy
deposits).
F
T
o ensure correct operation of the air
conditioning system, have it checked
according to the recommendations in
the Maintenance and Warranty Guide. Stop & Star t
The heating and air conditioning systems
only work when the engine is running.
Temporarily deactivate the Stop &
Start system to maintain a comfortable
temperature in the passenger
compartment.
For more information on Stop & Star t
,
refer to the corresponding section.
Contains fluorinated greenhouse gas
R13 4A
Depending on version and country
of sale, the air conditioning system
contains fluorinated greenhouse
gas R134A. Gas charge: 0.5
kg (+/-
0.025
kg), GWP index 1,430 t (equivalent
in CO
2: 0.751 t).
Heating
Manual air conditioning
The air conditioning system only operates with
the engine running.
1. Temperature.
2. A ir f low.
3. Air distribution
4. Recirculation of interior air.
5. Air conditioning on/off.
Air flow
F Turn the thumbwheel 2 to obtain a
comfortable air flow.
If you place the air flow control to the
minimum position (off), the temperature
in the vehicle will no longer be controlled.
A slight air flow can still be felt however,
resulting from the for ward movement of
the vehicle.
Temperature
F Turn the thumbwheel 1 from " LO" (cold) to
" HI " (hot) to adjust the temperature to your
requirements.
Air distribution
F Press button 3 successively to direct the air flow towards:
-
t
he windscreen, the side windows and the
footwells,
-
t
he footwells.
-
t
he central vents, the side vents and the
footwells,
-
t
he windscreen, the side windows, the
central vents, the side vents and the
footwells,
3
Ease of use and comfort