2019 Peugeot Expert Iso
[x] Cancel search: IsoPage 4 of 324
2
.
.
Instrument Panel 9
W arning and indicator lamps 1 0
Indicators
23
Distance recorders
2
7
Lighting dimmer
2
7
Trip computer
2
8
Setting the time and date
2
9
Electronic key with remote control function
and built-in key,
3
1
Unlocking/Complete or selective unlocking
3
3
Back-up procedures
3
8
Central locking / unlocking
4
1
Electric sliding side door(s)
4
3
General recommendations
for the sliding side doors
4
5
Hands-free sliding side door(s)
4
7
Side-hinged rear doors
4
9
Tailgate
5
0
Tailgate rear screen
5
0
Alarm
51
Electric windows
5
3Correct driving position
5
4
Front seats
5
4
2-seat front bench seat
5
6
Steering wheel adjustment
5
8
Mirrors 59
Moduwork
6
0
Precautions for the seats and bench seats
6
3
Fixed one-piece bench seat 6 4
Fixed rear seat and bench seat 6 6
Rear seat and bench seat on rails 6 8
Individual rear seat(s) on rails
7
1
Crew cab, fixed
7
3
Crew cab, folding
7
4
Interior fittings
7
5
Loading area fittings
7
9
Seating area fittings
8
1
Panoramic sunroof
8
2
Retractable sliding table
8
3
Heating and Ventilation
8
6
Heating
87
Manual air conditioning
8
7
Dual-zone automatic air conditioning
8
8
Recirculation of interior air
9
0
Front demisting - defrosting
9
0
Rear screen and/or door mirrors
demisting - defrosting
9
1
Rear heating - air conditioning
9
2
Additional Heating / Ventilation
9
2
Courtesy lamp(s)
9
5Lighting control stalk
9
7
Direction indicators
9
8
Daytime running lamps/Sidelamps
9
9
Automatic illumination of headlamps
9
9
Guide-me-home and welcome lighting
9
9
Cornering lighting
1
00
Automatic headlamp dipping
1
01
Manual headlamp beam height adjustment 1 02
Interior ambient lighting 1 02
Wiper control stalk 1 03
Automatic wiping
1
04
Changing a wiper blade
1
06
General safety recommendations
1
07
Hazard warning lamps
1
08
Emergency or assistance call
1
08
Audible warning
1
09
Electronic stability control (ESC)
1
09
Advanced Grip Control
1
12
Seat belts
1
13
Airbags
117
Child seats
1
20
Deactivating the front passenger airbag
1
22
ISOFIX child seats
1
29
Manual child lock
1
36
Electric child lock
1
36
Child lock on rear windows
1
37
Over view
Instruments
Access Ease of use and comfort
Safety
Lighting and visibility
Instruments and controls 4
L abels 5
Eco-driving
Contents
Page 8 of 324

6
Rear seat and bench seat on rails section.
Precautions for the seats and bench seats
section.
Retractable sliding table section.Additional heating/ventilation
section.
Deactivating the front passenger airbag
section.
ISOFIX child seats section.
Manual child lock section. Bonnet
section.
12 V batter y section.
Temporary puncture repair kit , Spare wheel
and Identification markings sections.
Over view
Page 75 of 324

73
F Check that nothing is obstructing the rails.
F
F
it the front part on the rails.
F
T
ip the seat to align the rear of the guides in
the rails.
F
S
lide the seat for wards or backwards until it
engages in the notches.
F
Ra
ise the backrest.
Check that the seat has correctly locked
on the floor when returned to the seating
position.
Crew cab, fixed
It comprises a fixed bench seat, seat belts,
storage compartments (depending on
equipment) and side windows.
It is separated from the loading area by a high-
strength partition offering comfort and safety.
Rear bench seat
This ergonomic bench seat has three seats.
The two outer seats are fitted with ISOFIX
mountings.
For more information on the ISOFIX
mountings , refer to the corresponding
section.
Storage compartment Under seat cushion storage
wells
If the vehicle is so equipped, they are located
underneath the centre and outer left-hand
seats.
To gain access to it from the cab, tip the
required seat forwards.
If applicable, a storage compartment is
available at the front, underneath the bench
seat.
3
Ease of use and comfort
Page 84 of 324

82
F Position the net upper fixings in the corresponding anchorages in the roof (first
one side, then the other).
F
F
ully extend the straps.
F
O
n each side, attach the bottom fixings of
the net to the lower anchorages (behind row
1) or in the stowing rings (behind row 2).
F
T
ension the straps to extend the net.
F
C
heck that the net is attached securely and
properly extended.
Never use the ISOFIX ring provided for
fixing the strap of a child seat with Top
Tether.
Rear windows in row 2
If the vehicle is so equipped, the side windows
of row 2 can be opened. For more information on the Child
lock for rear windows
, refer to the
corresponding section.
Side blinds
Fitted to the windows in row 2, they protect the
passenger compartment from the sun's rays.
While driving, the windows must be closed or
secured at one of the notches. Always guide the blind slowly using the
tab, both up and down.
F
P
ull the tab A and anchor the blind on the
hook B .
Panoramic sunroof
This is equipped with two manual and
independent blinds, which improve thermal and
acoustic comfort.
Blinds
Opening/Closing
F Take one of the blinds by its grip and push
it back or pull it for wards to the desired
position.
F
S
queeze the two controls then move the
window sideways.
Ease of use and comfort
Page 92 of 324
90
When the air conditioning is in operation, to
cool the air more quickly, you can use interior
air recirculation for a few moments by pressing
button 4. Then return to the intake of exterior
a i r.
The air conditioning does not operate
when the air flow adjustment is set to off.
Switching the system off may result in
some discomfort (humidity, misting).
Air distribution
F Press button 3 successively to direct the air flow towards:
-
t
he windscreen, the side windows and the
footwells,
-
t
he footwells.
-
t
he central vents, the side vents and the
footwells,
-
t
he windscreen, the side windows, the
central vents, the side vents and the
footwells,
-
t
he central and side vents,
-
t
he windscreen and side windows
(demisting or defrosting).
Air flow
F Press buttons 2 to increase/decrease the air f low.
The symbol for air flow (a fan) appears. It is
filled in or emptied progressively according to
the value requested.
Recirculation of interior air
The intake of exterior air prevents the formation
of mist on the windscreen and side windows.
Recirculation of the interior air isolates the
passenger compartment from exterior odours
and fumes.
This allows hot or cold air to be delivered more
quickly when required.
Avoid prolonged use of recirculation
of the interior air - risk of misting and
deterioration of air quality! F
P
ress button 4 to recirculate the
interior air/permit the intake of
exterior air.
When the interior air recirculation is active, the
symbol appears or the indicator lamp comes on
(depending on version).
Front demisting -
defrosting
These markings on the control
panel indicate the positioning of
the controls for rapid demisting or
defrosting of the windscreen and
side windows.
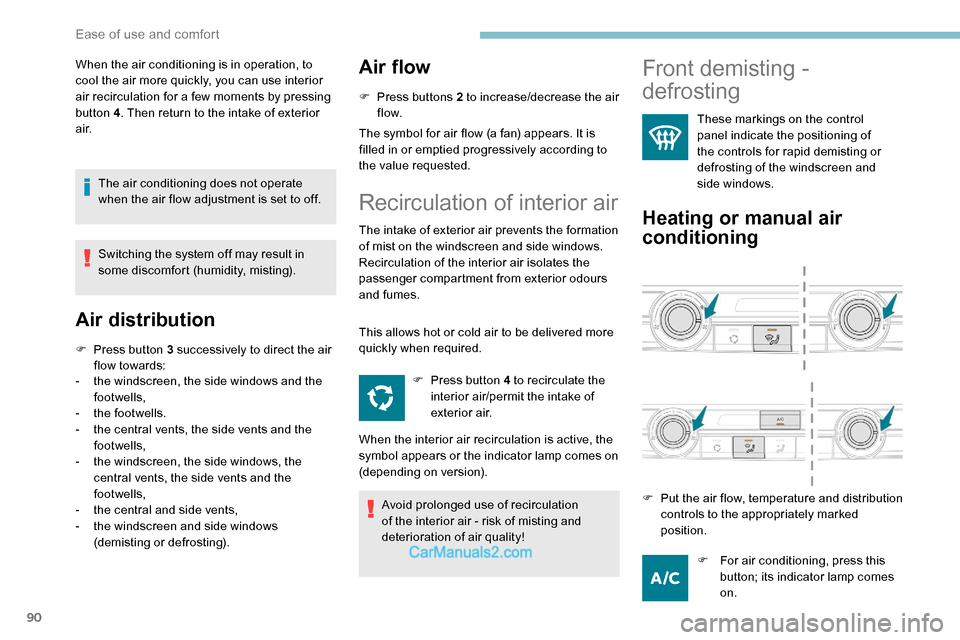
Heating or manual air
conditioning
F For air conditioning, press this button; its indicator lamp comes
on.
F
P
ut the air flow, temperature and distribution
controls to the appropriately marked
position.
Ease of use and comfort
Page 97 of 324
95
To avoid the risks of poisoning or
asphyxia, the programmable heating must
not be used, even for short periods, in a
closed environment such as a garage or
workshop which is not equipped with an
exhaust gas extraction system.
Do not park the vehicle on a flammable
sur face (dry grass, fallen leaves, paper,
etc.) - risk of fire!Glazed sur faces such as the rear screen
or windscreen can become very hot in
places.
Never put objects on these sur faces;
never touch these sur faces - risk of burns!
The programmable heating is supplied by
the vehicle's fuel tank. Before use, ensure
that there is enough fuel left in the tank.
If the fuel in the tank is at the reser ve
level, it is strongly recommended not to
programme the heating.
The additional heating must always be
switched off while refuelling to avoid any
risk of fire or explosion.
Independent additional
heating
Depending on the country of sale, this is an
additional and independent system which heats
the hot water circuit of the Diesel engine to
improve comfort and to raise the temperature
of the cold engine. It improves demisting and
defrosting performance. With the engine idling
or the vehicle stationary, it is normal to notice a
high-pitched whistling and some emissions of
smoke or odour.
The temperature near the heating system must
not exceed 120°C. A higher temperature (e.g. in
a paint oven) could damage the components of
electronic circuits.
The additional heating is supplied by the
vehicle's fuel tank. Make sure that the low fuel
warning lamp is not on. To avoid the risks of poisoning or
suffocation, the additional heating must
not be used, even for short periods, in a
closed environment such as a garage or
workshop which is not equipped with an
exhaust gas extraction system.
Do not park the vehicle on a flammable
sur face (for example: dry grass, fallen
leaves, paper, etc.) - risk of fire!
Have the additional heating checked at
least once a year, at the beginning of
w i n t e r.
For maintenance and repairs, you must
only contact a PEUGEOT dealer or a
qualified workshop.
Courtesy lamp(s)
Front: comes on when one of
the front or rear doors is opened
(sliding side door and depending
on equipment, left-hand side-
hinged door or tailgate).
Rear or row 2 and row 3: comes
on when one of the rear doors
is opened (sliding side door
and depending on equipment,
left-hand side-hinged door or
tailgate).
3
Ease of use and comfort
Page 122 of 324

120
Curtain airbags
Lateral airbags
Use only approved covers on the seats,
compatible with the deployment of the
lateral airbags. For information on the
range of seat covers suitable for your
vehicle, contact a PEUGEOT dealer.
Do not fix or attach anything to the seat
backrests (clothes, etc.), as this could
cause injuries to the thorax or arm when
the lateral airbag is deployed.
Do not sit with the upper part of the body
any nearer to the door than necessary.
The vehicle's front door panels include
side impact sensors.
A damaged door or any unauthorised or
incorrectly executed work (modification or
repair) on the front doors or their interior
trim could compromise the operation of
these sensors - risk of malfunction of the
lateral airbags!
Such work must only be done by a
PEUGEOT dealer or a qualified workshop.
General points relating to
child seats
The legislation on carrying children is
specific to each country. Refer to the
legislation in force in your country. -
S
tatistically, the safest seats in your
vehicle for carr ying children are the rear
seats.
-
A c
hild weighing less than 9 kg must
travel in the "rear ward facing" position
both in the front and in the rear.
It is recommended that children travel on
the rear seats of your vehicle:
- "
rearward facing " up to the age of 3,
- "
forward facing " over the age of 3.
Ensure that the seat belt is positioned and
tightened correctly.
For child seats with a support leg, ensure
that the support leg is in firm and steady
contact with the floor.
At the front: if necessary, adjust the
passenger seat.
At the rear: if necessary, adjust the
relevant front seat.
Remove and stow the head restraint
before installing a child seat with backrest
on a passenger seat. Refit the head
restraint once the child seat has been
removed.
Active
, Allure , Business VIP
Do not fix or attach anything to the roof,
as this could cause head injuries when the
curtain airbag is deployed.
Do not remove the grab handles installed
on the roof, as they play a part in securing
the curtain airbags.
For maximum safety, please obser ve the
following recommendations:
-
I
n accordance with European regulations,
all children under the age of 12 or less
than one and a half metres tall must
travel in approved child seats suited to
their weight , on seats fitted with a seat belt
or ISOFIX mountings.
Safety
Page 124 of 324
122
Deactivating the front
passenger airbag
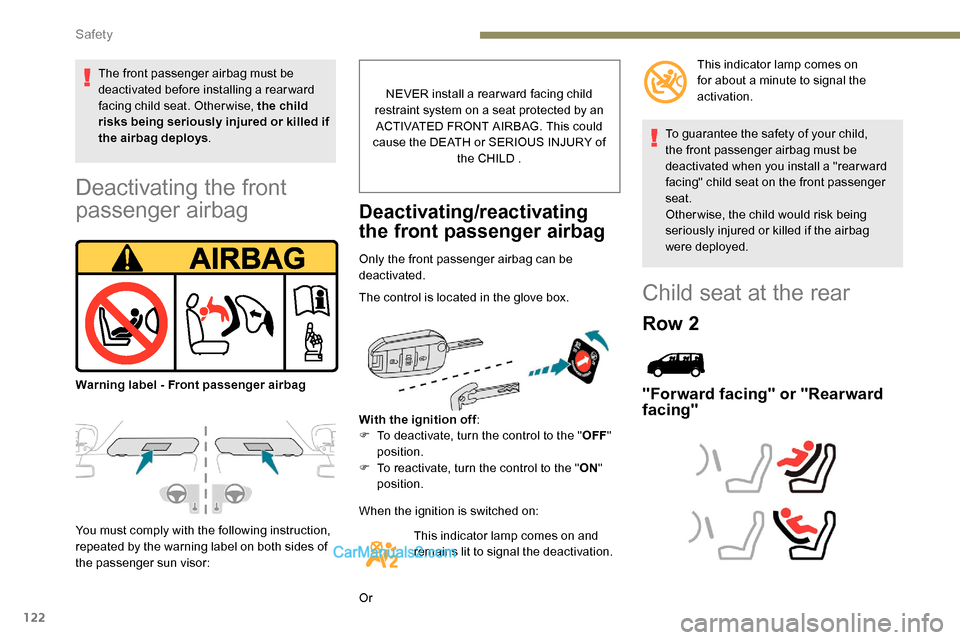
You must comply with the following instruction,
repeated by the warning label on both sides of
the passenger sun visor:NEVER install a rear ward facing child
restraint system on a seat protected by an ACTIVATED FRONT AIRBAG. This could
cause the DEATH or SERIOUS INJURY of the CHILD .
Deactivating/reactivating
the front passenger airbag
Only the front passenger airbag can be
deactivated.
The control is located in the glove box.
With the ignition off :
F
T
o deactivate, turn the control to the " OFF"
position.
F
T
o reactivate, turn the control to the " ON"
position.
When the ignition is switched on: To guarantee the safety of your child,
the front passenger airbag must be
deactivated when you install a "rear ward
facing" child seat on the front passenger
seat.
Otherwise, the child would risk being
seriously injured or killed if the airbag
were deployed.
Child seat at the rear
Row 2
"Forward facing" or "Rearward
facing"
The front passenger airbag must be
deactivated before installing a rearward
facing child seat. Otherwise, the child
risks being seriously injured or killed if
the airbag deploys
.
Warning label - Front passenger airbag This indicator lamp comes on
for about a minute to signal the
activation.
This indicator lamp comes on and
remains lit to signal the deactivation.
Or
Safety