2019 OPEL INSIGNIA BREAK clock
[x] Cancel search: clockPage 89 of 345

Instruments and controls87Instruments and
controlsControls ....................................... 88
Steering wheel adjustment ........88
Steering wheel controls .............88
Heated steering wheel ...............88
Horn ........................................... 89
Windscreen wiper and washer ..89
Rear window wiper and washer ...................................... 91
Outside temperature ..................92
Clock ......................................... 92
Power outlets ............................. 93
Navigation map card port ..........94
Inductive charging .....................94
Ashtrays .................................... 95
Warning lights, gauges and indi‐ cators ........................................... 96
Instrument cluster ......................96
Speedometer ........................... 101
Odometer ................................ 102
Trip odometer .......................... 102
Tachometer ............................. 103
Fuel gauge .............................. 103
Engine coolant temperature gauge ..................................... 104Service display........................ 104
Control indicators ....................105
Turn lights ................................ 105
Seat belt reminder ...................105
Airbag and belt tensioners .......106
Airbag deactivation ..................106
Charging system .....................107
Malfunction indicator light ........107
Brake and clutch system .........107
Electric parking brake ..............107
Electric parking brake fault ......107
Antilock brake system (ABS) ...108
Gear shifting ............................ 108
Following distance ...................108
Lane keep assist .....................108
Electronic Stability Control off . 108
Electronic Stability Control and Traction Control system .........108
Traction Control system off .....109
Engine coolant temperature ....109
Preheating ............................... 109
AdBlue ..................................... 109
Tyre pressure monitoring system .................................... 109
Engine oil pressure ..................109
Low fuel ................................... 110
Immobiliser .............................. 110
Exterior light ............................ 110
High beam ............................... 110
High beam assist .....................110LED headlights ........................ 110
Front fog lights ......................... 110
Rear fog light ........................... 111
Cruise control .......................... 111
Adaptive cruise control ............111
Vehicle detected ahead ...........111
Pedestrian detection ................111
Speed limiter ........................... 111
Traffic sign assistant ................111
Door open ................................ 111
Displays ..................................... 112
Driver Information Centre ........112
Info Display .............................. 118
Head-up display ......................119
Vehicle messages ......................122
Warning chimes .......................123
Battery voltage ........................ 123
Vehicle personalisation ..............124
Telematics service .....................126
OnStar ..................................... 126
Page 94 of 345

92Instruments and controlsThe rear window washer system is
deactivated when the fluid level is
low.
Washer fluid 3 257.
Outside temperature A drop in temperature is indicated
immediately and a rise in temperature
after a time delay.
Illustration shows an example.
If outside temperature drops to 3 °C,
a warning message is displayed in the Driver Information Centre.
9 Warning
The road surface may already be
icy even though the display
indicates a few degrees above
0 °C.
Clock
Date and time are shown in the Info-
Display 3 118.
8'' Info-Display
Press ! and select Settings.
Select Time/Date .
Time zone, time and date are
provided automatically by default.
All values can be set manually, as
well. Therefore, the automatic set
functions have to be deactivated by
toggeling switch icons beside
Automatic Time and Date and
Automatic Time Zone to "O".
Set time or date
Select Set Time or Set Date to enter
the respective submenu. Adjust
values by touching n or o.
Press O to leave the submenu and
store the new value. Press "x" to
leave without storing.
Set time zone
Select Select Time Zone to enter the
respective submenu. Browse through list by touching n or o. Select
desired time zone by touching list entry.
Page 123 of 345

Instruments and controls121● adaptive cruise control Õ: set
speed and status
● pedestrian detected ahead 7:
pedestrian recognition
Pop-up alerts
The following list contains just an
extract of possible alerts. Some may
not be available for your particular
vehicle, others can appear depending
on vehicle configuration.
Alerts pop-up on each page if
required
● pedestrian protection alert
● forward collision alert
● up-/downshift alert
● incoming call
Alerts with lower priority can be reset
by pressing G, high priority alerts
appear as long as danger continues.
System messages or vehicle
warnings may require immediately
action. Seek the assistance of a
workshop.Adjust position of head-up display
image
1. Adjust the driver's seat.
2. Start the engine.
3. Press down or lift up button . to
centre the image. It can only be
adjusted up and down, not side to
side.9 Warning
If the head-up display image is too
bright or too high in your field of
view, it may obstruct your view
when it is dark outside. Be sure to keep the head-up display imagedim and placed low in your field of
view.
Adjust brightness
The head-up display image will
automatically dim and brighten to compensate for outside lighting.
Brightness can also be adjusted
manually as needed:
Lift up & and hold to brighten the
display. Press down and hold to dim
the display.
The image can temporarily light up
depending on angel and position of
sunlight.
Adjust rotation Select Options /% in the Driver
Information Center main menu.
Select submenu page
Head-Up Display . Press é on the
steering wheel to open adjustment dialogue. Press ä or å to turn
projection clockwise or counter- clockwise. Press è to leave
adjustment dialogue.
Switching off
Hold down & to turn the head-up
display off.
Language Preferred language can be set in
vehicle personalisation menu 3 124.
Units
Units can be changed in the settings
menu of the Driver Information Centre 3 112.
Page 126 of 345

124Instruments and controlsVehicle personalisationThe vehicle's behaviour can be
personalised by changing the settings in the Info-Display.
Some of the personal settings for
different drivers can be memorised
individually for each vehicle key.
Memorised settings 3 25.
Depending on vehicle equipment and
country-specific regulations some of
the functions described below may
not be available.
Some functions are only displayed or
active when the engine is running.
Personal settings 8" Colour-Info-Display
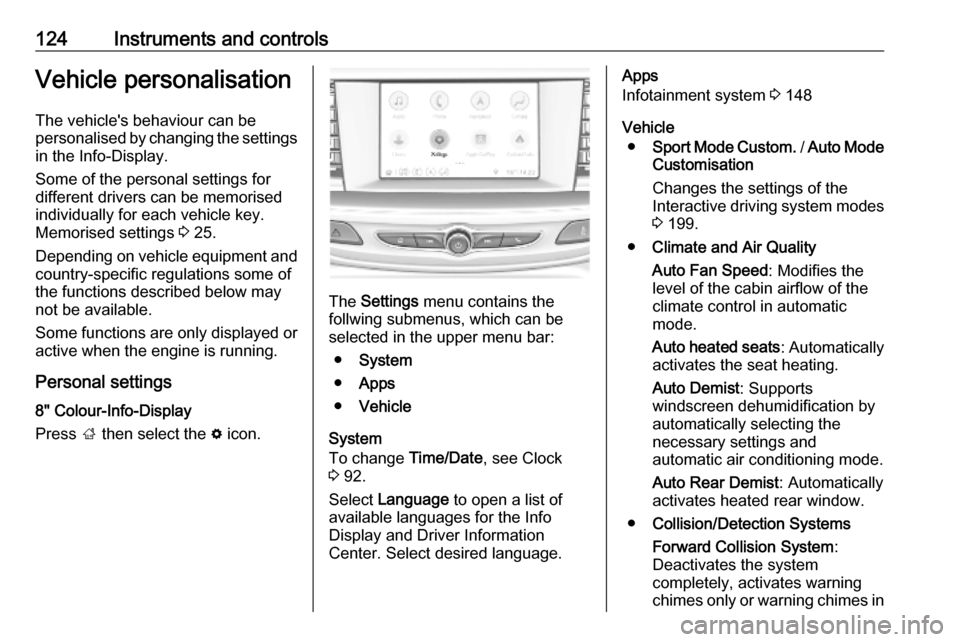
Press ; then select the % icon.
The Settings menu contains the
follwing submenus, which can be
selected in the upper menu bar:
● System
● Apps
● Vehicle
System
To change Time/Date, see Clock
3 92.
Select Language to open a list of
available languages for the Info
Display and Driver Information
Center. Select desired language.
Apps
Infotainment system 3 148
Vehicle ● Sport Mode Custom. / Auto Mode
Customisation
Changes the settings of the
Interactive driving system modes
3 199.
● Climate and Air Quality
Auto Fan Speed : Modifies the
level of the cabin airflow of the
climate control in automatic
mode.
Auto heated seats : Automatically
activates the seat heating.
Auto Demist : Supports
windscreen dehumidification by
automatically selecting the
necessary settings and
automatic air conditioning mode.
Auto Rear Demist : Automatically
activates heated rear window.
● Collision/Detection Systems
Forward Collision System :
Deactivates the system
completely, activates warning
chimes only or warning chimes in
Page 165 of 345

Climate control163Climate controlClimate control systems.............163
Air conditioning system ...........163
Electronic climate control system .................................... 166
Auxiliary heater ........................172
Air vents ..................................... 172
Adjustable air vents .................172
Fixed air vents ......................... 173
Maintenance .............................. 173
Air intake ................................. 173
Air conditioning regular operation ................................ 174
Service .................................... 174Climate control systems
Air conditioning system
Illustration shows functions which
may not be available for your
particular vehicle.
Controls for: ● Fan speed E
● Temperature TEMP
● Air distribution w, x and y
● Air conditioning A/C
● Demisting and defrosting á
● Air recirculation n
● External air 5
● Heated rear window and exterior
mirrors b
● Heated windscreen ,
● Heated seats ß
Some changes of settings are
indicated briefly in the Info-Display.
Activated functions are indicated by
the LED in the respective button.
Fan speed E
Adjust the air flow by turning Z to the
desired speed.clockwise:increaseanti-clockwise:decrease
Temperature TEMP
Adjust the temperature by turning
TEMP to the desired temperature.
red area:warmerblue area:colder
Heating will not be fully effective until
the engine has reached normal
operating temperature.
Page 189 of 345

Driving and operating187The vehicle must be parked on a level
surface.
The filler neck for AdBlue is located
behind the fuel filler flap, which is located at right rear side of the
vehicle.
The fuel filler flap can only be opened if the vehicle is unlocked.
1. Remove key from ignition switch.2. Close all doors to avoid ammonia fumes entering the interior of the
vehicle.
3. Release the fuel filler flap by pushing the flap 3 246.
4. Unscrew protective cap from the
filler neck.
5. Open AdBlue canister.
6. Mount one end of the hose on the
canister and screw the other end
on the filler neck.
7. Lift the canister until it is empty, or
until the flow from the canister has stopped. This can take up to
five minutes.
8. Place the canister on the ground to empty the hose, wait
15 seconds.
9. Unscrew the hose from the filler neck.
10. Mount the protective cap and turn
clockwise until it engages.
Note
Dispose of AdBlue canister
according to environmental
requirements. To reuse the hose
flush it with clear water after usage.Automatic transmission
The automatic transmission permits
automatic gear shifting (automatic
mode) or manual gear shifting
(manual mode).
Manual shifting is possible in manual
mode by tapping the selector lever to + or - or pulling the steering wheel
paddles.
Transmission display
Illustrations show different versions.
Page 263 of 345

Vehicle care261
Low beam (1) outer bulb.
High beam ( 2) inner bulb.
Low beam (1)
1. Rotate the cap anticlockwise and remove it.
2. Disengage bulb holder bypressing the retainer to the front.
Withdraw the bulb holder from the
reflector housing.
3. Detach the bulb from the bulb holder and replace the bulb.
4. Insert the bulb holder.
5. Fit the cap and rotate clockwise.
Page 264 of 345

262Vehicle careHigh beam (2)
1. Rotate the cap anticlockwise andremove it.
2. Disengage bulb holder bypressing the retainer to the front.
Withdraw the bulb holder from the
reflector housing.
3. Detach the bulb from the bulb holder and replace the bulb.
4. Insert the bulb holder.
5. Fit the cap and rotate clockwise.
Front turn signal light
In case of defective LEDs, have them replaced by a workshop.
Side light
In case of defective LEDs, have them
replaced by a workshop.
Daytime running light
In case of defective LEDs, have them
replaced by a workshop.
LED headlights
Headlights for low and high beam,
sidelights, daytime running lights and turn signal lights are designed as
LEDs and cannot be changed.
Have lights repaired by a workshop in
case of failure.
Front fog lights 1. Grand Sport, Sports Tourer