Page 319 of 682
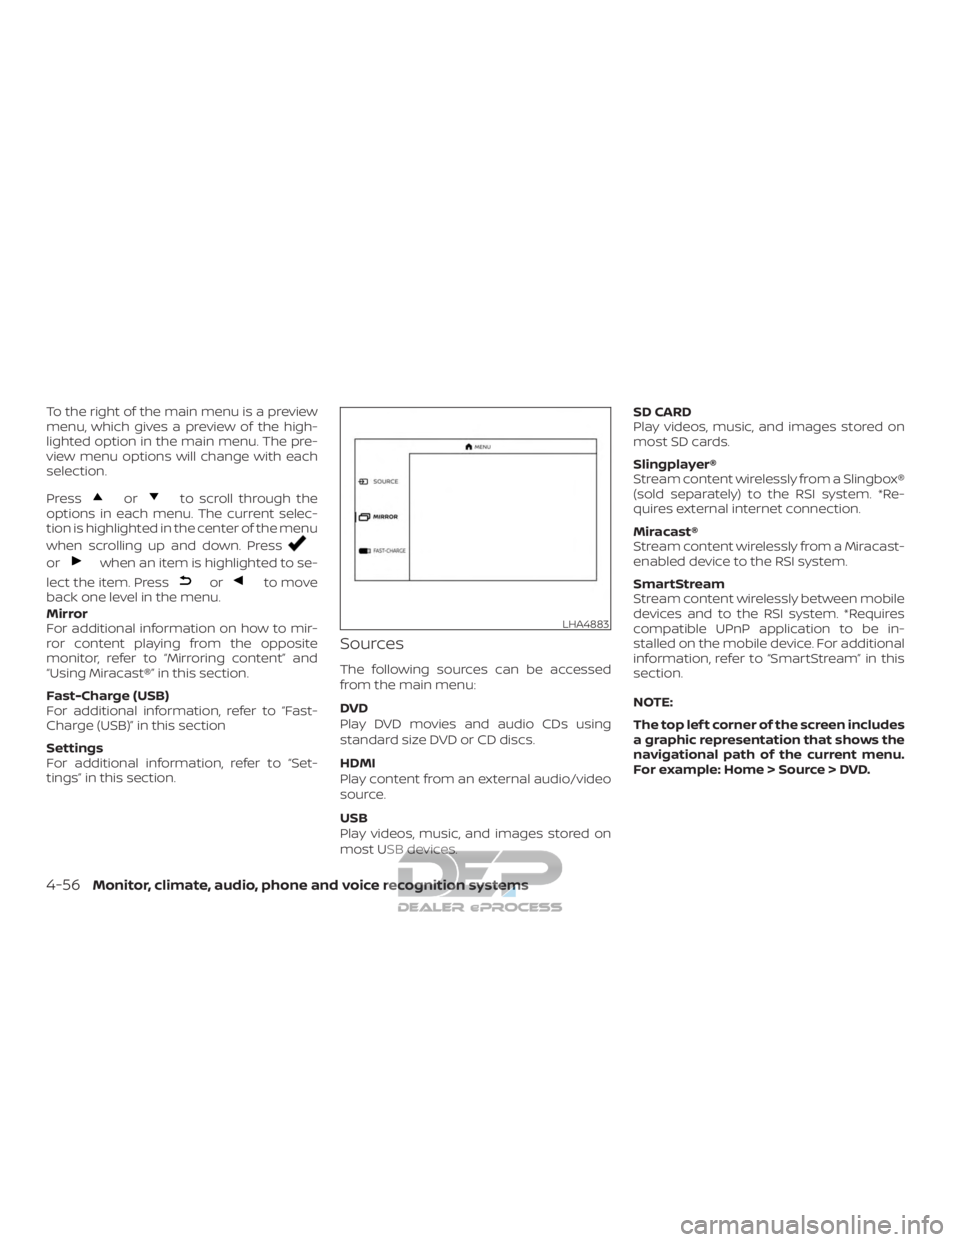
To the right of the main menu is a preview
menu, which gives a preview of the high-
lighted option in the main menu. The pre-
view menu options will change with each
selection.
Press
orto scroll through the
options in each menu. The current selec-
tion is highlighted in the center of the menu
when scrolling up and down. Press
orwhen an item is highlighted to se-
lect the item. Press
orto move
back one level in the menu.
Mirror
For additional information on how to mir-
ror content playing from the opposite
monitor, refer to “Mirroring content” and
“Using Miracast®” in this section.
Fast-Charge (USB)
For additional information, refer to “Fast-
Charge (USB)” in this section
Settings
For additional information, refer to “Set-
tings” in this section.
Sources
The following sources can be accessed
from the main menu:
DVD
Play DVD movies and audio CDs using
standard size DVD or CD discs.
HDMI
Play content from an external audio/video
source.
USB
Play videos, music, and images stored on
most USB devices. SD CARD
Play videos, music, and images stored on
most SD cards.
Slingplayer®
Stream content wirelessly from a Slingbox®
(sold separately) to the RSI system. *Re-
quires external internet connection.
Miracast®
Stream content wirelessly from a Miracast-
enabled device to the RSI system.
SmartStream
Stream content wirelessly between mobile
devices and to the RSI system. *Requires
compatible UPnP application to be in-
stalled on the mobile device. For additional
information, refer to “SmartStream” in this
section.
NOTE:
The top lef t corner of the screen includes
a graphic representation that shows the
navigational path of the current menu.
For example: Home > Source > DVD.
LHA4883
4-56Monitor, climate, audio, phone and voice recognition systems
Page 320 of 682
DVD OPERATION
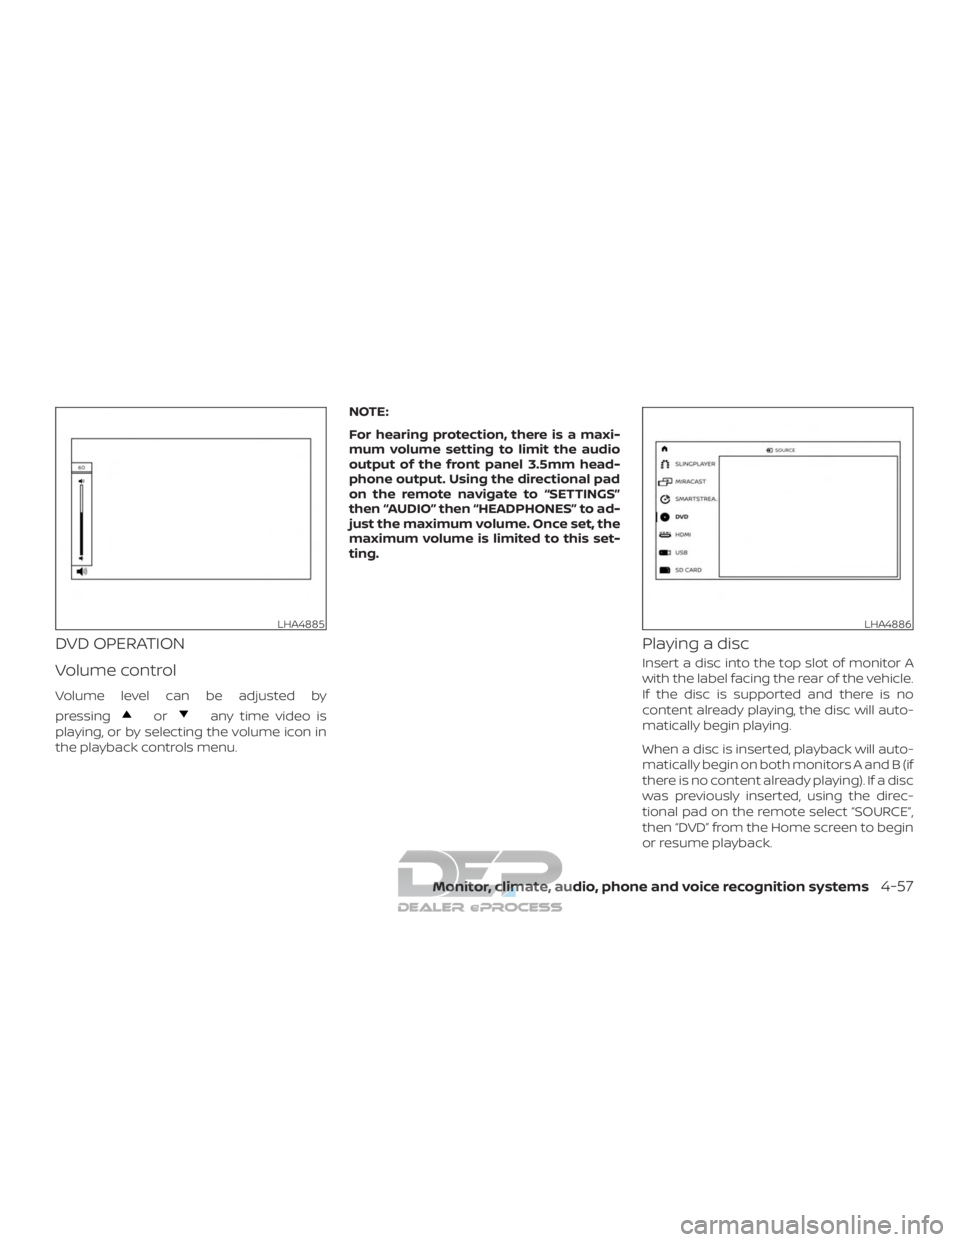
Volume control
Volume level can be adjusted by
pressing
orany time video is
playing, or by selecting the volume icon in
the playback controls menu. NOTE:
For hearing protection, there is a maxi-
mum volume setting to limit the audio
output of the front panel 3.5mm head-
phone output. Using the directional pad
on the remote navigate to “SETTINGS”
then “AUDIO” then “HEADPHONES” to ad-
just the maximum volume. Once set, the
maximum volume is limited to this set-
ting.
Playing a disc
Insert a disc into the top slot of monitor A
with the label facing the rear of the vehicle.
If the disc is supported and there is no
content already playing, the disc will auto-
matically begin playing.
When a disc is inserted, playback will auto-
matically begin on both monitors A and B (if
there is no content already playing). If a disc
was previously inserted, using the direc-
tional pad on the remote select “SOURCE”,
then “DVD” from the Home screen to begin
or resume playback.
LHA4885LHA4886
Monitor, climate, audio, phone and voice recognition systems4-57
Page 321 of 682
Some DVDs may start at the root menu,
where playback must be selected to start a
movie. Use the remote control or front
panel buttons to navigate through the DVD
menu and begin playback.
The system supports DVD parental con-
trols that provide the ability to limit content
playback based on the Motion Picture As-
sociation of America (MPAA) ratings. For
additional information, refer to “About pa-
rental lock” in this section.
Mirroring content
To mirror the content of the opposite
monitor, using the directional pad on the
remote, select “MIRROR” from the Home
Screen. This will allow the identical content
to play on both monitors.
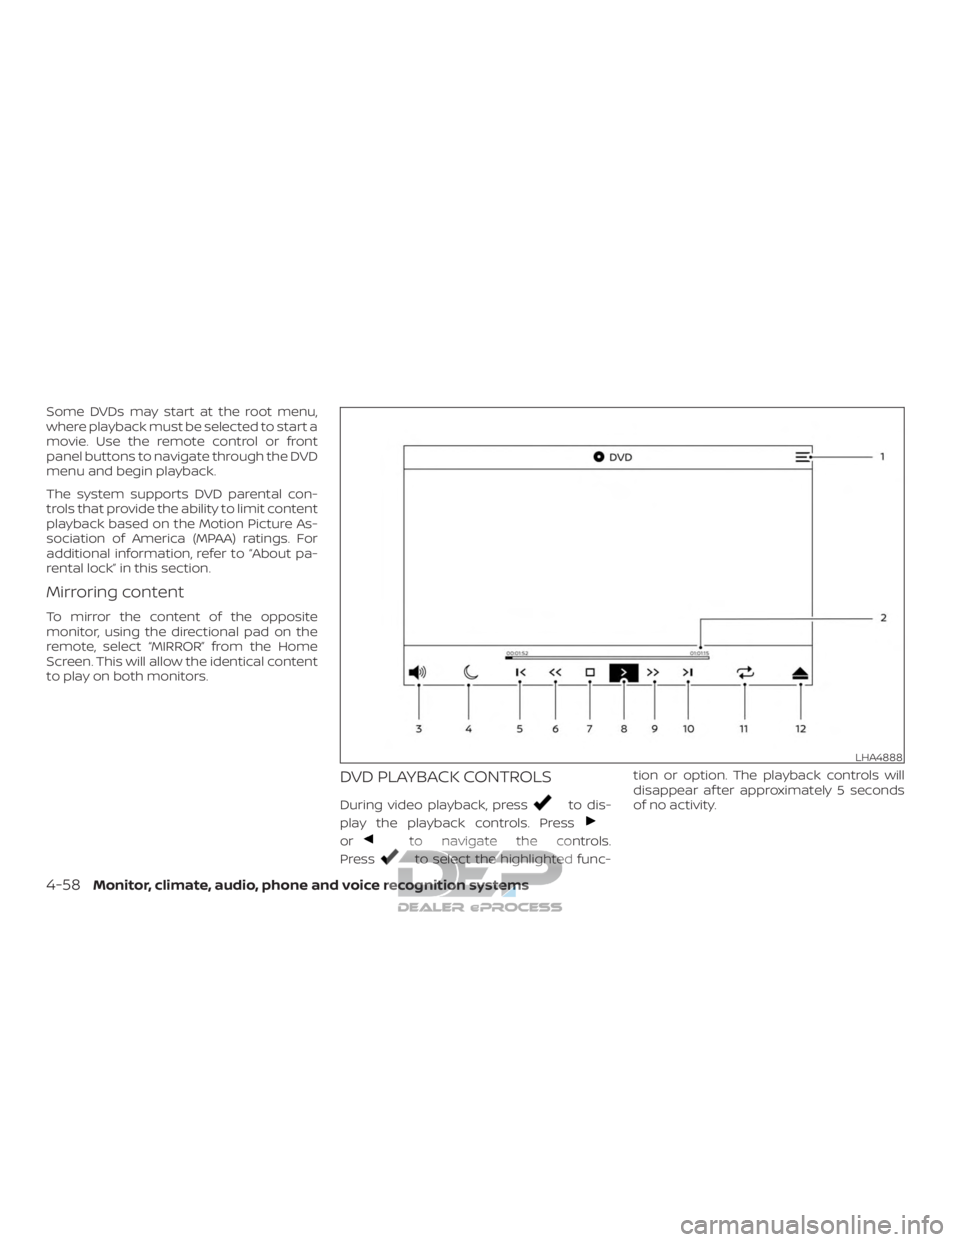
DVD PLAYBACK CONTROLS
During video playback, pressto dis-
play the playback controls. Press
orto navigate the controls.
Press
to select the highlighted func- tion or option. The playback controls will
disappear af ter approximately 5 seconds
of no activity.
LHA4888
4-58Monitor, climate, audio, phone and voice recognition systems
Page 322 of 682
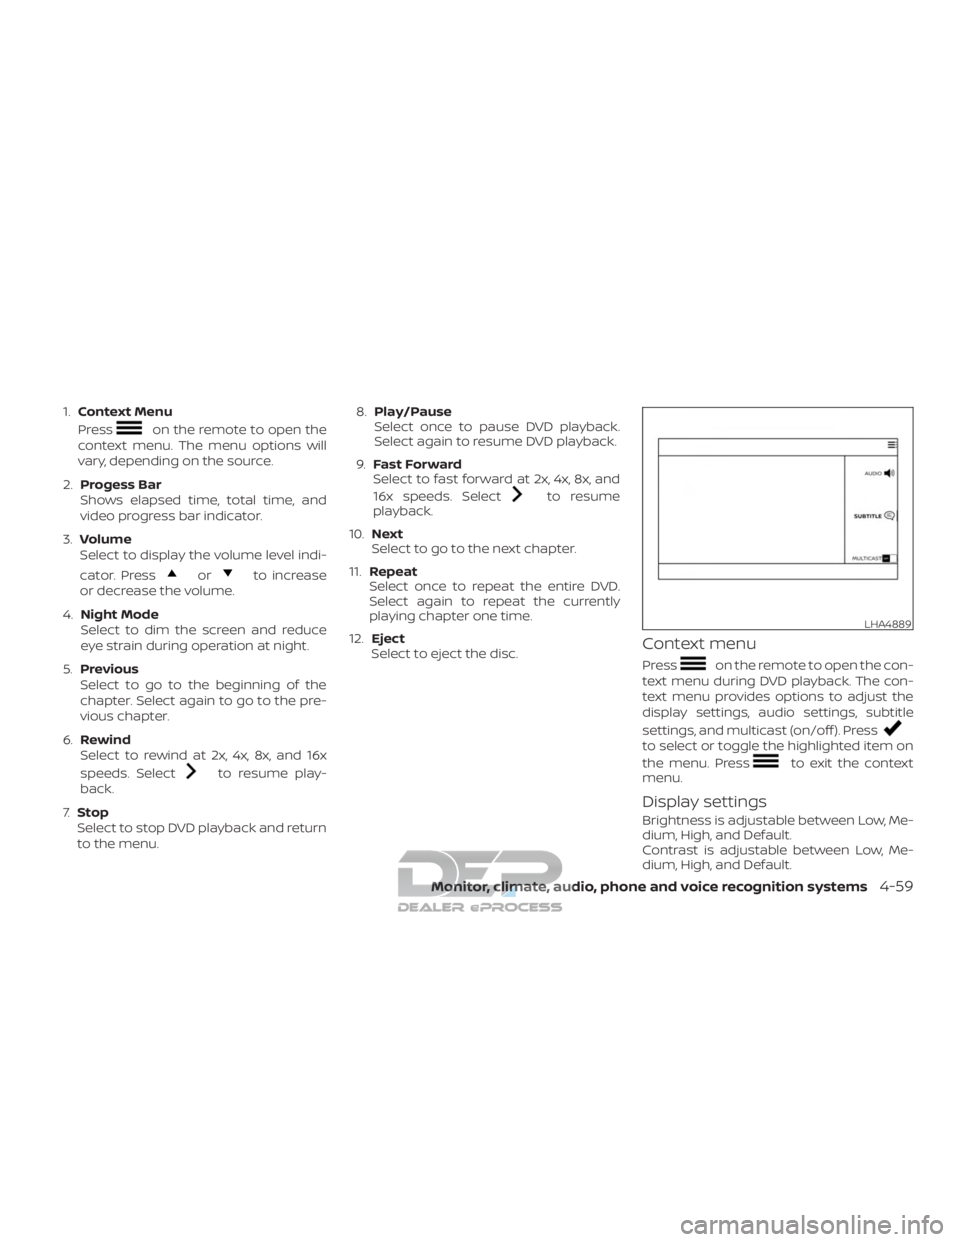
1.Context Menu
Press
on the remote to open the
context menu. The menu options will
vary, depending on the source.
2. Progess Bar
Shows elapsed time, total time, and
video progress bar indicator.
3. Volume
Select to display the volume level indi-
cator. Press
orto increase
or decrease the volume.
4. Night Mode
Select to dim the screen and reduce
eye strain during operation at night.
5. Previous
Select to go to the beginning of the
chapter. Select again to go to the pre-
vious chapter.
6. Rewind
Select to rewind at 2x, 4x, 8x, and 16x
speeds. Select
to resume play-
back.
7. Stop
Select to stop DVD playback and return
to the menu. 8.
Play/Pause
Select once to pause DVD playback.
Select again to resume DVD playback.
9. Fast Forward
Select to fast forward at 2x, 4x, 8x, and
16x speeds. Select
to resume
playback.
10. Next
Select to go to the next chapter.
11. Repeat
Select once to repeat the entire DVD.
Select again to repeat the currently
playing chapter one time.
12. Eject
Select to eject the disc.
Context menu
Presson the remote to open the con-
text menu during DVD playback. The con-
text menu provides options to adjust the
display settings, audio settings, subtitle
settings, and multicast (on/off ). Press
to select or toggle the highlighted item on
the menu. Press
to exit the context
menu.
Display settings
Brightness is adjustable between Low, Me-
dium, High, and Default.
Contrast is adjustable between Low, Me-
dium, High, and Default.
LHA4889
Monitor, climate, audio, phone and voice recognition systems4-59
Page 323 of 682

Sharpness is adjustable between Low, Me-
dium, High, and Default.
Aspect Ratio is adjustable between Pan &
Scan, Letter Box, Widescreen, and Default.
Audio settings
The Audio settings allow you to set the
default audio language for DVD playback. If
the selected language is included on the
DVD, the selected audio will be heard in that
language.
Preferred language
Preferred Language is selectable between
English, French, Spanish, Chinese (Simpli-
fied), Chinese (Traditional), Dutch, Portu-
guese, Italian, Korean, Russian, Arabic, and
Default. The preferred language must be
included on DVD in order for it to be dis-
played. Refer to the DVD jacket for more
information.
Language switch
Language Switch provides the ability to se-
lect between various audio streams (lan-
guages) included on a DVD. Audio streams
must be included on the DVD to be heard.
Subtitle settings
The Subtitle settings allow you to set the
default subtitle language for DVD playback.
If the selected subtitle language is included
on the DVD, the selected subtitle audio will
be displayed during movie playback.
Subtitle switch
Subtitle Switch (Off/On) allows the subtitles
to be displayed during DVD playback.Preferred Language
Preferred Language is selectable between
English, French, Spanish, Chinese (Simpli-
fied), Chinese (Traditional), Dutch, Portu-
guese, Italian, Korean, Russian, Arabic, and
Default. The preferred language must be
included on DVD in order for it to be dis-
played. Refer to the DVD jacket for more
information.
Language Switch
Language Switch provides the ability to se-
lect between the various subtitles included
on a DVD. Subtitles must be included on the
DVD to be seen during DVD playback.Multicast
Multicast (Off/On) provides the ability to
watch a DVD over the built-in Wi-Fi network
using an application installed on a mobile
device. When turned on, the DVD content
will be "cast" over the network to allow us-
ers with multiple mobile devices to enjoy
the same movie. *Requires application to
be installed on the mobile device.
LHA4890
4-60Monitor, climate, audio, phone and voice recognition systems
Page 324 of 682
Bluetooth
Selecting “BLUETOOTH” allows the
Bluetooth® feature to be turned off/on, au-
dio source selection, and lip-sync adjust-
ments. For additional information, refer to
“Bluetooth® streaming and Lip-Sync ad-
justment” in this section.
CD OPERATION
LHA4891
Monitor, climate, audio, phone and voice recognition systems4-61
Page 325 of 682
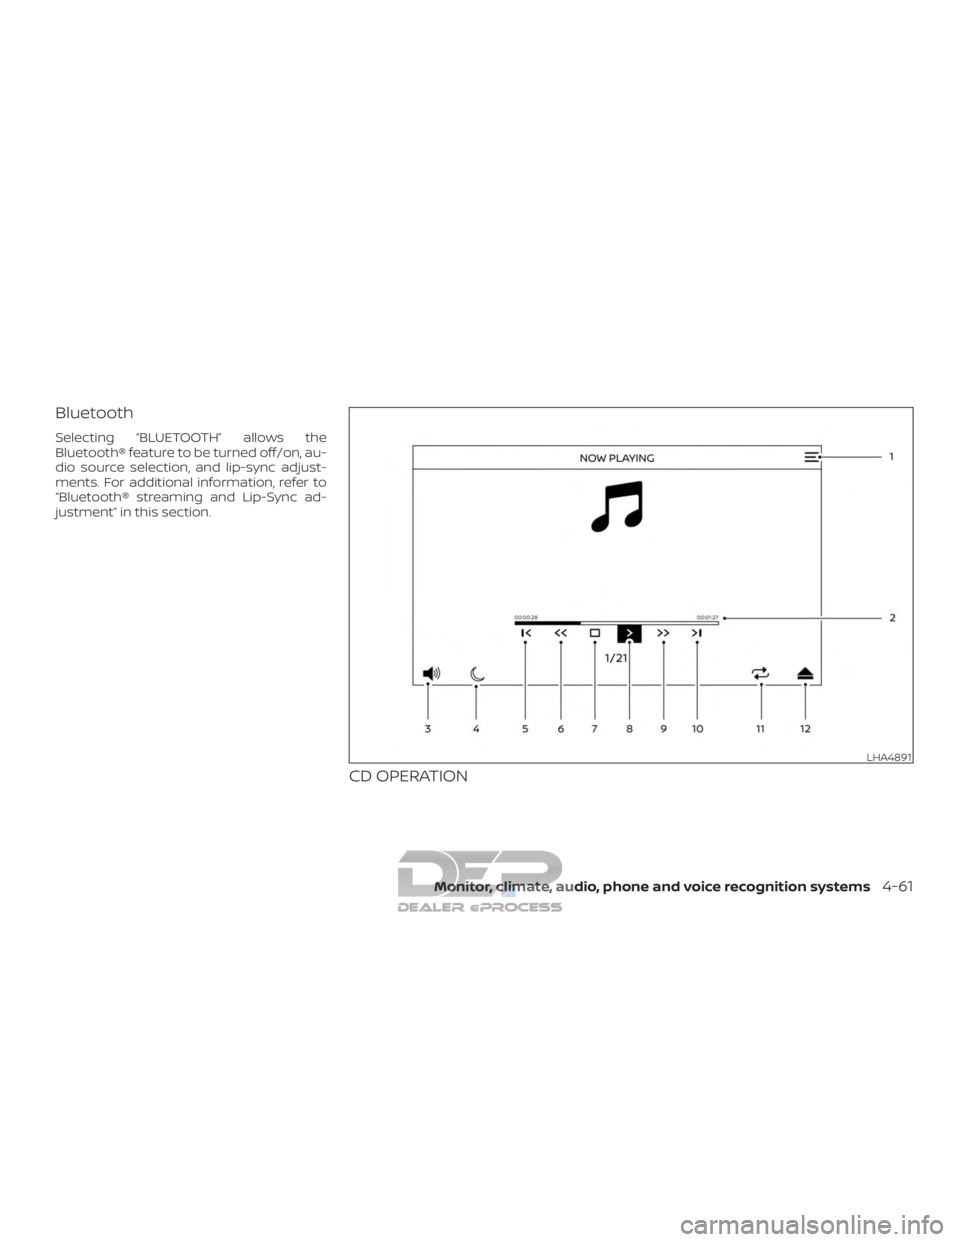
CD PLAYBACK CONTROLS
During audio playback the controls are dis-
played at all times.1. Context Menu
Press
on the remote to open the
context menu. The menu options will
vary, depending on the source.
2. Progress Bar
Shows elapsed time, total time, and
progress bar indicator.
3. Volume
Select to display the volume level indi-
cator. Press
orto increase
or decrease the volume.
4. Night Mode
Select to dim the screen and reduce
eye strain during operation at night.
5. Previous
Select to go to the beginning of the
track. Select again to go to the previous
track.
6. Rewind
Select to rewind at 2x, 4x, 8x, and 16x
speeds. Select to resume playback. 7.
Stop
Select to stop CD playback.
8. Play/Pause
Select once to pause CD playback. Se-
lect again to resume CD playback.
9. Fast Forward
Select to fast forward at 2x, 4x, 8x, and
16x speeds. Select
to resume
playback.
10. Next
Select to go to the next track.
11. Repeat
Select once to repeat the entire CD. Se-
lect again to repeat the currently play-
ing track.
12. Eject
Select to eject the disc.
HDMI/MHL CONNECTION
HDMI connection
Display content from an external source con-
nected to the system using the HDMI port
located on the front of monitor A. A standard
HDMI cable is required (sold separately).
To access the HDMI source, using the direc-
tional pad on the remote, select “SOURCE”
from the Home Screen and navigate to
HDMI in the menu. When HDMI is high-
lighted, a preview of the HDMI input will be
displayed in the preview screen.
Press
to return to the source menu.
LHA4892
4-62Monitor, climate, audio, phone and voice recognition systems
Page 326 of 682
NOTE:
HDMI connected devices are indepen-
dent and must be controlled directly
from the source device.
MHL connection
The system also allows mobile devices
supporting Mobile High-Definition Link
(MHL) to be connected. An MHL-to-HDMI
cable is required (sold separately).
Mobile High-Definition Link (MHL) is an in-
dustry standard mobile audio/ video inter-
face that allows connection of smart-
phones, tablets, and other portable
consumer electronics devices to the sys-
tem. MHL transports high-quality uncom-
pressed audio and video from a mobile
source device to the system and at the
same time provides power to recharge the
device.
NOTE:
MHL connected devices are independent
and must be controlled directly from the
source device.
USB operation
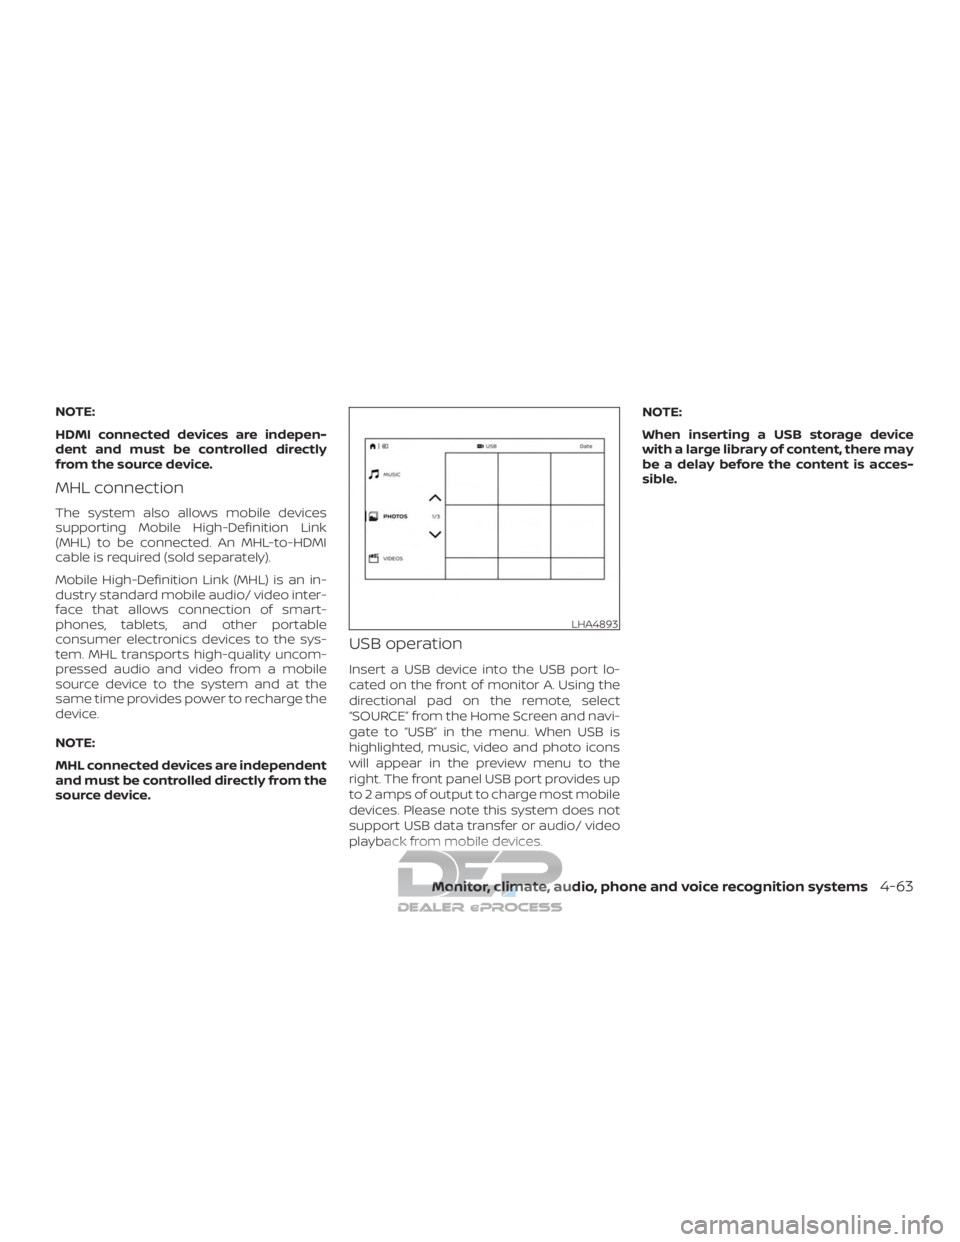
Insert a USB device into the USB port lo-
cated on the front of monitor A. Using the
directional pad on the remote, select
“SOURCE” from the Home Screen and navi-
gate to “USB” in the menu. When USB is
highlighted, music, video and photo icons
will appear in the preview menu to the
right. The front panel USB port provides up
to 2 amps of output to charge most mobile
devices. Please note this system does not
support USB data transfer or audio/ video
playback from mobile devices.NOTE:
When inserting a USB storage device
with a large library of content, there may
be a delay before the content is acces-
sible.
LHA4893
Monitor, climate, audio, phone and voice recognition systems4-63