2019 NISSAN ARMADA automatic transmission
[x] Cancel search: automatic transmissionPage 19 of 536

Warninglight Name
Page
Anti-lock Braking System
(ABS) warning light 2-11
Automatic Emergency
Braking (AEB) system
warning light2-11
Automatic Transmission
(AT) check warning light
2-11
Automatic Transmission
(AT) oil temperature warn-
ing light2-11
Automatic Transmission
(AT) park warning light
2-12
Blind Spot Warning (BSW)/
Intelligent Blind Spot Inter-
vention (I-BSI) system
warning light (orange; if so
equipped)2-12
Brake warning light
2-12
Charge warning light2-13
Intelligent Distance Control
(I-DC) system warning light
(orange; if so equipped)2-13
Engine oil pressure warning
light
2-13
Four-Wheel Drive (4WD)
warning light (4WD models)2-14Warning
light Name
Page
Intelligent Cruise Control
(ICC) system warning light
(orange) 2-14
Intelligent Key warning
light
2-14
Lane Departure Warning
(LDW) indicator light (or-
ange; if so equipped)2-14
Low tire pressure warning
light
2-15
Master warning light
2-16
Seat belt warning light2-16
Supplemental air bag
warning light 2-17
Vehicle Dynamic Control
(VDC) warning light2-17Indica-
tor light Name
Page
Automatic Transmission
(AT) position indicator light 2-18
Intelligent Blind Spot Inter-
vention (I-BSI) ON indicator
light (green; if so equipped)2-18
Check suspension indicator
light
2-18
Exterior light indicator
2-18
Front fog light indicator
light (if so equipped)2-18
Front passenger air bag
status light2-18
High beam indicator light
2-18
Intelligent Lane Interven-
tion (I-LI) ON indicator light
(green; if so equipped)2-18
Malfunction Indicator Light
(MIL)
2-18
Security indicator light
2-19
SNOW mode indicator light2-19
TOW mode indicator light2-19
Turn signal/hazard indica-
tor lights2-19
Vehicle Dynamic Control
(VDC) off indicator light2-20
Illustrated table of contents0-11
WARNING AND INDICATOR LIGHTS
Page 24 of 536
1-4Safety — seats, seat belts and supplemental restraint system
FRONT SEATS
Front power seat adjustment
Operating tips:
.The power seat motor has an auto-
reset overload protection circuit. If the
motor stops during operation, wait 30
seconds, then reactivate the switch.
. Do not operate the power seat switch
for a long period of time when the
engine is off. This will discharge the
battery.
See “Automatic drive positioner” (P.3-40)
for the seat position memory function.
CAUTION
When adjusting the seat positions,
be sure not to contact any moving
parts to avoid possible injuries and/
or damages.
SSS1051
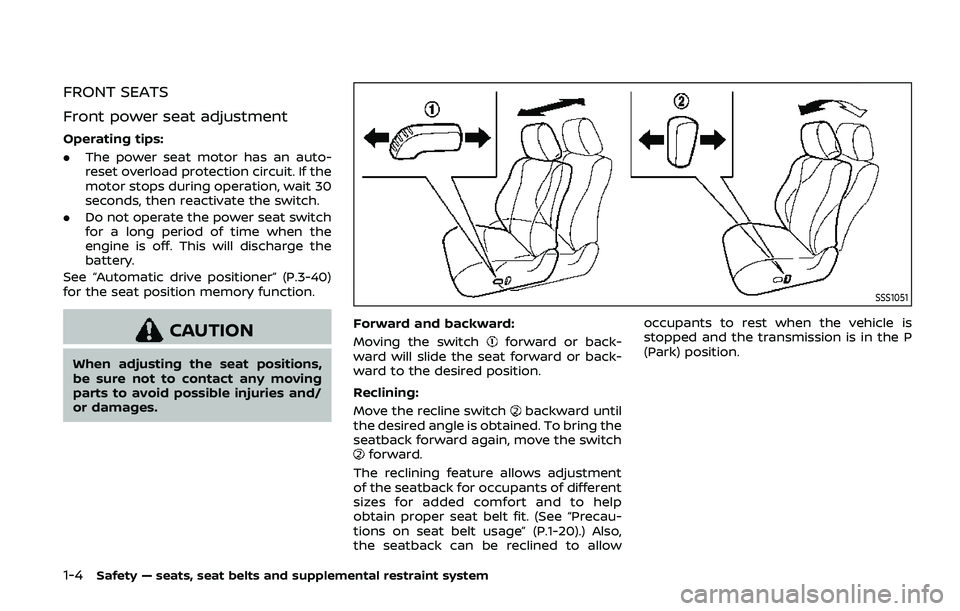
Forward and backward:
Moving the switch
forward or back-
ward will slide the seat forward or back-
ward to the desired position.
Reclining:
Move the recline switch
backward until
the desired angle is obtained. To bring the
seatback forward again, move the switch
forward.
The reclining feature allows adjustment
of the seatback for occupants of different
sizes for added comfort and to help
obtain proper seat belt fit. (See “Precau-
tions on seat belt usage” (P.1-20).) Also,
the seatback can be reclined to allow occupants to rest when the vehicle is
stopped and the transmission is in the P
(Park) position.
Page 104 of 536

2-10Instruments and controls
Anti-lock Braking System (ABS) warn-
ing lightFour-Wheel Drive (4WD) warning light
(4WD models)Exterior light indicator
Intelligent Cruise Control (ICC) system
warning light (orange)Front fog light indicator light (if so
equipped)
Automatic Emergency Braking (AEB)
system warning lightIntelligent Key warning lightFront passenger air bag status light
Automatic transmission check warn-
ing lightLane Departure Warning (LDW) indica-
tor light (orange; if so equipped)High beam indicator light
Automatic Transmission (AT) oil tem-
perature warning lightLow tire pressure warning lightIntelligent Lane Intervention (I-LI) ON
indicator light (green; if so equipped)
Automatic Transmission (AT) park
warning lightMaster warning lightMalfunction Indicator Light (MIL)
Blind Spot Warning (BSW)/Intelligent
Blind Spot Intervention (I-BSI) system
warning light (orange; if so equipped)Seat belt warning lightSecurity indicator light
Brake warning lightSupplemental air bag warning lightSNOW mode indicator light
Vehicle Dynamic Control (VDC) warn-
ing lightTOW mode indicator light
Charge warning lightAutomatic transmission position indi-
cator lightTurn signal/hazard indicator lights
Intelligent Distance Control (I-DC)
system warning light (orange; if so
equipped)Intelligent Blind Spot Intervention (I-
BSI) ON indicator light (green; if so
equipped)Vehicle Dynamic Control (VDC) off
indicator light
Engine oil pressure warning lightCheck suspension indicator light
WARNING LIGHTS, INDICATOR
LIGHTS AND AUDIBLE REMINDERS
Page 105 of 536
CHECKING LIGHTS
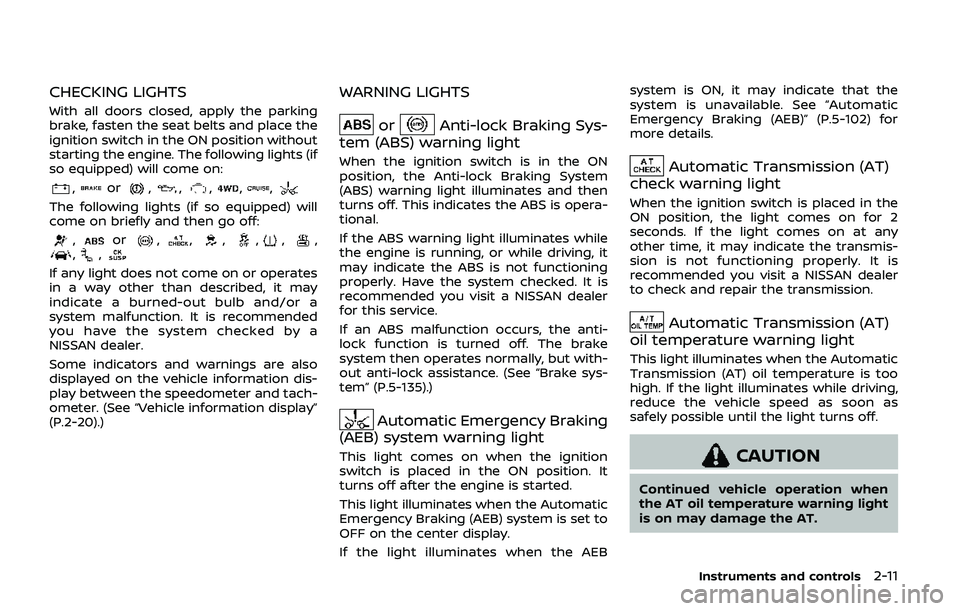
With all doors closed, apply the parking
brake, fasten the seat belts and place the
ignition switch in the ON position without
starting the engine. The following lights (if
so equipped) will come on:
,or,,,,,
The following lights (if so equipped) will
come on briefly and then go off:
,or,,,,,,,,
If any light does not come on or operates
in a way other than described, it may
indicate a burned-out bulb and/or a
system malfunction. It is recommended
you have the system checked by a
NISSAN dealer.
Some indicators and warnings are also
displayed on the vehicle information dis-
play between the speedometer and tach-
ometer. (See “Vehicle information display”
(P.2-20).)
WARNING LIGHTS
orAnti-lock Braking Sys-
tem (ABS) warning light
When the ignition switch is in the ON
position, the Anti-lock Braking System
(ABS) warning light illuminates and then
turns off. This indicates the ABS is opera-
tional.
If the ABS warning light illuminates while
the engine is running, or while driving, it
may indicate the ABS is not functioning
properly. Have the system checked. It is
recommended you visit a NISSAN dealer
for this service.
If an ABS malfunction occurs, the anti-
lock function is turned off. The brake
system then operates normally, but with-
out anti-lock assistance. (See “Brake sys-
tem” (P.5-135).)
Automatic Emergency Braking
(AEB) system warning light
This light comes on when the ignition
switch is placed in the ON position. It
turns off after the engine is started.
This light illuminates when the Automatic
Emergency Braking (AEB) system is set to
OFF on the center display.
If the light illuminates when the AEB system is ON, it may indicate that the
system is unavailable. See “Automatic
Emergency Braking (AEB)” (P.5-102) for
more details.
Automatic Transmission (AT)
check warning light
When the ignition switch is placed in the
ON position, the light comes on for 2
seconds. If the light comes on at any
other time, it may indicate the transmis-
sion is not functioning properly. It is
recommended you visit a NISSAN dealer
to check and repair the transmission.
Automatic Transmission (AT)
oil temperature warning light
This light illuminates when the Automatic
Transmission (AT) oil temperature is too
high. If the light illuminates while driving,
reduce the vehicle speed as soon as
safely possible until the light turns off.
CAUTION
Continued vehicle operation when
the AT oil temperature warning light
is on may damage the AT.
Instruments and controls2-11
Page 106 of 536
2-12Instruments and controls
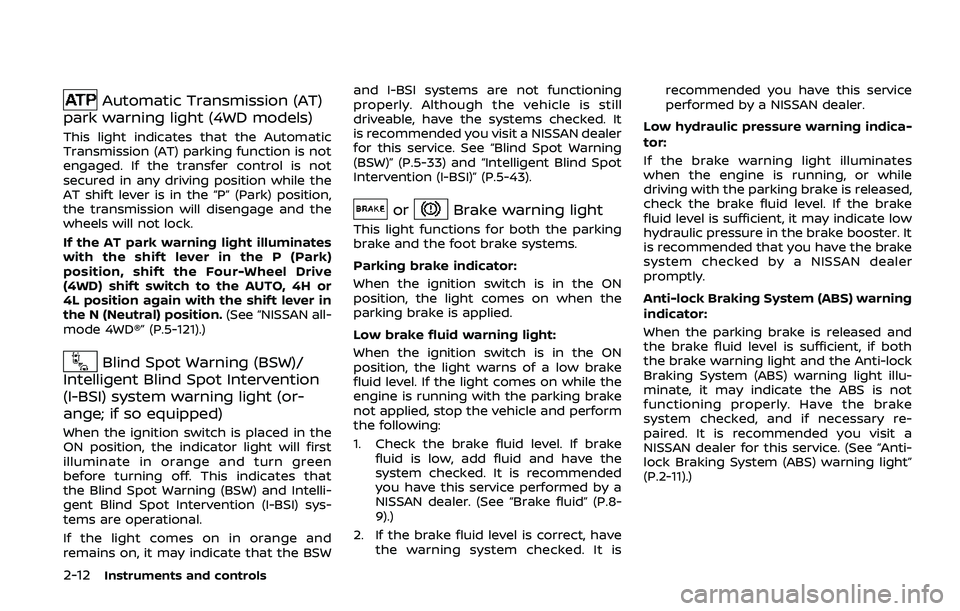
Automatic Transmission (AT)
park warning light (4WD models)
This light indicates that the Automatic
Transmission (AT) parking function is not
engaged. If the transfer control is not
secured in any driving position while the
AT shift lever is in the “P” (Park) position,
the transmission will disengage and the
wheels will not lock.
If the AT park warning light illuminates
with the shift lever in the P (Park)
position, shift the Four-Wheel Drive
(4WD) shift switch to the AUTO, 4H or
4L position again with the shift lever in
the N (Neutral) position. (See “NISSAN all-
mode 4WD®” (P.5-121).)
Blind Spot Warning (BSW)/
Intelligent Blind Spot Intervention
(I-BSI) system warning light (or-
ange; if so equipped)
When the ignition switch is placed in the
ON position, the indicator light will first
illuminate in orange and turn green
before turning off. This indicates that
the Blind Spot Warning (BSW) and Intelli-
gent Blind Spot Intervention (I-BSI) sys-
tems are operational.
If the light comes on in orange and
remains on, it may indicate that the BSW and I-BSI systems are not functioning
properly. Although the vehicle is still
driveable, have the systems checked. It
is recommended you visit a NISSAN dealer
for this service. See “Blind Spot Warning
(BSW)” (P.5-33) and “Intelligent Blind Spot
Intervention (I-BSI)” (P.5-43).
orBrake warning light
This light functions for both the parking
brake and the foot brake systems.
Parking brake indicator:
When the ignition switch is in the ON
position, the light comes on when the
parking brake is applied.
Low brake fluid warning light:
When the ignition switch is in the ON
position, the light warns of a low brake
fluid level. If the light comes on while the
engine is running with the parking brake
not applied, stop the vehicle and perform
the following:
1. Check the brake fluid level. If brake
fluid is low, add fluid and have the
system checked. It is recommended
you have this service performed by a
NISSAN dealer. (See “Brake fluid” (P.8-
9).)
2. If the brake fluid level is correct, have the warning system checked. It is recommended you have this service
performed by a NISSAN dealer.
Low hydraulic pressure warning indica-
tor:
If the brake warning light illuminates
when the engine is running, or while
driving with the parking brake is released,
check the brake fluid level. If the brake
fluid level is sufficient, it may indicate low
hydraulic pressure in the brake booster. It
is recommended that you have the brake
system checked by a NISSAN dealer
promptly.
Anti-lock Braking System (ABS) warning
indicator:
When the parking brake is released and
the brake fluid level is sufficient, if both
the brake warning light and the Anti-lock
Braking System (ABS) warning light illu-
minate, it may indicate the ABS is not
functioning properly. Have the brake
system checked, and if necessary re-
paired. It is recommended you visit a
NISSAN dealer for this service. (See “Anti-
lock Braking System (ABS) warning light”
(P.2-11).)
Page 111 of 536
seconds after the ignition switch is placed
in the ON position, the system does not
activate the warning light for the front
passenger.
See “Seat belts” (P.1-20) for precautions on
seat belt usage.
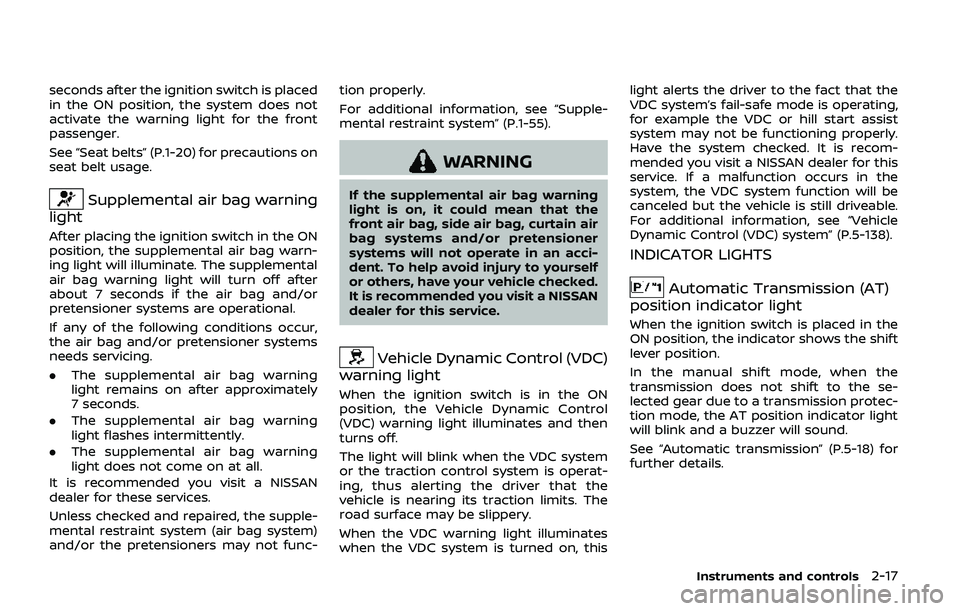
Supplemental air bag warning
light
After placing the ignition switch in the ON
position, the supplemental air bag warn-
ing light will illuminate. The supplemental
air bag warning light will turn off after
about 7 seconds if the air bag and/or
pretensioner systems are operational.
If any of the following conditions occur,
the air bag and/or pretensioner systems
needs servicing.
. The supplemental air bag warning
light remains on after approximately
7 seconds.
. The supplemental air bag warning
light flashes intermittently.
. The supplemental air bag warning
light does not come on at all.
It is recommended you visit a NISSAN
dealer for these services.
Unless checked and repaired, the supple-
mental restraint system (air bag system)
and/or the pretensioners may not func- tion properly.
For additional information, see “Supple-
mental restraint system” (P.1-55).
WARNING
If the supplemental air bag warning
light is on, it could mean that the
front air bag, side air bag, curtain air
bag systems and/or pretensioner
systems will not operate in an acci-
dent. To help avoid injury to yourself
or others, have your vehicle checked.
It is recommended you visit a NISSAN
dealer for this service.
Vehicle Dynamic Control (VDC)
warning light
When the ignition switch is in the ON
position, the Vehicle Dynamic Control
(VDC) warning light illuminates and then
turns off.
The light will blink when the VDC system
or the traction control system is operat-
ing, thus alerting the driver that the
vehicle is nearing its traction limits. The
road surface may be slippery.
When the VDC warning light illuminates
when the VDC system is turned on, this light alerts the driver to the fact that the
VDC system’s fail-safe mode is operating,
for example the VDC or hill start assist
system may not be functioning properly.
Have the system checked. It is recom-
mended you visit a NISSAN dealer for this
service. If a malfunction occurs in the
system, the VDC system function will be
canceled but the vehicle is still driveable.
For additional information, see “Vehicle
Dynamic Control (VDC) system” (P.5-138).
INDICATOR LIGHTS
Automatic Transmission (AT)
position indicator light
When the ignition switch is placed in the
ON position, the indicator shows the shift
lever position.
In the manual shift mode, when the
transmission does not shift to the se-
lected gear due to a transmission protec-
tion mode, the AT position indicator light
will blink and a buzzer will sound.
See “Automatic transmission” (P.5-18) for
further details.
Instruments and controls2-17
Page 114 of 536
2-20Instruments and controls
Vehicle Dynamic Control (VDC)
off indicator light
When the ignition switch is in the ON
position, the Vehicle Dynamic Control
(VDC) off indicator light illuminates and
then turns off.
The light comes on when the VDC off
switch is pushed to OFF. This indicates
that the VDC system is not operating.
When the 4L position is selected with the
Four-Wheel Drive (4WD) shift switch, the
VDC system is disabled and the VDC off
indicator light illuminates. (4WD models)
For additional information, see “Vehicle
Dynamic Control (VDC) system” (P.5-138).
AUDIBLE REMINDERS
Key reminder chime
A chime will sound if the driver side door
is opened while the ignition switch is
placed in the ACC position. Make sure
the ignition switch is placed in the OFF
position, and take the Intelligent Key with
you when leaving the vehicle.
Light reminder chime
A chime will sound when the driver side
door is opened with the light switch in the
orposition and the ignition
switch in the ACC, OFF or LOCK position.
Turn the light switch off when you leave
the vehicle.
Parking brake reminder chime
The chime will sound if the vehicle is
driven at more than 4 MPH (7 km/h) with
the parking brake applied. Stop the vehi-
cle and release the parking brake.
Brake pad wear warning
The disc brake pads have audible wear
warnings. When a brake pad requires
replacement, it will make a high pitched
scraping sound when the vehicle is in
motion. This scraping sound will first
occur only when the brake pedal is
depressed. After more wear of the brake
pad, the sound will always be heard even
if the brake pedal is not depressed. Have
the brakes checked as soon as possible if
the warning sound is heard.
SIC4379
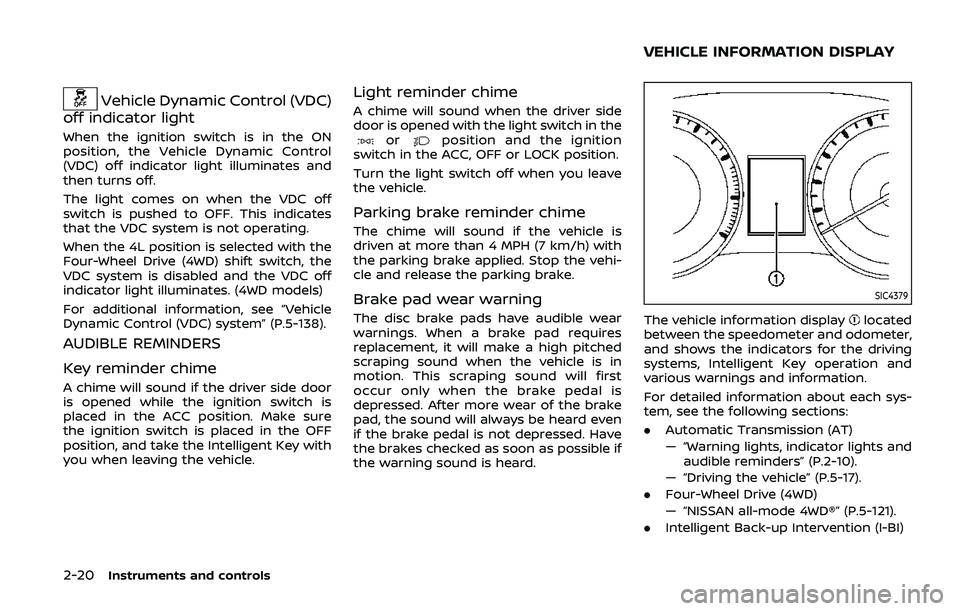
The vehicle information displaylocated
between the speedometer and odometer,
and shows the indicators for the driving
systems, Intelligent Key operation and
various warnings and information.
For detailed information about each sys-
tem, see the following sections:
. Automatic Transmission (AT)
— “Warning lights, indicator lights and
audible reminders” (P.2-10).
— “Driving the vehicle” (P.5-17).
. Four-Wheel Drive (4WD)
— “NISSAN all-mode 4WD®” (P.5-121).
. Intelligent Back-up Intervention (I-BI)
VEHICLE INFORMATION DISPLAY
Page 167 of 536

JVI0429X
3. Press and hold the programmedHomeLink® button and observe the
indicator light.
.If the indicator lightis solid/
continuous, programming is com-
plete and your device should acti-
vate when the HomeLink® button is
pressed and released.
.If the indicator lightblinks rapidly
for two seconds and then turns to a
solid/continuous light, continue
with Steps 4-6 for a rolling code
device. A second person may make
the following steps easier. Use a
ladder or other device. Do not stand
on your vehicle to perform the next
steps. 4. At the receiver located on the garage
door opener motor in the garage,
locate the “learn” or “smart” button
(the name and color of the button
may vary by manufacturer but it is
usually located near where the hang-
ing antenna wire is attached to the
unit). If there is difficulty locating the
button, reference the garage door
opener’s manual.
5. Press and release the “learn” or “smart” button.
NOTE:
Once the button is pressed, you have
approximately 30 seconds to initiate
the next step.
6. Return to the vehicle and firmly press and hold the programmed HomeLink®
button for two seconds and release.
Repeat the “press/hold/release” se-
quence up to 3 times to complete
the programming process. HomeLink®
should now activate your rolling code
equipped device.
7. If you have any questions or are having difficulty programming your
HomeLink® buttons, refer to the
HomeLink® web site at: www.
homelink.com/nissan or call 1-800-
355-3515.
PROGRAMMING HomeLink® FOR
CANADIAN CUSTOMERS AND GATE
OPENERS
Canadian radio-frequency laws require
transmitter signals to “time-out” (or quit)
after several seconds of transmission –
which may not be long enough for
HomeLink® to pick up the signal during
programming. Similar to this Canadian
law, some U.S. gate operators are de-
signed to “time-out” in the same manner.
If you live in Canada or you are having
difficulties programming a gate operator
or garage door opener by using the
“Programming HomeLink®” procedures,
replace “Programming HomeLink®” Step
2 with the following:
NOTE:
When programming a garage door
opener, etc., unplug the device during
the “cycling” process to prevent possi-
ble damage to the garage door opener
components.
Step 2: Using both hands, simultaneously
press and hold the desired HomeLink®
button and the hand-held transmitter
button. During programming, your hand-
held transmitter may automatically stop
transmitting. Continue to press and hold
the desired HomeLink® button while you
press and re-press (“cycle”) your hand-
Instruments and controls2-73