2019 MERCEDES-BENZ GLE SUV lock
[x] Cancel search: lockPage 276 of 398

Display messages
Possible causes/consequences and
0050
0050Solutions Because there is interference from a strong source of radio waves, the
SmartKey is not detected whilst the engine is running.
A warning tone also sounds.
X Pull over and stop the vehicle safely as soon as possible, paying
attention to road and traffic conditions.
X Secure the vehicle against rolling away (Y page 156).
X Insert the SmartKey into the ignition lock and drive in SmartKey
mode. 00AF
Remove 'Start' But‐ Remove 'Start' But‐
ton and Insert Key ton and Insert Key R
The SmartKey detection function has a temporary malfunction or is
faulty.
R The SmartKey is continually undetected.
A warning tone also sounds.
X Insert the SmartKey into the ignition lock and turn it to the desired
position.
X Visit a qualified specialist workshop. Warning and indicator lamps in the instrument cluster
General notes
Some systems carry out a self-diagnosis when the ignition is switched on. Therefore, some indicator and warning lamps may light up or flash temporarily. This behavior is non-critical. These indicator
and warning lamps only indicate a malfunction if they light up or flash after starting the engine or
whilst driving. Safety
Seat belts Warning/
indicator
lamp
0051 0051
Signal type
Possible causes/consequences and 0050 0050Solutions 00E9
0051
After starting the engine, the red seat belt warning lamp lights up for 6 seconds.
The seat belt warning lamp reminds the driver and front passenger to fasten their
seat belts.
X Fasten your seat belt (Y page 48).00E9
0051
After starting the engine, the red seat belt warning lamp lights up. In addition, a
warning tone sounds for up to 6 seconds.
The driver's seat belt is not fastened.
X Fasten your seat belt (Y page 48).
The warning tone ceases. 274
Wa
rning and indi cator lamps in the instrument clusterOn-board computer and displays
Page 279 of 398
Warning/
indicator
lamp
0051 0051
Signal type
Possible causes/consequences and 0050
0050Solutions 0025
0051
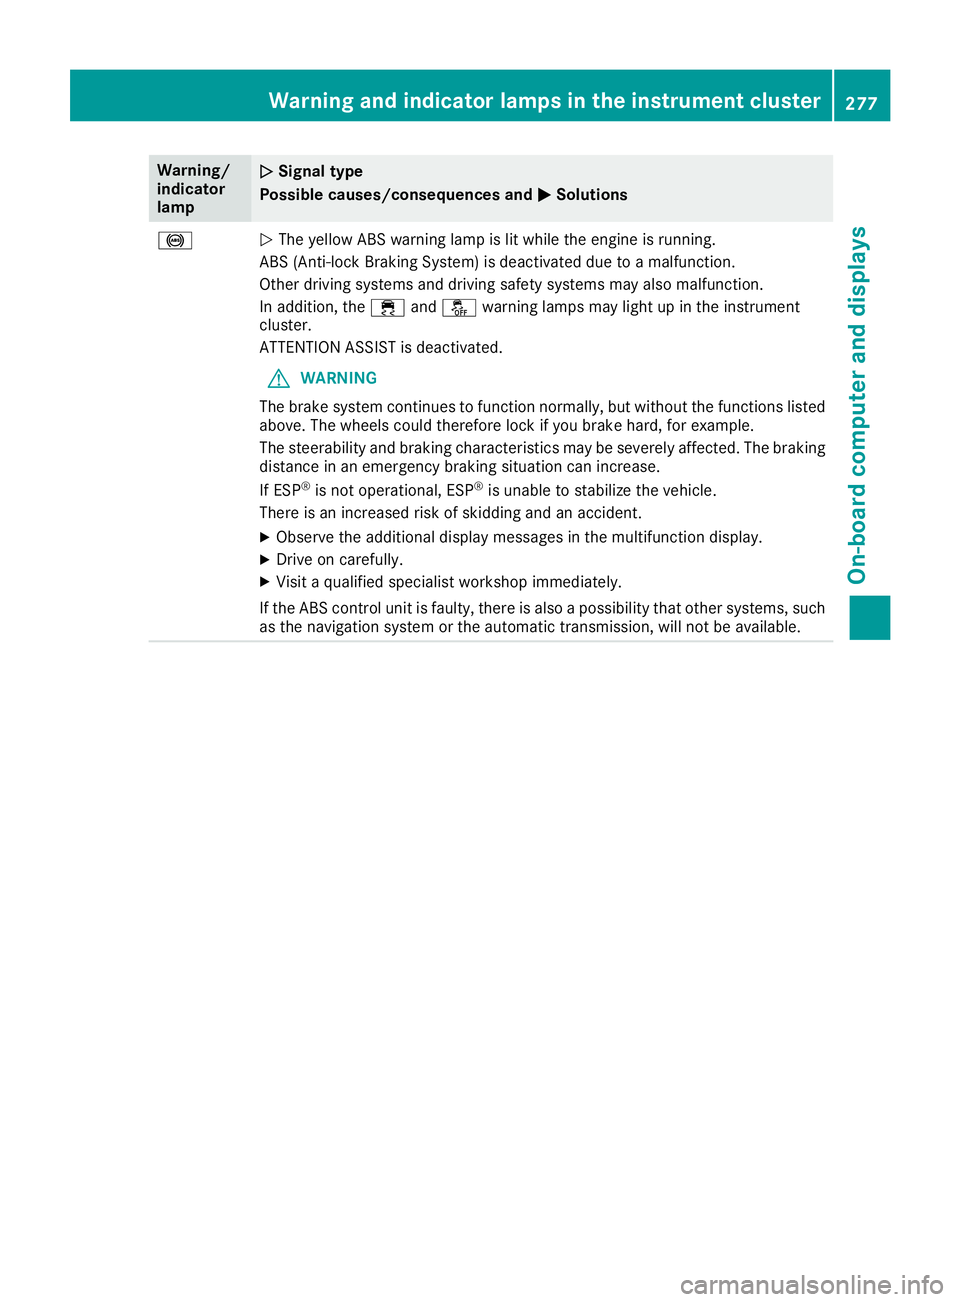
The yellow ABS warning lamp is lit while the engine is running.
ABS (Anti-lock Braking System) is deactivated due to a malfunction.
Other driving systems and driving safety systems may also malfunction.
In addition, the 00E5and00BB warning lamps may light up in the instrument
cluster.
ATTENTION ASSIST is deactivated.
G WARNING
The brake system continues to function normally, but without the functions listed above. The wheels could therefore lock if you brake hard, for example.
The steerability and braking characteristics may be severely affected. The braking
distance in an emergency braking situation can increase.
If ESP ®
is not operational, ESP ®
is unable to stabilize the vehicle.
There is an increased risk of skidding and an accident.
X Observe the additional display messages in the multifunction display.
X Drive on carefully.
X Visit a qualified specialist workshop immediately.
If the ABS control unit is faulty, there is also a possibility that other systems, such as the navigation system or the automatic transmission, will not be available. Warning and indicator lamps in the instrument cluster
277On-board computer and displays Z
Page 280 of 398
Warning/
indicator
lamp
0051
0051 Signal type
Possible causes/consequences and 0050 0050Solutions 0025
0051
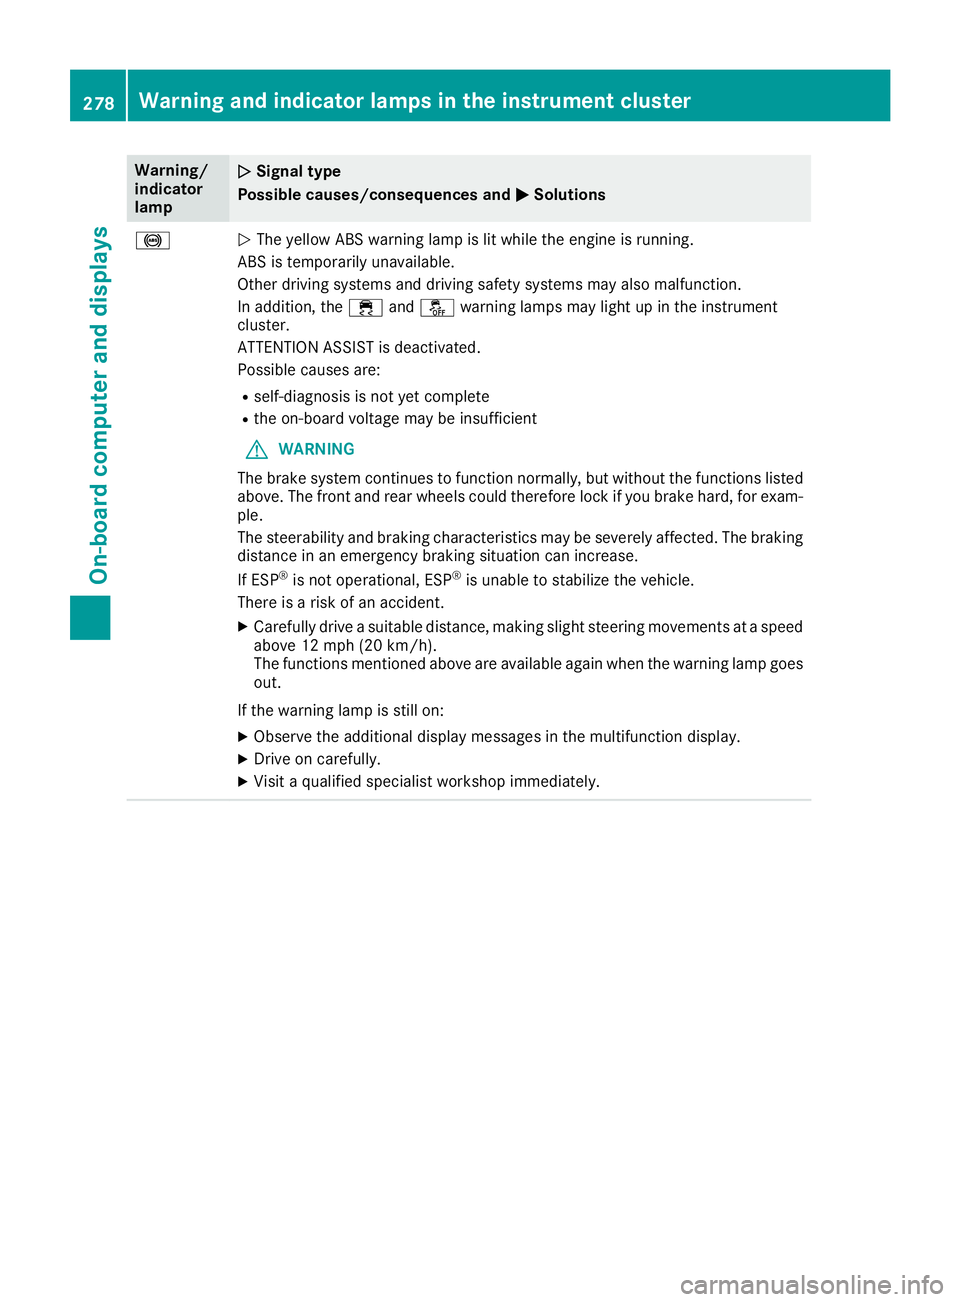
The yellow ABS warning lamp is lit while the engine is running.
ABS is temporarily unavailable.
Other driving systems and driving safety systems may also malfunction.
In addition, the 00E5and00BB warning lamps may light up in the instrument
cluster.
ATTENTION ASSIST is deactivated.
Possible causes are:
R self-diagnosis is not yet complete
R the on-board voltage may be insufficient
G WARNING
The brake system continues to function normally, but without the functions listed above. The front and rear wheels could therefore lock if you brake hard, for exam-
ple.
The steerability and braking characteristics may be severely affected. The braking
distance in an emergency braking situation can increase.
If ESP ®
is not operational, ESP ®
is unable to stabilize the vehicle.
There is a risk of an accident.
X Carefully drive a suitable distance, making slight steering movements at a speed
above 12 mph (20 km/h).
The functions mentioned above are available again when the warning lamp goes
out.
If the warning lamp is still on: X Observe the additional display messages in the multifunction display.
X Drive on carefully.
X Visit a qualified specialist workshop immediately. 278
Warning and indicator lamps in the instrument clusterOn-board computer and displays
Page 281 of 398

Warning/
indicator
lamp
0051 0051
Signal type
Possible causes/consequences and 0050
0050Solutions 0025
0051
The yellow ABS warning lamp is lit while the engine is running.
EBD is not available due to a malfunction.
Other driving systems and driving safety systems may also malfunction.
In addition, the 00E5and00BB warning lamps may light up in the instrument
cluster.
ATTENTION ASSIST is deactivated.
G WARNING
The brake system continues to function normally, but without the functions listed above. The front and rear wheels could therefore lock if you brake hard, for exam-
ple.
The steerability and braking characteristics may be severely affected. The braking
distance in an emergency braking situation can increase.
If ESP ®
is not operational, ESP ®
is unable to stabilize the vehicle.
There is an increased risk of skidding and an accident.
X Observe the additional display messages in the multifunction display.
X Drive on carefully.
X Visit a qualified specialist workshop immediately. 0027004D
00E500BB
0025
0051
0027 (USA only), 004D(Canada only): the red brake warning lamp and the yellow
ESP ®
, ESP ®
OFF and ABS warning lamps are lit while the engine is running.
ABS and ESP ®
are malfunctioning.
Other driving systems and driving safety systems may also malfunction.
ATTENTION ASSIST is deactivated.
G WARNING
The brake system continues to function normally, but without the functions listed above. The front and rear wheels could therefore lock if you brake hard, for exam-
ple.
The steerability and braking characteristics may be severely affected. The braking
distance in an emergency braking situation can increase.
If ESP ®
is not operational, ESP ®
is unable to stabilize the vehicle.
There is an increased risk of skidding and an accident.
X Observe the additional display messages in the multifunction display.
X Drive on carefully.
X Visit a qualified specialist workshop immediately. Warning and indicator lamps in the instrument cluster
279On-board computer and displays Z
Page 286 of 398
Warning/
indicator
lamp
0051
0051 Signal type
Possible causes/consequences and 0050 0050Solutions 00AC
0051
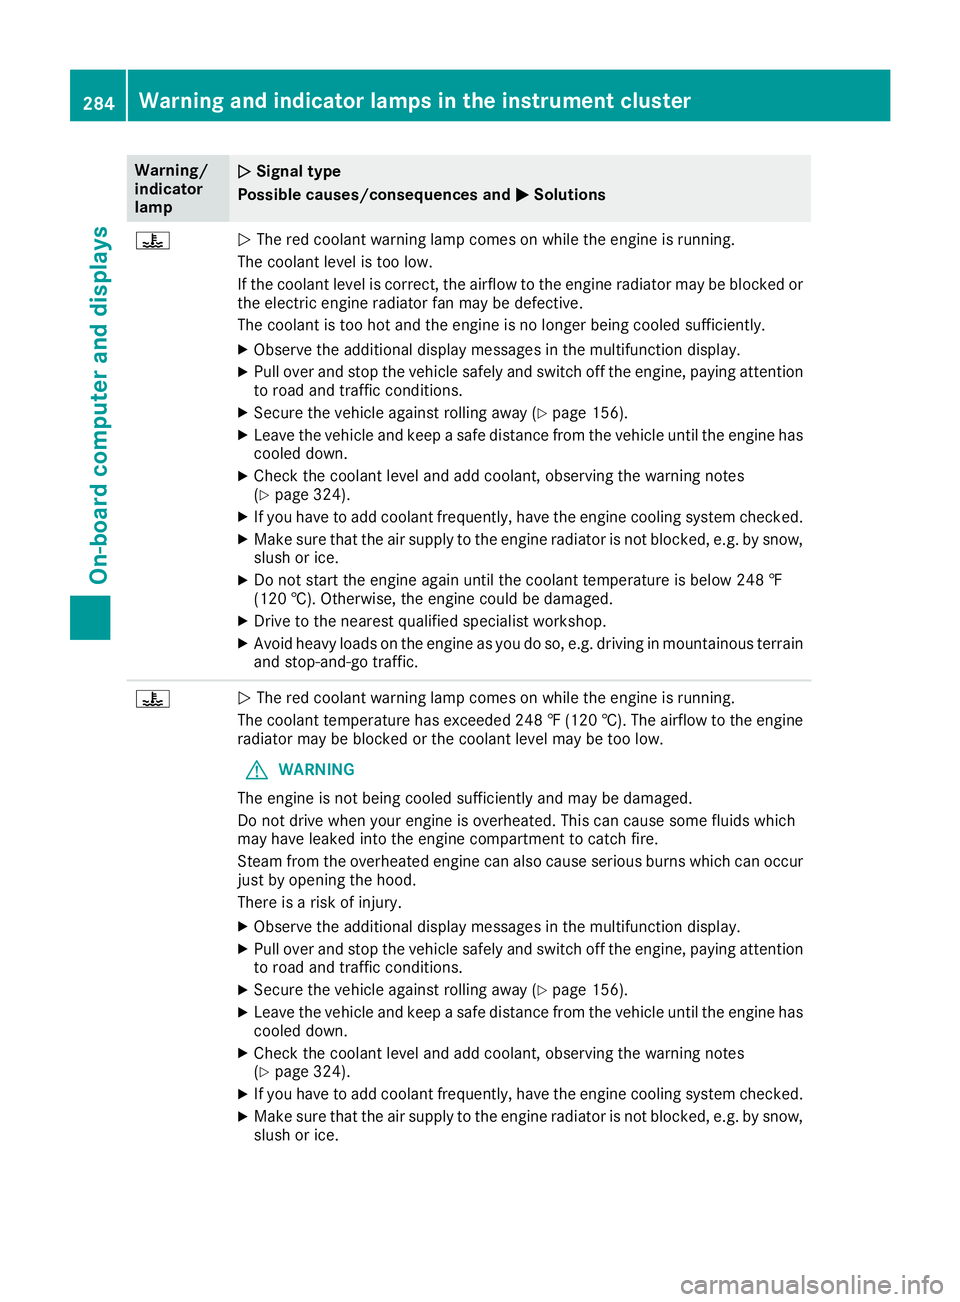
The red coolant warning lamp comes on while the engine is running.
The coolant level is too low.
If the coolant level is correct, the airflow to the engine radiator may be blocked or the electric engine radiator fan may be defective.
The coolant is too hot and the engine is no longer being cooled sufficiently.
X Observe the additional display messages in the multifunction display.
X Pull over and stop the vehicle safely and switch off the engine, paying attention
to road and traffic conditions.
X Secure the vehicle against rolling away (Y page 156).
X Leave the vehicle and keep a safe distance from the vehicle until the engine has
cooled down.
X Check the coolant level and add coolant, observing the warning notes
(Y page 324).
X If you have to add coolant frequently, have the engine cooling system checked.
X Make sure that the air supply to the engine radiator is not blocked, e.g. by snow,
slush or ice.
X Do not start the engine again until the coolant temperature is below 248 ‡
(120 †). Otherwise, the engine could be damaged.
X Drive to the nearest qualified specialist workshop.
X Avoid heavy loads on the engine as you do so, e.g. driving in mountainous terrain
and stop-and-go traffic. 00AC
0051
The red coolant warning lamp comes on while the engine is running.
The coolant temperature has exceeded 248 ‡ (120 †). The airflow to the engine radiator may be blocked or the coolant level may be too low.
G WARNING
The engine is not being cooled sufficiently and may be damaged.
Do not drive when your engine is overheated. This can cause some fluids which
may have leaked into the engine compartment to catch fire.
Steam from the overheated engine can also cause serious burns which can occur just by opening the hood.
There is a risk of injury.
X Observe the additional display messages in the multifunction display.
X Pull over and stop the vehicle safely and switch off the engine, paying attention
to road and traffic conditions.
X Secure the vehicle against rolling away (Y page 156).
X Leave the vehicle and keep a safe distance from the vehicle until the engine has
cooled down.
X Check the coolant level and add coolant, observing the warning notes
(Y page 324).
X If you have to add coolant frequently, have the engine cooling system checked.
X Make sure that the air supply to the engine radiator is not blocked, e.g. by snow,
slush or ice. 284
Warning and indicator lamps in the instrument clusterOn-board computer and displays
Page 297 of 398
Stowage areas
Loading guidelines
G
WARNING
If objects, luggage or loads are not secured or not secured sufficiently, they could slip, tip
over or be flung around and thereby hit vehicle
occupants. There is a risk of injury, particu-
larly in the event of sudden braking or a sud-
den change in direction.
Always store objects so that they cannot be
flung around. Secure objects, luggage or
loads against slipping or tipping before the
journey. G
WARNING
Combustion engines emit poisonous exhaust
gases such as carbon monoxide. If the tailgate is open when the engine is running, particu-
larly if the vehicle is moving, exhaust fumes
could enter the passenger compartment.
There is a risk of poisoning.
Turn off the engine before opening the tail-
gate. Never drive with the tailgate open. G
WARNING
The exhaust tail pipe and tail pipe trim can
become very hot. If you come into contact
with these parts of the vehicle, you could burn
yourself. There is a risk of injury.
Always be particularly careful around the
exhaust tail pipe and the tail pipe trim. Allow
these components to cool down before touch-
ing them.
The gross vehicle weight (GVW) is the vehicle
weight including fuel, vehicle tool kit, spare
wheel, installed accessories, vehicle occupants and luggage/cargo.
Do not exceed the load limit or permitted grossvehicle weight rating (GVWR) for your vehicle.
The gross load limit and the GVWR are specified
on the vehicle identification plate on the B-pillar
of the driver's door (Y page 361).
The load must also be distributed so that the
weight on each axle never exceeds the gross
axle weight rating (GAWR) for the front and rear
axles. The specifications for GVWR and GAWR are on the vehicle identification plate on the B-
pillar of the driver's door (Y
page 361).
Observe the notes on loading the vehicle
(Y page 361).
The handling characteristics of a laden vehicle
are dependent on the distribution of the load
within the vehicle. For this reason, you should
observe the following notes when transporting a
load:
R Never exceed the maximum permissible
gross vehicle mass or the gross axle weight
rating for the vehicle (including occupants).
R The cargo compartment is the preferred place
to carry objects.
R Position heavy loads as far forward as possi-
ble and as low down in the cargo compart-
ment as possible.
R The load must not protrude above the upper
edge of the seat backrests.
R Always place the load against the rear or front
seat backrests. Make sure that the seat
backrests are securely locked into place.
R Always place the load behind unoccupied
seats if possible.
R Use the cargo tie-down rings and the parcel
nets to transport loads and luggage.
R Use cargo tie-down rings and fastening mate-
rials appropriate for the weight and size of the load.
R Secure the load with sufficiently strong and
wear-resistant tie-downs. Pad sharp edges for
protection. Stowage spaces
Important safety notes G
WARNING
If you transport objects in the vehicle interior and these are not adequately secured, they
could slip or be flung around and thereby
strike vehicle occupants. In addition, cup
holders, open stowage spaces and mobile
phone brackets may not always be able to
hold the objects placed in them in the event of an accident. There is a risk of injury, particu-
larly in the event of sharp braking or sudden
changes of direction. Stowage areas
295Stowage and features
Z
Page 298 of 398
R
Always stow objects in such a way that they
cannot be tossed about in these or similar
situations.
R Always make sure that objects do not pro-
trude out of the stowage spaces, luggage
nets or stowage nets.
R Ensure that closable stowage spaces are
shut before beginning your journey.
R Always stow and secure heavy, hard, poin-
ted, sharp-edged, fragile or large objects in
the cargo compartment.
Observe the loading guidelines (Y page 295).
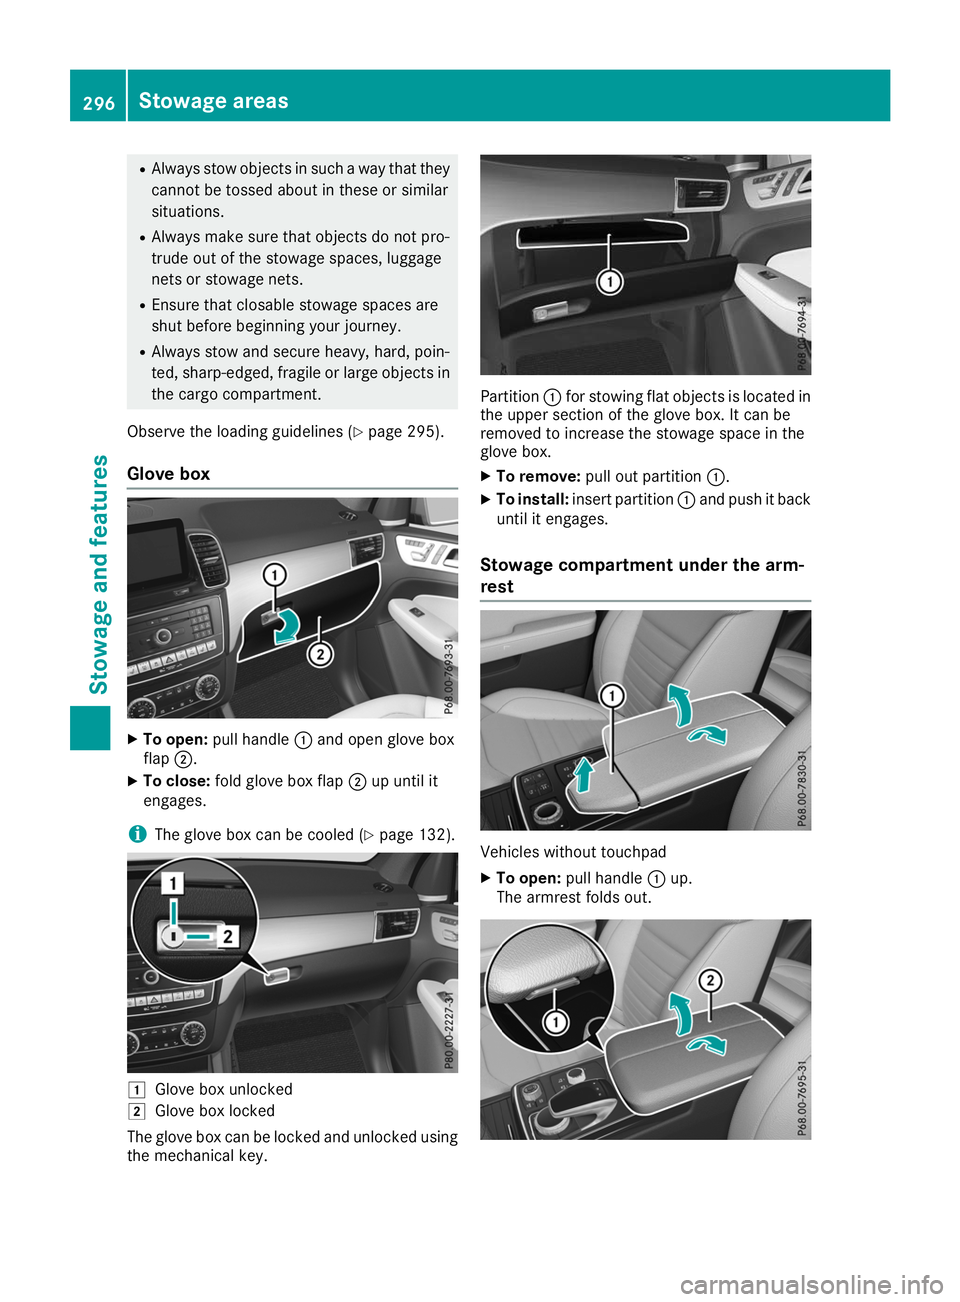
Glove box X
To open: pull handle 0043and open glove box
flap 0044.
X To close: fold glove box flap 0044up until it
engages.
i The glove box can be cooled (Y
page 132).0047
Glove box unlocked
0048 Glove box locked
The glove box can be locked and unlocked using the mechanical key. Partition
0043for stowing flat objects is located in
the upper section of the glove box. It can be
removed to increase the stowage space in the
glove box.
X To remove: pull out partition 0043.
X To install: insert partition 0043and push it back
until it engages.
Stowage compartment under the arm-
rest Vehicles without touchpad
X To open: pull handle 0043up.
The armrest folds out. 296
Stowage areasSto
wage an d features
Page 305 of 398
injury, particularly in the event of sudden
braking or a sudden change in direction.
Always close the cargo compartment floor
before a journey.
The accessory parts of the EASY–PACK load-
securing kit, as well as TIREFIT and the tire-
changing tools are located in the removable
insert in the stowage well.
Opening/closing the cargo compart-
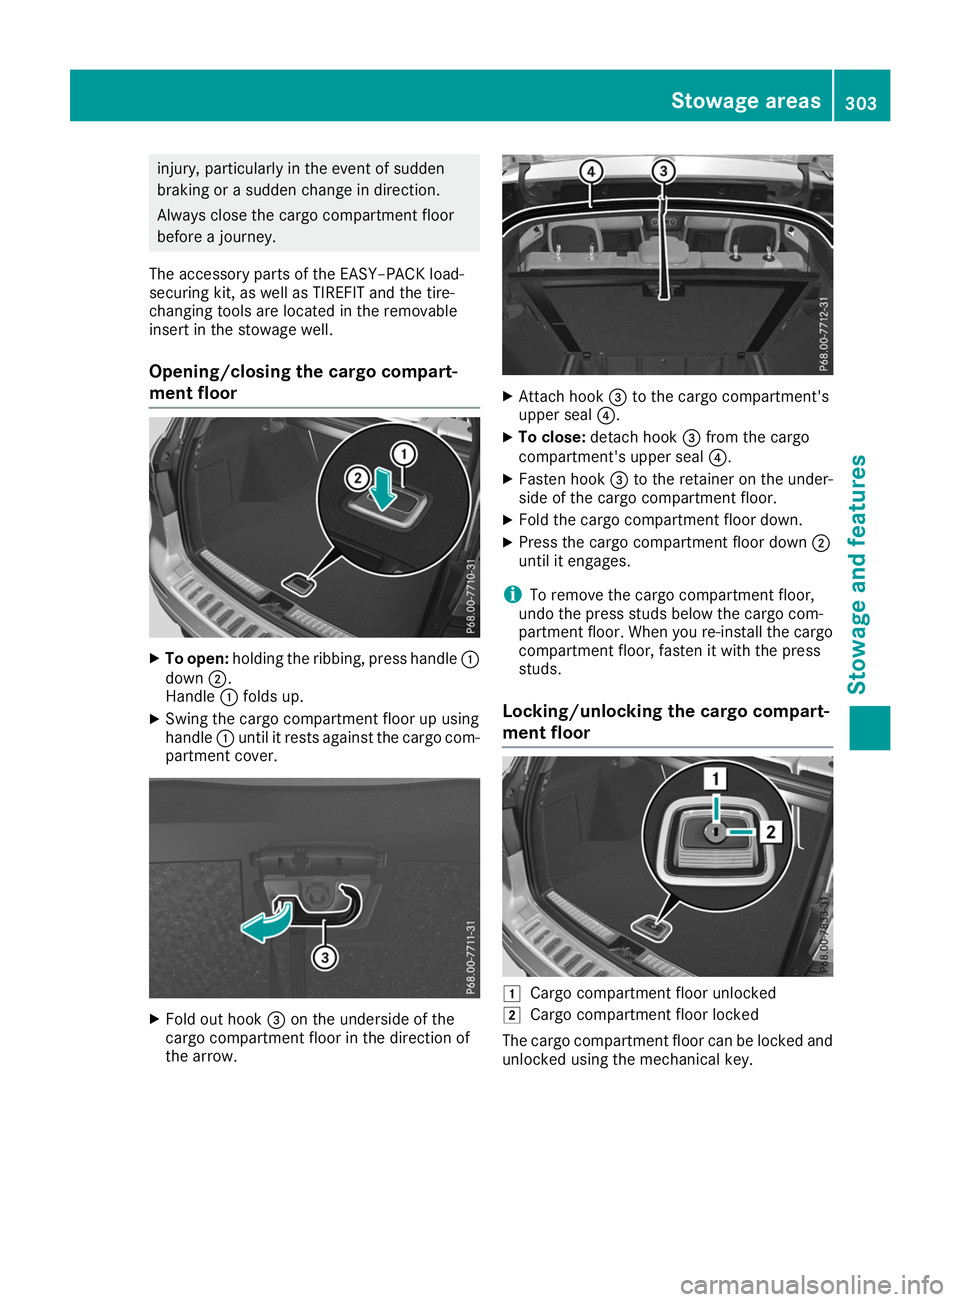
ment floor X
To open: holding the ribbing, press handle 0043
down 0044.
Handle 0043folds up.
X Swing the cargo compartment floor up using
handle 0043until it rests against the cargo com-
partment cover. X
Fold out hook 0087on the underside of the
cargo compartment floor in the direction of
the arrow. X
Attach hook 0087to the cargo compartment's
upper seal 0085.
X To close: detach hook 0087from the cargo
compartment's upper seal 0085.
X Fasten hook 0087to the retainer on the under-
side of the cargo compartment floor.
X Fold the cargo compartment floor down.
X Press the cargo compartment floor down 0044
until it engages.
i To remove the cargo compartment floor,
undo the press studs below the cargo com-
partment floor. When you re-install the cargo
compartment floor, fasten it with the press
studs.
Locking/unlocking the cargo compart-
ment floor 0047
Cargo compartment floor unlocked
0048 Cargo compartment floor locked
The cargo compartment floor can be locked and unlocked using the mechanical key. Stowage areas
303Stowage and features Z