2019 MERCEDES-BENZ GLE COUPE ECO mode
[x] Cancel search: ECO modePage 171 of 370
Mercedes-AMG vehicles:
your vehicle is equip-
ped with the ACTIVE CURVE SYSTEM
(Y page 170).
Observe the notes on driving with a trailer
(Y page 200).
The vehicle level can be set using the DYNAMIC
SELECT controller (Y page 134) or the level but-
ton (Y page 170). The setting always corre-
sponds to the last selected function.
Important safety notes G
WARNING
When the vehicle is being lowered, people
could become trapped if their limbs are
between the vehicle body and the wheels or
underneath the vehicle. There is a risk of
injury.
Make sure no one is underneath the vehicle or in the immediate vicinity of the wheel arches
when the vehicle is being lowered.
If you unlock the vehicle or open a door, the
vehicle begins to compensate for load discrep-
ancies while still parked. However, for signifi-
cant level changes, such as after the vehicle has
been stationary for a long period, the engine
must be on. For safety reasons, the vehicle is
only lowered when the doors are closed. Low-
ering is interrupted if a door is opened, and it
continues once the door has been closed.
ADS PLUS (Adaptive Damping System) General notes
ADS PLUS automatically controls the calibration of the dampers. The damping characteristics
adapt to the current operating and driving sit-
uation.
The damping is tuned individually to each wheel
and depends on:
R your driving style, e.g. sporty
R the road surface conditions
R the drive program selected
R the vehicle level setting Selecting Comfort mode
In the
Comfort drive program, the driving char-
acteristics of your vehicle are more comforta-
ble. Therefore, select this mode if you favor a
more comfortable driving style. Also select the
Comfort drive program when driving fast on
straight roads, e.g. on straight stretches of high-
way.
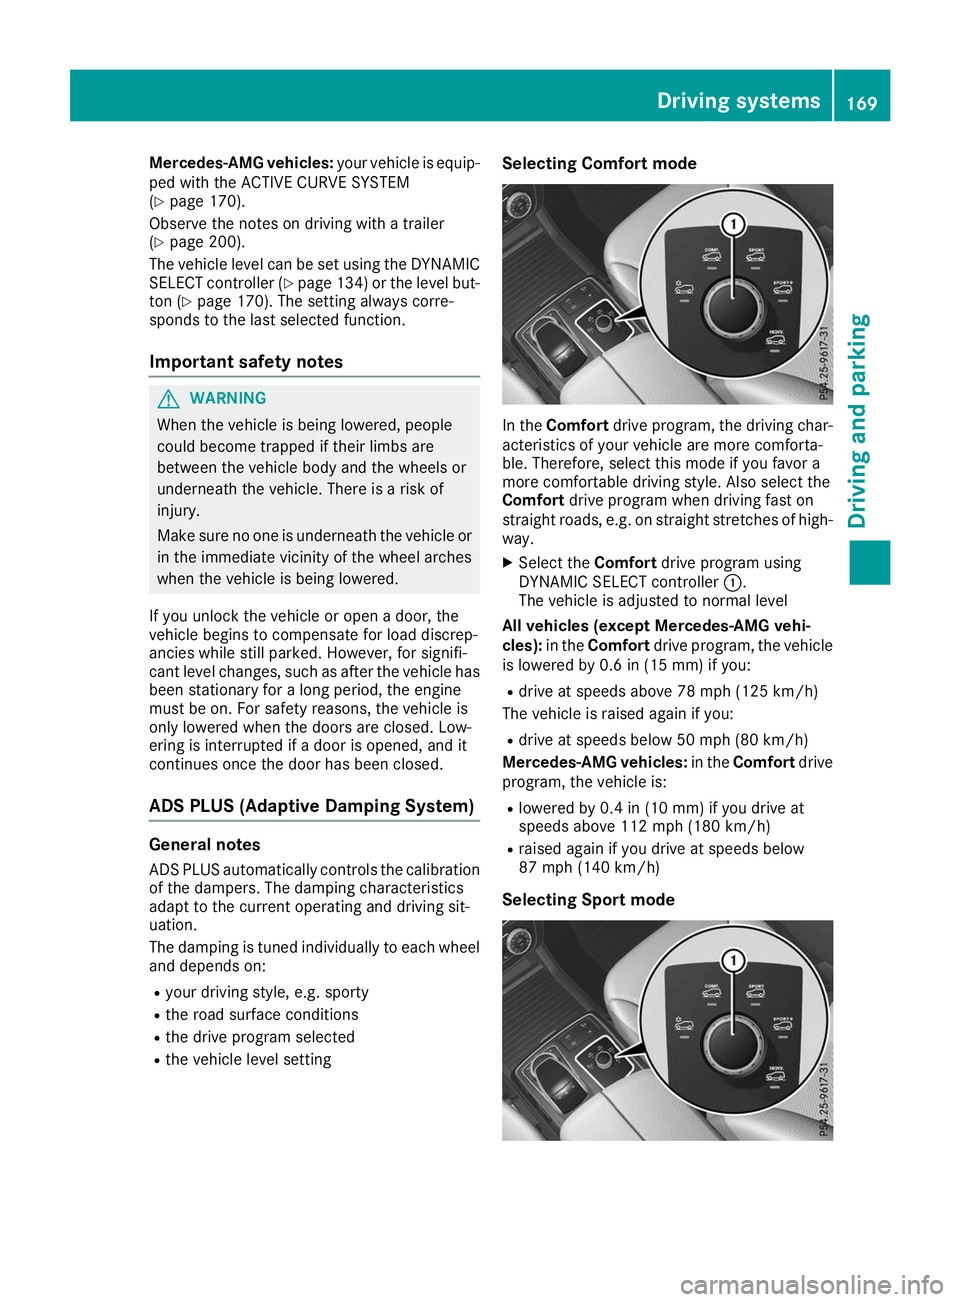
X Select the Comfortdrive program using
DYNAMIC SELECT controller 0043.
The vehicle is adjusted to normal level
All vehicles (except Mercedes-AMG vehi-
cles): in theComfort drive program, the vehicle
is lowered by 0.6 in (15 mm) if you:
R drive at speeds above 78 mph (125 km/h)
The vehicle is raised again if you:
R drive at speeds below 50 mph (80 km/h)
Mercedes-AMG vehicles: in theComfort drive
program, the vehicle is:
R lowered by 0.4 in (10 mm) if you drive at
speeds above 112 mph (180 km/h)
R raised again if you drive at speeds below
87 mph (140 km/h)
Selecting Sport mode Driving systems
169Driving and parking Z
Page 172 of 370
The firmer setting of the suspension tuning in
the Sport drive program ensures even better
contact with the road. Select this drive program when employing a sporty driving style, e.g. on
winding country roads.
DSR is not available in the Sportdrive program.
For further information on DSR, see
(Y page 167).
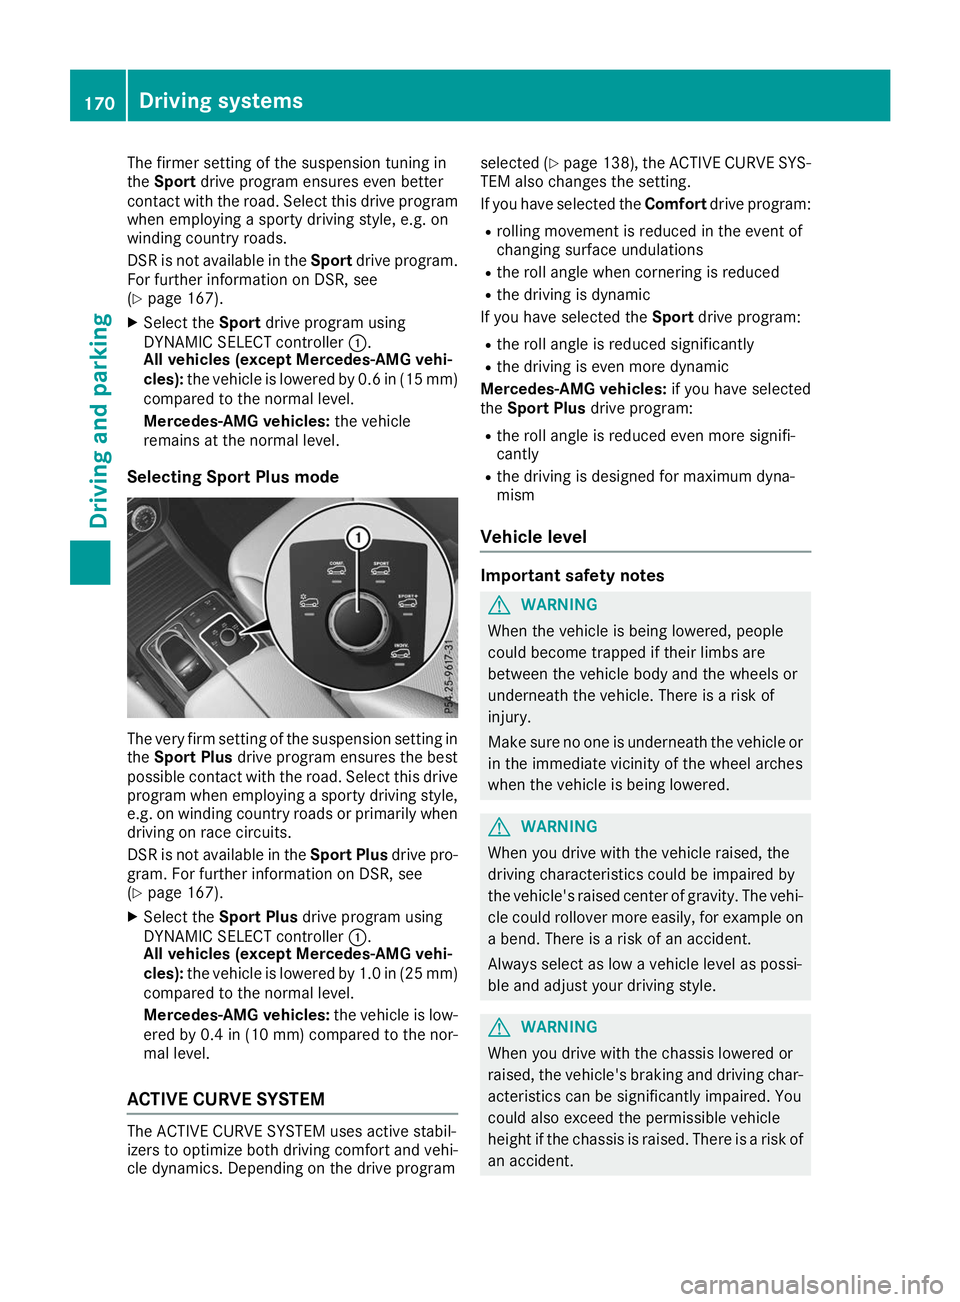
X Select the Sportdrive program using
DYNAMIC SELECT controller 0043.
All vehicles (except Mercedes-AMG vehi-
cles): the vehicle is lowered by 0.6 in (15 mm)
compared to the normal level.
Mercedes-AMG vehicles: the vehicle
remains at the normal level.
Selecting Sport Plus mode The very firm setting of the suspension setting in
the Sport Plus drive program ensures the best
possible contact with the road. Select this drive
program when employing a sporty driving style, e.g. on winding country roads or primarily whendriving on race circuits.
DSR is not available in the Sport Plusdrive pro-
gram. For further information on DSR, see
(Y page 167).
X Select the Sport Plus drive program using
DYNAMIC SELECT controller 0043.
All vehicles (except Mercedes-AMG vehi-
cles): the vehicle is lowered by 1.0 in (25 mm)
compared to the normal level.
Mercedes-AMG vehicles: the vehicle is low-
ered by 0.4 in (10 mm) compared to the nor-
mal level.
ACTIVE CURVE SYSTEM The ACTIVE CURVE SYSTEM uses active stabil-
izers to optimize both driving comfort and vehi- cle dynamics. Depending on the drive program selected (Y
page 138), the ACTIVE CURVE SYS-
TEM also changes the setting.
If you have selected the Comfortdrive program:
R rolling movement is reduced in the event of
changing surface undulations
R the roll angle when cornering is reduced
R the driving is dynamic
If you have selected the Sportdrive program:
R the roll angle is reduced significantly
R the driving is even more dynamic
Mercedes-AMG vehicles: if you have selected
the Sport Plus drive program:
R the roll angle is reduced even more signifi-
cantly
R the driving is designed for maximum dyna-
mism
Vehicle level Important safety notes
G
WARNING
When the vehicle is being lowered, people
could become trapped if their limbs are
between the vehicle body and the wheels or
underneath the vehicle. There is a risk of
injury.
Make sure no one is underneath the vehicle or in the immediate vicinity of the wheel arches
when the vehicle is being lowered. G
WARNING
When you drive with the vehicle raised, the
driving characteristics could be impaired by
the vehicle's raised center of gravity. The vehi- cle could rollover more easily, for example on
a bend. There is a risk of an accident.
Always select as low a vehicle level as possi-
ble and adjust your driving style. G
WARNING
When you drive with the chassis lowered or
raised, the vehicle's braking and driving char-
acteristics can be significantly impaired. You
could also exceed the permissible vehicle
height if the chassis is raised. There is a risk of an accident. 170
Driving systemsDriving and parking
Page 188 of 370
the camera position and setting checked at a
qualified specialist workshop
Do not use the 360° camera under such cir-
cumstances. You can otherwise injure others or cause damage to objects or the vehicle.
Guide lines are always shown at road level. In
trailer mode, the guide lines are shown at the
level of the trailer coupling.
The field of vision and other functions of the
camera system may be restricted due to addi-
tional accessories on the rear of the vehicle (e.g.
license plate holder, bicycle rack).
On vehicles with height-adjustable chassis,
depending on technical conditions, leaving the
standard height can result in:
R inaccuracies in the guide lines
R inaccuracies in the display of generated
images (top view)
Activation conditions The 360° camera image can be displayed in the
following situations:
R your vehicle is equipped with a 360° camera
R the SmartKey is in key position 0048in the igni-
tion lock
R the multimedia system is switched on
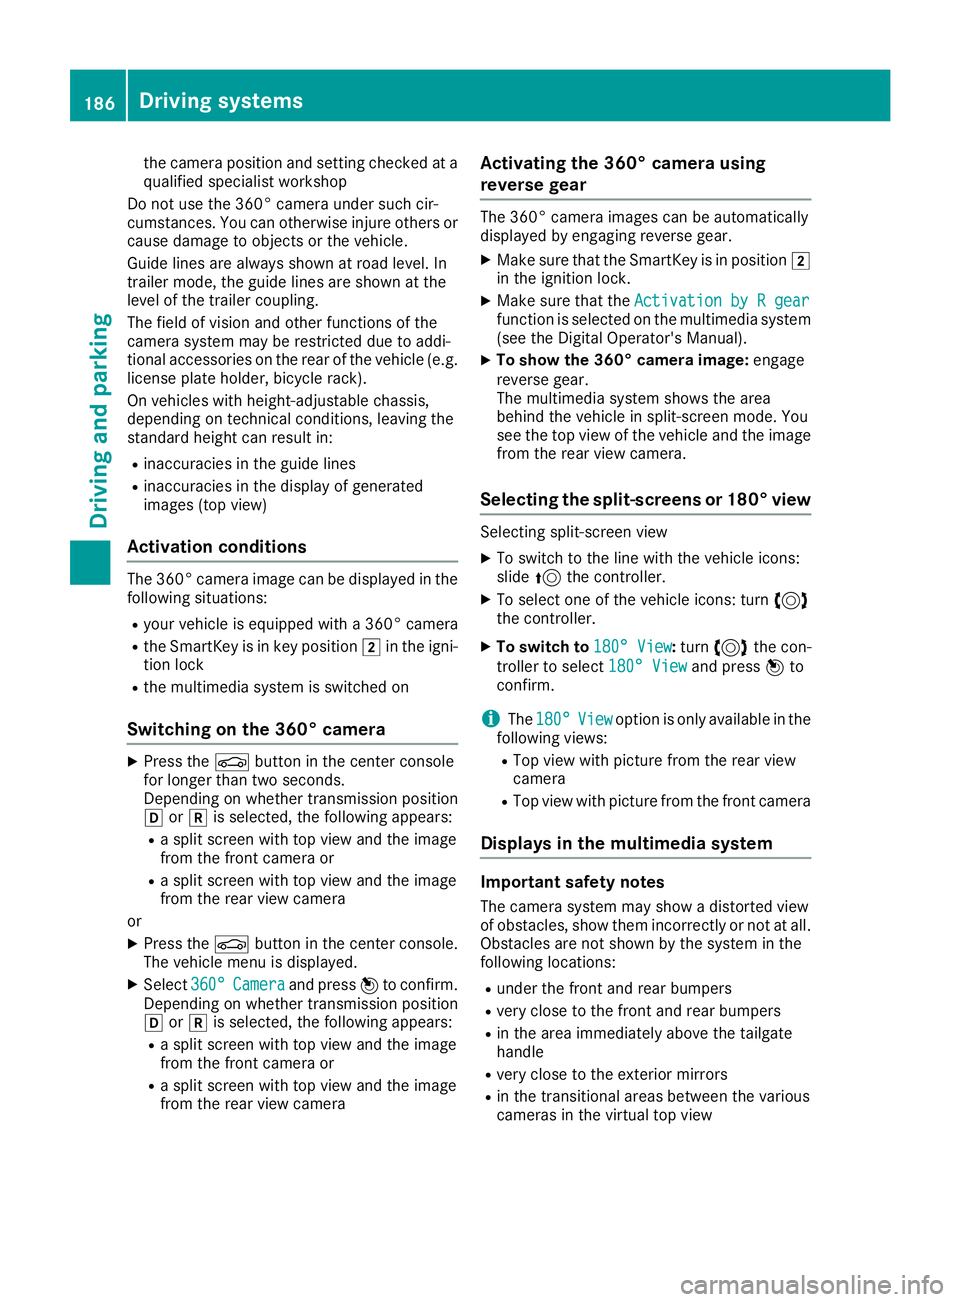
Switching on the 360° camera X
Press the 00D4button in the center console
for longer than two seconds.
Depending on whether transmission position
005B or005E is selected, the following appears:
R a split screen with top view and the image
from the front camera or
R a split screen with top view and the image
from the rear view camera
or X Press the 00D4button in the center console.
The vehicle menu is displayed.
X Select 360°
360° Camera Camera and press 7to confirm.
Depending on whether transmission position
005B or005E is selected, the following appears:
R a split screen with top view and the image
from the front camera or
R a split screen with top view and the image
from the rear view camera Activating the 360° camera using
reverse gear The 360° camera images can be automatically
displayed by engaging reverse gear.
X Make sure that the SmartKey is in position 0048
in the ignition lock.
X Make sure that the Activation by R gear Activation by R gear
function is selected on the multimedia system (see the Digital Operator's Manual).
X To show the 360° camera image: engage
reverse gear.
The multimedia system shows the area
behind the vehicle in split-screen mode. You
see the top view of the vehicle and the image from the rear view camera.
Selecting the split-screens or 180° view Selecting split-screen view
X To switch to the line with the vehicle icons:
slide 5the controller.
X To select one of the vehicle icons: turn 3
the controller.
X To switch to 180° View
180° View :turn 3 the con-
troller to select 180° View
180° View and press7to
confirm.
i The
180° 180° View
Viewoption is only available in the
following views:
R Top view with picture from the rear view
camera
R Top view with picture from the front camera
Displays in the multimedia system Important safety notes
The camera system may show a distorted view
of obstacles, show them incorrectly or not at all. Obstacles are not shown by the system in the
following locations:
R under the front and rear bumpers
R very close to the front and rear bumpers
R in the area immediately above the tailgate
handle
R very close to the exterior mirrors
R in the transitional areas between the various
cameras in the virtual top view 186
Driving systemsDriving an
d parking
Page 191 of 370
Exiting 360° camera display mode
The 360° camera display is stopped:
R when you select transmission position 005D, or
R when you are driving at moderate speeds
The previous display appears in the multimedia
system. You can also switch the display by
selecting the 0039symbol in the display and
pressing the controller to confirm. ATTENTION ASSIST
General notes ATTENTION ASSIST helps you during long,
monotonous journeys, such as on highways. It is
active in the 37 mph (60 km/h) to 125 mph
(200 km/h) range. If ATTENTION ASSIST
detects typical indicators of fatigue or increas-
ing lapses in concentration on the part of the
driver, it suggests taking a break.
Important safety notes ATTENTION ASSIST is only an aid to the driver. It
might not always recognize fatigue or increasing
inattentiveness in time or fail to recognize them at all. The system is not a substitute for a well-
rested and attentive driver.
The functionality of ATTENTION ASSIST is
restricted and warnings may be delayed or not
occur at all:
R if the length of the journey is less than approx-
imately 30 minutes
R if the road condition is poor, e.g. if the surface
is uneven or if there are potholes
R if there is a strong side wind
R if you have adopted a sporty driving style with
high cornering speeds or high rates of accel-
eration
R if you are predominantly driving slower than
37 mph (60 km/ h)or faster than 125 mph
(200 km/h)
R if you are driving with the Active Steering
Assist of Active Distance Assist DISTRONIC
activated
R if the time has been set incorrectly
R in active driving situations, such as when you
change lanes or change your speed The attention level evaluation is deleted and
restarts when the journey is continued, if:
R you switch off the engine
R you take off your seat belt and open the driv-
er's door, e.g. for a change of drivers or to
take a break
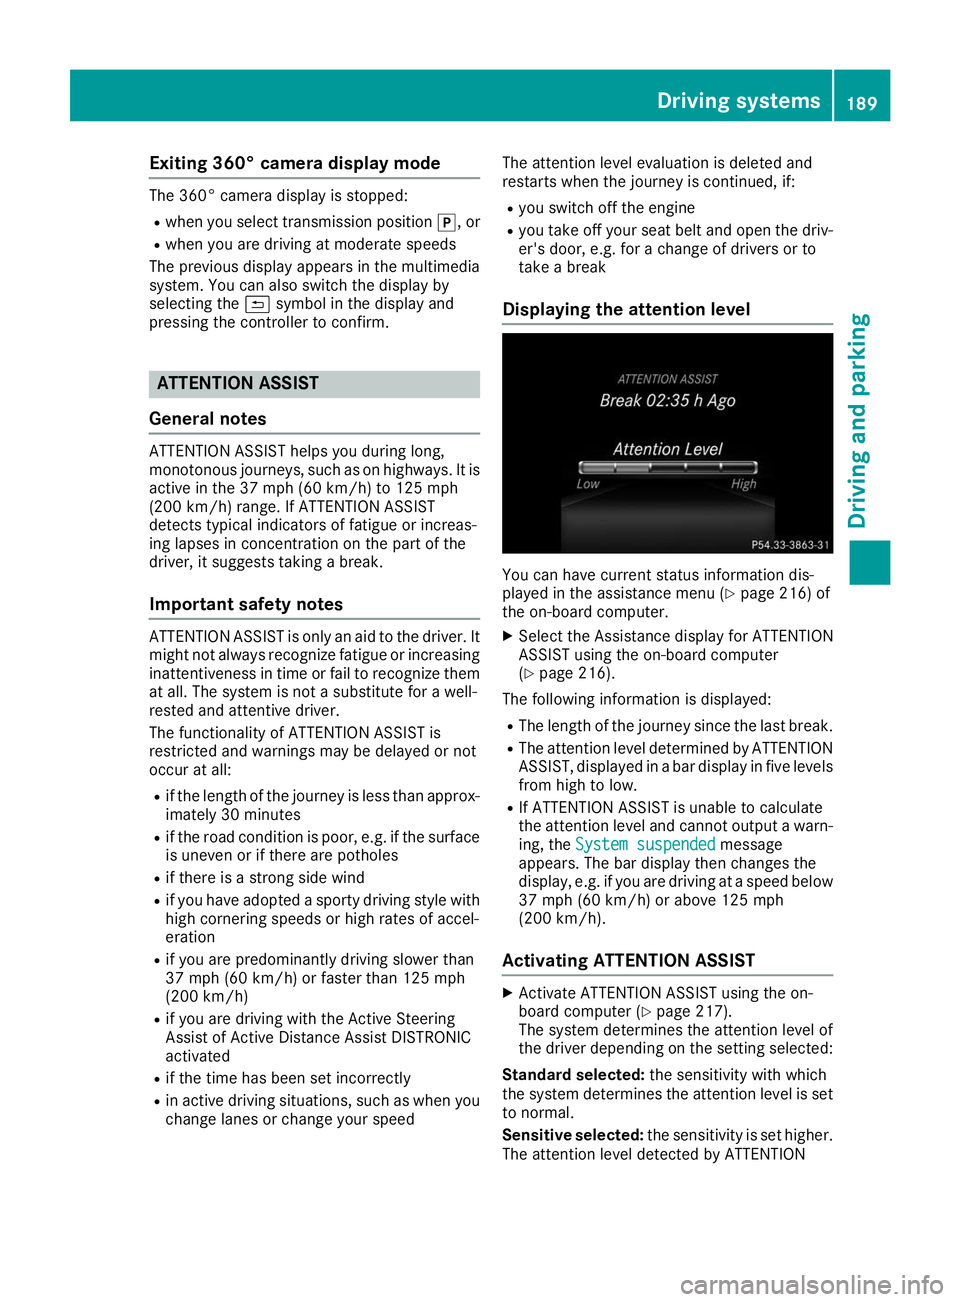
Displaying the attention level You can have current status information dis-
played in the assistance menu (Y
page 216) of
the on-board computer.
X Select the Assistance display for ATTENTION
ASSIST using the on-board computer
(Y page 216).
The following information is displayed: R The length of the journey since the last break.
R The attention level determined by ATTENTION
ASSIST, displayed in a bar display in five levelsfrom high to low.
R If ATTENTION ASSIST is unable to calculate
the attention level and cannot output a warn-
ing, the System suspended System suspended message
appears. The bar display then changes the
display, e.g. if you are driving at a speed below 37 mph (60 km/h) or above 125 mph
(200 km/h).
Activating ATTENTION ASSIST X
Activate ATTENTION ASSIST using the on-
board computer (Y page 217).
The system determines the attention level of
the driver depending on the setting selected:
Standard selected: the sensitivity with which
the system determines the attention level is set to normal.
Sensitive selected: the sensitivity is set higher.
The attention level detected by ATTENTION Driving systems
189Driving and parking Z
Page 206 of 370
R
If possible, do not brake suddenly, but instead
depress the brake pedal moderately at first sothat the trailer can activate its brakes. Then
increase the pressure on the brake pedal.
R If the automatic transmission repeatedly
shifts between gears on uphill or downhill gra- dients, shift to a lower gear using the left-hand
steering wheel paddle shifter.
A lower gear and lower speed reduce the risk of engine failure.
R When driving downhill, shift to a lower gear to
utilize the engine's braking effect.
Avoid continuous brake application as this
may overheat the vehicle brakes and, if instal-
led, the trailer brakes.
R If the coolant temperature increases dramat-
ically while the air-conditioning system is
switched on, switch off the air-conditioning
system.
Coolant heat can also be dissipated by open-
ing the windows and switching the ventilation blower and the interior temperature to the
highest level.
R When overtaking, pay particular attention to
the extended length of your vehicle/trailer
combination.
Due to the length of the vehicle/trailer com-
bination, you require additional road space in relation to the vehicle you are overtaking
before you can change back to the original
lane. Decoupling a trailer
G
WARNING
If you uncouple a trailer with the overrun
brake engaged, you could trap your hand
between the vehicle and the trailer drawbar.
There is a risk of injury.
Do not uncouple a trailer if the overrun brake is engaged. G
WARNING
Vehicles with level control:
The vehicle is lowered as soon as you discon-
nect the trailer cable. This could result in your limbs or those of other people that are
between the vehicle body and tires or under- neath the vehicle being trapped. There is a
risk of injury.
Make sure that nobody is in the immediate
vicinity of the wheel housings or under the
vehicle when you disconnect the trailer cable.
! Do not disconnect a trailer with an engaged
overrun brake. Otherwise, your vehicle could
be damaged by the rebounding of the overrun brake.
X Shift the transmission to position 005D.
X Apply the vehicle's electric parking brake.
X Start the engine.
X Close the doors and tailgate.
X Apply the trailer's parking brake.
X Detach the trailer cable and decouple the
trailer.
X Switch off the engine. Permissible trailer loads and drawbar
loads
Weight specifications Maximum allowable gross mass
The gross vehicle weight of the trailer is calcu-
lated by adding the weight of the trailer to the
weight of the load and equipment on the trailer.
You will find installing dimensions and loads
under "Technical data" (Y page 367).
Permissible noseweight You will find installing dimensions and loads
under "Technical data" (Y page 367).
Loading a trailer R
When loading the trailer, make sure that nei-
ther the permissible gross weight of the trailer
nor the gross vehicle weight are exceeded.
The permissible gross vehicle weight is indi-
cated on the identification plate located on
the B-pillar on the driver's side of the vehicle.
You can find the maximum permissible values
on the type plates of your vehicle and the
trailer. When calculating how much weight 204
Towing a trailerDriving and parking
Page 223 of 370
SETUP displays the following information/func-
tions:
R the digital speedometer
R the gear indicator
R the engine mode
R the suspension mode
R the transmission position
R the ESP ®
(Electronic Stability Program) mode
X Press the 0059or0065 button on the steering
wheel to select the AMG
AMG menu.
X Press the 0063button repeatedly until SETUP
is displayed.
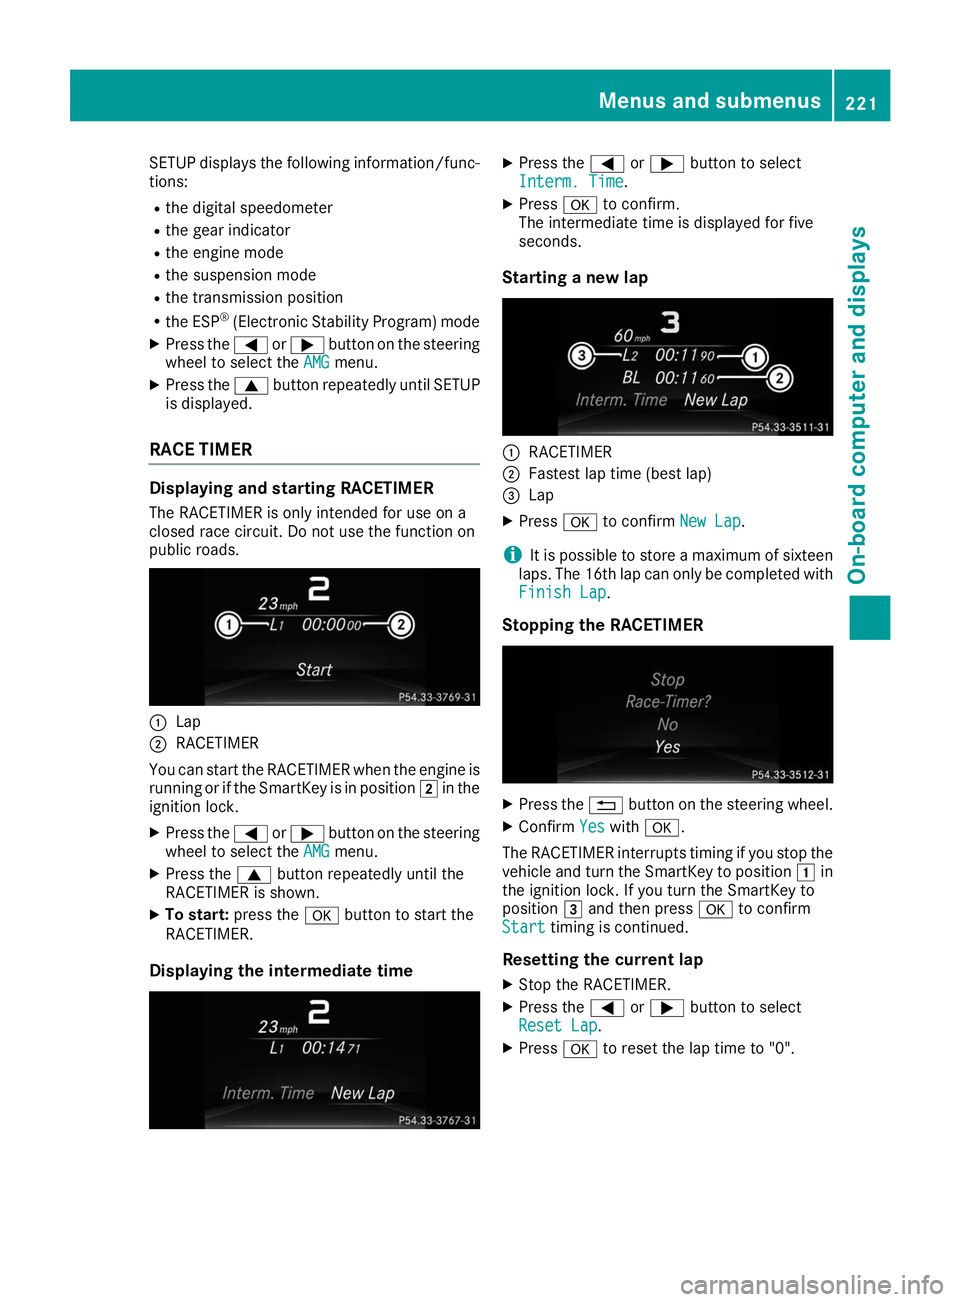
RACE TIMER Displaying and starting RACETIMER
The RACETIMER is only intended for use on a
closed race circuit. Do not use the function on
public roads. 0043
Lap
0044 RACETIMER
You can start the RACETIMER when the engine is running or if the SmartKey is in position 0048in the
ignition lock.
X Press the 0059or0065 button on the steering
wheel to select the AMG
AMG menu.
X Press the 0063button repeatedly until the
RACETIMER is shown.
X To start: press the 0076button to start the
RACETIMER.
Displaying the intermediate time X
Press the 0059or0065 button to select
Interm. Time Interm. Time .
X Press 0076to confirm.
The intermediate time is displayed for five
seconds.
Starting a new lap 0043
RACETIMER
0044 Fastest lap time (best lap)
0087 Lap
X Press 0076to confirm New Lap
New Lap.
i It is possible to store a maximum of sixteen
laps. The 16th lap can only be completed with
Finish Lap
Finish Lap.
Stopping the RACETIMER X
Press the 0038button on the steering wheel.
X Confirm Yes
Yeswith 0076.
The RACETIMER interrupts timing if you stop the
vehicle and turn the SmartKey to position 0047in
the ignition lock. If you turn the SmartKey to
position 0049and then press 0076to confirm
Start
Start timing is continued.
Resetting the current lap X Stop the RACETIMER.
X Press the 0059or0065 button to select
Reset Lap
Reset Lap.
X Press 0076to reset the lap time to "0". Menus and submenus
221On-board computer and displays Z
Page 253 of 370
Display messages
Possible causes/consequences and
0050
0050Solutions Because there is interference from a strong source of radio waves, the
SmartKey is not detected whilst the engine is running.
A warning tone also sounds.
X Pull over and stop the vehicle safely as soon as possible, paying
attention to road and traffic conditions.
X Secure the vehicle against rolling away (Y page 144).
X Insert the SmartKey into the ignition lock and drive in SmartKey
mode. 00AF
Remove 'Start' But‐ Remove 'Start' But‐
ton and Insert Key ton and Insert Key R
The SmartKey detection function has a temporary malfunction or is
faulty.
R The SmartKey is continually undetected.
A warning tone also sounds.
X Insert the SmartKey into the ignition lock and turn it to the desired
position.
X Visit a qualified specialist workshop. Warning and indicator lamps in the instrument cluster
General notes
Some systems carry out a self-diagnosis when the ignition is switched on. Therefore, some indicator and warning lamps may light up or flash temporarily. This behavior is non-critical. These indicator
and warning lamps only indicate a malfunction if they light up or flash after starting the engine or
whilst driving. Safety
Seat belts Warning/
indicator
lamp
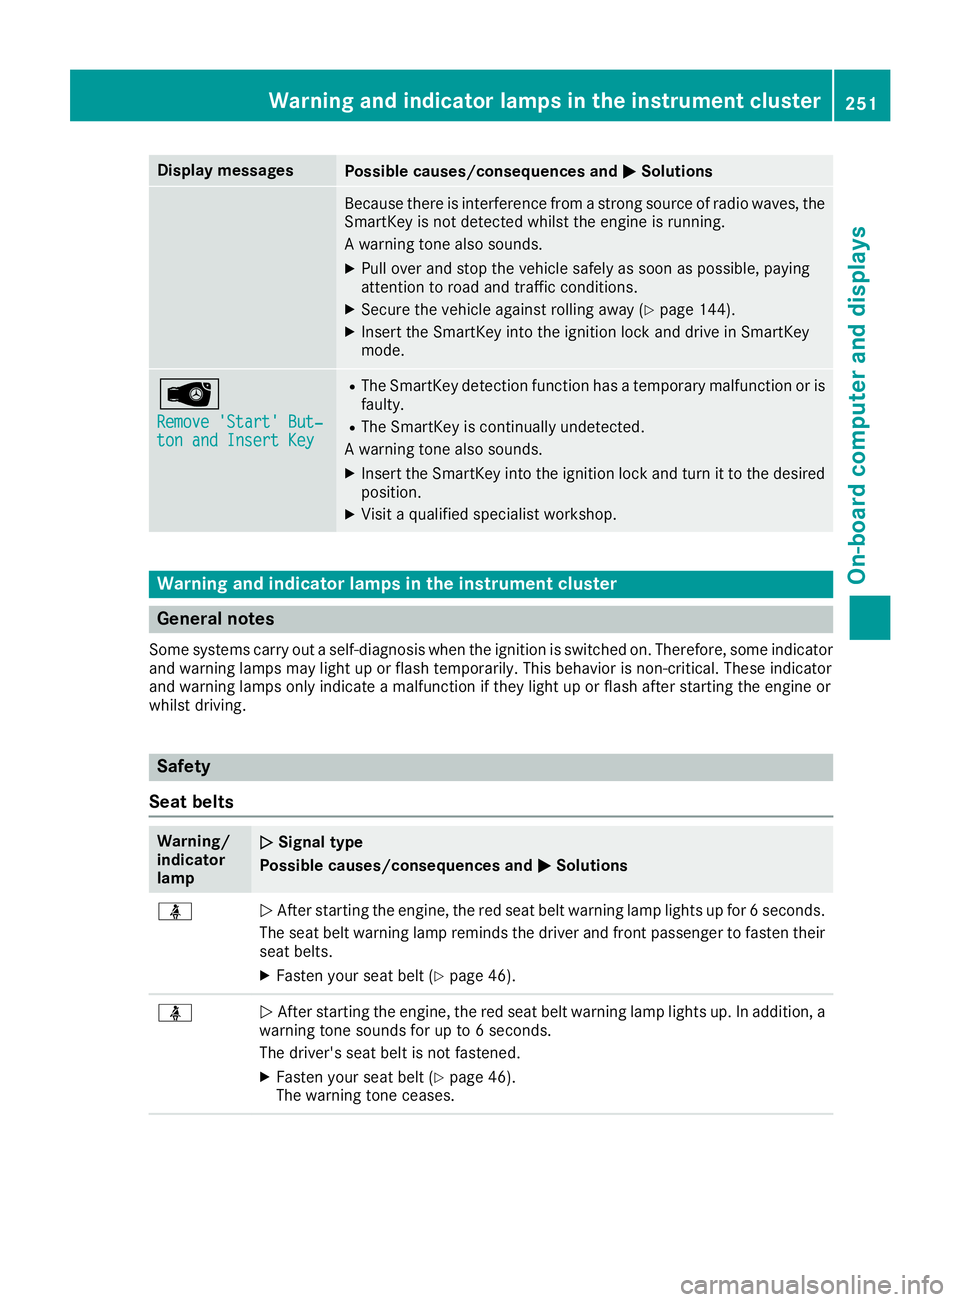
0051 0051
Signal type
Possible causes/consequences and 0050 0050Solutions 00E9
0051
After starting the engine, the red seat belt warning lamp lights up for 6 seconds.
The seat belt warning lamp reminds the driver and front passenger to fasten their
seat belts.
X Fasten your seat belt (Y page 46).00E9
0051
After starting the engine, the red seat belt warning lamp lights up. In addition, a
warning tone sounds for up to 6 seconds.
The driver's seat belt is not fastened.
X Fasten your seat belt (Y page 46).
The warning tone ceases. Wa
rning and indi cator lamps in the instrument cluster
251On-board computer and displays Z
Page 267 of 370
Operating system
Overview
General notes !
Do not use the space in front of the display
for storage. Objects placed here could dam-
age the display or impair its function. Avoid
any direct contact with the display surface.
Pressure on the display surface may result in
impairments to the display, which could be
irreversible.
Wearing polarized sunglasses may impair your
ability to read the display.
The display has an automatic temperature-con- trolled switch-off feature. The brightness is
automatically reduced if the temperature is too
high. The display may temporarily switch off
completely.
Cleaning instructions !
Do not touch the display. The display has a
very sensitive high-gloss surface; there is a
risk of scratching. If you have to clean the
screen, however, use a mild cleaning agent
and a soft, lint-free cloth.
The display must be switched off and have
cooled down before you start cleaning. Do not
apply pressure to the display surface when
cleaning it, as this could cause irreversible dam-
age to the display.
Switching the multimedia system
on/off X
Press the 0043control knob.
Adjusting the volume X
Turn the 0043control knob.
The volume is adjusted:
R for the currently selected media source
R during traffic or navigation announcements
R in hands-free mode during an active call
Switching the sound on or off X
Press the 0063button on the control panel.
If the audio output is switched off, the status
line will show the 0063symbol. If you switch the media source or set the volume, the sound
is automatically switched on.
i Navigation announcements will be heard
even if the sound is muted.
Functions The multimedia system has the following func-
tions:
R Radio mode
R Media mode with media search
R Sound systems
R Navigation system
COMAND: navigation via the hard drive
Audio 20: navigation via SD card
R Communication functions
R SIRIUS Weather (COMAND)
R Vehicle functions with system settings
R Favorites functions
Controller The controller in the center console lets you:
R select menu items on the display
R enter characters
R select a destination on the map
R save entries
The controller can be:
R turned 3
R slid left or right 1
R slid forwards or back 4
R slid diagonally 2
R pressed briefly or pressed and held 7
Back button You can use the
0038button to exit a menu or to
call up the main menu of the current operating
mode.
X To exit the menu: briefly press the0038
button.
The multimedia system changes to the next
higher menu level in the current operating
mode.
X To call up the main menu: press the0038
button for longer than two seconds.
The multimedia system changes to the main
menu of the current operating mode. Operating system
265Multimedia system Z