Page 88 of 645

ANTI-THEFT ALARM - VEHICLES
WITH: INTERIOR SENSOR
Alarm System
Perimeter Alarm
The perimeter alarm is a deterrent againstunauthorized access to your vehicle throughthe doors and the hood.
Interior Sensors
Note:Do not cover up the interior lamp unitsensors.
The interior lamp unit sensors are in theoverhead console. The sensors act as adeterrent against unauthorized intrusion bysensing any movement inside your vehicle.
Inclination Sensors
When you lock your vehicle and arm thealarm, the sensors are designed to detectan attempt to raise your vehicle, for exampleto remove a wheel or to tow it away.
Alarm Settings
ALL SENSORS ACTIVE is the standardsetting. In this mode, the interior sensors areon when you arm the alarm.
In PERIMETER SENSING mode, the interiorsensors are off when you arm the alarm.
You can change the setting through theinformation display. See General Information(page 120).
Ask on Exit (If Equipped)
You can set the information display to askyou each time which level of guard you wishto set.
Triggering the Alarm
Once armed, the alarm triggers in any of thefollowing ways:
•If someone opens a door, the liftgate orthe hood without a valid key or remotecontrol.
•If you switch your vehicle on without acorrectly coded key.
•If the interior sensors detect movementwithin your vehicle.
If the alarm triggers, the alarm horn soundsfor 30 seconds and the hazard flashers turnon for five minutes.
Any further attempts to perform one of theabove triggers the alarm again.
Arming the Alarm
To arm the alarm, lock your vehicle. SeeDoors and Locks (page 72).
85
Navigator (TB9) Canada/United States of America, enUSA, Edition date: 201808, First-Printing
Security
Page 90 of 645

USING POWER RUNNING BOARDS
WARNING: In extreme climates,excessive ice buildup may occur, causingthe running boards not to deploy. Makesure that the running boards havedeployed, and have finished moving beforeattempting to step on them. The runningboards will resume normal function oncethe blockage is cleared.
WARNING: Switch off the runningboards before jacking or placing any objectunder your vehicle. Never place your handbetween the extended running board andyour vehicle. A moving running board maycause injury.
Note:Do not use the running boards, frontand rear hinge assemblies, running boardmotors, or the running board underbodymounts to lift your vehicle when jacking.Always use proper jacking points.
Note:The running boards may operate moreslowly in cool temperatures.
Note:The running board mechanism maytrap debris such as mud, dirt, snow, ice andsalt. This may cause unwanted noise. If thishappens, manually set the running boardsto the deployed position. Then, wash thesystem, in particular the front and rear hingearms, with a high-pressure car wash wand.
Automatic Power Deploy
The running boards automatically extenddown and out when you open the door. Thiscan help you enter and exit your vehicle.
For vehicles with intelligent access, theremote control determines your proximity tothe vehicle. As the remote control entersapproximately 8.9 ft (2.7 m) of the vehicle,some exterior lights illuminate and the powerrunning boards deploy automatically. Inaddition to deploying on both sides of thevehicle, there is illumination around thepower running boards. The deployment isconfigurable in the advanced settings of theinformation display. If the configuration isturned off, the power running boards do notautomatically deploy.
Note:Automatic power deploy approachdetection does not unlock or lock the vehicle.It also does not interfere with the alarmsystem.
Automatic Power Stow
When you close the doors, the runningboards return to the stowed position after atwo-second delay.
87
Navigator (TB9) Canada/United States of America, enUSA, Edition date: 201808, First-Printing
Power Running Boards (If Equipped)E166682
Page 91 of 645
Manual Power Deploy
You can manually operate the runningboards in the advanced settings of theinformation display. See GeneralInformation (page 120).
Set the running boards in the deployedposition to access the roof.
The running boards return to the stowedposition and enter automatic mode when thevehicle speed exceeds 5 mph (8 km/h).
Enabling and Disabling
You can enable and disable the powerrunning board feature in the advancedsettings of the information display. SeeGeneral Information (page 120).
•When disabled (OFF), the running boardsmove to the stowed position regardlessof the door position.
•When enabled (AUTO), the runningboards move back to the correctpositions based on the door position.
Bounce-back
The running board will reverse direction andmove to the end of travel if it encounters anobject while moving.
88
Navigator (TB9) Canada/United States of America, enUSA, Edition date: 201808, First-Printing
Power Running Boards (If Equipped)
Page 92 of 645

ADJUSTING THE STEERING WHEEL
WARNING: Do not adjust thesteering wheel when your vehicle ismoving.
Note: Make sure that you are sitting in thecorrect position. See Sitting in the CorrectPosition (page 158).
Use the control on the side of the steeringcolumn to adjust the position.
To adjust:
•Tilt: Press the top or bottom of thecontrol.
•Telescope: Press the front or rear of thecontrol.
End of Travel Position
The steering column sets a stopping positionjust short of the end of the column positionto prevent damage to the steering column. A new stopping position sets if the steeringcolumn encounters an object when tilting ortelescoping.
To reset the steering column to its normalstopping position:
1. Confirm there is nothing obstructing themotion of the steering column.
2. Press and hold the steering columncontrol until the steering column stopsmoving.
3.Press the steering column control again.
Note:The steering column may begin tomove again.
4. When the steering column stops,continue holding the control for a fewseconds.
5. Repeat for each direction as necessary.
A new stopping position sets. The next timeyou tilt or telescope the steering column, itstops just short of the end of the columnposition.
Memory Feature (If Equipped)
You can save and recall the steering columnposition with the memory function. SeeMemory Function (page 167).
Pressing the adjustment control during amemory recall cancels the operation.
Easy Entry and Exit Feature
The column moves up when you switch theignition off. Switch the ignition on to returnthe system to its previous settings. You canswitch this feature on or off in the informationdisplay. See Information Displays (page120).
89
Navigator (TB9) Canada/United States of America, enUSA, Edition date: 201808, First-Printing
Steering WheelE261582
Page 94 of 645
Type Two
See Using Adaptive Cruise Control (page256).
INFORMATION DISPLAY CONTROL
See Information Displays (page 120).
Note:The HUD button replaces the DISPbutton on vehicles that have a head updisplay (HUD).
Note:The NAV button is replaced with acompass button on vehicles withoutnavigation.
91
Navigator (TB9) Canada/United States of America, enUSA, Edition date: 201808, First-Printing
Steering WheelE223599 E221074 E221072
Page 97 of 645

AUTOWIPERS
Note:Fully defrost the windshield before youswitch the windshield wipers on.
Note:Make sure you switch the windshieldwipers off before entering a car wash.
Note: If streaks or smears appear on thewindshield, clean the windshield and thewiper blades. If that does not resolve theissue, install new wiper blades.
Note:If you switch autolamps andautowipers on, the headlamps automaticallyturn on when the windshield wiperscontinuously operate.
Wet or winter driving conditions with ice,snow or salty road mist can causeinconsistent and unexpected wiping orsmearing.
On.A
High sensitivity.B
Low sensitivity.C
Use the rotary control to adjust the sensitivityof the autowipers. When you select lowsensitivity, the wipers operate when thesensor detects a large amount of water onthe windshield. When you select highsensitivity, the wipers operate when thesensor detects a small amount of water onthe windshield.
Keep the outside of the windshield clean. The rain sensor is very sensitive and thewipers may operate if dirt, mist or insects hitthe windshield.
In these conditions, you can do the following:
•Lower the sensitivity of the autowipersto reduce the amount of smearing on thewindshield.
•Switch to normal or high-speed wipe.
•Switch autowipers off.
Autowipers Settings
Autowipers default to on and remain on untilyou switch them off in the informationdisplay. When you switch off autowipers, thewipers operate in intermittent mode. SeeGeneral Information (page 120).
Low Temperature Wipe Inhibit
The rain sensing feature will not operatewhen you place the vehicle in RUN position,the vehicle is stationary and the outsidetemperature is below 32°F (0°C). You canmanually switch on the wipers by adjustingthe rain sensor sensitivity or adjusting thewiper speed.
This prevents damage to the wipers from iceand snow on the windshield.
94
Navigator (TB9) Canada/United States of America, enUSA, Edition date: 201808, First-Printing
Wipers and WashersE247166
Page 98 of 645
WINDSHIELD WASHERS
Pull the lever toward you tooperate the windshield washers.
When you release the lever, the wipersoperate for a short time. When activated, acourtesy wipe occurs a short time after thewipers stop to clear any remaining washerfluid.
Note:You can switch courtesy wipe on oroff in the information display. SeeInformation Messages (page 125).
Note: Do not operate the washers when thewasher reservoir is empty. This could causethe washer pump to overheat.
Front Camera Washer (If Equipped)
Operating the windshield washer also turnson the front camera washer.
REAR WINDOW WIPER AND
WASHERS
Rear Window Wiper
Intermittent wipe.A
Continuous wipe.B
Rear window wiper off.C
Depending on your vehicle, when you switchon the front wipers and move the gearshiftlever to reverse (R), the rear intermittent wipemay turn on.
95
Navigator (TB9) Canada/United States of America, enUSA, Edition date: 201808, First-Printing
Wipers and WashersE269412 E270967 E242324
C
Page 101 of 645

Headlamp High Beam
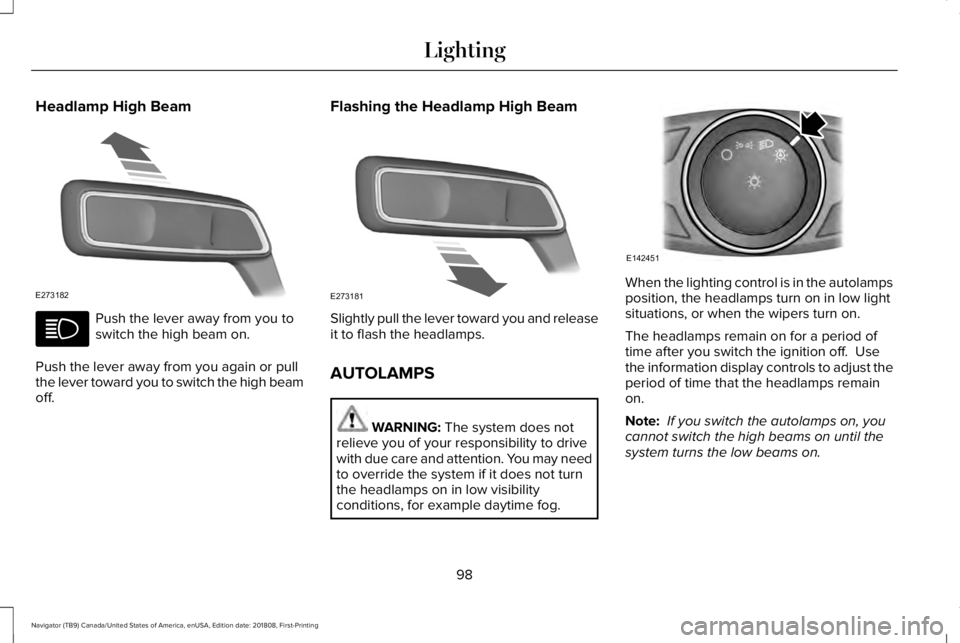
Push the lever away from you toswitch the high beam on.
Push the lever away from you again or pullthe lever toward you to switch the high beamoff.
Flashing the Headlamp High Beam
Slightly pull the lever toward you and releaseit to flash the headlamps.
AUTOLAMPS
WARNING: The system does notrelieve you of your responsibility to drivewith due care and attention. You may needto override the system if it does not turnthe headlamps on in low visibilityconditions, for example daytime fog.
When the lighting control is in the autolampsposition, the headlamps turn on in low lightsituations, or when the wipers turn on.
The headlamps remain on for a period oftime after you switch the ignition off. Usethe information display controls to adjust theperiod of time that the headlamps remainon.
Note: If you switch the autolamps on, youcannot switch the high beams on until thesystem turns the low beams on.
98
Navigator (TB9) Canada/United States of America, enUSA, Edition date: 201808, First-Printing
LightingE273182 E273181 E142451