2019 LINCOLN CONTINENTAL wheel
[x] Cancel search: wheelPage 277 of 627
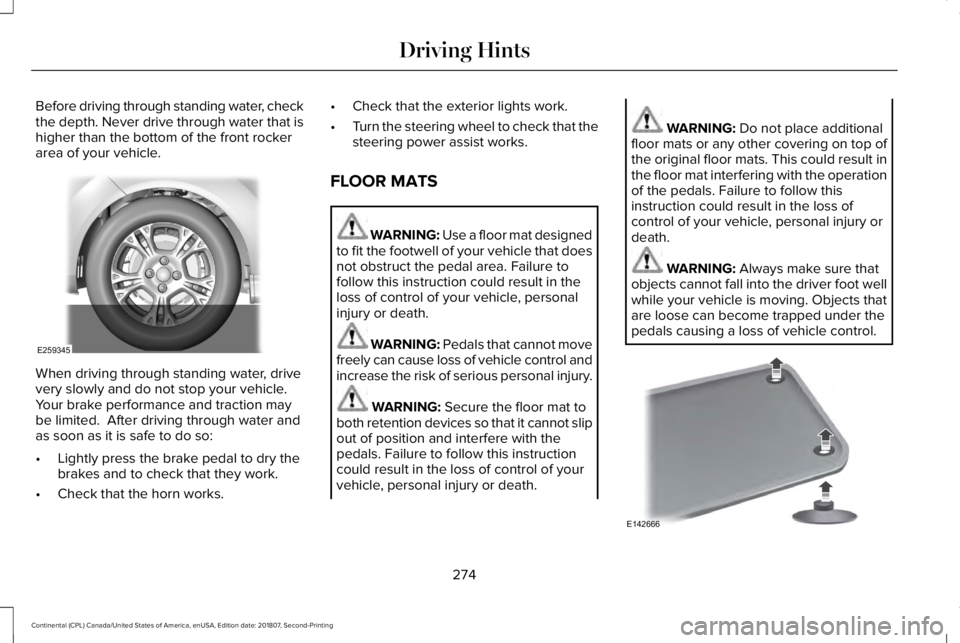
Before driving through standing water, check
the depth. Never drive through water that is
higher than the bottom of the front rocker
area of your vehicle.
When driving through standing water, drive
very slowly and do not stop your vehicle.
Your brake performance and traction may
be limited. After driving through water and
as soon as it is safe to do so:
•
Lightly press the brake pedal to dry the
brakes and to check that they work.
• Check that the horn works. •
Check that the exterior lights work.
• Turn the steering wheel to check that the
steering power assist works.
FLOOR MATS WARNING: Use a floor mat designed
to fit the footwell of your vehicle that does
not obstruct the pedal area. Failure to
follow this instruction could result in the
loss of control of your vehicle, personal
injury or death. WARNING: Pedals that cannot move
freely can cause loss of vehicle control and
increase the risk of serious personal injury. WARNING:
Secure the floor mat to
both retention devices so that it cannot slip
out of position and interfere with the
pedals. Failure to follow this instruction
could result in the loss of control of your
vehicle, personal injury or death. WARNING:
Do not place additional
floor mats or any other covering on top of
the original floor mats. This could result in
the floor mat interfering with the operation
of the pedals. Failure to follow this
instruction could result in the loss of
control of your vehicle, personal injury or
death. WARNING:
Always make sure that
objects cannot fall into the driver foot well
while your vehicle is moving. Objects that
are loose can become trapped under the
pedals causing a loss of vehicle control. 274
Continental (CPL) Canada/United States of America, enUSA, Edition date: 201807, Second-Printing Driving HintsE259345 E142666
Page 285 of 627
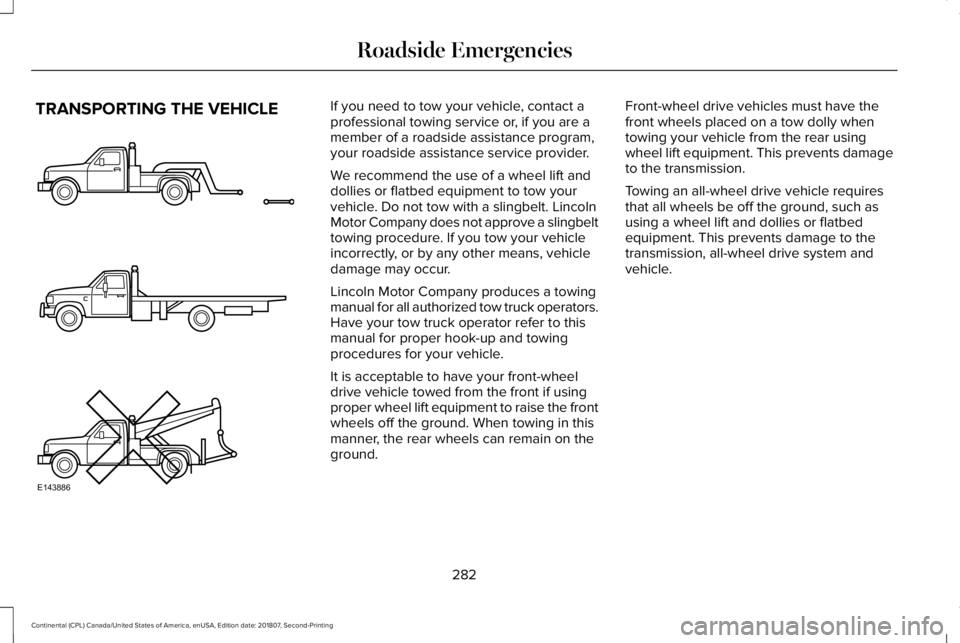
TRANSPORTING THE VEHICLE If you need to tow your vehicle, contact a
professional towing service or, if you are a
member of a roadside assistance program,
your roadside assistance service provider.
We recommend the use of a wheel lift and
dollies or flatbed equipment to tow your
vehicle. Do not tow with a slingbelt. Lincoln
Motor Company does not approve a slingbelt
towing procedure. If you tow your vehicle
incorrectly, or by any other means, vehicle
damage may occur.
Lincoln Motor Company produces a towing
manual for all authorized tow truck operators.
Have your tow truck operator refer to this
manual for proper hook-up and towing
procedures for your vehicle.
It is acceptable to have your front-wheel
drive vehicle towed from the front if using
proper wheel lift equipment to raise the front
wheels off the ground. When towing in this
manner, the rear wheels can remain on the
ground.
Front-wheel drive vehicles must have the
front wheels placed on a tow dolly when
towing your vehicle from the rear using
wheel lift equipment. This prevents damage
to the transmission.
Towing an all-wheel drive vehicle requires
that all wheels be off the ground, such as
using a wheel lift and dollies or flatbed
equipment. This prevents damage to the
transmission, all-wheel drive system and
vehicle.
282
Continental (CPL) Canada/United States of America, enUSA, Edition date: 201807, Second-Printing Roadside EmergenciesE143886
Page 297 of 627

Protected Component
Fuse Rating
Fuse or Relay Number
Powertrain control module power.
20A 1
01
Engine emissions (malfunction indicator lamp).
20A 1
02
A/C clutch control relay coil.
20A 1
03
Ventilation and climate control (VACC).
Active grille shutters.
Cooling fan relays.
All-wheel drive module (2.7L and 3.7L
engines).
Ignition coils.
20A 1
04
Not used.
—
05
Fuel injectors (3.7L engine).
15A 1
06
Rear recline relay box.
5A 1
07
Not used.
—
08
Not used.
—
09
Not used (spare).
10A 1
10
Torque vectoring relay (3.0L engine).
—
11
294
Continental (CPL) Canada/United States of America, enUSA, Edition date: 201807, Second-Printing Fuses
Page 309 of 627
Protected Component
Fuse Rating
Fuse or Relay Number
SYNC.
10A 1
32
Radio frequency receiver.
20A 1
33
Rear Seat Entertainment.
Run/start relay.
30A 1
34
Restraint control module.
5A 1
35
Lane keeping system module.
15A 1
36
Auto high beam.
Electrochromic mirrors.
Rear heated seats.
Vehicle dynamics module.
Heated steering wheel.
20A 1
37
Steering effort control module.
Steering angle control module.
Not used.
30A 3
38
1 Micro fuse.
2 Dual micro fuse.
3 Circuit breaker.
Note: Spare fuse amperage could vary.
306
Continental (CPL) Canada/United States of America, enUSA, Edition date: 201807, Second-Printing Fuses
Page 313 of 627
GENERAL INFORMATION
Have your vehicle serviced regularly to help
maintain its roadworthiness and resale value.
There is a large network of authorized
dealers that are there to help you with their
professional servicing expertise. We believe
that their specially trained technicians are
best qualified to service your vehicle properly
and expertly. They are supported by a wide
range of highly specialized tools developed
specifically for servicing your vehicle.
If your vehicle requires professional service,
an authorized dealer can provide the
necessary parts and service. Check your
warranty information to find out which parts
and services are covered.
Use only recommended fuels, lubricants,
fluids and service parts conforming to
specifications. Motorcraft® parts are
designed and built to provide the best
performance in your vehicle.
Precautions
•
Do not work on a hot engine.
• Make sure that nothing gets caught in
moving parts.
• Do not work on a vehicle with the engine
running in an enclosed space, unless you
are sure you have enough ventilation.
• Keep all open flames and other burning
material (such as cigarettes) away from
the battery and all fuel related parts.
Working with the Engine Off
1. Set the parking brake and shift the transmission to park (P).
2. Switch off the engine.
3. Block the wheels.
Working with the Engine On WARNING: To reduce the risk of
vehicle damage and personal burn injuries,
do not start your engine with the air
cleaner removed and do not remove it
while the engine is running. 1. Set the parking brake and shift the
transmission to park (P).
2. Block the wheels.
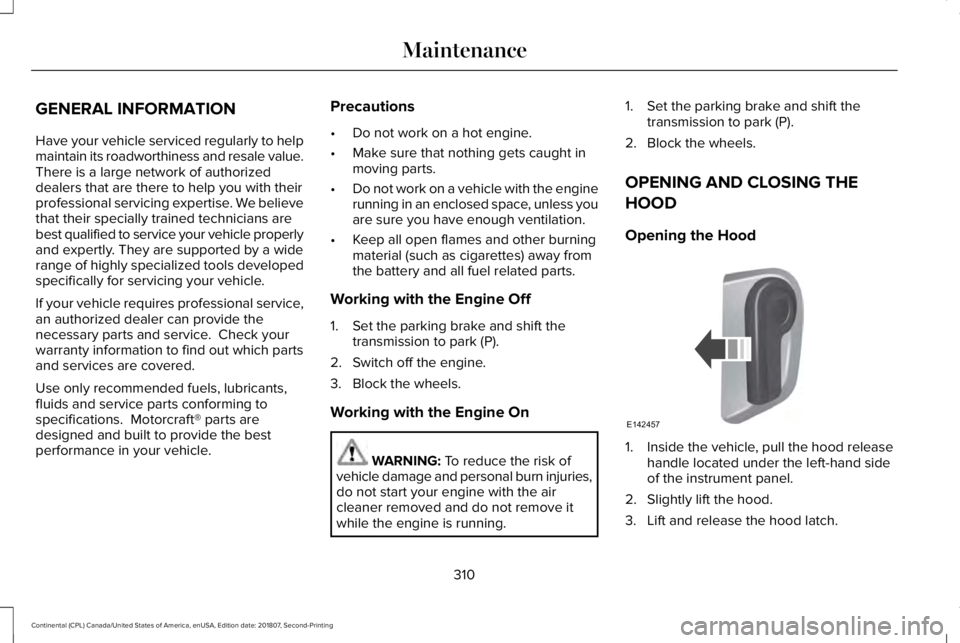
OPENING AND CLOSING THE
HOOD
Opening the Hood 1. Inside the vehicle, pull the hood release
handle located under the left-hand side
of the instrument panel.
2. Slightly lift the hood.
3. Lift and release the hood latch.
310
Continental (CPL) Canada/United States of America, enUSA, Edition date: 201807, Second-Printing MaintenanceE142457
Page 320 of 627

Note:
Do not remove the dipstick when the
engine is running.
Note: If the oil level is between the
maximum and minimum marks, the oil level
is acceptable. Do not add oil.
Note: The oil consumption of new engines
reaches its normal level after approximately
3,000 mi (5,000 km).
Adding Engine Oil WARNING:
Do not remove the filler
cap when the engine is running.
Do not use supplemental engine oil additives
because they are unnecessary and could
lead to engine damage that may not be
covered by the vehicle Warranty. Only use oils certified for gasoline engines
by the American Petroleum Institute (API).
An oil with this trademark symbol conforms
to the current engine and emission system
protection standards and fuel economy
requirements of the International Lubricants
Specification Advisory Committee (ILSAC).
To top up the engine oil level do the
following:
1. Clean the area surrounding the engine
oil filler cap before you remove it.
2. Remove the engine oil filler cap.
See
Under Hood Overview (page 314). Turn
it counterclockwise and remove it. 3. Add engine oil that meets our
specifications.
See Capacities and
Specifications (page 382). You may have
to use a funnel to pour the engine oil into
the opening.
4. Recheck the oil level.
5. If the oil level is correct, replace the dipstick and make sure it is fully seated.
6. Replace the engine oil filler cap. Turn it clockwise until you feel a strong
resistance.
Note: Do not add oil further than the
maximum mark. Oil levels above the
maximum mark may cause engine damage.
Note: Make sure you install the oil filler cap
correctly.
Note: Soak up any spillage with an
absorbent cloth immediately.
OIL CHANGE INDICATOR RESET
Use the information display controls on the
steering wheel to reset the oil change
indicator.
317
Continental (CPL) Canada/United States of America, enUSA, Edition date: 201807, Second-Printing MaintenanceE142732
Page 336 of 627
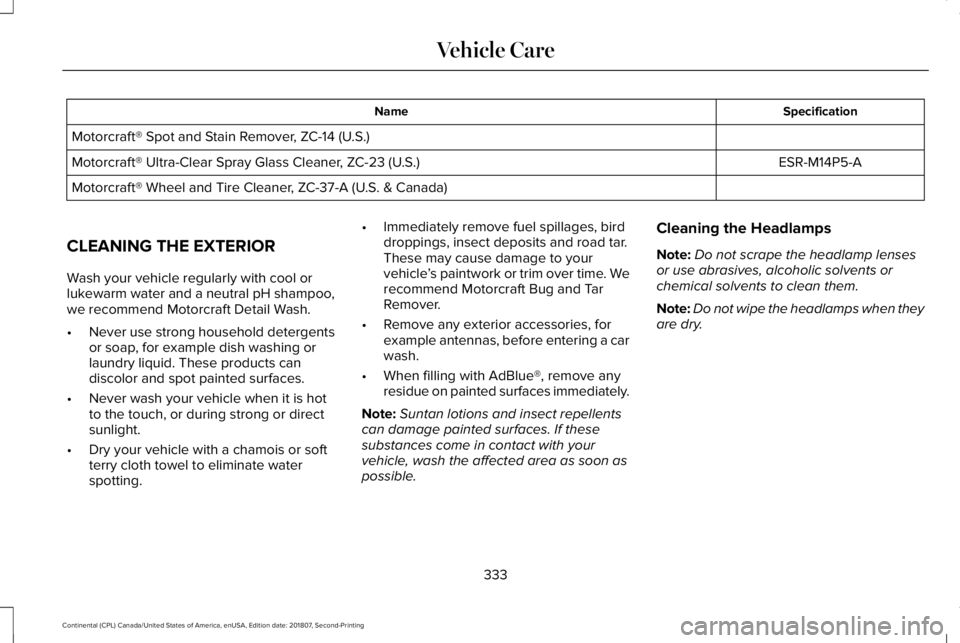
Specification
Name
Motorcraft® Spot and Stain Remover, ZC-14 (U.S.) ESR-M14P5-A
Motorcraft® Ultra-Clear Spray Glass Cleaner, ZC-23 (U.S.)
Motorcraft® Wheel and Tire Cleaner, ZC-37-A (U.S. & Canada)
CLEANING THE EXTERIOR
Wash your vehicle regularly with cool or
lukewarm water and a neutral pH shampoo,
we recommend Motorcraft Detail Wash.
• Never use strong household detergents
or soap, for example dish washing or
laundry liquid. These products can
discolor and spot painted surfaces.
• Never wash your vehicle when it is hot
to the touch, or during strong or direct
sunlight.
• Dry your vehicle with a chamois or soft
terry cloth towel to eliminate water
spotting. •
Immediately remove fuel spillages, bird
droppings, insect deposits and road tar.
These may cause damage to your
vehicle ’s paintwork or trim over time. We
recommend Motorcraft Bug and Tar
Remover.
• Remove any exterior accessories, for
example antennas, before entering a car
wash.
• When filling with AdBlue®, remove any
residue on painted surfaces immediately.
Note: Suntan lotions and insect repellents
can damage painted surfaces. If these
substances come in contact with your
vehicle, wash the affected area as soon as
possible. Cleaning the Headlamps
Note:
Do not scrape the headlamp lenses
or use abrasives, alcoholic solvents or
chemical solvents to clean them.
Note: Do not wipe the headlamps when they
are dry.
333
Continental (CPL) Canada/United States of America, enUSA, Edition date: 201807, Second-Printing Vehicle Care
Page 337 of 627
Exterior Chrome Parts
•
Apply a high quality-cleaning product to
bumpers and other chrome parts. Follow
the manufacturer’ s instructions. We
recommend Motorcraft Custom Bright
Metal Cleaner.
• Do not apply the cleaning product to hot
surfaces. Do not leave the cleaning
product on chrome surfaces longer than
the time recommended.
• Using non-recommended cleaners can
result in severe and permanent cosmetic
damage.
Note: Never use abrasive materials, for
example steel wool or plastic pads as they
can scratch the chrome surface.
Note: Do not use chrome cleaner, metal
cleaner or polish on wheels or wheel covers.
Exterior Plastic Parts
For routine cleaning we recommend
Motorcraft Detail Wash. If tar or grease spots
are present, we recommend Motorcraft Bug
and Tar Remover. Stripes or Graphics (If Equipped)
Hand washing your vehicle is preferred
however, pressure washing may be used
under the following conditions:
• Do not use water pressure higher than
2,000 psi (14,000 kPa)
.
• Do not use water hotter than 179°F (82°C).
• Use a spray with a 40° wide spray angle
pattern.
• Keep the nozzle at a
12 in (305 mm)
distance and 90° angle to your vehicle's
surface.
Note: Holding the pressure washer nozzle
at an angle to the vehicle's surface may
damage graphics and cause the edges to
peel away from the vehicle's surface.
Underbody
Regularly clean the underside of your vehicle
using water. Keep body and door drain holes
free of debris or foreign material. Under Hood
For removing black rubber marks from under
the hood we recommend Motorcraft Wheel
and Tire Cleaner or Motorcraft Bug and Tar
Remover.
WAXING
Regular waxing is necessary to protect your
car's paint from the elements. We
recommend that you wash and wax the
painted surface once or twice a year.
When washing and waxing, park your vehicle
in a shaded area out of direct sunlight.
Always wash your vehicle before applying
wax.
•
Use a quality wax that does not contain
abrasives.
• Follow the manufacturer’ s instructions to
apply and remove the wax.
• Apply a small amount of wax in a
back-and-forth motion, not in circles.
334
Continental (CPL) Canada/United States of America, enUSA, Edition date: 201807, Second-Printing Vehicle Care