2019 LEXUS UX200 ESP
[x] Cancel search: ESPPage 384 of 452

3847-2. Steps to take in an emergency
6Open and close any of the doors of
your vehicle with the engine switch
OFF.
7 Maintain the engine speed of the
second vehicle and start the engine
of your vehicle by turning the
engine switch to ON.
8 Once the vehicle’s engine has
started, remove the jumper cables
in the exact reverse order from
which they were connected.
Once the engine starts, have the vehi-
cle inspected at your Lexus dealer as
soon as possible.■Starting the engine when the battery is
discharged
The engine cannot be started by push-start-
ing.
■To prevent battery discharge
●Turn off the headlights, the air condition-
ing system, the audio system, etc. while
the engine is off.
●Turn off any unnecessary electrical com-
ponents when the vehicle is running at a
low speed for an extended period, such
as in heavy traffic.
■Charging the battery
The electricity stored in the battery will dis-
charge gradually even when the vehicle is
not in use, due to natural discharge and the
draining effects of certain electrical appli-
ances. If the vehicle is left for a long time,
the battery may discharge, and the engine
may be unable to start. (The battery
recharges automatically during driving.)
■When the battery is removed or dis-
charged
●Information stored in the ECU is cleared.
When the battery is depleted, have the
vehicle inspected at your Lexus dealer.
●In some cases, it may not be possible to
unlock the doors using the smart access
system with push-button start when the
battery is discharged. Use the wireless
remote control or the mechanical key to
lock or unlock the doors.
●The engine may not start on the first
attempt after the battery has recharged
but will start normally after the second
attempt. This is not a malfunction.
●The engine switch mode is memorized by
the vehicle. When the battery is recon-
nected, the system will return to the
mode it was in before the battery was dis-
charged. Before disconnecting the bat-
tery, turn the engine switch off.
If you are unsure wh at mode the engine
switch was in before the battery dis-
charged, be especially careful when
reconnecting the battery.
●The power back door must be initialized.
( P.109)
Page 387 of 452

3877-2. Steps to take in an emergency
7
When trouble arises
coolant is unavailable.
6Start the engine and turn the air
conditioning system on to check
that the radiator cooling fan oper-
ates and to check for coolant leaks
from the radiator or hoses.
The fan operates when the air conditioning
system is turned on immediately after a
cold start. Confirm that the fan is operating
by checking the fan sound and air flow. If it
is difficult to check these, turn the air con-
ditioning system on and off repeatedly.
(The fan may not operate in freezing tem-
peratures.)
7If the fan is not operating:
Stop the engine immediately and
contact your Lexus dealer.
If the fan is operating:
Have the vehicle inspected at the
nearest Lexus dealer.
8
Check if “Engine Coolant Temp
High Stop in a Safe Place See
Owner’s Manual” is shown on the
multi-information display.
If the message does not disappear:
Stop the engine and contact your
Lexus dealer.
If the message is not displayed:
Have the vehicle inspected at the
nearest Lexus dealer.
WARNING
■To prevent an accident or injury when
inspecting under the hood of your
vehicle
Observe the following precautions.
Failure to do so may result in serious
injury such as burns.
●If steam is seen coming from under the
hood, do not open the hood until the
steam has subsided. The engine com-
partment may be very hot.
●Keep hands and clothing (especially a
tie, a scarf or a muffler) away from the
fan and belts. Failure to do so may
cause the hands or clothing to be
caught, resulting in serious injury.
●Do not loosen the coolant reservoir
cap while the engine and radiator are
hot.
High temperature steam or coolant
could spray out.
NOTICE
■When adding engine coolant
Add coolant slowly after the engine has
cooled down sufficiently. Adding cool
coolant to a hot engine too quickly can
cause damage to the engine.
■To prevent damage to the cooling sys-
tem
Observe the following precautions:
●Avoid contaminating the coolant with
foreign matter (such as sand or dust,
etc.).
●Do not use any coolant additive.
Page 403 of 452

4038-1. Specifications
8
Vehicle specifications
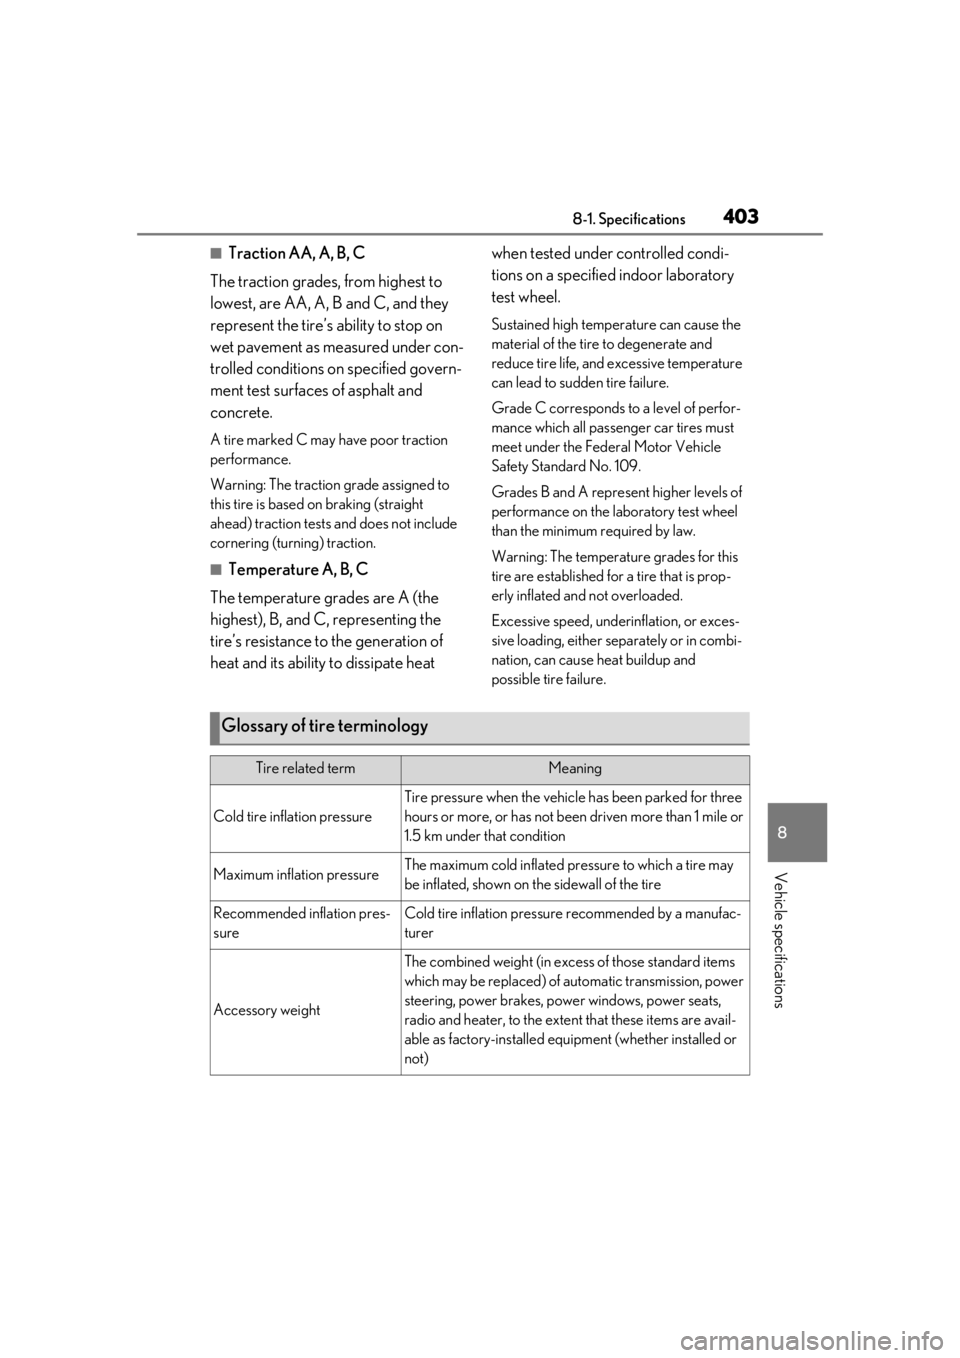
■Traction AA, A, B, C
The traction grades, from highest to
lowest, are AA, A, B and C, and they
represent the tire’s ability to stop on
wet pavement as measured under con-
trolled conditions on specified govern-
ment test surfaces of asphalt and
concrete.
A tire marked C may have poor traction
performance.
Warning: The traction grade assigned to
this tire is based on braking (straight
ahead) traction tests and does not include
cornering (turning) traction.
■Temperature A, B, C
The temperature grades are A (the
highest), B, and C, representing the
tire’s resistance to the generation of
heat and its ability to dissipate heat when tested under controlled condi-
tions on a specified indoor laboratory
test wheel.
Sustained high temperature can cause the
material of the tire to degenerate and
reduce tire life, and excessive temperature
can lead to sudd
en tire failure.
Grade C corresponds to a level of perfor-
mance which all passenger car tires must
meet under the Fede ral Motor Vehicle
Safety Standard No. 109.
Grades B and A represent higher levels of
performance on the laboratory test wheel
than the minimum required by law.
Warning: The temperature grades for this
tire are established for a tire that is prop-
erly inflated and not overloaded.
Excessive speed, unde rinflation, or exces-
sive loading, either separately or in combi-
nation, can cause heat buildup and
possible tire failure.
Glossary of tire terminology
Tire related termMeaning
Cold tire inflation pressure
Tire pressure when the vehicle has been parked for three
hours or more, or has not been driven more than 1 mile or
1.5 km under that condition
Maximum inflation pressureThe maximum cold inflated pressure to which a tire may
be inflated, shown on the sidewall of the tire
Recommended inflation pres-
sureCold tire inflation pressure recommended by a manufac-
turer
Accessory weight
The combined weight (in excess of those standard items
which may be replaced) of automatic transmission, power
steering, power brakes, powe r windows, power seats,
radio and heater, to the extent that these items are avail-
able as factory-installed equi pment (whether installed or
not)
Page 405 of 452

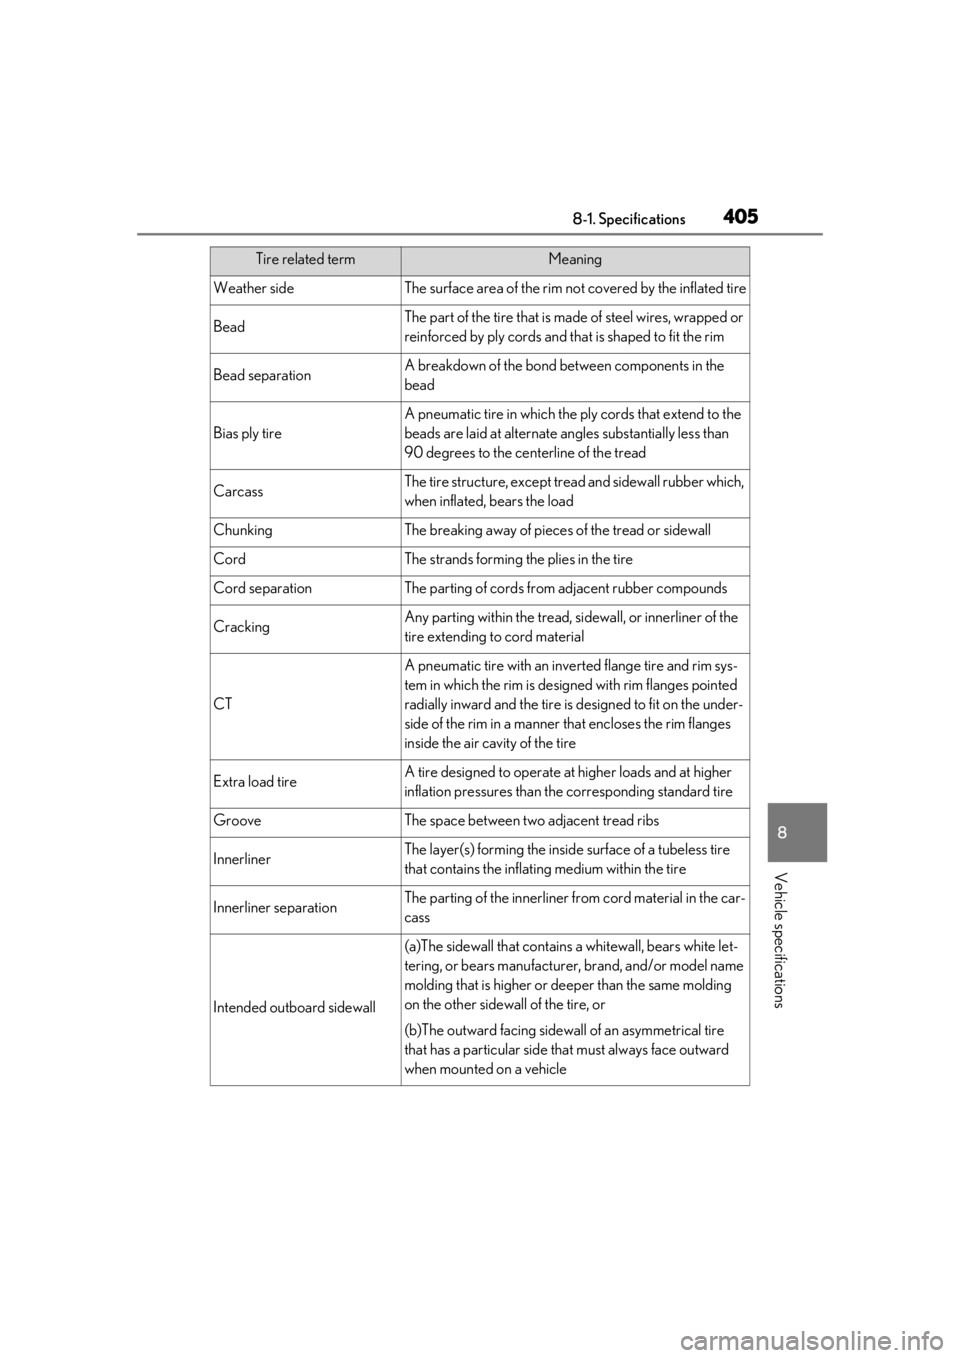
4058-1. Specifications
8
Vehicle specifications
Weather sideThe surface area of the rim not covered by the inflated tire
BeadThe part of the tire that is made of steel wires, wrapped or
reinforced by ply cords and th at is shaped to fit the rim
Bead separationA breakdown of the bond between components in the
bead
Bias ply tire
A pneumatic tire in which the ply cords that extend to the
beads are laid at alternate angles substantially less than
90 degrees to the centerline of the tread
CarcassThe tire structure, except tread and sidewall rubber which,
when inflated, bears the load
ChunkingThe breaking away of pieces of the tread or sidewall
CordThe strands forming the plies in the tire
Cord separationThe parting of cords from adjacent rubber compounds
CrackingAny parting within the tread, si dewall, or innerliner of the
tire extending to cord material
CT
A pneumatic tire with an inverted flange tire and rim sys-
tem in which the rim is designed with rim flanges pointed
radially inward and the tire is designed to fit on the under-
side of the rim in a manner that encloses the rim flanges
inside the air cavity of the tire
Extra load tireA tire designed to operate at higher loads and at higher
inflation pressures than the corresponding standard tire
GrooveThe space between two adjacent tread ribs
InnerlinerThe layer(s) forming the inside surface of a tubeless tire
that contains the inflating medium within the tire
Innerliner separationThe parting of the innerliner fr om cord material in the car-
cass
Intended outboard sidewall
(a)The sidewall that contains a whitewall, bears white let-
tering, or bears manufacturer, brand, and/or model name
molding that is higher or de eper than the same molding
on the other sidewall of the tire, or
(b)The outward facing sidewall of an asymmetrical tire
that has a particular side that must always face outward
when mounted on a vehicle
Tire related termMeaning
Page 406 of 452

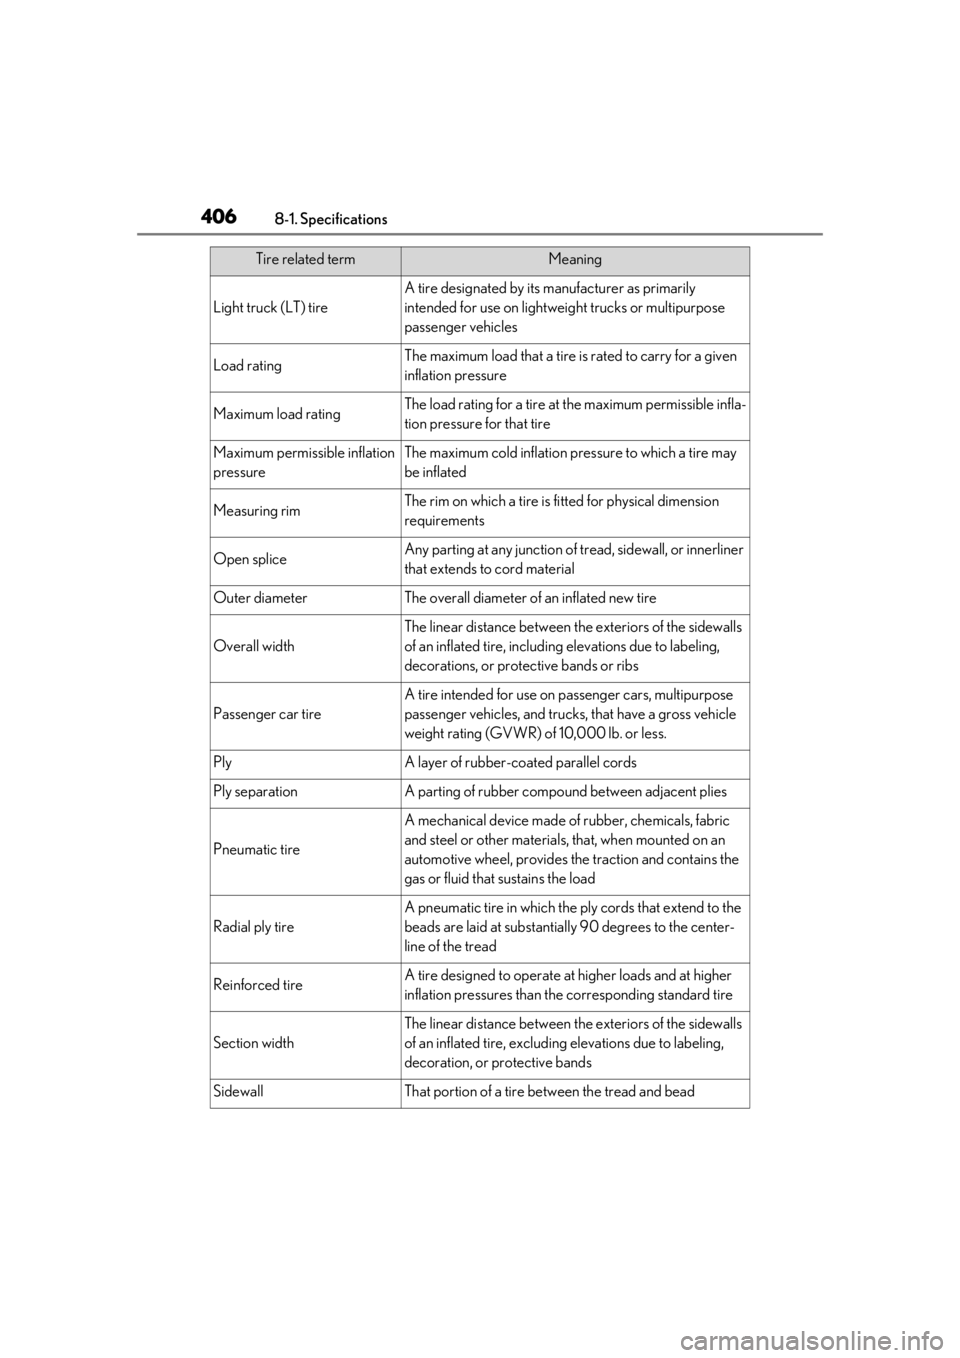
4068-1. Specifications
Light truck (LT) tire
A tire designated by its manufacturer as primarily
intended for use on lightweight trucks or multipurpose
passenger vehicles
Load ratingThe maximum load that a tire is rated to carry for a given
inflation pressure
Maximum load ratingThe load rating for a tire at the maximum permissible infla-
tion pressure for that tire
Maximum permissible inflation
pressureThe maximum cold inflation pressure to which a tire may
be inflated
Measuring rimThe rim on which a tire is fi tted for physical dimension
requirements
Open spliceAny parting at any junction of tread, sidewall, or innerliner
that extends to cord material
Outer diameterThe overall diameter of an inflated new tire
Overall width
The linear distance between the exteriors of the sidewalls
of an inflated tire, including elevations due to labeling,
decorations, or protective bands or ribs
Passenger car tire
A tire intended for use on passenger cars, multipurpose
passenger vehicles, and trucks, that have a gross vehicle
weight rating (GVWR) of 10,000 lb. or less.
PlyA layer of rubber-coated parallel cords
Ply separationA parting of rubber compou nd between adjacent plies
Pneumatic tire
A mechanical device made of rubber, chemicals, fabric
and steel or other materials, that, when mounted on an
automotive wheel, provides the traction and contains the
gas or fluid that sustains the load
Radial ply tire
A pneumatic tire in which the ply cords that extend to the
beads are laid at substantially 90 degrees to the center-
line of the tread
Reinforced tireA tire designed to operate at higher loads and at higher
inflation pressures than the corresponding standard tire
Section width
The linear distance between the exteriors of the sidewalls
of an inflated tire, excludin g elevations due to labeling,
decoration, or protective bands
SidewallThat portion of a tire between the tread and bead
Tire related termMeaning
Page 429 of 452

4299-1. For owners
9
For owners
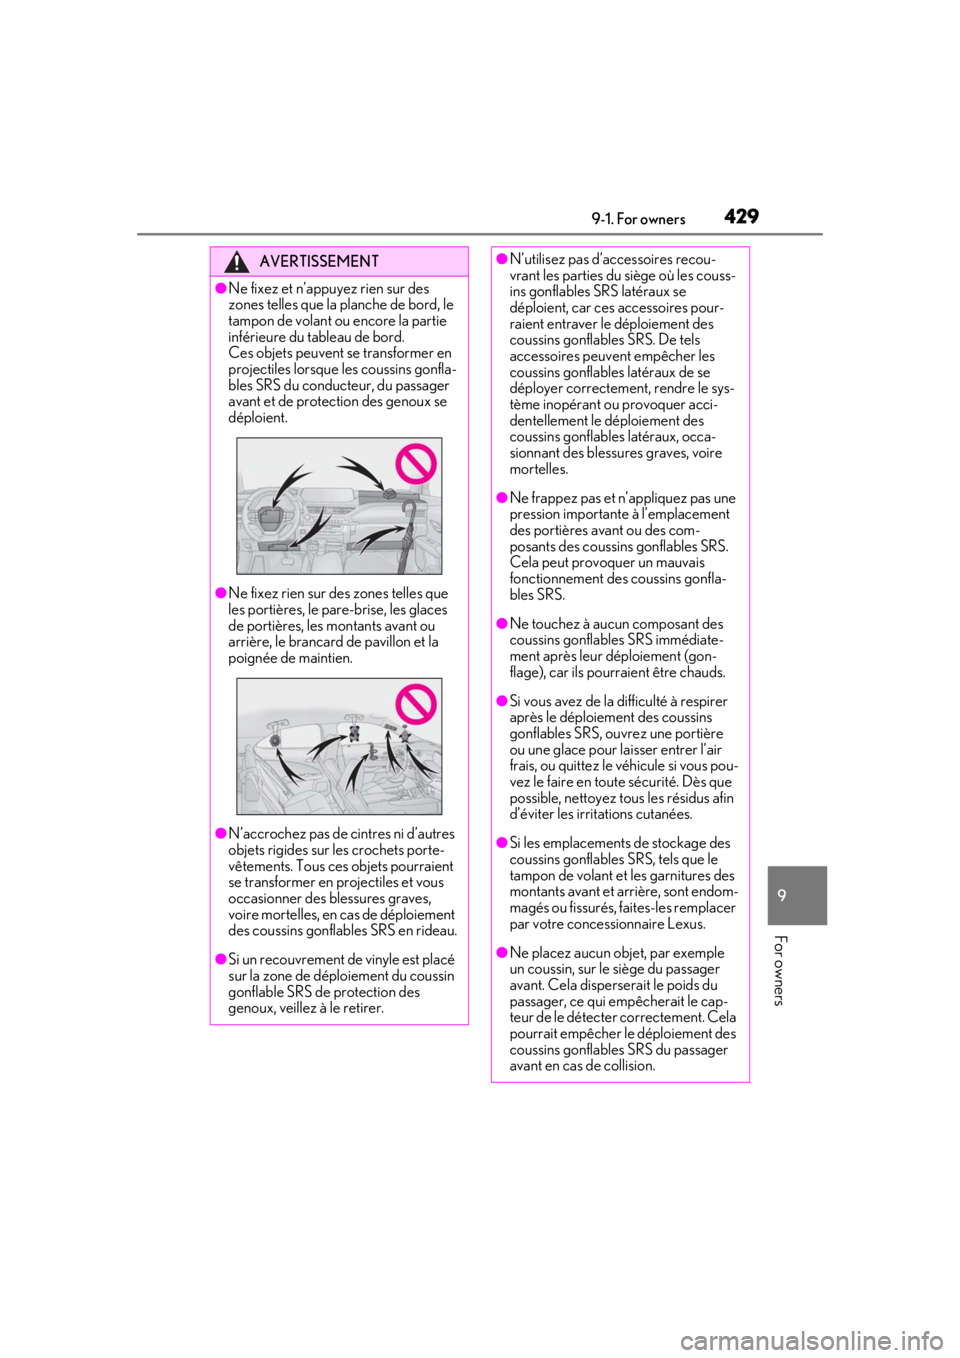
AVERTISSEMENT
●Ne fixez et n’appuyez rien sur des
zones telles que la planche de bord, le
tampon de volant ou encore la partie
inférieure du tableau de bord.
Ces objets peuvent se transformer en
projectiles lorsque les coussins gonfla-
bles SRS du conducteur, du passager
avant et de protection des genoux se
déploient.
●Ne fixez rien sur des zones telles que
les portières, le pare-brise, les glaces
de portières, les montants avant ou
arrière, le brancard de pavillon et la
poignée de maintien.
●N’accrochez pas de cintres ni d’autres
objets rigides sur les crochets porte-
vêtements. Tous ces objets pourraient
se transformer en projectiles et vous
occasionner des blessures graves,
voire mortelles, en cas de déploiement
des coussins gonflables SRS en rideau.
●Si un recouvrement de vinyle est placé
sur la zone de déploiement du coussin
gonflable SRS de protection des
genoux, veillez à le retirer.
●N’utilisez pas d’accessoires recou-
vrant les parties du siège où les couss-
ins gonflables SRS latéraux se
déploient, car ces accessoires pour-
raient entraver le déploiement des
coussins gonflables SRS. De tels
accessoires peuvent empêcher les
coussins gonflables latéraux de se
déployer correctement, rendre le sys-
tème inopérant ou provoquer acci-
dentellement le déploiement des
coussins gonflables latéraux, occa-
sionnant des blessures graves, voire
mortelles.
●Ne frappez pas et n’appliquez pas une
pression importante à l’emplacement
des portières avant ou des com-
posants des coussins gonflables SRS.
Cela peut provoquer un mauvais
fonctionnement des coussins gonfla-
bles SRS.
●Ne touchez à aucun composant des
coussins gonflables SRS immédiate-
ment après leur déploiement (gon-
flage), car ils pourraient être chauds.
●Si vous avez de la difficulté à respirer
après le déploiement des coussins
gonflables SRS, ouvrez une portière
ou une glace pour laisser entrer l’air
frais, ou quittez le véhicule si vous pou-
vez le faire en toute sécurité. Dès que
possible, nettoyez tous les résidus afin
d’éviter les irritations cutanées.
●Si les emplacements de stockage des
coussins gonflables SRS, tels que le
tampon de volant et les garnitures des
montants avant et arrière, sont endom-
magés ou fissurés, faites-les remplacer
par votre concessionnaire Lexus.
●Ne placez aucun objet, par exemple
un coussin, sur le siège du passager
avant. Cela disperse rait le poids du
passager, ce qui empêcherait le cap-
teur de le détecter correctement. Cela
pourrait empêcher le déploiement des
coussins gonflables SRS du passager
avant en cas de collision.