2019 LEXUS RC300 display
[x] Cancel search: displayPage 226 of 390

2265-5. Using the other interior features
RC350AWD_RC350_RC300AWD_RC30
0_OM_(U)_1810
The indicators can operate within
approximately 820 ft. (250 m) of the
garage door. However, if there are
obstructions between the garage door
and the vehicle, such as houses and
trees, feedback signals from the
garage door may not be received.
To recall the previous door operation
status, press and release either Home-
Link
® buttons and or and simultaneously. The
last recorded status will be displayed
for 3 seconds.
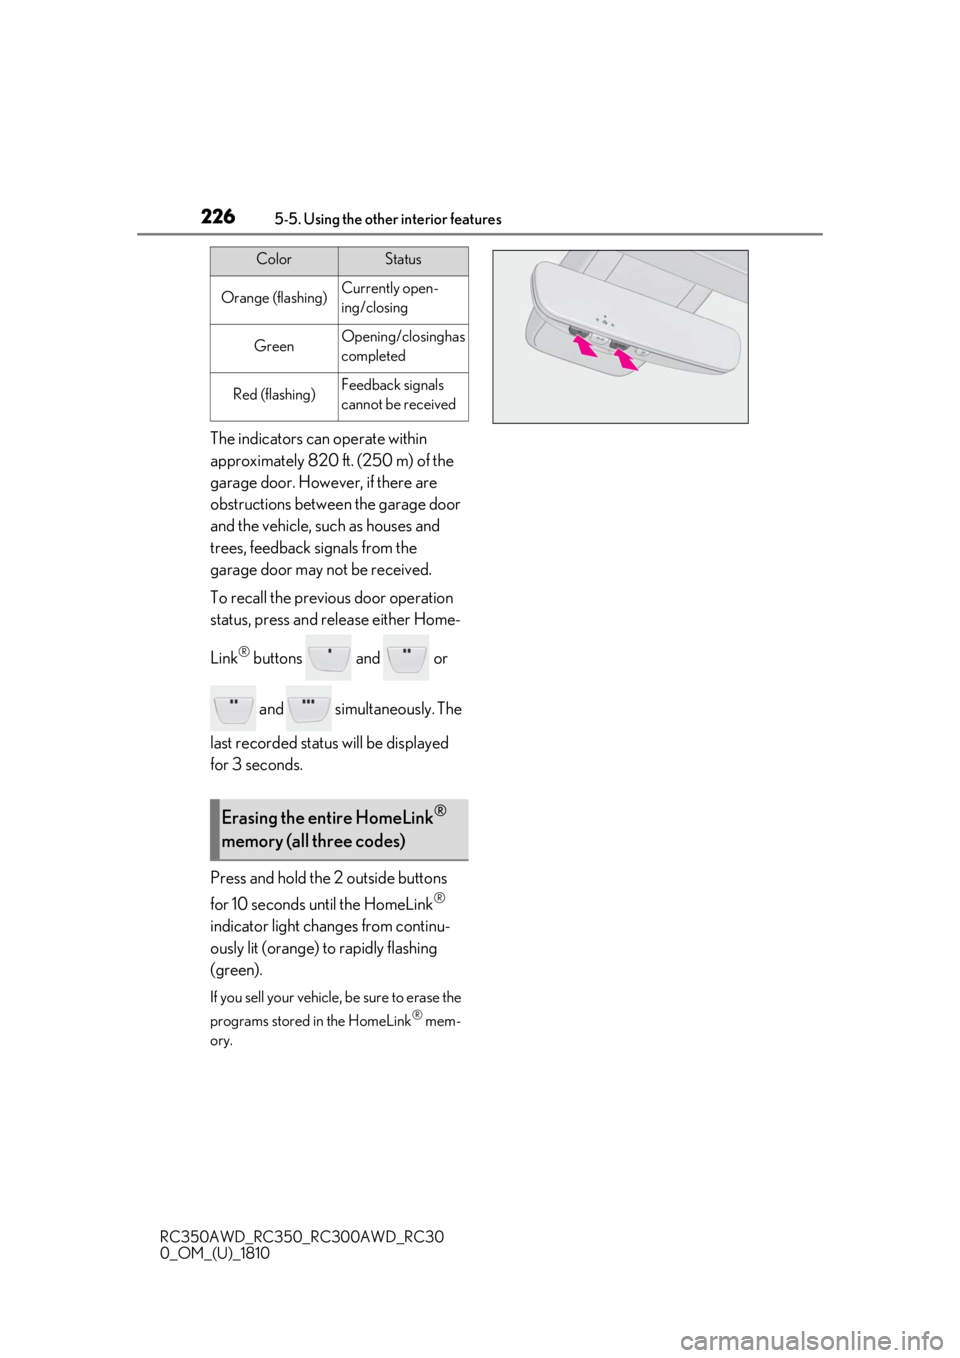
Press and hold the 2 outside buttons
for 10 seconds until the HomeLink
®
indicator light changes from continu-
ously lit (orange) to rapidly flashing
(green).
If you sell your vehicle, be sure to erase the
programs stored in the HomeLink
® mem-
ory.
ColorStatus
Orange (flashing)Currently open-
ing/closing
GreenOpening/closing has
completed
Red (flashing)Feedback signals
cannot be received
Erasing the entire HomeLink®
memory (all three codes)
Page 227 of 390

2275-5. Using the other interior features
RC350AWD_RC350_RC300AWD_RC30
0_OM_(U)_1810
5
Interior features
*: If equipped
To turn the compass on or off, press
and hold the switch for 3 seconds.
Directions are displayed as follows:
■Conditions unfavo rable to correct
operation
The compass may not show the correct
direction in the following conditions:
●The vehicle is stopped immediately after
turning.
●The vehicle is on an inclined surface.
●The vehicle is in a place where the earth's
magnetic field is subject to interference
by artificial magnetic fields (under-
ground car park/parking lot, under a
steel tower, between buildings, roof car
park/parking lot, near an intersection,
near a large vehicle, etc.).
●The vehicle has become magnetized.
(There is a magnet or metal object near
the inside rear view mirror.)
●The battery has been disconnected.
●A door is open.
Compass*
The compass on the inside rear
view mirror indicates the direction
in which the vehicle is heading.
Operation and displays
DisplayDirection
“N”North
“NE”Northeast
“E”East
“SE”Southeast
“S”South
“SW”Southwest
“W”West
“NW”Northwest
WARNING
■While driving the vehicle
Do not adjust the display. Adjust the dis-
play only when the vehicle is stopped.
NOTICE
■To avoid compass malfunctions
Do not place magnets or any metal
objects near the inside rear view mirror.
Doing this may cause the compass sen-
sor to malfunction.
■To ensure normal operation of the
compass
●Do not perform circling calibration of
the compass in a place where the
earth's magnetic field is subject to
interference by artificial magnetic
fields.
●During calibration, do not operate
electric systems (moon roof, power
windows, etc.) as they may interfere
with the calibration.
Page 228 of 390

2285-5. Using the other interior features
RC350AWD_RC350_RC300AWD_RC30
0_OM_(U)_1810
■Deviation
The direction display deviates from the
true direction determined by the
earth’s magnetic field. The amount of
deviation varies according to the geo-
graphic position of the vehicle.
If you cross over a map boundary shown in
illustration, the compass will deviate.
To obtain higher prec ision or perfect cali-
bration, refer to the following.
■Deviation calibration
1 Stop the vehicle.
2 Press and hold the switch for 6 sec-
onds.
A number (1 to 15) appears on the com-
pass display.
3Press the switch and, referring to
the map above, select the number
of the zone where you are.
If the direction is di splayed several seconds
after adjustment, the calibration is com-
plete.
■Circling calibration
1 Stop the vehicle in a place where it
is safe to drive in a circle.
2 Press and hold the switch for 9 sec-
onds.
“C” appears on the compass display.
3Drive the vehicle at 5 mph (8
km/h) or less in a circle until a
direction is displayed.
Calibrating the compass
Page 229 of 390

2295-5. Using the other interior features
RC350AWD_RC350_RC300AWD_RC30
0_OM_(U)_1810
5
Interior features
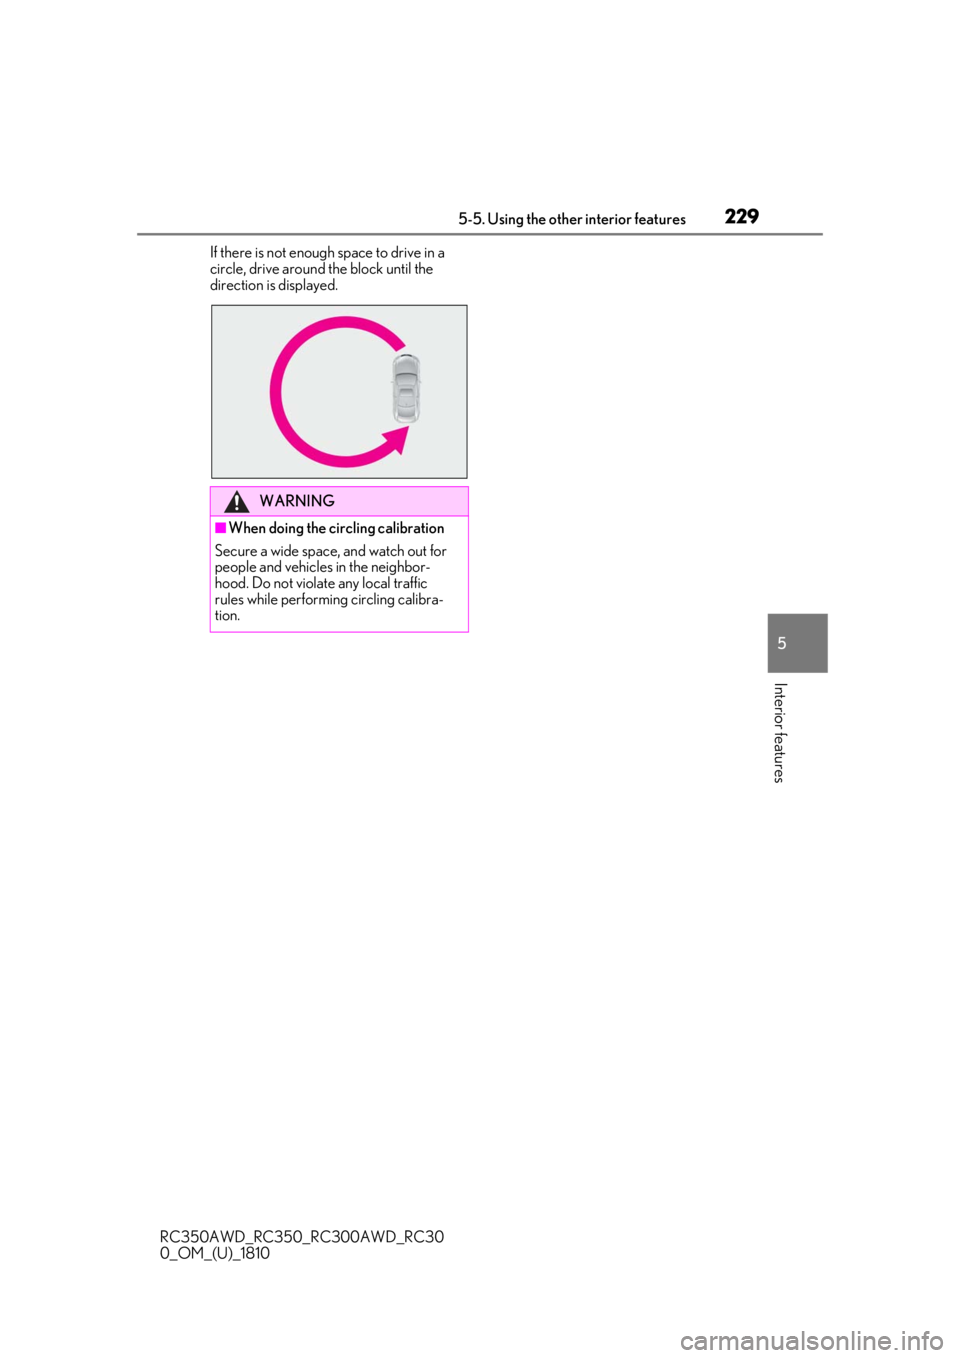
If there is not enough space to drive in a
circle, drive around the block until the
direction is displayed.
WARNING
■When doing the circling calibration
Secure a wide space, and watch out for
people and vehicles in the neighbor-
hood. Do not violate any local traffic
rules while performi ng circling calibra-
tion.
Page 236 of 390

2366-1. Maintenance and care
RC350AWD_RC350_RC300AWD_RC30
0_OM_(U)_1810
Remove dirt and dust using a vac-
WARNING
■Water in the vehicle
●Do not splash or spill liquid in the vehi-
cle.
Doing so may cause electrical compo-
nents, etc. to malfunction or catch fire.
●Do not get any of the SRS components
or wiring in the vehicle interior wet.
( P.28)
An electrical malfunction may cause the
airbags to deploy or not function prop-
erly, resulting in death or serious injury.
■Cleaning the interior (especially
instrument panel)
Do not use polish wax or polish cleaner.
The instrument panel may reflect off the
windshield, obstructing the driver’s view
and leading to an accident, resulting in
death or serious injury.
NOTICE
■Cleaning detergents
●Do not use the following liquids, as
they may discolor the vehicle interior
or cause streaks or damage to painted
surfaces:
• Center Display: Organic substances such as benzine or gasoline, alkaline
solutions, and alcohol
• Seats: Alkaline solutions, organic sub- stances such as thinner or benzine,
and alcohol
• Other parts: Organic substances such as benzine or gasoline, alkaline or
acidic solutions, dye, and bleach
●Do not use polish wax or polish
cleaner. The instrument panel’s or
other interior part’s painted surface
may be damaged.
■Preventing damage to leather sur-
faces
Observe the following precautions to
avoid damage to and deterioration of
leather surfaces:
●Remove any dust or dirt from leather
surfaces immediately.
●Do not expose the vehicle to direct
sunlight for extended periods of time.
Park the vehicle in the shade, espe-
cially during summer.
●Do not place items made of vinyl, plas-
tic, or containing wax on the uphol-
stery, as they may stick to the leather
surface if the vehicle interior heats up
significantly.
■Water on the floor
Do not wash the vehicle floor with water.
Vehicle systems such as the audio system
may be damaged if water comes into
contact with electrical components such
as the audio system above or under the
floor of the vehicle. Water may also
cause the body to rust.
■When cleaning the inside of the wind-
shield
Do not allow glass cleaner to contact the
lens. Also, do not touch the lens.
( P.152)
■Cleaning the inside of the rear win-
dow
●Do not use glass cleaner to clean the
rear window, as this may cause dam-
age to the rear window defogger
heater wires or antenna. Use a cloth
dampened with lukewarm water to
gently wipe the window clean. Wipe
the window in strokes running parallel
to the heater wires or antenna.
●Be careful not to scratch or damage
the heater wires or antenna.
Cleaning the leather areas
Page 239 of 390

2396-2. Maintenance
RC350AWD_RC350_RC300AWD_RC30
0_OM_(U)_1810
6
Maintenance and care
Maintenance”. (To confirm setting,
press .)
3
Select “Yes” and then press .
4
A message will be displayed on the
multi-information display when the
reset procedure has been completed.
You can perform some maintenance
procedures by yourself.
Please be aware that do-it-yourself
maintenance may affect warranty cov-
erage.
The use of Lexus repair manuals is recom-
mended.
For details about warranty coverage, refer
to the separate “Owner’s Guide”, “War-
ranty and Service Guide”, “Owner’s Man-
ual Supplement” or “Warranty Booklet”.
Do-it-yourself maintenance
General maintenance
Listed below are the general main-
tenance items that should be per-
formed at the intervals specified in
the “Warranty and Service Guide”
or “Owner’s Manual Supplement”.
It is recommended that any prob-
lem you notice should be brought to
the attention of your Lexus dealer
or qualified service shop for advice.
WARNING
■If the engine is running
Turn the engine off and ensure that there
is adequate ventilati on before perform-
ing maintenance checks.
Engine compartment
ItemsCheck points
Battery
Check the indicator (if
equipped) and con-
nections. ( P.253)
Brake fluid
Is the brake fluid at the
correct level?
( P.252)
Engine/inter-
cooler coolant
Is the engine/inter-
cooler coolant at the
correct level?
( P.250)
Engine oil
Is the engine oil at the
correct level?
( P.248)
Exhaust system
There should not be
any fumes or strange
sounds.
Page 245 of 390

2456-3. Do-it-yourself maintenance
RC350AWD_RC350_RC300AWD_RC30
0_OM_(U)_1810
6
Maintenance and care
1Pull the hood lock release lever.
The hood will pop up slightly.
2Pull up the auxiliary catch lever and
lift the hood.
■If a symbol indicating the hood opens is
shown on the multi-information display
P.88
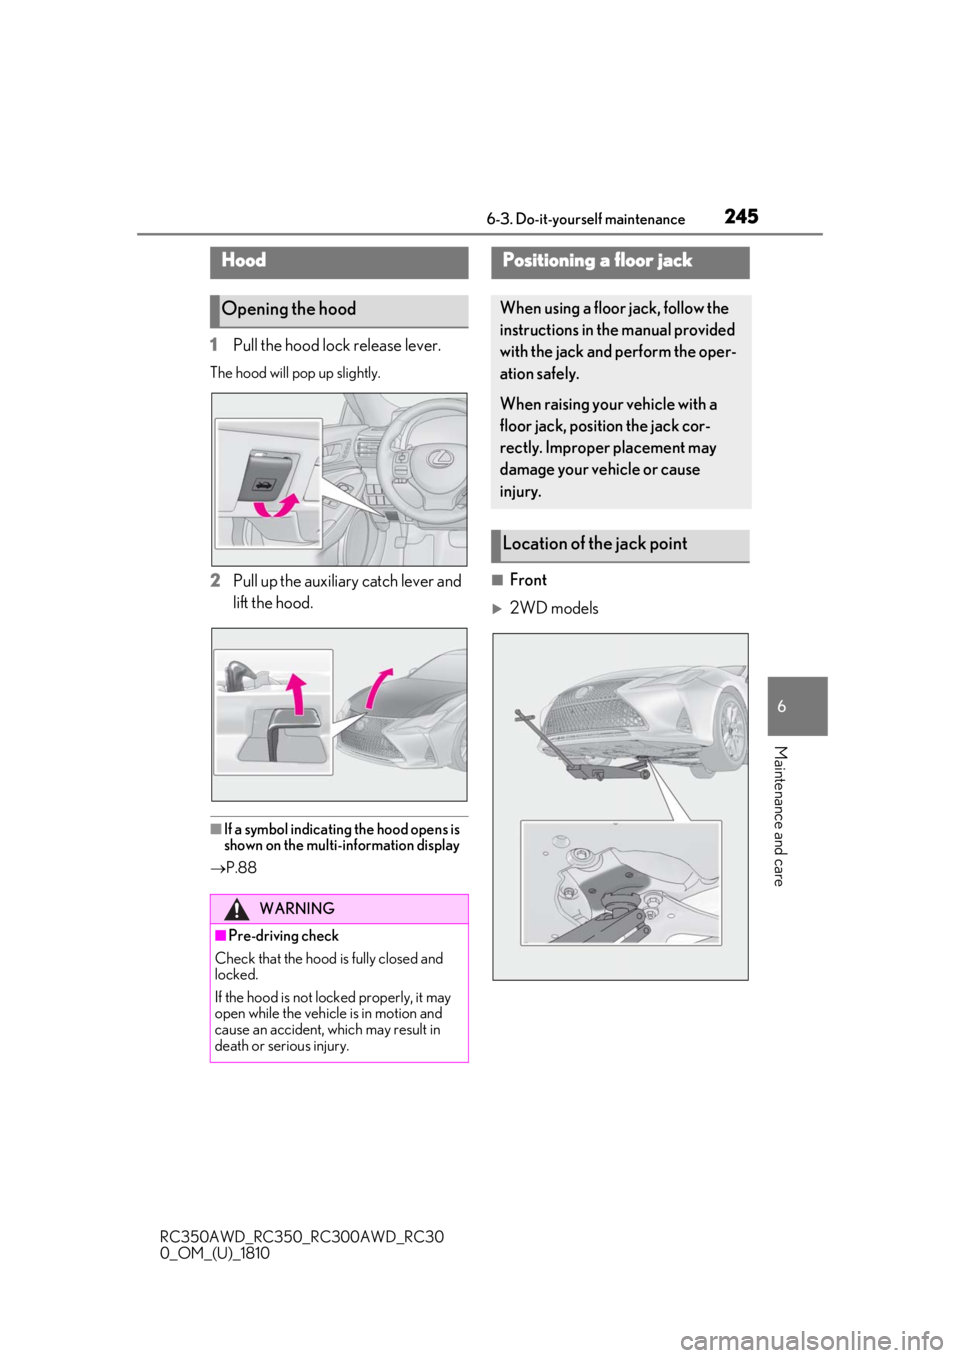
■Front
2WD models
Hood
Opening the hood
WARNING
■Pre-driving check
Check that the hood is fully closed and
locked.
If the hood is not locked properly, it may
open while the vehicle is in motion and
cause an accident, which may result in
death or serious injury.
Positioning a floor jack
When using a floor jack, follow the
instructions in the manual provided
with the jack and perform the oper-
ation safely.
When raising your vehicle with a
floor jack, position the jack cor-
rectly. Improper placement may
damage your vehicle or cause
injury.
Location of the jack point
Page 250 of 390

2506-3. Do-it-yourself maintenance
RC350AWD_RC350_RC300AWD_RC30
0_OM_(U)_1810
RC300
1
Remove the oil filler cap by turning
it counterclockwise.
2
Add engine oil slowly, checking the
dipstick.
3
Install the oil filler cap by turning it
clockwise.
■Engine oil consumption
A certain amount of engine oil will be con-
sumed while driving. In the following situa-
tions, oil consumption may increase, and
engine oil may need to be refilled in
between oil maintenance intervals.
●When the engine is new, for example
directly after purchasing the vehicle or
after replacing the engine
●If low quality oil or oil of an inappropriate
viscosity is used
●When driving at high engine speeds or
with a heavy load, or when driving while
accelerating or decelerating frequently
●When leaving the engine idling for a long
time, or when driving frequently through
heavy traffic
■After changing the engine oil
The engine oil maintenance data should be
reset. Perform the following procedures:
1
Select on the multi-information dis-
play. ( P.76)
2
Press the or meter control
switch on the steering wheel to select
“Vehicle Settings” then “Oil Mainte-
nance”. (To confirm setting, press .) 3
Select “Yes” and then press .
4
A message is displayed on the
multi-information display.
The coolant level is satisfactory if it is
between the “FULL” and “LOW” lines
WARNING
■Used engine oil
●Used engine oil contains potentially
harmful contaminants which may
cause skin disorders such as inflamma-
tion and skin cancer, so care should be
taken to avoid prolonged and
repeated contact. To remove used
engine oil from your skin, wash thor-
oughly with soap and water.
●Dispose of used oil and filters only in a
safe and acceptable manner. Do not
dispose of used oil and filters in house-
hold trash, in sewers or onto the
ground. Call your Lexus dealer, ser-
vice station or auto parts store for
information concerning recycling or
disposal.
●Do not leave used engine oil within the
reach of children.
NOTICE
■To prevent serious engine damage
Check the oil level on a regular basis.
■When replacing the engine oil
●Be careful not to spill engine oil on the
vehicle components.
●Avoid overfilling, or the engine could
be damaged.
●Check the oil level on the dipstick
every time you refill the vehicle.
●Be sure the engine o il filler cap is prop-
erly tightened.
Checking the coolant