2019 KIA SORENTO seats
[x] Cancel search: seatsPage 415 of 573
Driving your vehicle
138
5
Certification label
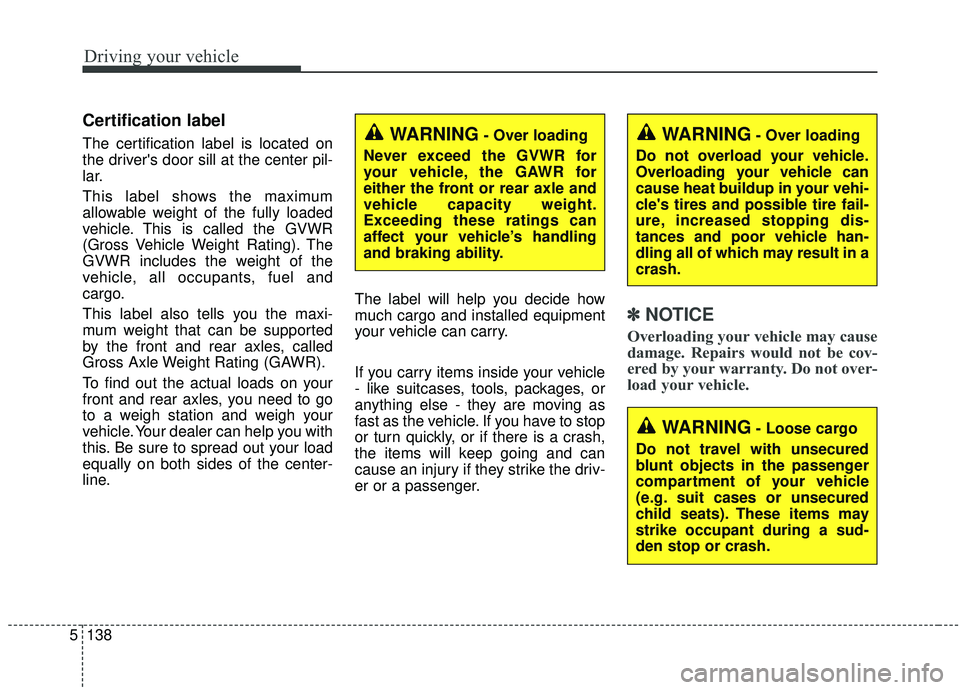
The certification label is located on
the driver's door sill at the center pil-
lar.
This label shows the maximum
allowable weight of the fully loaded
vehicle. This is called the GVWR
(Gross Vehicle Weight Rating). The
GVWR includes the weight of the
vehicle, all occupants, fuel and
cargo.
This label also tells you the maxi-
mum weight that can be supported
by the front and rear axles, called
Gross Axle Weight Rating (GAWR).
To find out the actual loads on your
front and rear axles, you need to go
to a weigh station and weigh your
vehicle. Your dealer can help you with
this. Be sure to spread out your load
equally on both sides of the center-
line. The label will help you decide how
much cargo and installed equipment
your vehicle can carry.
If you carry items inside your vehicle
- like suitcases, tools, packages, or
anything else - they are moving as
fast as the vehicle. If you have to stop
or turn quickly, or if there is a crash,
the items will keep going and can
cause an injury if they strike the driv-
er or a passenger.
✽ ✽
NOTICE
Overloading your vehicle may cause
damage. Repairs would not be cov-
ered by your warranty. Do not over-
load your vehicle.
WARNING- Over loading
Never exceed the GVWR for
your vehicle, the GAWR for
either the front or rear axle and
vehicle capacity weight.
Exceeding these ratings can
affect your vehicle’s handling
and braking ability.WARNING- Over loading
Do not overload your vehicle.
Overloading your vehicle can
cause heat buildup in your vehi-
cle's tires and possible tire fail-
ure, increased stopping dis-
tances and poor vehicle han-
dling all of which may result in a
crash.
WARNING- Loose cargo
Do not travel with unsecured
blunt objects in the passenger
compartment of your vehicle
(e.g. suit cases or unsecured
child seats). These items may
strike occupant during a sud-
den stop or crash.
Page 489 of 573

Maintenance
46
7
Traction - AA, A, B & C
The traction grades, from highest to
lowest, are AA, A, B and C. Those
grades represent the tire’s ability to
stop on wet pavement as measured
under controlled conditions on spec-
ified government test surfaces of
asphalt and concrete. A tire marked
C may have poor traction perform-
ance.
The traction grade assigned to this
tire is based on straight-ahead brak-
ing traction tests, and does not
include acceleration, cornering,
hydroplaning, or peak traction char-
acteristics. Temperature -A, B & C
The temperature grades are A (the
highest), B and C representing the
tire’s resistance to the generation of
heat and its ability to dissipate heat
when tested under controlled condi-
tions on a specified indoor laboratory
test wheel.
Sustained high temperature can
cause the material of the tire to
degenerate and reduce tire life, and
excessive temperature can lead to
sudden tire failure. Grades B and A
represent higher levels of perform-
ance on the laboratory test wheel
than the minimum required by law.
Tire terminology and definitions
Air Pressure:
The amount of air
inside the tire pressing outward on
the tire. Air pressure is expressed in
pounds per square inch (psi) or kilo-
pascal (kPa).
Accessory Weight: This means the
combined weight of optional acces-
sories. Some examples of optional
accessories are, automatic transmis-
sion, power seats, and air condition-
ing.
Aspect Ratio: The relationship of a
tire's height to its width.
Belt: A rubber coated layer of cords
that is located between the plies and
the tread. Cords may be made from
steel or other reinforcing materials.
Bead: The tire bead contains steel
wires wrapped by steel cords that
hold the tire onto the rim.
Bias Ply Tire: A pneumatic tire in
which the plies are laid at alternate
angles less than 90 degrees to the
centerline of the tread.
Page 540 of 573
797
Maintenance
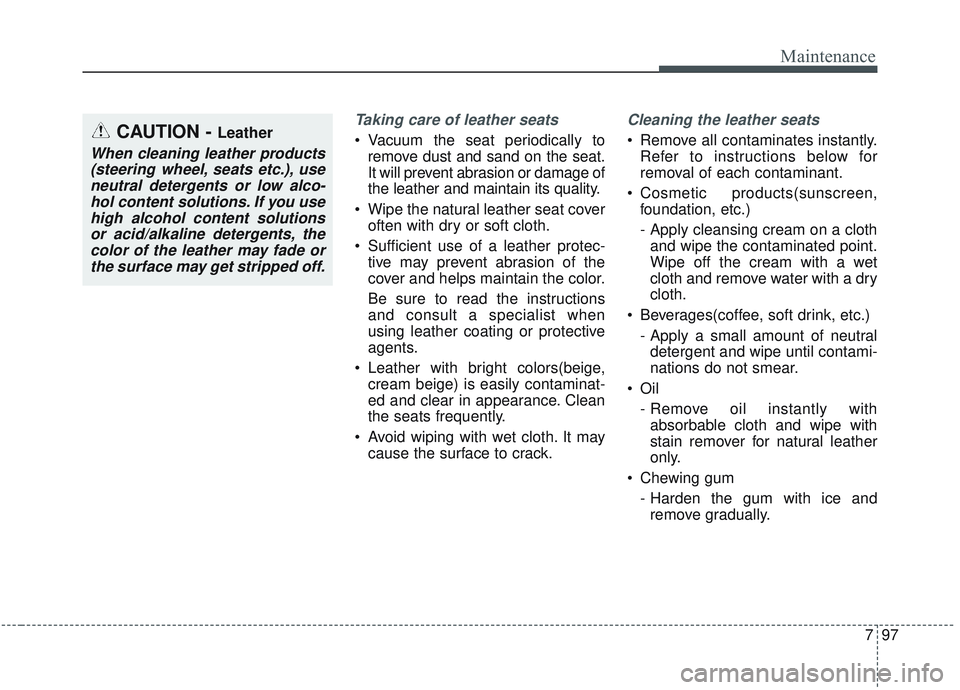
Taking care of leather seats
Vacuum the seat periodically toremove dust and sand on the seat.
It will prevent abrasion or damage of
the leather and maintain its quality.
Wipe the natural leather seat cover often with dry or soft cloth.
Sufficient use of a leather protec- tive may prevent abrasion of the
cover and helps maintain the color.
Be sure to read the instructions
and consult a specialist when
using leather coating or protective
agents.
Leather with bright colors(beige, cream beige) is easily contaminat-
ed and clear in appearance. Clean
the seats frequently.
Avoid wiping with wet cloth. It may cause the surface to crack.
Cleaning the leather seats
Remove all contaminates instantly.Refer to instructions below for
removal of each contaminant.
Cosmetic products(sunscreen, foundation, etc.)
- Apply cleansing cream on a clothand wipe the contaminated point.
Wipe off the cream with a wet
cloth and remove water with a dry
cloth.
Beverages(coffee, soft drink, etc.) - Apply a small amount of neutraldetergent and wipe until contami-
nations do not smear.
Oil - Remove oil instantly withabsorbable cloth and wipe with
stain remover for natural leather
only.
Chewing gum - Harden the gum with ice andremove gradually.CAUTION - Leather
When cleaning leather products(steering wheel, seats etc.), useneutral detergents or low alco-hol content solutions. If you usehigh alcohol content solutionsor acid/alkaline detergents, thecolor of the leather may fade orthe surface may get stripped off.
Page 541 of 573
Maintenance
98
7
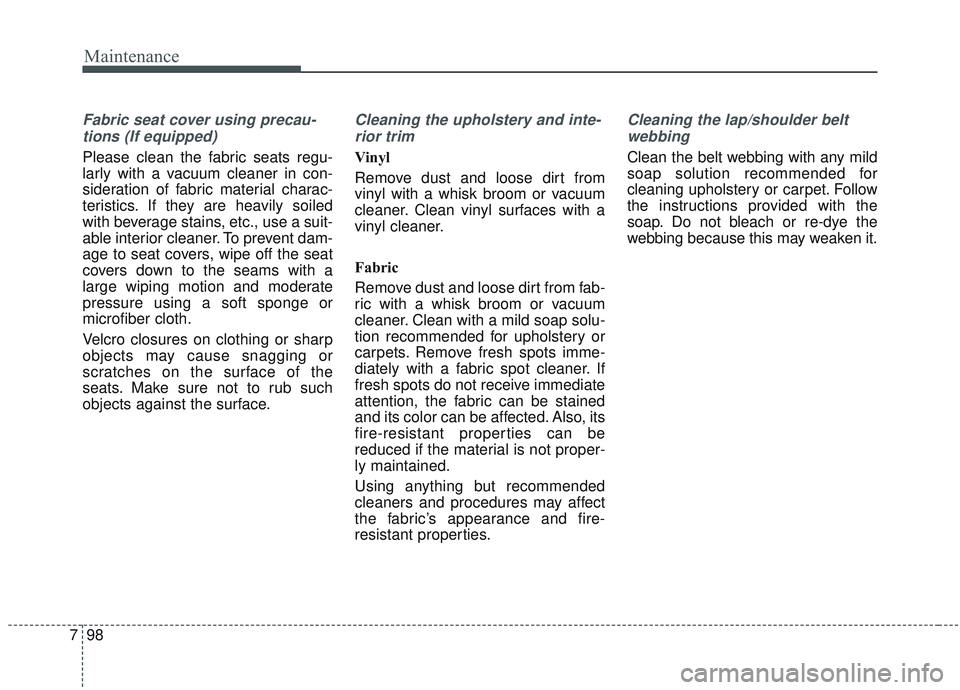
Fabric seat cover using precau-
tions (If equipped)
Please clean the fabric seats regu-
larly with a vacuum cleaner in con-
sideration of fabric material charac-
teristics. If they are heavily soiled
with beverage stains, etc., use a suit-
able interior cleaner. To prevent dam-
age to seat covers, wipe off the seat
covers down to the seams with a
large wiping motion and moderate
pressure using a soft sponge or
microfiber cloth.
Velcro closures on clothing or sharp
objects may cause snagging or
scratches on the surface of the
seats. Make sure not to rub such
objects against the surface.
Cleaning the upholstery and inte-rior trim
Vinyl
Remove dust and loose dirt from
vinyl with a whisk broom or vacuum
cleaner. Clean vinyl surfaces with a
vinyl cleaner.
Fabric
Remove dust and loose dirt from fab-
ric with a whisk broom or vacuum
cleaner. Clean with a mild soap solu-
tion recommended for upholstery or
carpets. Remove fresh spots imme-
diately with a fabric spot cleaner. If
fresh spots do not receive immediate
attention, the fabric can be stained
and its color can be affected. Also, its
fire-resistant properties can be
reduced if the material is not proper-
ly maintained.
Using anything but recommended
cleaners and procedures may affect
the fabric’s appearance and fire-
resistant properties.
Cleaning the lap/shoulder beltwebbing
Clean the belt webbing with any mild
soap solution recommended for
cleaning upholstery or carpet. Follow
the instructions provided with the
soap. Do not bleach or re-dye the
webbing because this may weaken it.
Page 548 of 573
![KIA SORENTO 2019 Owners Manual 28
DIMENSIONS Specifications & Consumer information
ENGINE
ITEM5 Seats7 Seats
Overall length [mm (in.)]4,800 (189.0)←
Overall width [mm (in.)]1,890 (74.4)←
Overall height[mm (in.)]Without Roof rac KIA SORENTO 2019 Owners Manual 28
DIMENSIONS Specifications & Consumer information
ENGINE
ITEM5 Seats7 Seats
Overall length [mm (in.)]4,800 (189.0)←
Overall width [mm (in.)]1,890 (74.4)←
Overall height[mm (in.)]Without Roof rac](/manual-img/2/40476/w960_40476-547.png)
28
DIMENSIONS Specifications & Consumer information
ENGINE
ITEM5 Seats7 Seats
Overall length [mm (in.)]4,800 (189.0)←
Overall width [mm (in.)]1,890 (74.4)←
Overall height[mm (in.)]Without Roof rack1,685 (66.3)←
With Roof rack1,690 (66.5)←
Tread [mm (in.)]
Front
235/65 R171,633 (64.3)←
235/60 R181,628 (64.1)←
235/55 R191,628 (64.1)←
Rear
235/65 R171,644 (64.7)←
235/60 R181,639 (64.5)←
235/55 R191,639 (64.5)←
Wheelbase [mm (in.)]2,780 (109.4)←
ITEMGasoline
Theta II 2.4Gasoline
Lambda II 3.3
Displacement [cc (cu. in)]2,359 (143.95)3,342 (203.94)
Bore x Stroke [mm (in.)]88x97 (3.46x3.81)92x83.8 (3.62x3.29)
Firing order 1-3-4-2 1-2-3-4-5-6
No. of cylinders 4. In-line V - type
Page 552 of 573
68
Specifications & Consumer information
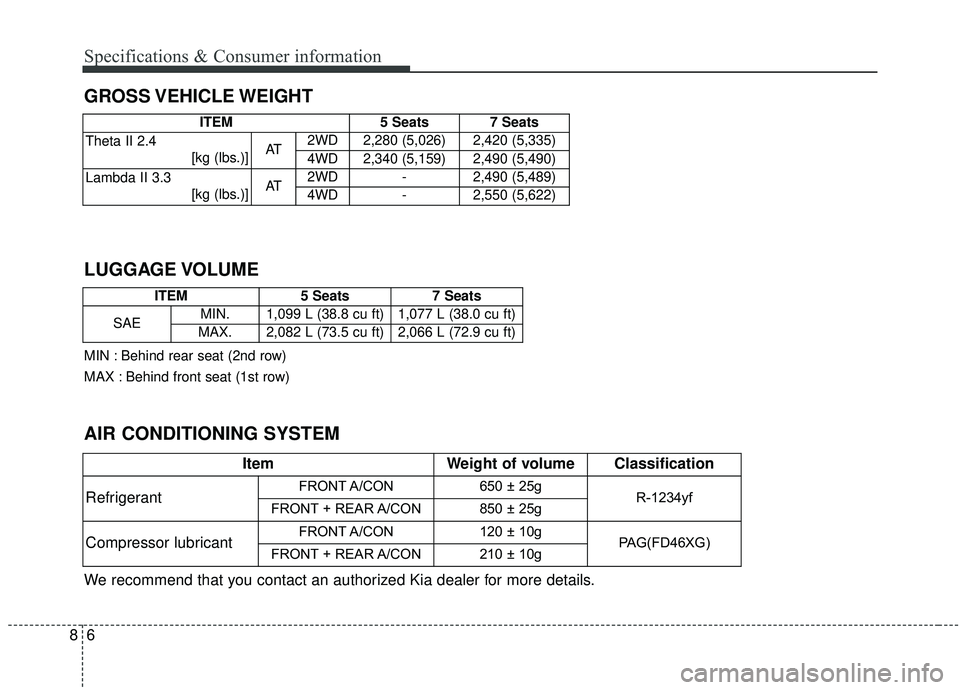
GROSS VEHICLE WEIGHT
AIR CONDITIONING SYSTEM LUGGAGE VOLUME
ItemWeight of volume Classification
Refrigerant
FRONT A/CON650 ± 25g R-1234yf
FRONT + REAR A/CON850 ± 25g
Compressor lubricantFRONT A/CON120 ± 10gPAG(FD46XG)FRONT + REAR A/CON210 ± 10g
We recommend that you contact an authorized Kia dealer for more details.
ITEM5 Seats7 Seats
Theta II 2.4
[kg (lbs.)]AT2WD2,280 (5,026)2,420 (5,335)
4WD2,340 (5,159)2,490 (5,490)
Lambda II 3.3[kg (lbs.)]AT2WD-2,490 (5,489)
4WD-2,550 (5,622)
ITEM5 Seats7 Seats
SAEMIN.1,099 L (38.8 cu ft)1,077 L (38.0 cu ft)
MAX.2,082 L (73.5 cu ft)2,066 L (72.9 cu ft)
MIN : Behind rear seat (2nd row)
MAX : Behind front seat (1st row)
Page 570 of 573
I13
Index
Room lamp bulb replacement. . . . . . . . . . . . . . . . . . . . 7-87
Rotation (Tire) . . . . . . . . . . . . . . . . . . . . . . . . . . . . . . . 7-39
Safety chains . . . . . . . . . . . . . . . . . . . . . . . . . . . . . . . . 5-127
Scheduled maintenance service . . . . . . . . . . . . . . . . . . . 7-9Normal maintenance schedule . . . . . . . . . . . . . . . . . 7-10
Maintenance under severe usage conditions . . . . . . 7-13
Seat belt restraint system . . . . . . . . . . . . . . . . . . . . . . . 3-26
Seat belt warning . . . . . . . . . . . . . . . . . . . . . . . . . . . . . 3-27
Seat belts . . . . . . . . . . . . . . . . . . . . . . . . . . . . . . . . . . . . \
3-26 Seat belt restraint system . . . . . . . . . . . . . . . . . . . . . 3-26
Seat belt warning . . . . . . . . . . . . . . . . . . . . . . . . . . . 3-27
Pre-tensioner seat belt . . . . . . . . . . . . . . . . . . . . . . . 3-33
Precautions . . . . . . . . . . . . . . . . . . . . . . . . . . . . . . . . 3-35
Care of seat belts . . . . . . . . . . . . . . . . . . . . . . . . . . . 3-37
Seat cooler . . . . . . . . . . . . . . . . . . . . . . . . . . . . . . . . . 4-174
Seat warmer . . . . . . . . . . . . . . . . . . . . . . . . . . . . . . . . 4-173
Seats . . . . . . . . . . . . . . . . . . . . . . . . . . . . . . . . . . . . \
. . . . 3-2 Front seat . . . . . . . . . . . . . . . . . . . . . . . . . . . . . . . . . . 3-2
2nd row seat . . . . . . . . . . . . . . . . . . . . . . . . . . . . . . . . 3-2
3rd row seat . . . . . . . . . . . . . . . . . . . . . . . . . . . . . . . . 3-2
Securing a child restraint seat withchild seat lower anchor system . . . . . . . . . . . . . . . . . . . . . . . . . . . . . . 3-44
Securing a child restraint seatwith tether anchor system . . . . . . . . . . . . . . . . . . . . . . . . . . . . . . 3-43
Side air bag . . . . . . . . . . . . . . . . . . . . . . . . . . . . . . . . . . 3-61\
Side curtain . . . . . . . . . . . . . . . . . . . . . . . . . . . . . . . . . 4-183
Side marker (front) (LED type) bulb replacement . . . . 7-77
Side marker (rear) (Bulb type) bulb replacement. . . . . 7-82
Side marker (rear) (LED type) bulb replacement. . . . . 7-83
Side repeater lamp (LED type) bulb replacement . . . . 7-78
Sliding the sunroof . . . . . . . . . . . . . . . . . . . . . . . . . . . . 4-53
Smart cruise control with stop & go system . . . . . . . . 5-67
Smart cruise control switch . . . . . . . . . . . . . . . . . . . 5-69
Speed setting . . . . . . . . . . . . . . . . . . . . . . . . . . . . . . 5-69
Vehicle to vehicle distance setting . . . . . . . . . . . . . . 5-74
To adjust the sensitivity of smart cruise control system . . . . . . . . . . . . . . . . . . . . . . . . . . . . 5-79
To convert to cruise control mode . . . . . . . . . . . . . . 5-79
Limitations of the system . . . . . . . . . . . . . . . . . . . . . 5-80
Smart key . . . . . . . . . . . . . . . . . . . . . . . . . . . . . . . . . . . 4-\
12 Record your key number . . . . . . . . . . . . . . . . . . . . . 4-12
Smart key function . . . . . . . . . . . . . . . . . . . . . . . . . . 4-12
Loss of the smart key . . . . . . . . . . . . . . . . . . . . . . . . 4-16
Smart key precautions . . . . . . . . . . . . . . . . . . . . . . . 4-16
Battery replacement . . . . . . . . . . . . . . . . . . . . . . . . . 4-17
Immobilizer system . . . . . . . . . . . . . . . . . . . . . . . . . 4-17
Smart key function (Smart key) . . . . . . . . . . . . . . . . . . 4-12
Smart key precautions (Smart key) . . . . . . . . . . . . . . . 4-16
Smart liftgate . . . . . . . . . . . . . . . . . . . . . . . . . . . . . . . . 4-34 How to use the Smart Liftgate . . . . . . . . . . . . . . . . . 4-34
How to deactivate the Smart Liftgate function using the smart key . . . . . . . . . . . . . . . . . . . . . . . . 4-37
Detecting area. . . . . . . . . . . . . . . . . . . . . . . . . . . . . . 4-37
S