2019 JEEP CHEROKEE lock
[x] Cancel search: lockPage 271 of 344

CAUTION!
Do NOT attach any object to the touchscreen,
doing so can result in damage to the touch-
screen.
Clock Setting
To start the clock setting procedure:
1. Press the “Settings” button on the face-
plate, then press the “Clock and Date”
button.
2. Press the “Set Time” button on the
touchscreen.
3. Press the “Up” or “Down” arrows to adjust
the hours or minutes, then select the
“AM” or “PM” button on the touchscreen.
You can also select 12hr or 24hr format by
pressing the desired button on the
touchscreen.
4. Once the time is set, press the “Done”
button on the touchscreen to exit the time
screen.NOTE:
In the Clock Setting Menu you can also select
Display Clock. Display Clock turns the clock
display in the status bar on or off.
Audio Setting
1. Press the “Settings” button on the
faceplate.
2. Scroll down and press the “Audio” button
on the touchscreen to open the Audio
menu.
3. The Audio Menu shows the following op-
tions for you to customize your audio
settings.
Equalizer
Press the “Equalizer” button on the touch-
screen to adjust the Bass, Mid and Treble.
Use the “+” or “-” button on the touchscreen
to adjust the equalizer to your desired set-
tings.
Balance/Fade
Press the “Balance/Fade” button on the
touchscreen to adjust the sound from the
speakers. Use the arrow buttons on the
touchscreen to adjust the sound level fromthe front and rear or right and left side speak-
ers. Press the Center “C” button on the
touchscreen to reset the balance and fade to
the factory setting.
Speed Adjusted Volume — If Equipped
Press the “Speed Adjusted Volume” button
on the touchscreen to select between OFF, 1,
2 or 3. This will decrease the radio volume
relative to a decrease in vehicle speed.
Loudness — If Equipped
Press the “Loudness” button on the touch-
screen to select the Loudness feature. When
this feature is activated it improves sound
quality at lower volumes.
Surround Sound — If Equipped
Press the “Surround Sound” button on the
touchscreen, select On or Off followed by
pressing the back arrow button on the touch-
screen. When this feature is activated, it
provides simulated surround sound mode.
269
Page 274 of 344

UCONNECT 4 WITH 7-INCH
DISPLAY
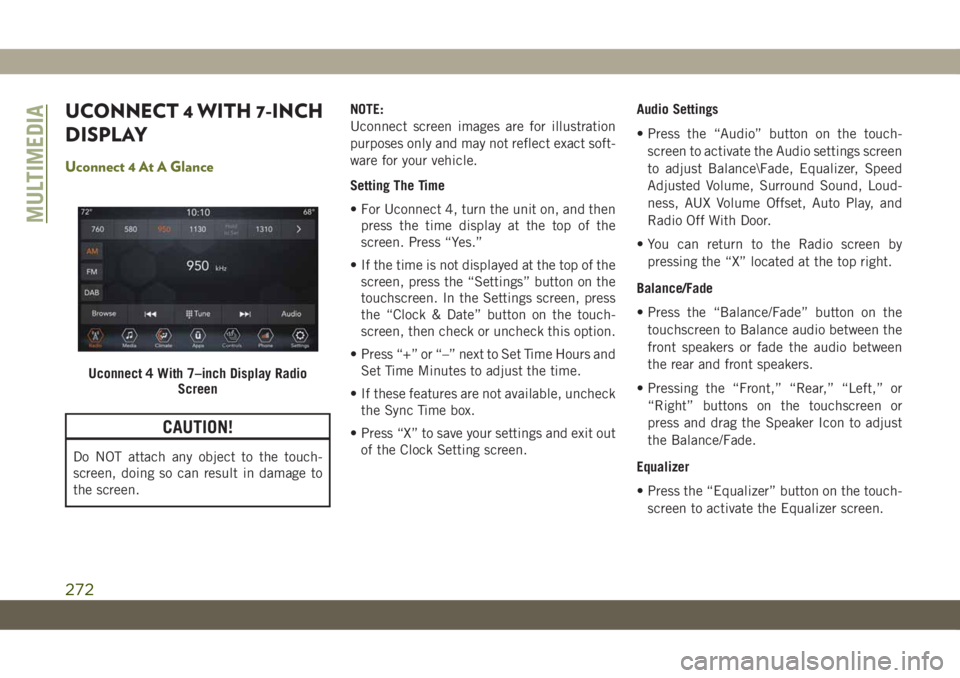
Uconnect 4 At A Glance
CAUTION!
Do NOT attach any object to the touch-
screen, doing so can result in damage to
the screen.NOTE:
Uconnect screen images are for illustration
purposes only and may not reflect exact soft-
ware for your vehicle.
Setting The Time
• For Uconnect 4, turn the unit on, and then
press the time display at the top of the
screen. Press “Yes.”
• If the time is not displayed at the top of the
screen, press the “Settings” button on the
touchscreen. In the Settings screen, press
the “Clock & Date” button on the touch-
screen, then check or uncheck this option.
• Press “+” or “–” next to Set Time Hours and
Set Time Minutes to adjust the time.
• If these features are not available, uncheck
the Sync Time box.
• Press “X” to save your settings and exit out
of the Clock Setting screen.Audio Settings
• Press the “Audio” button on the touch-
screen to activate the Audio settings screen
to adjust Balance\Fade, Equalizer, Speed
Adjusted Volume, Surround Sound, Loud-
ness, AUX Volume Offset, Auto Play, and
Radio Off With Door.
• You can return to the Radio screen by
pressing the “X” located at the top right.
Balance/Fade
• Press the “Balance/Fade” button on the
touchscreen to Balance audio between the
front speakers or fade the audio between
the rear and front speakers.
• Pressing the “Front,” “Rear,” “Left,” or
“Right” buttons on the touchscreen or
press and drag the Speaker Icon to adjust
the Balance/Fade.
Equalizer
• Press the “Equalizer” button on the touch-
screen to activate the Equalizer screen.
Uconnect 4 With 7–inch Display Radio
Screen
MULTIMEDIA
272
Page 279 of 344

Uconnect works seamlessly with Apple Car-
Play, the smarter, more secure way to use
your iPhone in the car, and stay focused on
the road. Use your Uconnect Touchscreen
display, the vehicle's knobs and controls, and
your voice with Siri to get access to Apple
Music, Maps, Messages, and more.
To use CarPlay, make sure you are using
iPhone 5 or later, have Siri enabled in Set-
tings, that your iPhone is unlocked for the
very first connection only, and then use the
following procedure:
1. Connect your iPhone to one of the media
USB ports in your vehicle.
NOTE:
Be sure to use the factory-provided Light-
ning cable that came with your phone, as
aftermarket cables may not work.
2. Once the device is connected and recog-
nized, CarPlay should automatically
launch, but you can also launch it by
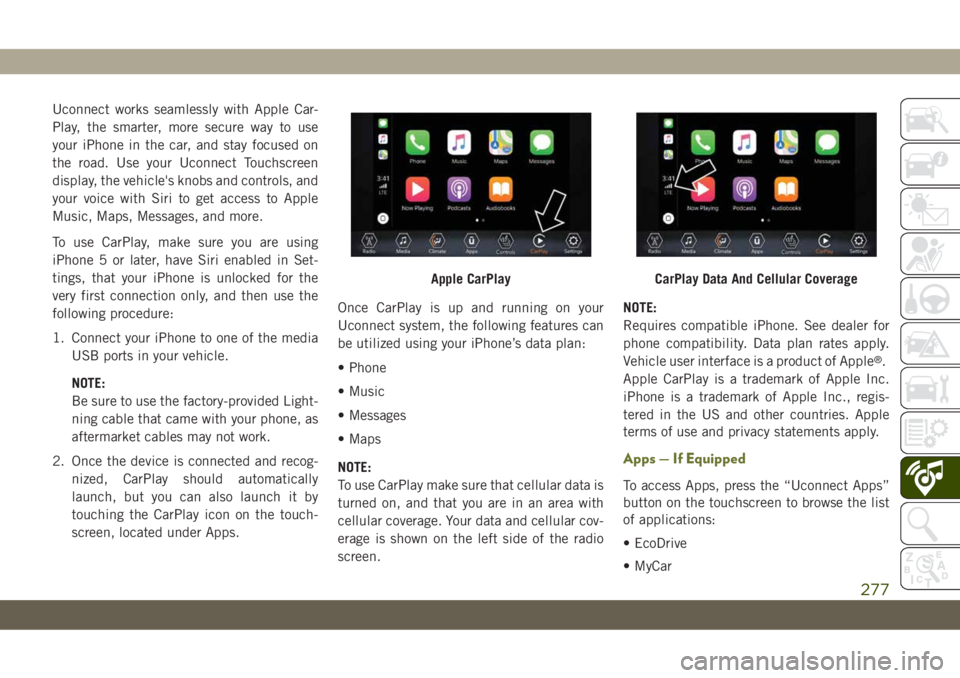
touching the CarPlay icon on the touch-
screen, located under Apps.Once CarPlay is up and running on your
Uconnect system, the following features can
be utilized using your iPhone’s data plan:
• Phone
• Music
• Messages
• Maps
NOTE:
To use CarPlay make sure that cellular data is
turned on, and that you are in an area with
cellular coverage. Your data and cellular cov-
erage is shown on the left side of the radio
screen.NOTE:
Requires compatible iPhone. See dealer for
phone compatibility. Data plan rates apply.
Vehicle user interface is a product of Apple
®.
Apple CarPlay is a trademark of Apple Inc.
iPhone is a trademark of Apple Inc., regis-
tered in the US and other countries. Apple
terms of use and privacy statements apply.
Apps — If Equipped
To access Apps, press the “Uconnect Apps”
button on the touchscreen to browse the list
of applications:
• EcoDrive
• MyCar
Apple CarPlayCarPlay Data And Cellular Coverage
277
Page 280 of 344

• TuneIn
• Deezer
• Reuters
• Twitter
• Facebook Check-In
• Apple CarPlay
• Android Auto, and many more.
UCONNECT 4C/4C NAV
WITH 8.4-INCH DISPLAY
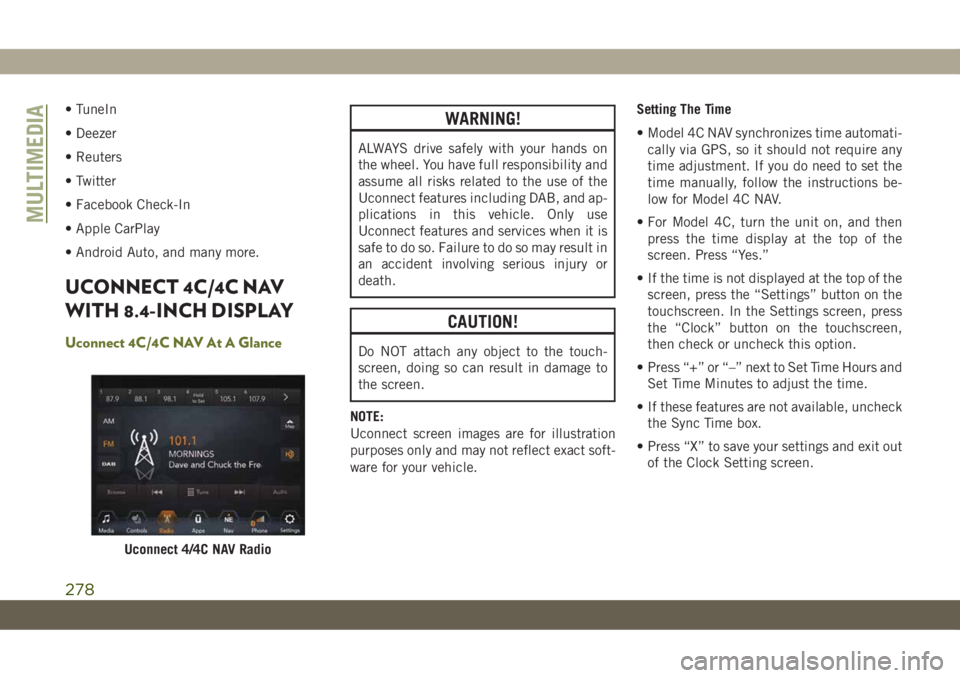
Uconnect 4C/4C NAV At A Glance
WARNING!
ALWAYS drive safely with your hands on
the wheel. You have full responsibility and
assume all risks related to the use of the
Uconnect features including DAB, and ap-
plications in this vehicle. Only use
Uconnect features and services when it is
safe to do so. Failure to do so may result in
an accident involving serious injury or
death.
CAUTION!
Do NOT attach any object to the touch-
screen, doing so can result in damage to
the screen.
NOTE:
Uconnect screen images are for illustration
purposes only and may not reflect exact soft-
ware for your vehicle.Setting The Time
• Model 4C NAV synchronizes time automati-
cally via GPS, so it should not require any
time adjustment. If you do need to set the
time manually, follow the instructions be-
low for Model 4C NAV.
• For Model 4C, turn the unit on, and then
press the time display at the top of the
screen. Press “Yes.”
• If the time is not displayed at the top of the
screen, press the “Settings” button on the
touchscreen. In the Settings screen, press
the “Clock” button on the touchscreen,
then check or uncheck this option.
• Press “+” or “–” next to Set Time Hours and
Set Time Minutes to adjust the time.
• If these features are not available, uncheck
the Sync Time box.
• Press “X” to save your settings and exit out
of the Clock Setting screen.
Uconnect 4/4C NAV Radio
MULTIMEDIA
278
Page 287 of 344

Apple CarPlay Integration — If Equipped
NOTE:
Feature availability depends on your carrier
and mobile phone manufacturer. Some Apple
CarPlay features may or may not be available
in every region and/or language.
Uconnect works seamlessly with Apple Car-
Play, the smarter, more secure way to use
your iPhone in the car, and stay focused on
the road. Use your Uconnect Touchscreen
display, the vehicle's knobs and controls, and
your voice with Siri to get access to Apple
Music, Maps, Messages, and more.
To use CarPlay, make sure you are using
iPhone 5 or later, have Siri enabled in Set-
tings, that your iPhone is unlocked for the
very first connection only, and then use the
following procedure:
1. Connect your iPhone to one of the media
USB ports in your vehicle.
NOTE:
Be sure to use the factory-provided Light-
ning cable that came with your phone, as
aftermarket cables may not work.2. Once the device is connected, the system
displays the CarPlay home screen. Apple
CarPlay automatically launches, but if
not, refer to the Uconnect Owner’s Manual
Supplement for the procedure to enable
the feature “AutoShow.” You can also
launch it by pressing the CarPlay icon
located in the “Apps” menu. If you use
Apple CarPlay frequently you can move
the app to the menu bar at the bottom of
the touchscreen. Press the “Apps” button
and locate the CarPlay app; then drag and
drop the selected App to replace an exist-
ing shortcut in the main menu bar.Once CarPlay is up and running on your
Uconnect system, the following features can
be utilized using your iPhone’s data plan:
• Phone
• Music
• Messages
• Maps
NOTE:
To use CarPlay make sure that cellular data is
turned on, and that you are in an area with
cellular coverage. Your data and cellular cov-
erage is shown on the left side of the radio
screen.
CarPlay
CarPlay Data And Cellular Coverage
285
Page 290 of 344

UCONNECT SETTINGS
The Uconnect system allows you to access
Customer Programmable feature settings
such as Display, Voice, Clock, Safety & Driv-
ing Assistance, Lights, Doors & Locks,
Auto-On Comfort, Engine Off Options, Sus-
pension, Compass Settings, Audio, Phone/
Bluetooth, Radio Setup, Restore Settings,
Clear Personal Data, and System Information
through buttons on the touchscreen.
Push the SETTINGS button (Uconnect 3), or
press the “Apps” button (Uconnect 4 or
4C/4C NAV) located near the bottom of the
touchscreen, then press the “Settings” but-
ton on the touchscreen to access the Settings
screen. When making a selection, scroll up or
down until the preferred setting is high-
lighted, then press the preferred setting until
a check-mark appears next to the setting,
showing that setting has been selected. The
following feature settings are available:
• Language • Engine Off Options
• Display • Compass — If
Equipped
• Units • Audio• Voice • Phone/Bluetooth
• Clock • Suspension — If
Equipped
• Camera — If
Equipped• AUX Switches
• Safety & Driving
Assistance• Restore Settings
• Brakes • Clear Personal Data
• Mirrors & Wipers —
If Equipped• System Information
• Lights • Radio Setup
• Doors & Locks
• Auto-On Comfort
NOTE:
Depending on the vehicles options, feature
settings may vary.
Refer to “Uconnect Settings” in “Multime-
dia” in your Owner’s Manual for further infor-
mation.
TIPS CONTROLS AND
GENERAL INFORMATION
Steering Wheel Audio Controls
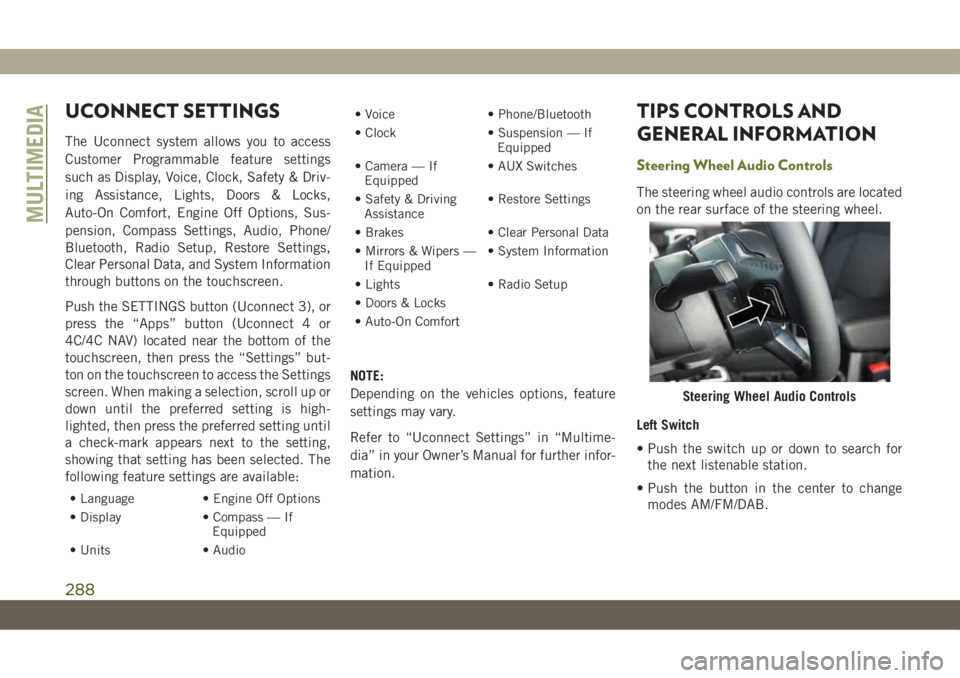
The steering wheel audio controls are located
on the rear surface of the steering wheel.
Left Switch
• Push the switch up or down to search for
the next listenable station.
• Push the button in the center to change
modes AM/FM/DAB.
Steering Wheel Audio Controls
MULTIMEDIA
288
Page 323 of 344

GREECE
Chrysler Jeep Dodge Hellas
240-242 Kifisias Avenue
15231 Halandri Athens, Greece
Tel.: +30 210 6700800
Fax: +30 210 6700820
GUATEMALA
Grupo Q del Guatemala
Km 16 carretera a El Salvador, condado con-
cepción
Ciudad de Guatemala, Guatemala
Zip Code 1004
Tel.: +502 6685 9500
HONDURAS
Grupo Q de Honduras
Blvd.. Centro América frente a Plaza Mira-
flores,
Tegucigalpa, Honduras
Tel.: +504 2290 3700
Fax: +504 2232 6564
HUNGARY
Jeep Customer Service*
–Universal Toll Free Number
Tel: 80 10 10 80
–International Toll Number
Tel: +36 80 10 10 80
Chrysler Customer Service*
–Universal Toll Free Number
Tel: 82 10 10 80
–International Toll Number
Tel: +36 80 10 10 80
Dodge Customer Service*
–Universal Toll Free Number
Tel: 81 10 10 80
–International Toll Number
Tel: +36 80 10 10 80
INDIA
FCA India Automobiles Private Limited
Registered Office:
1601 (III), 16th Floor, B Wing,
The Capital, Plot #C-70, G Block,
Bandra Kurla Complex,
Bandra (East), Mumbai 400 051,
India.
Tel: +91 22 39462600
Toll free: 1800-266-5337
321
(*) The Customer Service offers information and assistance on products, services, dealerships and 24H Roadside Assistance. It can be contacted fromthe main European countries by
calling the Universal Toll Free Number. In case of problems, please use the Local Toll Free Number or the International Toll Number.
Page 335 of 344

Accessories..................265
Mopar...................265
Adaptive Cruise Control (ACC)
(Cruise Control)..............162
Adding Fuel..............173, 175
Additives, Fuel................256
Air Bag
Air Bag Operation............112
Air Bag Warning Light.........109
Enhanced Accident Response .117, 217
Event Data Recorder (EDR)......217
Front Air Bag...............111
If Deployment Occurs.........116
Knee Impact Bolsters.........113
Maintaining Your Air Bag System . .118
Maintenance...............118
Redundant Air Bag Warning Light . .110
Transporting Pets............135
Air Bag Light...........64, 109, 137
Air Conditioning................47
Air Conditioning Filter............49
Air Conditioning, Operating Tips......48
Air Pressure
Tires....................240Alarm
Arm The System.............19
Disarm The System............19
Security Alarm............19, 68
All Wheel Drive (AWD)...........150
Alterations/Modifications
Vehicle....................4
Android Auto..........275, 281, 312
Apps....................284
Communication.............284
Maps...................283
Music...................284
Antifreeze (Engine Coolant)........260
Anti-Lock Brake System (ABS).......77
Anti-Lock Warning Light...........68
Apple CarPlay.........276, 285, 313
Apps....................287
Maps...................286
Messages
.................286
Music...................286
Phone...................286
Assist, Hill Start................79
Audio Systems (Radio)...........270
Automatic Headlights............34
Automatic High Beams...........34Automatic Tailgate Release.........56
Automatic Temperature Control (ATC) . . .48
Automatic Transaxle............146
Automatic Transmission..........148
Adding Fluid...............265
Fluid Level Check............234
Fluid Type................265
Autostick...................149
Auto Up Power Windows...........50
AUX Cord...................289
Auxiliary (Power Outlet)...........58
Battery..................66, 234
Charging System Light..........66
Belts, Seat..................136
Blind Spot Monitoring............88
Brake Assist System...........78, 91
Brake Control System............78
Brake Fluid..............233, 265
Brake System................232
Fluid Check............233, 265
Master Cylinder.............233
Parking..................142
Warning Light...............65
Brake/Transmission Interlock.......148
INDEX
333