2019 Hyundai Tucson display
[x] Cancel search: displayPage 204 of 546
3-113
Convenient features of your vehicle
3
Turn signals and lane change
signals
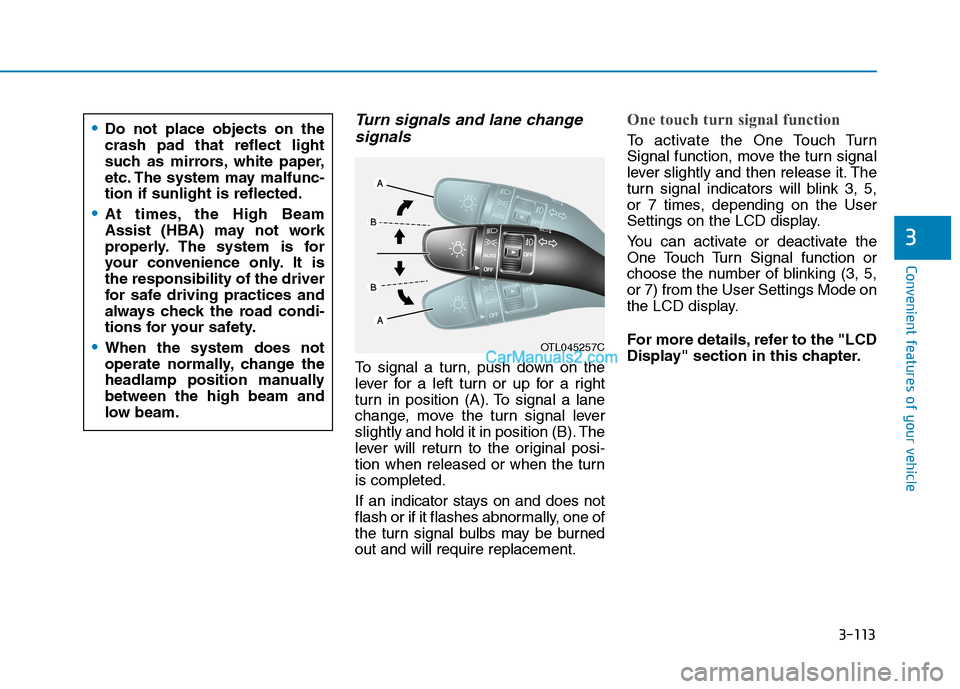
To signal a turn, push down on the
lever for a left turn or up for a right
turn in position (A). To signal a lane
change, move the turn signal lever
slightly and hold it in position (B). The
lever will return to the original posi-
tion when released or when the turn
is completed.
If an indicator stays on and does not
flash or if it flashes abnormally, one of
the turn signal bulbs may be burned
out and will require replacement.
One touch turn signal function
To activate the One Touch Turn
Signal function, move the turn signal
lever slightly and then release it. The
turn signal indicators will blink 3, 5,
or 7 times, depending on the User
Settings on the LCD display.
You can activate or deactivate the
One Touch Turn Signal function or
choose the number of blinking (3, 5,
or 7) from the User Settings Mode on
the LCD display.
For more details, refer to the "LCD
Display" section in this chapter.
OTL045257C
Do not place objects on the
crash pad that reflect light
such as mirrors, white paper,
etc. The system may malfunc-
tion if sunlight is reflected.
At times, the High Beam
Assist (HBA) may not work
properly. The system is for
your convenience only. It is
the responsibility of the driver
for safe driving practices and
always check the road condi-
tions for your safety.
When the system does not
operate normally, change the
headlamp position manually
between the high beam and
low beam.
Page 206 of 546
3-115
Convenient features of your vehicle
3
Headlamp delay function
If the key is removed from the ignition
switch or placed in the ACC position
or the LOCK/OFF position with the
headlamps ON, the headlamps
(and/or parking lamps) remain on for
about 5 minutes. However, if the dri-
ver's door is opened and closed, the
headlights are turned off after 15
seconds. Also, with the engine off if
the driver's door is opened and
closed, the headlamps (and/or park-
ing lamps) are turned off after 15
seconds.
The headlamps (and/or parking
lamps) can be turned off by pressing
the lock button on the remote key or
smart key twice or turning the light
switch to the OFF or AUTO position.
However, if you turn the light switch
to the AUTO position when it is dark
outside, the headlamps will not be
turned off.You can activate or deactivate the
Headlamp Delay function from the
User Settings Mode on the LCD dis-
play.
For more details, refer to the "LCD
Display" section in this chapter.
If the driver gets out of the vehicle
through other doors (except dri-
ver’s door), the battery saver func-
tion does not operate and the
headlamp delay function does not
turn off automatically. Therefore, It
causes the battery to be dis-
charged. In this case, make sure
to turn off the headlamp switch
before getting out of the vehicle.
Welcome System (if equipped)
Welcome light
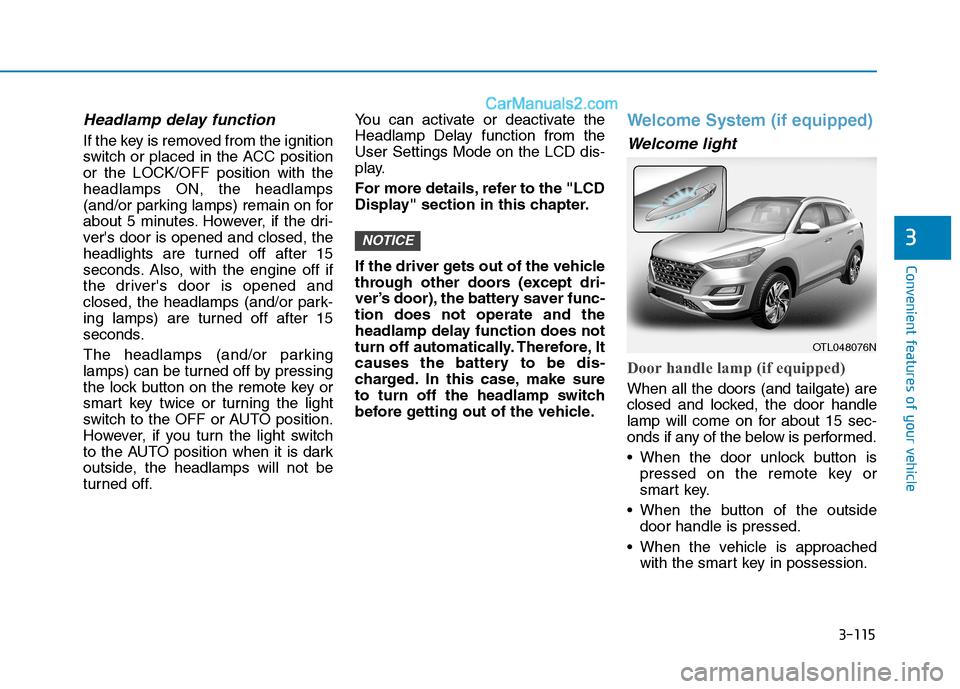
Door handle lamp (if equipped)
When all the doors (and tailgate) are
closed and locked, the door handle
lamp will come on for about 15 sec-
onds if any of the below is performed.
When the door unlock button is
pressed on the remote key or
smart key.
When the button of the outside
door handle is pressed.
When the vehicle is approached
with the smart key in possession.
NOTICE
OTL048076N
Page 207 of 546
3-116
Convenient features of your vehicle
Headlamp and Parking lamp
When the headlamp (lamp switch in
the headlamp or AUTO position) is
on and all doors (and tailgate) are
locked and closed, the parking lamp
and headlamp will come on for 15
seconds when the door unlock but-
ton is pressed on the remote key or
smart key.
At this time, if you press the door lock
or unlock button, the parking lamp
and headlamp will turn off immedi-
ately.
You can activate or deactivate the
Welcome Light from the User
Settings Mode on the LCD display.
For more details, refer to the "LCD
Display" section in this chapter.
Interior lamp
When the interior lamp switch is in
the DOOR position and all doors (and
tailgate) are closed and locked, the
room lamp will come on for 30 sec-
onds if any of the below is performed.
When the door unlock button is
pressed on the remote key or
smart key.
When the button of the outside
door handle is pressed.
At this time, if you press the door lock
or unlock button on the remote key or
smart keythe room lamp will turn off
immediately.
Interior Lights
Do not use the interior lights for
extended periods when the engine
is turned off or the battery will dis-
charge.
NOTICE
Do not use the interior lights
when driving in the dark. The inte-
rior lights may obscure your view
and cause an accident.
WARNING
Page 214 of 546
3-123
Convenient features of your vehicle
3
To prevent possible damage to
the washer pump, do not oper-
ate the washer when the fluid
reservoir is empty.
To prevent possible damage to
the wipers or windshield, do not
operate the wipers when the
windshield is dry.
To prevent damage to the wiper
arms and other components, do
not attempt to move the wipers
manually.
To prevent possible damage to
the wipers and washer system,
use anti-freezing washer fluids
in the winter season or cold
weather.
Rear Window Wiper and
Washer Switch
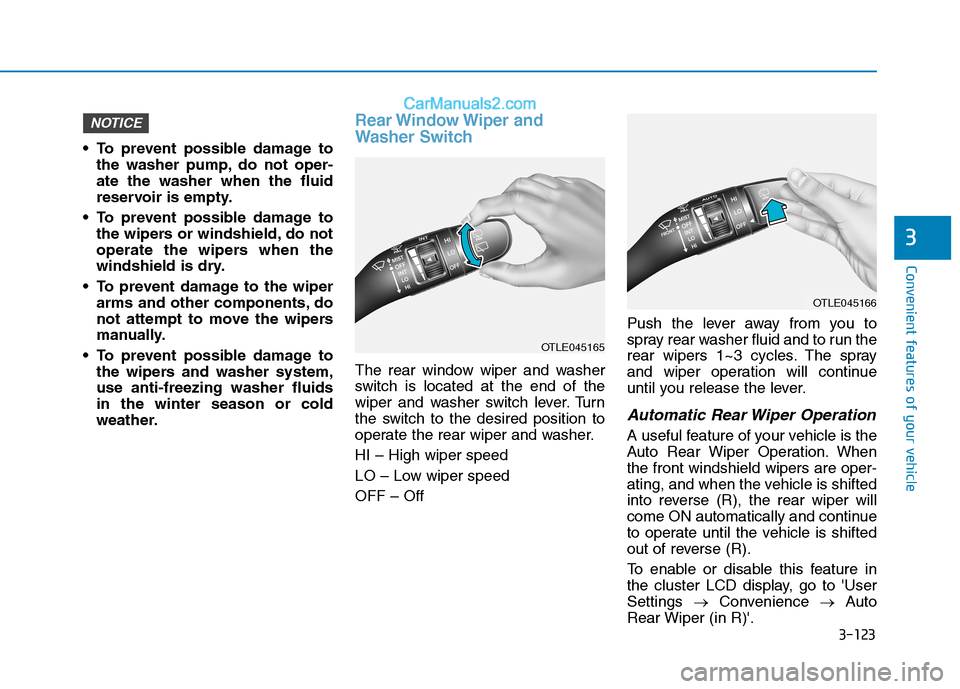
The rear window wiper and washer
switch is located at the end of the
wiper and washer switch lever. Turn
the switch to the desired position to
operate the rear wiper and washer.
HI – High wiper speed
LO – Low wiper speed
OFF – OffPush the lever away from you to
spray rear washer fluid and to run the
rear wipers 1~3 cycles. The spray
and wiper operation will continue
until you release the lever.
Automatic Rear Wiper Operation
A useful feature of your vehicle is the
Auto Rear Wiper Operation. When
the front windshield wipers are oper-
ating, and when the vehicle is shifted
into reverse (R), the rear wiper will
come ON automatically and continue
to operate until the vehicle is shifted
out of reverse (R).
To enable or disable this feature in
the cluster LCD display, go to 'User
Settings →Convenience →Auto
Rear Wiper (in R)'.
NOTICE
OTLE045165
OTLE045166
Page 229 of 546
3-138
Convenient features of your vehicle
Automatic Heating and Air
Conditioning
The Automatic Climate Control
System is controlled by setting the
desired temperature.
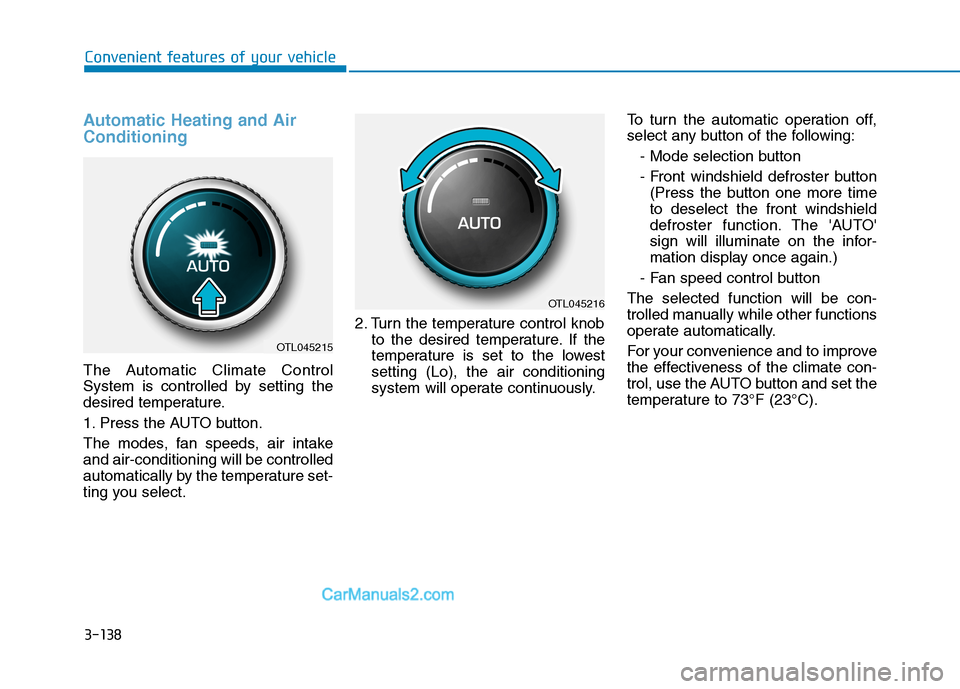
1. Press the AUTO button.
The modes, fan speeds, air intake
and air-conditioning will be controlled
automatically by the temperature set-
ting you select.2. Turn the temperature control knob
to the desired temperature. If the
temperature is set to the lowest
setting (Lo), the air conditioning
system will operate continuously.To turn the automatic operation off,
select any button of the following:
- Mode selection button
- Front windshield defroster button
(Press the button one more time
to deselect the front windshield
defroster function. The 'AUTO'
sign will illuminate on the infor-
mation display once again.)
- Fan speed control button
The selected function will be con-
trolled manually while other functions
operate automatically.
For your convenience and to improve
the effectiveness of the climate con-
trol, use the AUTO button and set the
temperature to 73°F (23°C).
OTL045215
OTL045216
Page 234 of 546
3-143
Convenient features of your vehicle
3
Adjusting the driver and passenger
side temperature equally
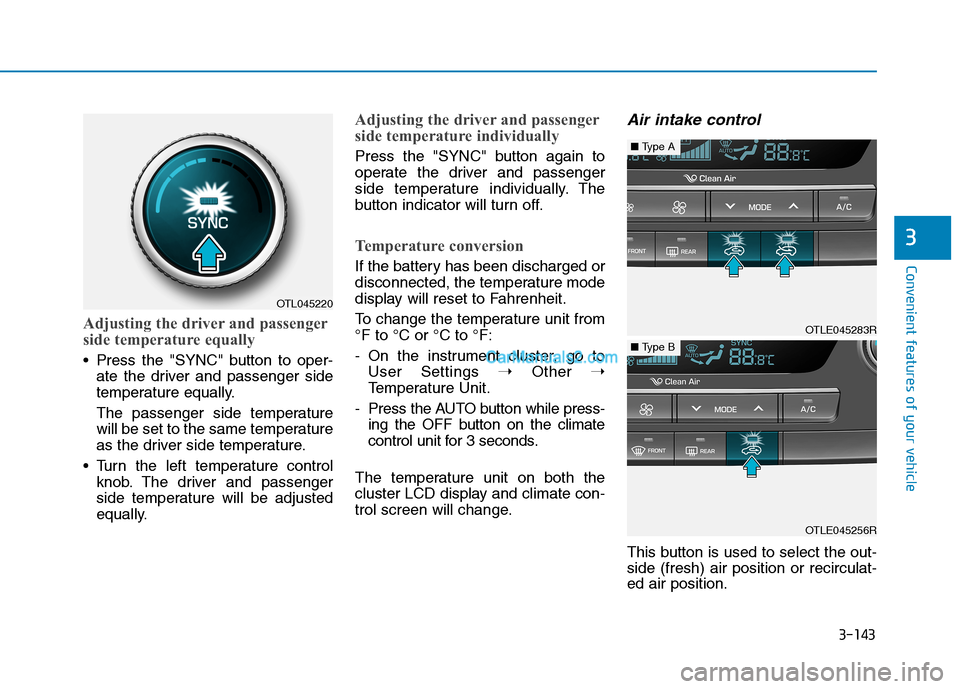
Press the "SYNC" button to oper-
ate the driver and passenger side
temperature equally.
The passenger side temperature
will be set to the same temperature
as the driver side temperature.
Turn the left temperature control
knob. The driver and passenger
side temperature will be adjusted
equally.
Adjusting the driver and passenger
side temperature individually
Press the "SYNC" button again to
operate the driver and passenger
side temperature individually. The
button indicator will turn off.
Temperature conversion
If the battery has been discharged or
disconnected, the temperature mode
display will reset to Fahrenheit.
To change the temperature unit from
°F to °C or °C to °F:
- On the instrument cluster, go to
User Settings ➝Other ➝
Temperature Unit.
- Press the AUTO button while press-
ing the OFF button on the climate
control unit for 3 seconds.
The temperature unit on both the
cluster LCD display and climate con-
trol screen will change.
Air intake control
This button is used to select the out-
side (fresh) air position or recirculat-
ed air position.
OTL045220
OTLE045283R
■Type A
OTLE045256R
■Type B
Page 238 of 546
3-147
Convenient features of your vehicle
3
Operation Tips
To keep dust or unpleasant fumes
from entering the car through the
ventilation system, temporarily set
the air intake control to the recircu-
lated air position. Return the con-
trol to the fresh air position when
the dust or odor has dissipated.
This will help keep the driver alert
and comfortable.
To prevent the inside of the wind-
shield from fogging, set the air
intake control to the fresh air posi-
tion and fan speed to the desired
position, turn on the air conditioning
system, and adjust the temperature
control to desired temperature.
Air conditioning
Your HYUNDAI vehicle air condition-
ing system is filled with R-1234yf
refrigerant.
1. Start the engine.
2. Press the air conditioning button.
3. Select the Face Level mode.
4. Set the air intake control to the
recirculated air position. However,
prolonged operation of the recircu-
lated air position will excessively
dry the air. In this case, switch the
air intake control to the outside
(fresh) air position.
5. Adjust the fan speed control and
temperature control to maintain
maximum comfort.
When maximum cooling is desired,
rotate the temperature control knob
until the temperature display indi-
cates Lo. Then set the fan speed
control button to the highest speed.When using the air conditioning
system, monitor the engine tem-
perature gauge closely while driv-
ing up hills or in heavy traffic
when outside temperatures are
high. Air conditioning system
operation can cause engine over-
heating. Continue to use the blow-
er fan, but turn the air condition-
ing system off if the engine tem-
perature gauge indicates engine
overheating.
NOTICE
Page 241 of 546
3-150
Convenient features of your vehicle
W WI
IN
ND
DS
SH
HI
IE
EL
LD
D
D
DE
EF
FR
RO
OS
ST
TI
IN
NG
G
A
AN
ND
D
D
DE
EF
FO
OG
GG
GI
IN
NG
G
For maximum windshield defrost-
ing, set the temperature control
knob to the highest temperature
setting and the fan control knob to
the highest fan speed. Select the
front defrost button on the climate
control display. After the engine
warm-up period, warm air will be
directed to the front windshield.
If warm air to the floor is desired
while defrosting or defogging, set the
mode to the floor-defrost position.
Before driving, clear all snow and
ice from the windshield, rear win-
dow, side view mirrors, and all side
windows.
Clear all snow and ice from the
hood and air inlet in the cowl grill to
improve heater and defroster effi-
ciency and to reduce the probability
of fogging up the inside of the wind-
shield.
If the engine temperature is still
cold after starting, then a brief
engine warm up period may be
required for the vented air flow to
become warm or hot.Manual Climate Control System
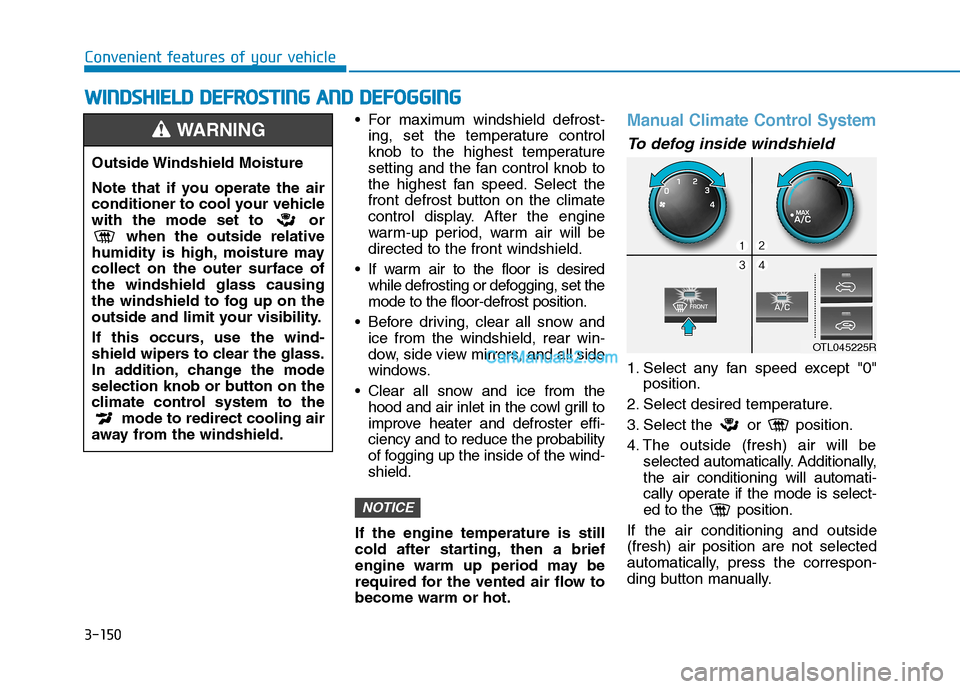
To defog inside windshield
1. Select any fan speed except "0"
position.
2. Select desired temperature.
3. Select the or position.
4. The outside (fresh) air will be
selected automatically. Additionally,
the air conditioning will automati-
cally operate if the mode is select-
ed to the position.
If the air conditioning and outside
(fresh) air position are not selected
automatically, press the correspon-
ding button manually.
NOTICE
Outside Windshield Moisture
Note that if you operate the air
conditioner to cool your vehicle
with the mode set to or
when the outside relative
humidity is high, moisture may
collect on the outer surface of
the windshield glass causing
the windshield to fog up on the
outside and limit your visibility.
If this occurs, use the wind-
shield wipers to clear the glass.
In addition, change the mode
selection knob or button on the
climate control system to the
mode to redirect cooling air
away from the windshield.
WARNING
OTL045225R