2019 Hyundai Sonata automatic transmission
[x] Cancel search: automatic transmissionPage 301 of 522
5-51
Driving your vehicle
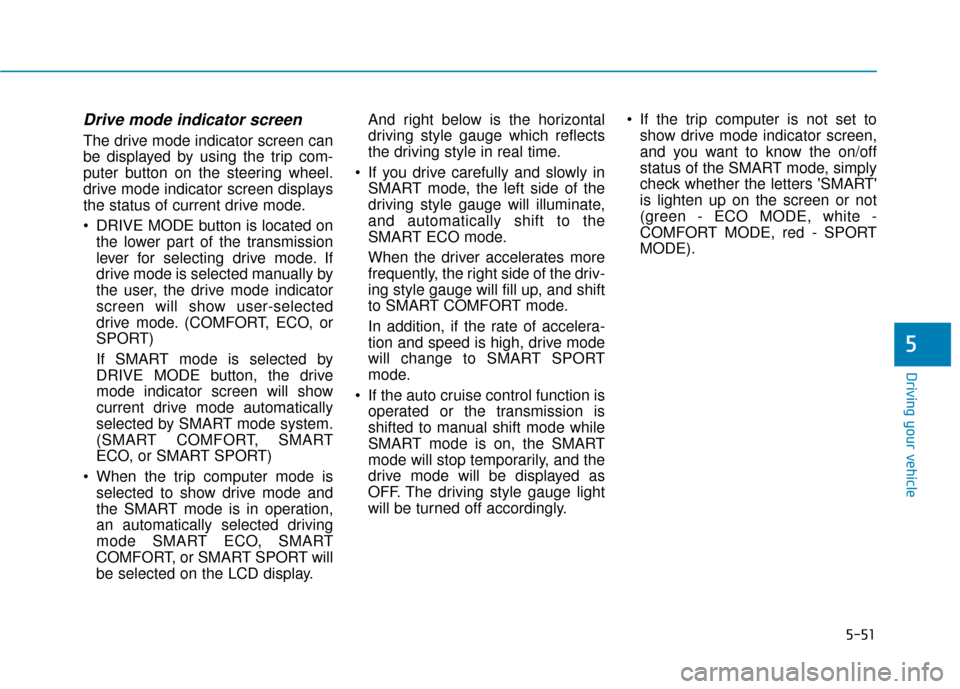
Drive mode indicator screen
The drive mode indicator screen can
be displayed by using the trip com-
puter button on the steering wheel.
drive mode indicator screen displays
the status of current drive mode.
DRIVE MODE button is located onthe lower part of the transmission
lever for selecting drive mode. If
drive mode is selected manually by
the user, the drive mode indicator
screen will show user-selected
drive mode. (COMFORT, ECO, or
SPORT)
If SMART mode is selected by
DRIVE MODE button, the drive
mode indicator screen will show
current drive mode automatically
selected by SMART mode system.
(SMART COMFORT, SMART
ECO, or SMART SPORT)
When the trip computer mode is selected to show drive mode and
the SMART mode is in operation,
an automatically selected driving
mode SMART ECO, SMART
COMFORT, or SMART SPORT will
be selected on the LCD display. And right below is the horizontal
driving style gauge which reflects
the driving style in real time.
If you drive carefully and slowly in SMART mode, the left side of the
driving style gauge will illuminate,
and automatically shift to the
SMART ECO mode.
When the driver accelerates more
frequently, the right side of the driv-
ing style gauge will fill up, and shift
to SMART COMFORT mode.
In addition, if the rate of accelera-
tion and speed is high, drive mode
will change to SMART SPORT
mode.
If the auto cruise control function is operated or the transmission is
shifted to manual shift mode while
SMART mode is on, the SMART
mode will stop temporarily, and the
drive mode will be displayed as
OFF. The driving style gauge light
will be turned off accordingly. If the trip computer is not set to
show drive mode indicator screen,
and you want to know the on/off
status of the SMART mode, simply
check whether the letters 'SMART'
is lighten up on the screen or not
(green - ECO MODE, white -
COMFORT MODE, red - SPORT
MODE).
5
Page 303 of 522
5-53
Driving your vehicle
The driving mode automaticallychanges to SMART SPORT, when
you abruptly accelerate the vehicle
or repetitively operate the steering
wheel (Your driving is categorized
to be sporty.). In this mode, your
vehicle drives in a lower gear for
abrupt accelerating/decelerating
and increases the engine brake
performance.
You may still sense the engine braking performance, even when
you release the accelerator pedal
in SMART SPORT mode. It is
because your vehicle remains in
lower gear over a certain period of
time for next acceleration. Thus, it
is a normal driving situation, not
indicating any malfunction.
The driving mode automatically changes to SMART SPORT mode
only in harsh driving situations. In
most of the normal driving situa-
tions, the driving mode sets to be
either in SMART ECO mode or in
SMART NORMAL mode.Limitation of SMART mode
The SMART mode may be limited in
following situations. (The OFF indica-
tor illuminates in those situations.)
The driver manually moves theshift lever :
It deactivates SMART mode. The
vehicle drives, as the driver manu-
ally moves the shift lever.
The cruise control is activated : The cruise control system may
deactivate the SMART mode when
the vehicle is controlled by the set
speed of the smart cruise control
system. (SMART mode is not deac-
tivated just by activating the cruise
control system.)
The transmission oil temperature is either extremely low or extremely
high :
The SMART mode can be active in
most of the normal driving situa-
tions. However, an extremely high/
low transmission oil temperature
may temporarily deactivate the
SMART mode, because the trans-
mission condition is out of normal
operation condition.
5
Page 359 of 522
5-109
Driving your vehicle
5
Hazardous Driving Conditions
When hazardous driving conditions
are encountered such as water,
snow, ice, mud or sand:
Drive cautiously and allow extra dis-
tance for braking.
Avoid sudden movements in braking
or steering.
If stuck in snow, mud, or sand, use
second gear. Accelerate slowly to
avoid spinning the drive wheels.
Use sand, rock salt, or other non-slip
material under the drive wheels to
provide traction when stuck in ice,
snow, or mud.
Rocking the Vehicle
If it is necessary to rock the vehicle
to free it from snow, sand, or mud,
first turn the steering wheel right and
left to clear the area around your
front wheels. Then, shift back and
forth between R (Reverse) and a for-
ward gear.
Try to avoid spinning the wheels, and
do not race the engine.
To prevent transmission wear, wait
until the wheels stop spinning before
shifting gears. Release the accelera-
tor pedal while shifting, and press
lightly on the accelerator pedal while
the transmission is in gear. Slowly
spinning the wheels in forward and
reverse directions causes a rocking
motion that may free the vehicle.If the tires spin at high speed the
tires can explode, and you or oth-
ers may be injured. Do not attempt
this procedure if people or objects
are anywhere near the vehicle.
The vehicle can overheat causing
an engine compartment fire or
other damage. Spin the wheels as
little as possible and avoid spin-
ning the wheels at speeds over 35
mph (56 km/h) as indicated on the
speedometer.
NOTICE
S S
P
P E
EC
CI
IA
A L
L
D
D R
RI
IV
V I
IN
N G
G
C
C O
O N
ND
DI
IT
T I
IO
O N
NS
S
Downshifting with an automatic
transmission while driving on
slippery surfaces can cause an
accident. The sudden change in
tire speed could cause the tires
to skid. Be careful when down-
shifting on slippery surfaces.
WARNING
Page 393 of 522
6-22
What to do in an emergency
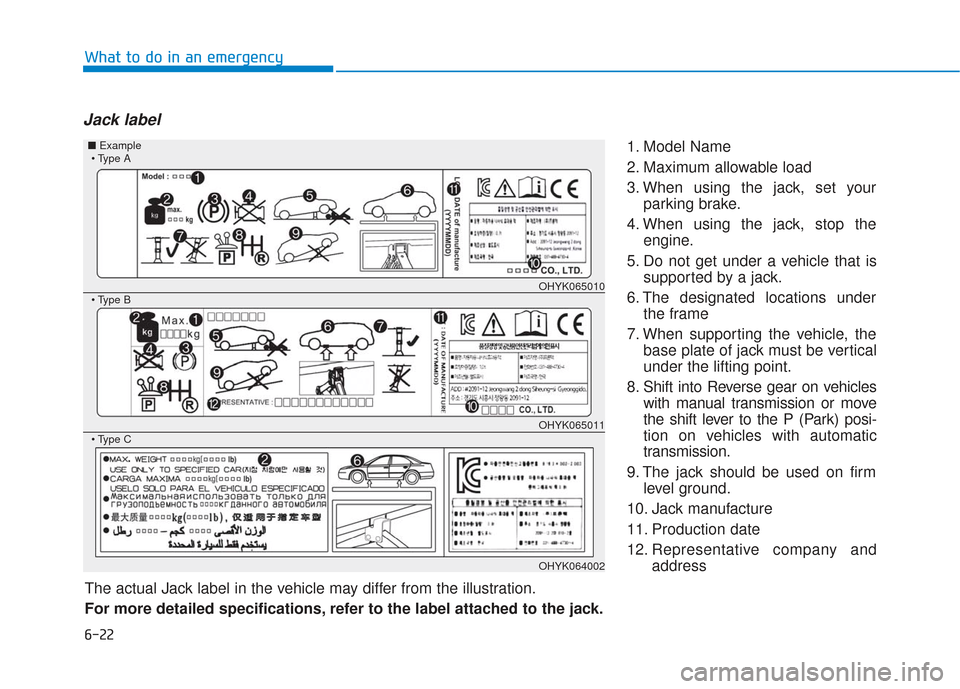
Jack label
1. Model Name
2. Maximum allowable load
3. When using the jack, set yourparking brake.
4. When using the jack, stop the engine.
5. Do not get under a vehicle that is supported by a jack.
6. The designated locations under the frame
7. When supporting the vehicle, the base plate of jack must be vertical
under the lifting point.
8. Shift into Reverse gear on vehicles with manual transmission or move
the shift lever to the P (Park) posi-
tion on vehicles with automatic
transmission.
9. The jack should be used on firm level ground.
10. Jack manufacture
11. Production date
12. Representative company and address
The actual Jack label in the vehicle may differ from the illustration.
For more detailed specifications, refer to the label attached to the jack.
OHYK065010
OHYK065011
OHYK064002
■ Example
Page 410 of 522

Always follow these emergency tow-
ing precautions:
Place the ignition switch in theACC position so the steering wheel
is not locked.
Place the shift lever in N (Neutral).
Release the parking brake.
Depress the brake pedal with more force than normal since you will
have reduced braking perform-
ance.
More steering effort will be required because the power steer-
ing system will be disabled.
Use a vehicle heavier than your own to tow your vehicle.
The drivers of both vehicles should communicate with each other fre-
quently.
Before emergency towing, check that the hook is not broken or dam-
aged.
Fasten the towing cable or chain securely to the hook.
Do not jerk the hook. Apply steady and even force. Use a towing cable or chain less
than 16 feet (5 m) long. Attach a
white or red cloth (about 12 inches
(30 cm) wide) in the middle of the
cable or chain for easy visibility.
Drive carefully so the towing cable or chain remains tight during tow-
ing.
Before towing, check the automat- ic transmission for fluid leaks under
your vehicle. If the automatic trans-
mission fluid is leaking, flatbed
equipment or a towing dolly must
be used.
ODH063025
To avoid damage to your vehicle
and vehicle components when
towing:
Always pull straight ahead
when using the towing hooks.
Do not pull from the side or at
a vertical angle.
Do not use the towing hooks
to pull a vehicle out of mud,
sand or other conditions from
which the vehicle cannot be
driven out under its own
power.
Limit the vehicle speed to 10
mph (15 km/h) and drive less
than 1 mile (1.5 km) when tow-
ing to avoid serious damage
to the automatic transmis-
sion.
CAUTION
What to do in an emergency
6-39
6
Page 411 of 522

7
Maintenance
7
Maintenance
Engine Compartment ............................................7-3
Maintenance Services ...........................................7-6
Owner's Responsibility .....................................................7-6
Owner Maintenance Precautions..................................7-6
Owner Maintenance ..............................................7-7
Owner Maintenance Schedule .......................................7-8
Scheduled Maintenance Services........................7-9
Normal Maintenance Schedule
(Gamma 1.6 T-GDI/Theta 2.0 T-GDI)..........................7-10
Maintenance Under Severe Usage Conditions
(Gamma 1.6 T-GDI/Theta 2.0 T-GDI)..........................7-13
Normal Maintenance Schedule (Theta 2.4 GDI) ......7-15
Maintenance Under Severe Usage Conditions
(Theta 2.4 GDI) .................................................................7-18
Explanation of Scheduled Maintenance Items ..7-20
Engine Oil and Filter.......................................................7-20
Drive Belts........................................................................\
.7-20
Fuel Filter ........................................................................\
..7-20
Fuel Lines, Fuel Hoses and Connections ..................7-20
Vapor Hose and Fuel Filler Cap ...................................7-20
Air Cleaner Filter .............................................................7-20
Spark Plugs .......................................................................7\
-20
Valve Clearance ...............................................................7-21
Cooling System ................................................................7-21
Engine Coolant .................................................................7-21 Automatic Transmission Fluid ......................................7-21
Ecoshift Dual Clutch Transmission Fluid ...................7-21
Brake hoses and Lines ..................................................7-22
Brake Fluid ........................................................................\
7-22
Parking Brake...................................................................7-22
Brake Discs, Pads, Calipers and Rotors .....................7-22
Exhaust Pipe and Muffler.............................................7-22
Suspension Mounting Bolts ..........................................7-22
Steering Gear Box, Linkage &
Boots/Lower Arm Ball Joint .........................................7-22
Drive Shafts and Boots .................................................7-22
Air Conditioning Refrigerant ........................................7-22
Engine Oil ..............................................................7-23
Checking the Engine Oil Level .....................................7-23
Checking the Engine Oil and Filter .............................7-25
Engine Coolant .....................................................7-26
Checking the Engine Coolant Level ............................7-26
Changing Engine Coolant ..............................................7-28
Brake Fluid ............................................................7-29
Checking the Brake Fluid Level ...................................7-29
Washer Fluid .........................................................7-30
Checking the Washer Fluid Level................................7-30
Parking Brake .......................................................7-30
Checking the Parking Brake .........................................7-30
7
Page 417 of 522
7-7
7
Maintenance
O
OW
W N
NE
ER
R
M
M A
AI
IN
N T
TE
EN
N A
AN
N C
CE
E
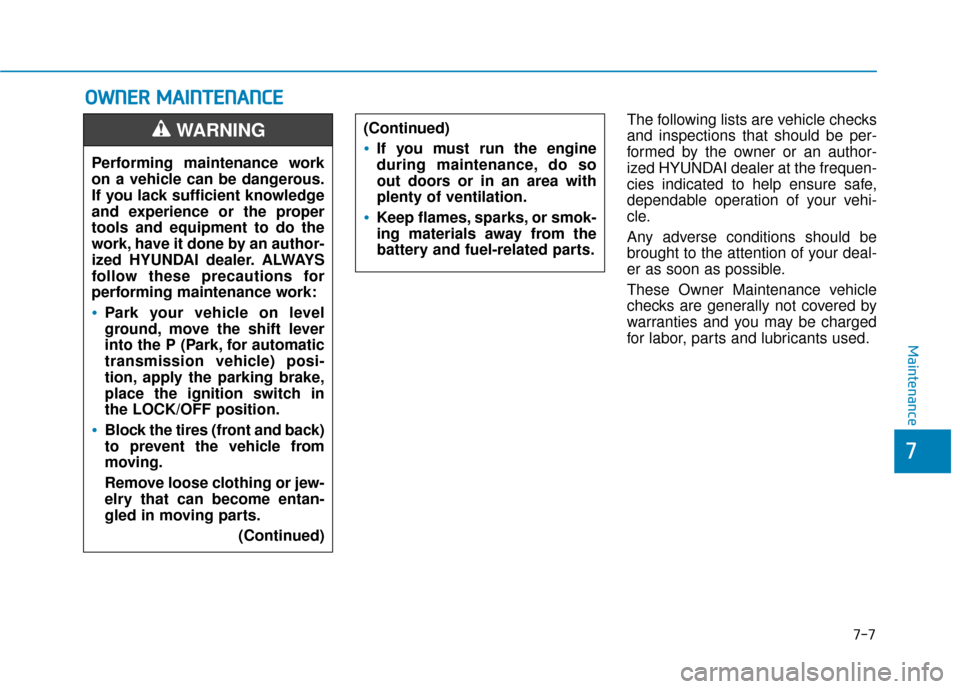
The following lists are vehicle checks
and inspections that should be per-
formed by the owner or an author-
ized HYUNDAI dealer at the frequen-
cies indicated to help ensure safe,
dependable operation of your vehi-
cle.
Any adverse conditions should be
brought to the attention of your deal-
er as soon as possible.
These Owner Maintenance vehicle
checks are generally not covered by
warranties and you may be charged
for labor, parts and lubricants used.
Performing maintenance work
on a vehicle can be dangerous.
If you lack sufficient knowledge
and experience or the proper
tools and equipment to do the
work, have it done by an author-
ized HYUNDAI dealer. ALWAYS
follow these precautions for
performing maintenance work:
Park your vehicle on level
ground, move the shift lever
into the P (Park, for automatic
transmission vehicle) posi-
tion, apply the parking brake,
place the ignition switch in
the LOCK/OFF position.
Block the tires (front and back)
to prevent the vehicle from
moving.
Remove loose clothing or jew-
elry that can become entan-
gled in moving parts.
(Continued)
WARNING (Continued)
If you must run the engine
during maintenance, do so
out doors or in an area with
plenty of ventilation.
Keep flames, sparks, or smok-
ing materials away from the
battery and fuel-related parts.
Page 418 of 522

7-8
Maintenance
Owner Maintenance Schedule
When you stop for fuel:
Check the engine oil level.
Check coolant level in the enginecoolant reservoir.
Check the windshield washer fluid level.
Check for low or under-inflated tires.
While operating your vehicle:
Note any changes in the sound ofthe exhaust or any smell of
exhaust fumes in the vehicle.
Check for vibrations in the steering wheel. Notice if there is any
increased steering effort or loose-
ness in the steering wheel, or
change in its straight-ahead posi-
tion.
Notice if your vehicle constantly turns slightly or "pulls" to one side
when traveling on smooth, level
road.
When stopping, listen and check for unusual sounds, pulling to one
side, increased brake pedal travel
or "hard-to-push" brake pedal.
If any slipping or changes in the operation of your transmission
occurs, check the transmission
fluid level.
Check the automatic transmission /ecoshift dual clutch transmission
P (Park) function.
Check the parking brake.
Check for fluid leaks under your vehicle (water dripping from the air
conditioning system during or after
use is normal).
At least monthly:
Check coolant level in the enginecoolant reservoir.
Check the operation of all exterior lights, including the stoplights, turn
signals and hazard warning flashers.
Check the inflation pressures of all tires including the spare for tires
that are worn, show uneven wear,
or are damaged.
Check for loose wheel lug nuts.
Be careful when checking your
engine coolant level when the
engine is hot. This may result in
coolant being blown out of the
opening and cause serious
burns and other injuries.
WARNING