2019 Hyundai Santa Fe XL audio
[x] Cancel search: audioPage 20 of 570

Your vehicle at a glance
62
INSTRUMENT PANEL OVERVIEW
ONC018006❈The actual shape may differ from the illustration. 1. Lighting control lever .........................4-121
2. Audio remote control buttons ............4-177
3. Cruise control button ...........................5-67
4. LCD display control buttons ................4-77
5. Horn.....................................................4-59
6. Driver’s front air bag ............................3-66
7. Wiper and washer control lever .........4-130
8. Ignition switch/
Engine start/stop button ...............5-7, 5-10
9. Audio/Video/Navigation (AVN) system ...............................................4-178
10. Hazard warning flasher ...................4-119
11. Climate control system.........4-139, 4-149
12. Passenger’s front air bag ..................3-66
13. Glove box ........................................4-162
Page 106 of 570
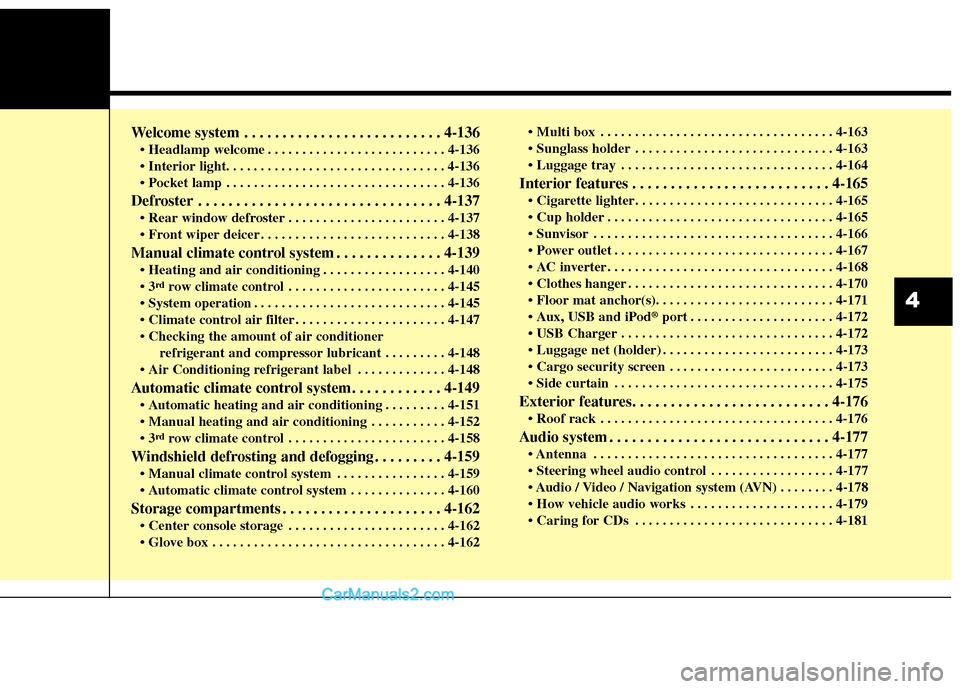
Welcome system . . . . . . . . . . . . . . . . . . . . . . . . . . 4-136
. . . . . . . . . . . . . . . . . . . . . . . . . . 4-136
. . . . . . . . . . . . . . . . . . . . . . . . . . . . . . . . 4-136
Defroster . . . . . . . . . . . . . . . . . . . . . . . . . . . . . . . . 4-137
. . . . . . . . . . . . . . . . . . . . . . . 4-137
. . . . . . . . . . . . . . . . . . . . . . . . . . . 4-138
Manual climate control system . . . . . . . . . . . . . . 4-139
. . . . . . . . . . . . . . . . . . 4-140
rdrow climate control . . . . . . . . . . . . . . . . . . . . . . . 4-145
. . . . . . . . . . . . . . . . . . . . . . . . . . . . 4-145
. . . . . . . . . . . . . . . . . . . . . . 4-147
refrigerant and compressor lubricant . . . . . . . . . 4-148
. . . . . . . . . . . . . 4-148
Automatic climate control system. . . . . . . . . . . . 4-149
. . . . . . . . . 4-151
. . . . . . . . . . . 4-152
rdrow climate control . . . . . . . . . . . . . . . . . . . . . . . 4-158
Windshield defrosting and defogging . . . . . . . . . 4-159
. . . . . . . . . . . . . . . . 4-159
. . . . . . . . . . . . . . 4-160
Storage compartments . . . . . . . . . . . . . . . . . . . . . 4-162
. . . . . . . . . . . . . . . . . . . . . . . 4-162
. . . . . . . . . . . . . . . . . . . . . . . . . . . . . . . . . . 4-16\
2 . . . . . . . . . . . . . . . . . . . . . . . . . . . . . . . . . . 4-16\
3
. . . . . . . . . . . . . . . . . . . . . . . . . . . . . 4-163
. . . . . . . . . . . . . . . . . . . . . . . . . . . . . . . 4-164
Interior features . . . . . . . . . . . . . . . . . . . . . . . . . . 4-165
. . . . . . . . . . . . . . . . . . . . . . . . . . . . . . . . . 4-165
. . . . . . . . . . . . . . . . . . . . . . . . . . . . . . . . . . . 4-\
166
. . . . . . . . . . . . . . . . . . . . . . . . . . . . . . . . 4-167
. . . . . . . . . . . . . . . . . . . . . . . . . . . . . . . . . 4-168
. . . . . . . . . . . . . . . . . . . . . . . . . . . . . . 4-170
USB and iPod
®port . . . . . . . . . . . . . . . . . . . . . 4-172
. . . . . . . . . . . . . . . . . . . . . . . . . . . . . . . 4-172
. . . . . . . . . . . . . . . . . . . . . . . . . 4-173
. . . . . . . . . . . . . . . . . . . . . . . . 4-173
. . . . . . . . . . . . . . . . . . . . . . . . . . . . . . . . 4-175
Exterior features. . . . . . . . . . . . . . . . . . . . . . . . . . 4-176
. . . . . . . . . . . . . . . . . . . . . . . . . . . . . . . . . . 4-17\
6
Audio system . . . . . . . . . . . . . . . . . . . . . . . . . . . . . 4-177
. . . . . . . . . . . . . . . . . . . . . . . . . . . . . . . . . . . 4-\
177
. . . . . . . . . . . . . . . . . . 4-177
. . . . . . . . 4-178
. . . . . . . . . . . . . . . . . . . . . 4-179
. . . . . . . . . . . . . . . . . . . . . . . . . . . . . 4-181
4
Page 171 of 570
Features of your vehicle
68
4
NVS®is a registered trademark and
Z-Nav™ is a trademark of the
Gentex Corporation, Zeeland,
Michigan. HomeLink
®is a registered
trademark owned by Johnson
Controls, Incorporated, Milwaukee,
Wisconsin.
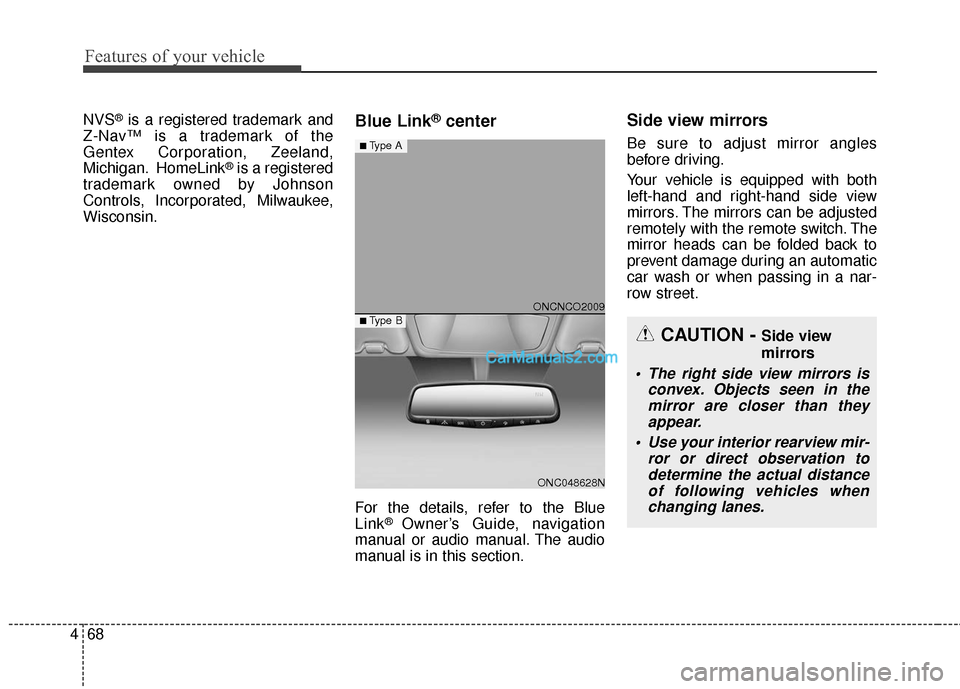
Blue Link®center
For the details, refer to the Blue
Link® Owner’s Guide, navigation
manual or audio manual. The audio
manual is in this section.
Side view mirrors
Be sure to adjust mirror angles
before driving.
Your vehicle is equipped with both
left-hand and right-hand side view
mirrors. The mirrors can be adjusted
remotely with the remote switch. The
mirror heads can be folded back to
prevent damage during an automatic
car wash or when passing in a nar-
row street.
CAUTION - Side view
mirrors
The right side view mirrors is convex. Objects seen in themirror are closer than theyappear.
Use your interior rearview mir- ror or direct observation todetermine the actual distanceof following vehicles whenchanging lanes.
ONCNCO2009
ONC048628N
■Type A
■ Type B
Page 271 of 570
Features of your vehicle
168
4
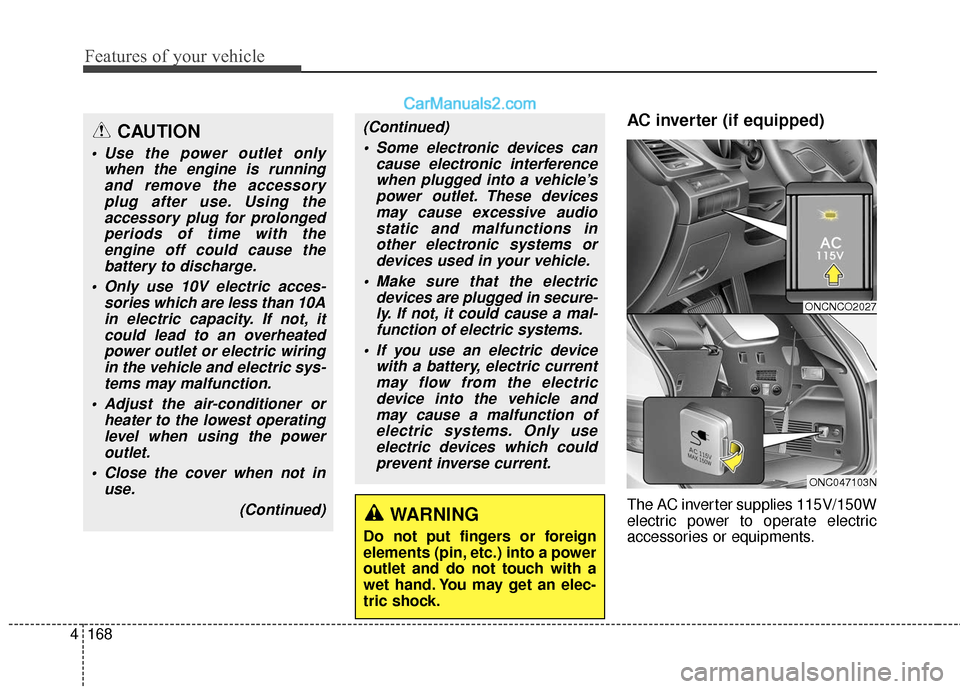
AC inverter (if equipped)
The AC inverter supplies 115V/150W
electric power to operate electric
accessories or equipments.
(Continued)
Some electronic devices can cause electronic interferencewhen plugged into a vehicle’spower outlet. These devicesmay cause excessive audiostatic and malfunctions inother electronic systems ordevices used in your vehicle.
Make sure that the electric devices are plugged in secure-ly. If not, it could cause a mal-function of electric systems.
If you use an electric device with a battery, electric currentmay flow from the electricdevice into the vehicle andmay cause a malfunction ofelectric systems. Only useelectric devices which couldprevent inverse current.
WARNING
Do not put fingers or foreign
elements (pin, etc.) into a power
outlet and do not touch with a
wet hand. You may get an elec-
tric shock.
CAUTION
Use the power outlet only when the engine is runningand remove the accessoryplug after use. Using theaccessory plug for prolongedperiods of time with theengine off could cause thebattery to discharge.
Only use 10V electric acces- sories which are less than 10Ain electric capacity. If not, itcould lead to an overheatedpower outlet or electric wiringin the vehicle and electric sys-tems may malfunction.
Adjust the air-conditioner or heater to the lowest operatinglevel when using the poweroutlet.
Close the cover when not in use.
(Continued)
ONCNCO2027
ONC047103N
Page 272 of 570
4169
Features of your vehicle
If you wish to use the AC
inverter,press the AC inverter button
while the engine is running. The light
on the AC inverter button will illumi-
nate.
If you press the AC inverter button
again, the AC inverter will be deacti-
vated and the light on the AC invert-
er button will turn off.
✽ ✽NOTICE
When turning on the AC inverter, the
indicator on the AC inverter button
is delayed while the system conducts
a self-check.
WARNING
To reduce a risk of serious or
fatal injuries:
Do not use a heated electric
device such as a coffeepot,
toaster, heater, iron, etc.
Do not insert foreign objects into the outlet and do not
touch the outlet as you may
get shocked.
Do not let children touch the AC inverter.
CAUTION
To prevent the battery from being discharged, do not usethe AC inverter while theengine is not running.
When not using the AC invert- er,make sure to turn off the ACinverter (the indicator on thebutton does not illuminate) andclose the AC inverter cover.
After using an electronic accessory or equipment, pullthe plug out. Leaving theaccessory or equipmentplugged in for a long time maycause battery discharge.
Do not use an electronic acces- sory or equipment with thepower consumption greaterthan 150W(115V).
(Continued)
(Continued) Some electronic accessories or equipments can cause elec-tronic interference. It maycause excessive audio noiseand malfunctions in otherelectronic systems or devicesin the vehicle.
Do not use broken electronic accessories or equipments,which may damage the ACinverter and electrical sys-tems of the vehicle.
Do not use two or more elec- tronic accessories or equip-ments at the same time. It maycause damage to the electricalsystems of the vehicle.
When the input voltage is lower, outlet LED will blink andthe AC inverter will turn offautomatically. If the input volt-age goes up to normal, the ACinverter will turn on again.
Do not use extensions or power strips.
(Continued)
Page 275 of 570
Features of your vehicle
172
4
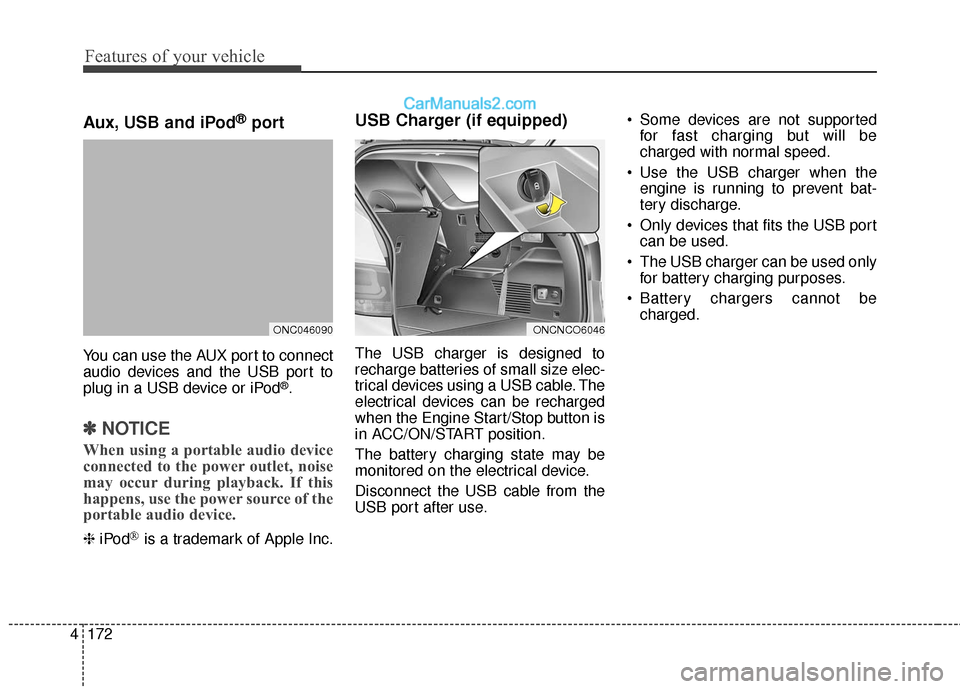
Aux, USB and iPod®port
You can use the AUX port to connect
audio devices and the USB port to
plug in a USB device or iPod
®.
✽ ✽
NOTICE
When using a portable audio device
connected to the power outlet, noise
may occur during playback. If this
happens, use the power source of the
portable audio device.
❈ iPod®is a trademark of Apple Inc.
USB Charger (if equipped)
The USB charger is designed to
recharge batteries of small size elec-
trical devices using a USB cable. The
electrical devices can be recharged
when the Engine Start/Stop button is
in ACC/ON/START position.
The battery charging state may be
monitored on the electrical device.
Disconnect the USB cable from the
USB port after use. Some devices are not supported
for fast charging but will be
charged with normal speed.
Use the USB charger when the engine is running to prevent bat-
tery discharge.
Only devices that fits the USB port can be used.
The USB charger can be used only for battery charging purposes.
Battery chargers cannot be charged.
ONCNCO6046ONC046090
Page 280 of 570
4177
Features of your vehicle
✽
✽NOTICE
• If you install an aftermarket HID
headlamp, your vehicle's audio
and electronic device may mal-
function.
• Prevent chemicals such as per- fume, cosmetic oil, sun cream,
hand cleaner, and air freshener
from contacting the interior parts
because they may cause damage
or discoloration.
Antenna
Roof antenna
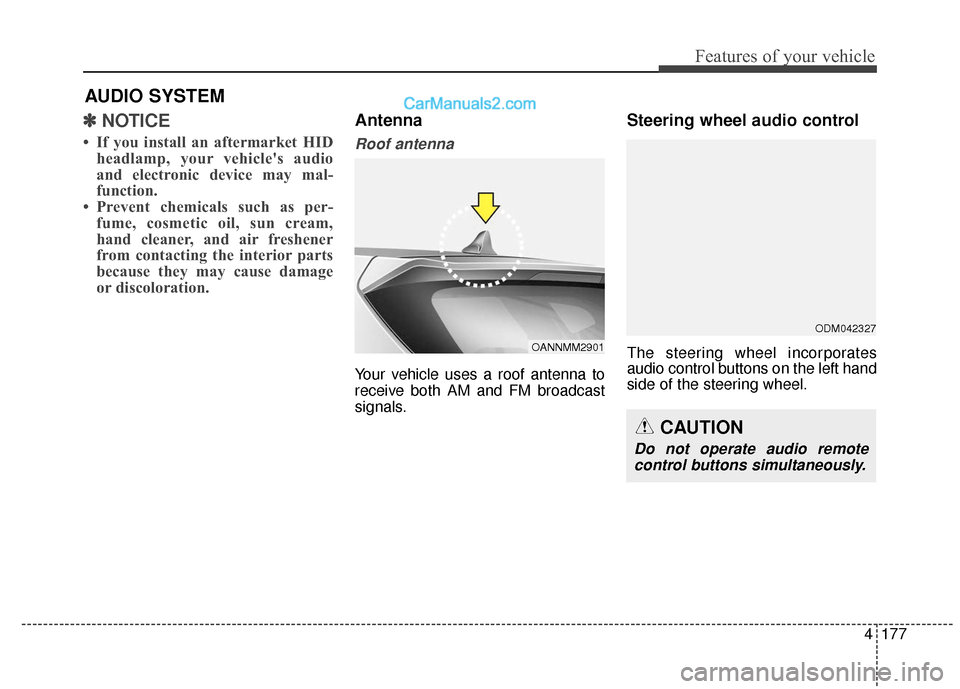
Your vehicle uses a roof antenna to
receive both AM and FM broadcast
signals.
Steering wheel audio control
The steering wheel incorporates
audio control buttons on the left hand
side of the steering wheel.
AUDIO SYSTEM
OANNMM2901
CAUTION
Do not operate audio remote
control buttons simultaneously.
ODM042327
Page 281 of 570
Features of your vehicle
178
4
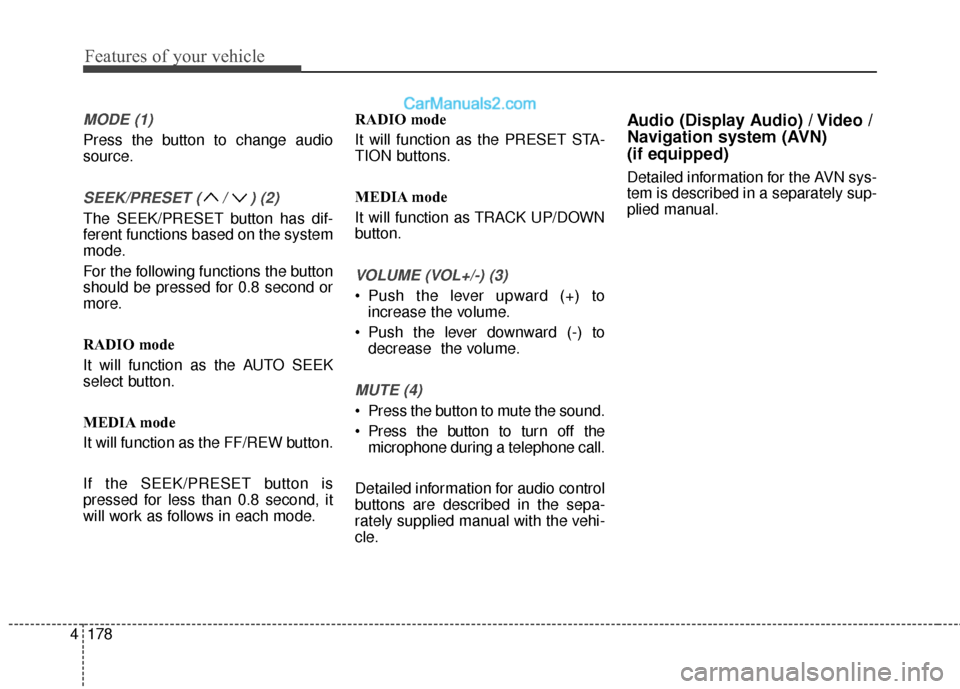
MODE (1)
Press the button to change audio
source.
SEEK/PRESET ( / ) (2)
The SEEK/PRESET button has dif-
ferent functions based on the system
mode.
For the following functions the button
should be pressed for 0.8 second or
more.
RADIO mode
It will function as the AUTO SEEK
select button.
MEDIA mode
It will function as the FF/REW button.
If the SEEK/PRESET button is
pressed for less than 0.8 second, it
will work as follows in each mode. RADIO mode
It will function as the PRESET STA-
TION buttons.
MEDIA mode
It will function as TRACK UP/DOWN
button.
VOLUME (VOL+/-) (3)
• Push the lever upward (+) to
increase the volume.
Push the lever downward (-) to decrease the volume.
MUTE (4)
Press the button to mute the sound.
Press the button to turn off themicrophone during a telephone call.
Detailed information for audio control
buttons are described in the sepa-
rately supplied manual with the vehi-
cle.
Audio (Display Audio) / Video /
Navigation system (AVN)
(if equipped)
Detailed information for the AVN sys-
tem is described in a separately sup-
plied manual.