2019 Hyundai Santa Fe side mirror
[x] Cancel search: side mirrorPage 13 of 557
1-2
E
EX
X T
TE
ER
R I
IO
O R
R
O
O V
VE
ER
R V
V I
IE
E W
W
Your vehicle at a glance
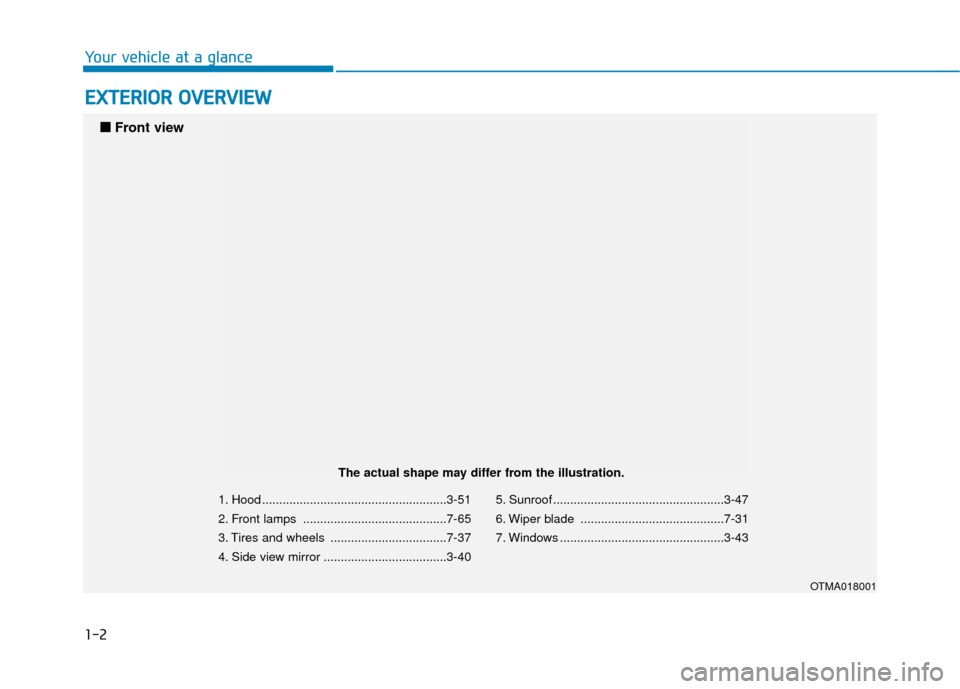
1. Hood ......................................................3-51
2. Front lamps ..........................................7-65
3. Tires and wheels ..................................7-37
4. Side view mirror ....................................3-40 5. Sunroof ..................................................3-47
6. Wiper blade ..........................................7-31
7. Windows ................................................3-43
OTMA018001
■
■
Front view
The actual shape may differ from the illustration.
Page 15 of 557
1-4
Your vehicle at a glance
I
IN
N T
TE
ER
R I
IO
O R
R
O
O V
VE
ER
R V
V I
IE
E W
W
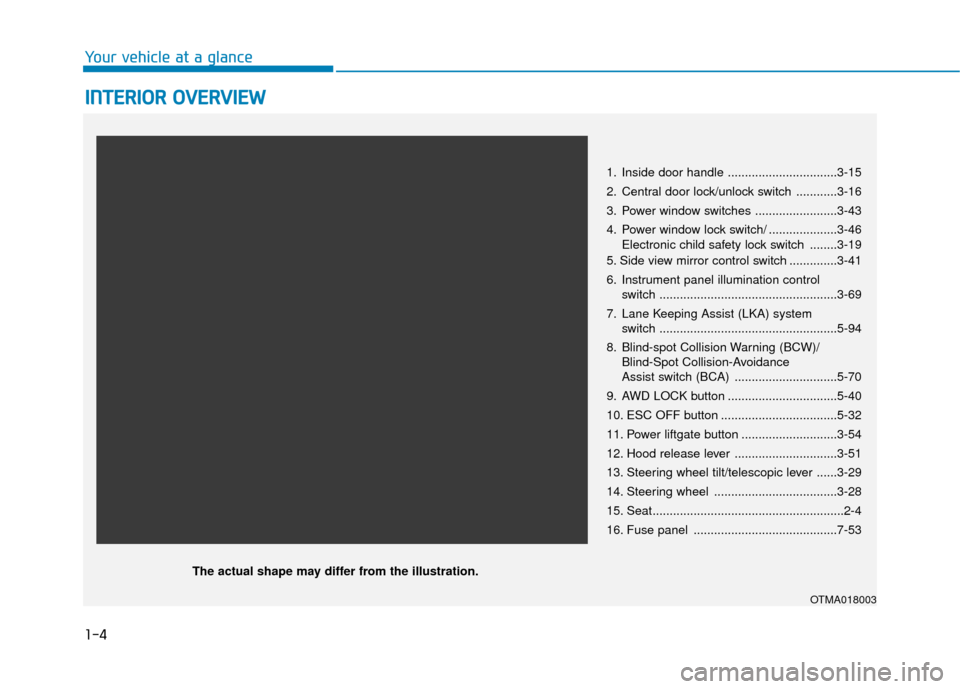
1. Inside door handle ................................3-15
2. Central door lock/unlock switch ............3-16
3. Power window switches ........................3-43
4. Power window lock switch/ ....................3-46
Electronic child safety lock switch ........3-19
5. Side view mirror control switch ..............3-41
6. Instrument panel illumination control switch ....................................................3-69
7. Lane Keeping Assist (LKA) system switch ....................................................5-94
8. Blind-spot Collision Warning (BCW)/ Blind-Spot Collision-Avoidance
Assist switch (BCA) ..............................5-70
9. AWD LOCK button ................................5-40
10. ESC OFF button ..................................5-32
11. Power liftgate button ............................3-54
12. Hood release lever ..............................3-51
13. Steering wheel tilt/telescopic lever ......3-29
14. Steering wheel ....................................3-28
15. Seat........................................................2-4
16. Fuse panel ..........................................7-53
OTMA018003
The actual shape may differ from the illustration.
Page 90 of 557
Convenient features of your vehicle
Accessing Your Vehicle .........................................3-4
Remote Key........................................................................\
.3-4
Smart Key ........................................................................\
....3-7
Immobilizer System .........................................................3-12
Door Locks ............................................................3-14
Operating Door Locks from Outside the Vehicle ....3-14
Operating Door Locks from Inside the Vehicle .......3-15
Automatic Door Lock and Unlock Features .............3-18
Child-Protector Rear Door Locks ...............................3-19
Electronic Child Safety Lock System .........................3-19
Safe Exit Assist (SEA) System .....................................3-20
Rear Occupant Alert (ROA) System ...........................3-22
Theft-Alarm System ............................................3-24
Driver Position Memory System ........................3-25
Storing Positions into Memory ..................................3-25
Recalling Positions from Memory...............................3-26
Resetting the Driver's Seat Memory System...........3-26
Easy Access Function ....................................................3-27
Steering Wheel .....................................................3-28
Electric Power Steering (EPS) .....................................3-28
Tilt Steering / Telescopic Steering .............................3-29
Horn ........................................................................\
............3-29
Heated Steering Wheel ..................................................3-30
Mirrors ...................................................................3-30
Inside Rearview Mirror ..................................................3-30
Side View Mirrors ...........................................................3-40
Reverse Parking Aid Function......................................3-41
Windows ................................................................3-43
Power Windows ...............................................................3-44
Panoramic Sunroof ..............................................3-47
Sunshade ........................................................................\
...3-48
Sliding the Sunroof .........................................................3-48
Tilting the Sunroof .........................................................3-49
Closing the Sunroof........................................................3-49
Resetting the Sunroof ...................................................3-50
Sunroof Open Warning ..................................................3-50
Exterior Features .................................................3-51
Hood ........................................................................\
...........3-51
Non-Powered Liftgate ...................................................3-52
Power Liftgate .................................................................3-54
Smart Liftgate ..................................................................3-61
Fuel Filler Door ................................................................3-64
Instrument Cluster ...............................................3-68
Instrument Cluster Control............................................3-69
Gauges and Meters ........................................................3-70
Transmission Shift Indicator .........................................3-73
Warning and Indicator Lights .......................................3-74
LCD Display Messages ...................................................3-87
3
Page 114 of 557
3-25
Convenient features of your vehicle
3
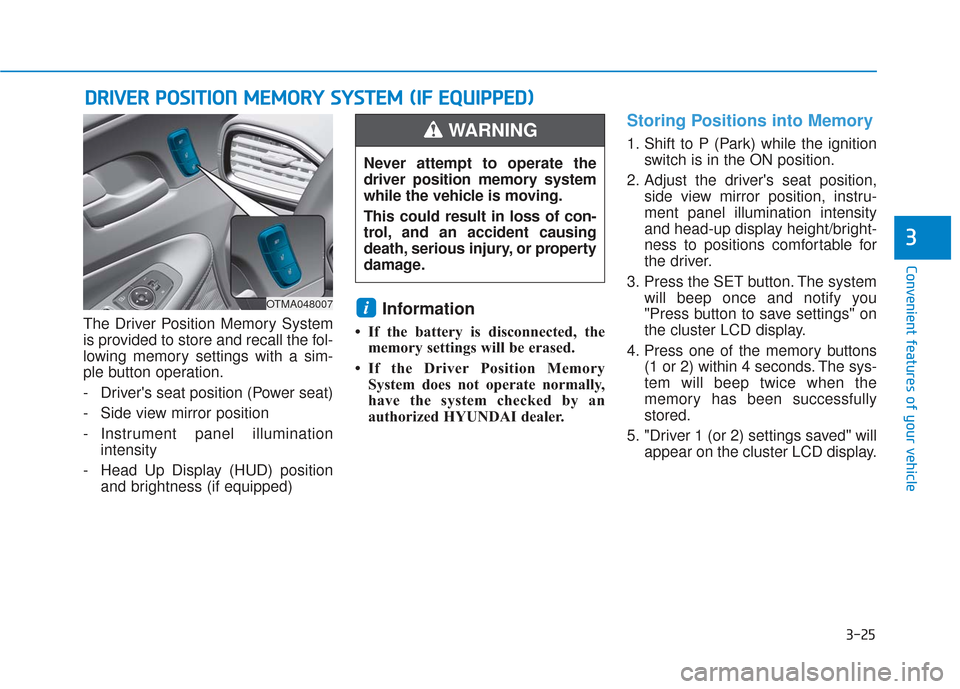
The Driver Position Memory System
is provided to store and recall the fol-
lowing memory settings with a sim-
ple button operation.
- Driver's seat position (Power seat)
- Side view mirror position
- Instrument panel illuminationintensity
- Head Up Display (HUD) position and brightness (if equipped)Information
• If the battery is disconnected, thememory settings will be erased.
• If the Driver Position Memory System does not operate normally,
have the system checked by an
authorized HYUNDAI dealer.
Storing Positions into Memory
1. Shift to P (Park) while the ignition switch is in the ON position.
2. Adjust the driver's seat position, side view mirror position, instru-
ment panel illumination intensity
and head-up display height/bright-
ness to positions comfortable for
the driver.
3. Press the SET button. The system will beep once and notify you
"Press button to save settings" on
the cluster LCD display.
4. Press one of the memory buttons (1 or 2) within 4 seconds. The sys-
tem will beep twice when the
memory has been successfully
stored.
5. "Driver 1 (or 2) settings saved" will appear on the cluster LCD display.
i
D DR
RI
IV
V E
ER
R
P
P O
O S
SI
IT
T I
IO
O N
N
M
M E
EM
M O
OR
RY
Y
S
S Y
Y S
ST
T E
EM
M
(
( I
IF
F
E
E Q
Q U
UI
IP
P P
PE
ED
D )
)
OTMA048007
Never attempt to operate the
driver position memory system
while the vehicle is moving.
This could result in loss of con-
trol, and an accident causing
death, serious injury, or property
damage.
WARNING
Page 115 of 557
3-26
Convenient features of your vehicle
Recalling Positions from
Memory
1. Shift to P (Park) while the ignitionswitch is in the ON position.
2. Press the desired memory button (1 or 2). The system will beep
once, and then the driver's seat
position, side view mirror position,
instrument panel illumination
intensity and head-up display
height/brightness will automatical-
ly adjust to the stored positions.
3. "Driver 1 (or 2) settings applied" will appear on the cluster LCD dis-
play.
Information
• While recalling the "1" memoryposition, pressing the SET or 1 but-
ton temporarily stops the adjust-
ment of the recalled memory posi-
tion. Pressing the 2 button recalls
the "2" memory position. • While recalling the "2" memory
position, pressing the SET or 2 but-
ton temporarily stops the adjust-
ment of the recalled memory posi-
tion. Pressing the 1 button recalls
the "1" memory position.
• While recalling the stored positions, pressing one of the control buttons
for the driver's seat, side view mir-
ror, instrument panel illumination
or head-up display will cause the
movement of that component to stop
and move in the direction that the
control button is pressed.
Resetting the Driver's Seat
Memory System
Take the following procedures to reset
the driver's seat memory system,
when it does not operate properly.
To reset the driver's seat memo-ry system
1. Place the ignition switch to the ON
position, shift to P (Park), and
open the driver's door. 2. Operate the control switch to set
the driver's seat and seatback to
the foremost position.
3. Simultaneously press the SET button and push forward the seat
movement switch over 2 seconds.
While resetting the driver's seatmemory system
1. It starts with the notification sound.
2. The driver's seat and seatback is
adjusted to the rearward position
with the notification sound.
3. The driver's seat and seatback is re-adjusted to the default position
(central position) with the notifica-
tion sound.
However, in the following cases, the
resetting procedure and the notifica-
tion sound may stop.
- The memory button is pressed.
- The control switch is operated.
- The gear is shifted out of P (Park).
- The driving speed exceeds 2 mph (3 km/h).
- The driver's door is closed.
i
Page 119 of 557
3-30
Convenient features of your vehicle
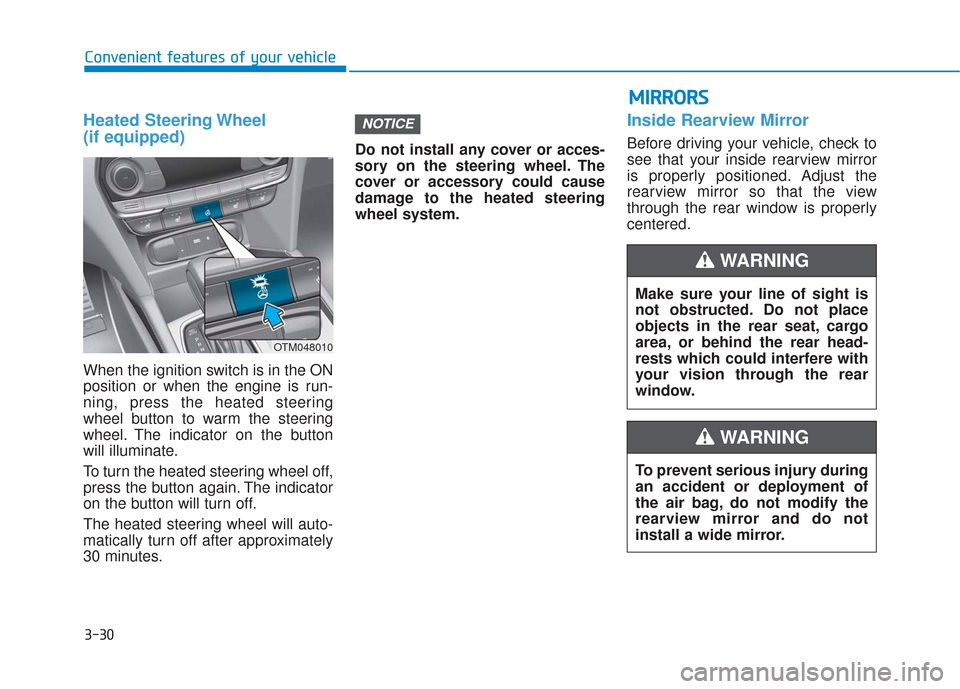
Heated Steering Wheel
(if equipped)
When the ignition switch is in the ON
position or when the engine is run-
ning, press the heated steering
wheel button to warm the steering
wheel. The indicator on the button
will illuminate.
To turn the heated steering wheel off,
press the button again. The indicator
on the button will turn off.
The heated steering wheel will auto-
matically turn off after approximately
30 minutes.Do not install any cover or acces-
sory on the steering wheel. The
cover or accessory could cause
damage to the heated steering
wheel system.
Inside Rearview Mirror
Before driving your vehicle, check to
see that your inside rearview mirror
is properly positioned. Adjust the
rearview mirror so that the view
through the rear window is properly
centered.
NOTICE
Make sure your line of sight is
not obstructed. Do not place
objects in the rear seat, cargo
area, or behind the rear head-
rests which could interfere with
your vision through the rear
window.
WARNING
To prevent serious injury during
an accident or deployment of
the air bag, do not modify the
rearview mirror and do not
install a wide mirror.
WARNING
M M
I
IR
R R
RO
O R
RS
S
OTM048010
Page 125 of 557
3-36
Convenient features of your vehicle
Programming HomeLink®
Please note the following:
When programming a garage dooropener, it is advised to park the
vehicle outside of the garage.
It is recommended that a new bat- tery be placed in the hand-held
transmitter of the device being pro-
grammed to HomeLink
®for quicker
training and accurate transmission
of the radio-frequency signal.
Some vehicles may require the ignition switch to be placed in the
ACC (or "Accessories") position for
programming and/or operation of
HomeLink
®.
In the event that there are still pro- gramming difficulties or questions
after following the programming
steps listed below, contact
HomeLink
®at: www.homelink.com,
www.youtube.com/HomeLinkGentex
or by calling 1-800-355-3515.
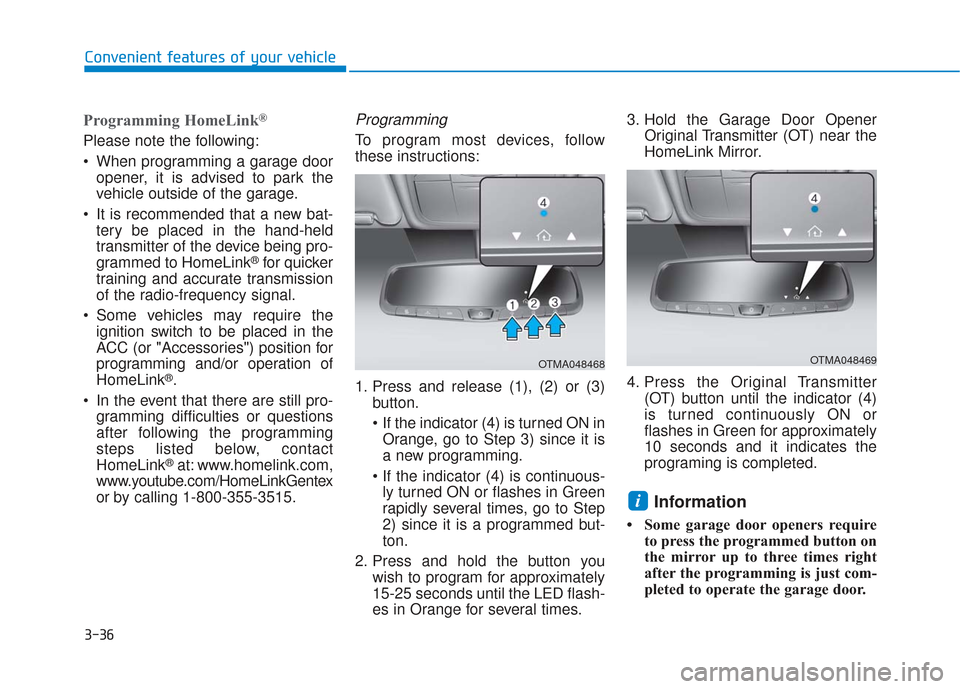
Programming
To program most devices, follow
these instructions:
1. Press and release (1), (2) or (3) button.
If the indicator (4) is turned ON inOrange, go to Step 3) since it is
a new programming.
ly turned ON or flashes in Green
rapidly several times, go to Step
2) since it is a programmed but-
ton.
2. Press and hold the button you wish to program for approximately
15-25 seconds until the LED flash-
es in Orange for several times. 3. Hold the Garage Door Opener
Original Transmitter (OT) near the
HomeLink Mirror.
4. Press the Original Transmitter (OT) button until the indicator (4)
is turned continuously ON or
flashes in Green for approximately
10 seconds and it indicates the
programing is completed.
Information
• Some garage door openers requireto press the programmed button on
the mirror up to three times right
after the programming is just com-
pleted to operate the garage door.
i
OTMA048468OTMA048469
Page 129 of 557
3-40
Convenient features of your vehicle
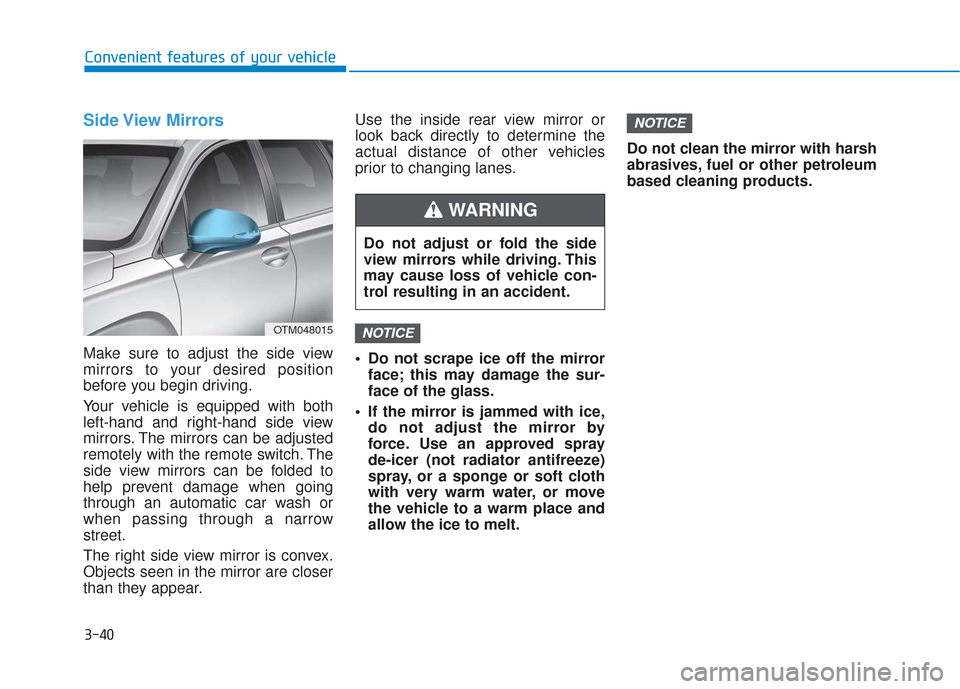
Side View Mirrors
Make sure to adjust the side view
mirrors to your desired position
before you begin driving.
Your vehicle is equipped with both
left-hand and right-hand side view
mirrors. The mirrors can be adjusted
remotely with the remote switch. The
side view mirrors can be folded to
help prevent damage when going
through an automatic car wash or
when passing through a narrow
street.
The right side view mirror is convex.
Objects seen in the mirror are closer
than they appear.Use the inside rear view mirror or
look back directly to determine the
actual distance of other vehicles
prior to changing lanes.
Do not scrape ice off the mirror
face; this may damage the sur-
face of the glass.
If the mirror is jammed with ice, do not adjust the mirror by
force. Use an approved spray
de-icer (not radiator antifreeze)
spray, or a sponge or soft cloth
with very warm water, or move
the vehicle to a warm place and
allow the ice to melt. Do not clean the mirror with harsh
abrasives, fuel or other petroleum
based cleaning products.
NOTICE
NOTICEOTM048015
Do not adjust or fold the side
view mirrors while driving. This
may cause loss of vehicle con-
trol resulting in an accident.
WARNING