2019 Hyundai Nexo navigation system
[x] Cancel search: navigation systemPage 256 of 560
3-169
Convenient features of your vehicle
3
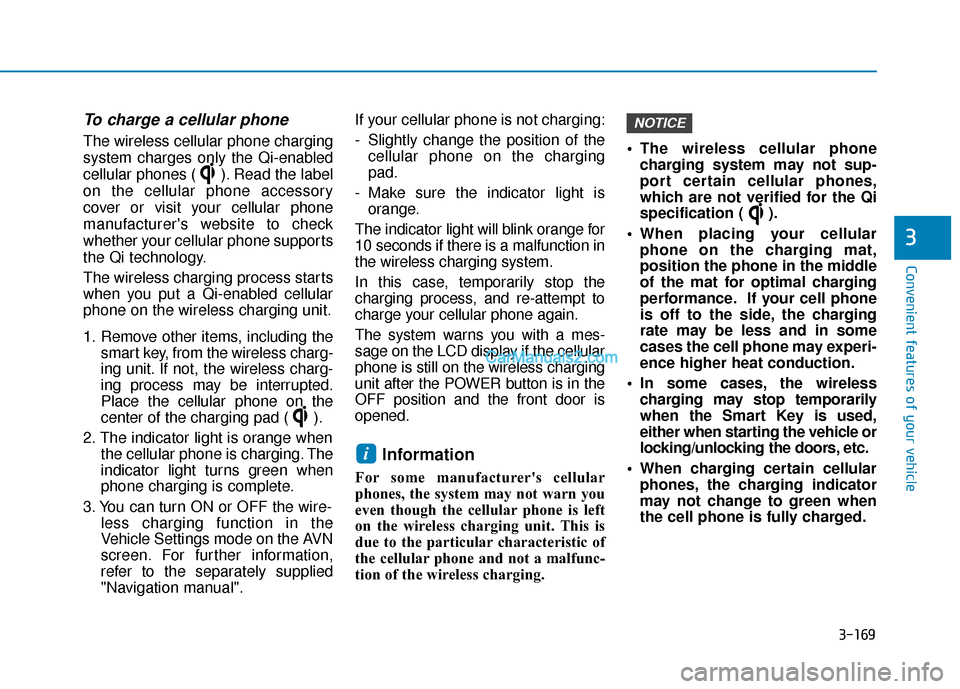
To charge a cellular phone
The wireless cellular phone charging
system charges only the Qi-enabled
cellular phones ( ). Read the label
on the cellular phone accessory
cover or visit your cellular phone
manufacturer's website to check
whether your cellular phone supports
the Qi technology.
The wireless charging process starts
when you put a Qi-enabled cellular
phone on the wireless charging unit.
1. Remove other items, including thesmart key, from the wireless charg-
ing unit. If not, the wireless charg-
ing process may be interrupted.
Place the cellular phone on the
center of the charging pad ( ).
2. The indicator light is orange when the cellular phone is charging. The
indicator light turns green when
phone charging is complete.
3. You can turn ON or OFF the wire- less charging function in the
Vehicle Settings mode on the AVN
screen. For further information,
refer to the separately supplied
"Navigation manual". If your cellular phone is not charging:
- Slightly change the position of the
cellular phone on the charging
pad.
- Make sure the indicator light is orange.
The indicator light will blink orange for
10 seconds if there is a malfunction in
the wireless charging system.
In this case, temporarily stop the
charging process, and re-attempt to
charge your cellular phone again.
The system warns you with a mes-
sage on the LCD display if the cellular
phone is still on the wireless charging
unit after the POWER button is in the
OFF position and the front door is
opened.
Information
For some manufacturer's cellular
phones, the system may not warn you
even though the cellular phone is left
on the wireless charging unit. This is
due to the particular characteristic of
the cellular phone and not a malfunc-
tion of the wireless charging. The wireless cellular phone
charging system may not sup-
port certain cellular phones,
which are not verified for the Qi
specification ( ).
When placing your cellular phone on the charging mat,
position the phone in the middle
of the mat for optimal charging
performance. If your cell phone
is off to the side, the charging
rate may be less and in some
cases the cell phone may experi-
ence higher heat conduction.
In some cases, the wireless charging may stop temporarily
when the Smart Key is used,
either when starting the vehicle or
locking/unlocking the doors, etc.
When charging certain cellular phones, the charging indicator
may not change to green when
the cell phone is fully charged.
NOTICE
i
Page 257 of 560
3-170
Convenient features of your vehicle
The wireless charging processmay temporarily stop, when tem-
perature abnormally increases
inside the wireless cellular phone
charging system. Stop the charg-
ing cellular phone and wait until
temperature falls to a certain level.
The wireless charging process may temporarily stop when there
is any metallic item, such as a
coin, between the wireless cellular
phone charging system and the
cellular phone.
When charging some cellular phones with a self-protection fea-
ture, the wireless charging speed
may decrease and the wireless
charging may stop.
If the cellular phone has a thick cover, the wireless charging may
not be possible.
If the cell phone is not completely contacting the charging pad, wire-
less charging may not operate
properly.
Some magnetic items like credit cards, phone cards or rail tickets
may be damaged if left with the
cellular phone during the charging
process. When any cellular phone without a
wireless charging function or a
metallic object is placed on the
charging pad, a small noise may
sound. This small sound is due to
the vehicle discerning compatibil-
ity of the object placed on the
charging pad. It does not affect
your vehicle or the cellular phone
in any way.
Information
If the POWER button is in the OFF
position, the charging also stops.
Information
This device complies with part 15 of
the FCC Rules.
Operation is subject to the following
two conditions:
1. This device may not cause harmful interference, and
2. This device must accept any inter- ference received, including interfer-
ence that may cause undesired
operation.
Clock
Select the Vehicle Settings menu on
the AVN screen ➟Select [Date/Time].
GPS time: Displays time according to the received GNSS time.
Daylight saving time : The clock is adjusted forward one hour.
Time format : Switches to 12 hour or 24 hour.
For more details, refer to the sepa-
rately supplied Navigation manual.
i
i
Do not attempt to adjust the
clock while driving. Doing so
may result in distracted driving
which may lead to an accident
involving personal injury or
death.
WARNING
Page 263 of 560
Multimedia System
Multimedia system .................................................4-2
USB and iPod®port..........................................................4-2
Antenna ........................................................................\
.......4-2
Steering wheel audio controls .......................................4-3
Bluetooth®Wireless Technology ..................................4-4
Blue Link®center .............................................................4-4
Audio / Video / Navigation system (AVN) ..................4-4
4
Page 266 of 560
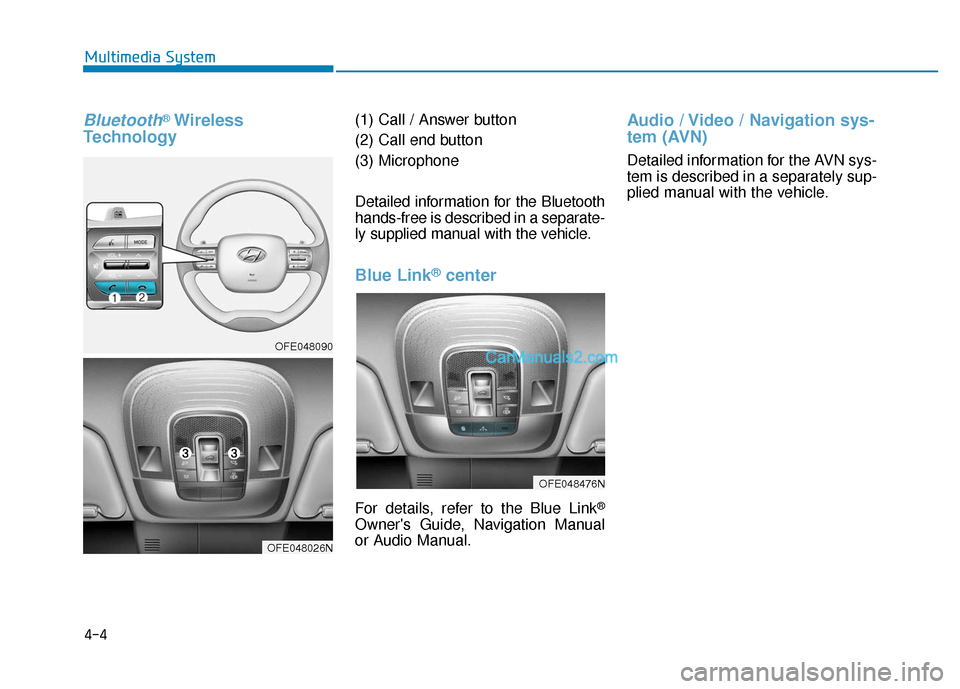
Bluetooth®Wireless
Technology(1) Call / Answer button
(2) Call end button
(3) Microphone
Detailed information for the Bluetooth
hands-free is described in a separate-
ly supplied manual with the vehicle.
Blue Link®center
For details, refer to the Blue Link®
Owner's Guide, Navigation Manual
or Audio Manual.
Audio / Video / Navigation sys-
tem (AVN)
Detailed information for the AVN sys-
tem is described in a separately sup-
plied manual with the vehicle.
4-4
Multimedia System
OFE048090
OFE048026N
OFE048476N
Page 322 of 560
5-56
Driving your vehicle
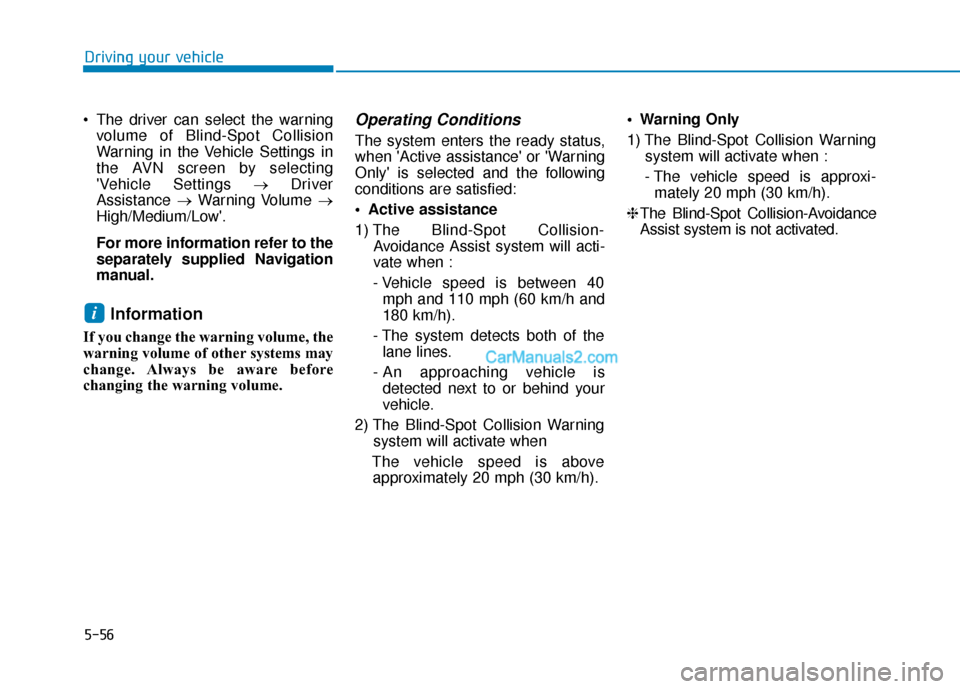
The driver can select the warning volume of Blind-Spot Collision
Warning in the Vehicle Settings in
the AVN screen by selecting
'Vehicle Settings →Driver
Assistance →Warning Volume →
High/Medium/Low'.
For more information refer to the
separately supplied Navigation
manual.
Information
If you change the warning volume, the
warning volume of other systems may
change. Always be aware before
changing the warning volume.
Operating Conditions
The system enters the ready status,
when 'Active assistance' or 'Warning
Only' is selected and the following
conditions are satisfied:
Active assistance
1) The Blind-Spot Collision- Avoidance Assist system will acti-
vate when :
- Vehicle speed is between 40 mph and 110 mph (60 km/h and
180 km/h).
- The system detects both of the lane lines.
- An approaching vehicle is detected next to or behind your
vehicle.
2) The Blind-Spot Collision Warning system will activate when
The vehicle speed is above approximately 20 mph (30 km/h). Warning Only
1) The Blind-Spot Collision Warning
system will activate when :
- The vehicle speed is approxi- mately 20 mph (30 km/h).
❈ The Blind-Spot Collision-Avoidance
Assist system is not activated.
i
Page 334 of 560
5-68
Driving your vehicle
System Setting and Activation
System setting
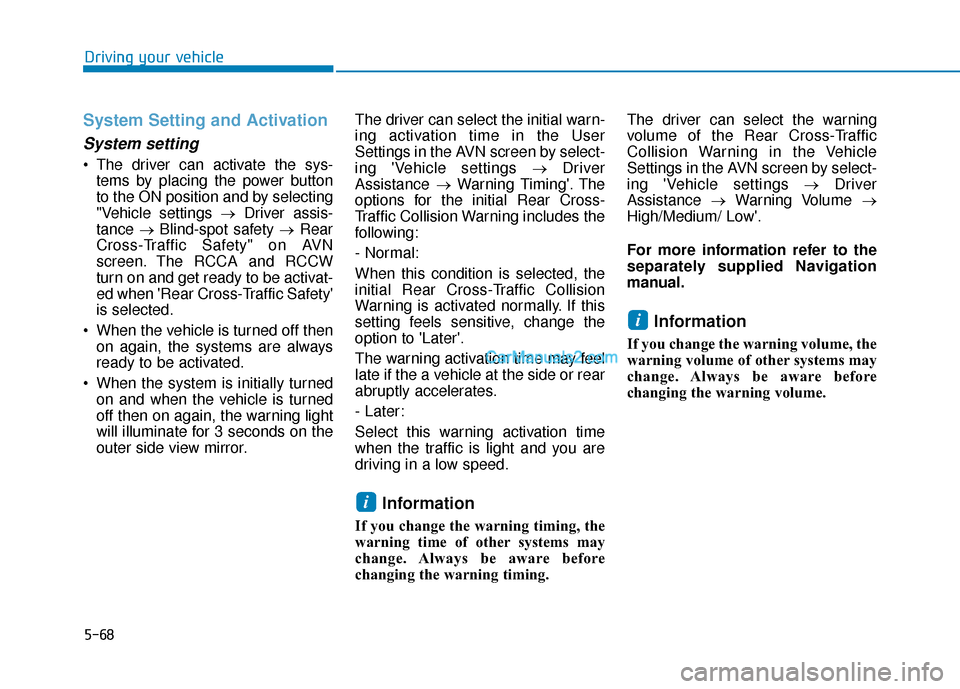
The driver can activate the sys-tems by placing the power button
to the ON position and by selecting
"Vehicle settings → Driver assis-
tance →Blind-spot safety → Rear
Cross-Traffic Safety" on AVN
screen. The RCCA and RCCW
turn on and get ready to be activat-
ed when 'Rear Cross-Traffic Safety'
is selected.
When the vehicle is turned off then on again, the systems are always
ready to be activated.
When the system is initially turned on and when the vehicle is turned
off then on again, the warning light
will illuminate for 3 seconds on the
outer side view mirror. The driver can select the initial warn-
ing activation time in the User
Settings in the AVN screen by select-
ing 'Vehicle settings
→Driver
Assistance →Warning Timing'. The
options for the initial Rear Cross-
Traffic Collision Warning includes the
following:
- Normal:
When this condition is selected, the
initial Rear Cross-Traffic Collision
Warning is activated normally. If this
setting feels sensitive, change the
option to 'Later'.
The warning activation time may feel
late if the a vehicle at the side or rear
abruptly accelerates.
- Later:
Select this warning activation time
when the traffic is light and you are
driving in a low speed.
Information
If you change the warning timing, the
warning time of other systems may
change. Always be aware before
changing the warning timing. The driver can select the warning
volume of the Rear Cross-Traffic
Collision Warning in the Vehicle
Settings in the AVN screen by select-
ing 'Vehicle settings
→Driver
Assistance →Warning Volume →
High/Medium/ Low'.
For more information refer to the
separately supplied Navigation
manual.
Information
If you change the warning volume, the
warning volume of other systems may
change. Always be aware before
changing the warning volume.
i
i
Page 556 of 560
I-7
Lighting ........................................................................\
...3-89Exterior Lights............................................................3-89
Welcome System ........................................................3-99
Luggage Net Holder .....................................................3-172
Maintenance services ........................................................7-4 Owner's Responsibility.................................................7-4
Owner Maintenance Precautions..................................7-4
Mirrors ........................................................................\
....3-23 Inside Rearview Mirror ..............................................3-23
Side View Mirrors ......................................................3-31
Motor Number ..................................................................8-8
Multimedia system............................................................4-2 USB and iPod
®port .....................................................4-2
Antenna ........................................................................\
4-2
Steering wheel audio controls ......................................4-3
Bluetooth
®Wireless Technology..................................4-4
Audio/Video/Navigation system (AVN) ......................4-4
Non-Powered Liftgate.....................................................3-43 Occupant Classification System (OCS)..........................2-58
Owner maintenance ..........................................................7-5
Owner maintenance schedule .......................................7-6
Paddle Shifter (Regenerative Braking Control) .............5-17
Parking Distance Warning (Reverse/Forward) System .......................................................................3\
-104
Power Brakes ..................................................................5-18
Power Button ....................................................................5-6 POWER Button Positions ............................................5-7
Starting the Vehicle ......................................................5-9
Turning Off the Vehicle..............................................5-10
Power Liftgate.................................................................3-45
Power Outlet .................................................................3-165
Rear Cross-traffic Collision Warning (RCCW)/ Rear Cross-traffic Collision-avoidance Assist
(RCCA)........................................................................\
5-67
System Description ....................................................5-67
System Setting and Activation ...................................5-68
Warning and System Control .....................................5-69
Limitations of the System ..........................................5-73
I
Index
M
N
O
P
R