2019 Hyundai Kona belt
[x] Cancel search: beltPage 380 of 526
6-8
What to do in an emergency
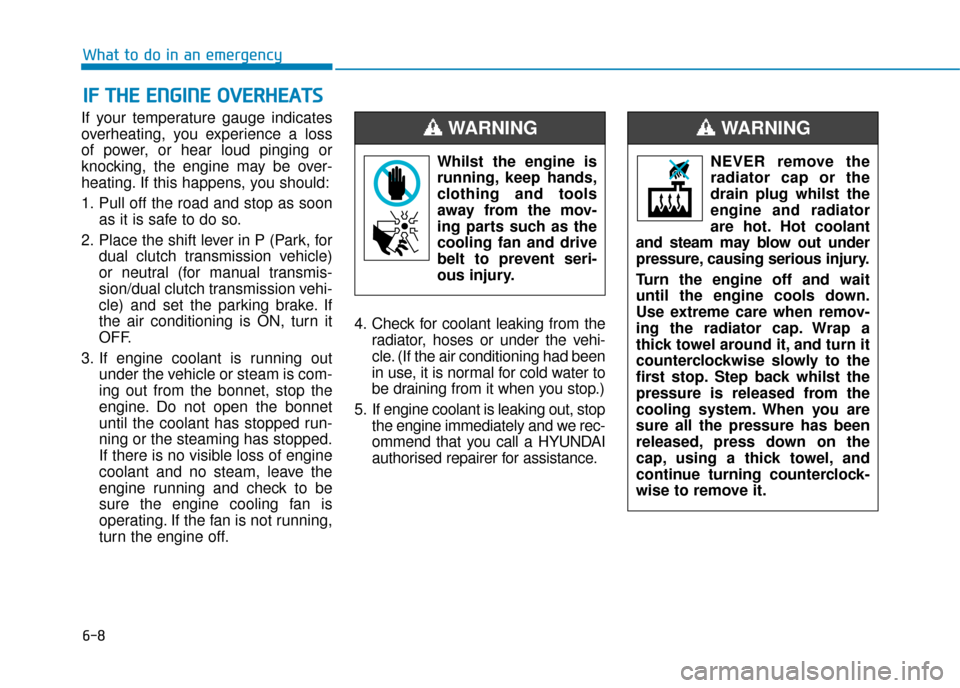
If your temperature gauge indicates
overheating, you experience a loss
of power, or hear loud pinging or
knocking, the engine may be over-
heating. If this happens, you should:
1. Pull off the road and stop as soon as it is safe to do so.
2. Place the shift lever in P (Park, for dual clutch transmission vehicle)
or neutral (for manual transmis-
sion/dual clutch transmission vehi-
cle) and set the parking brake. If
the air conditioning is ON, turn it
OFF.
3. If engine coolant is running out under the vehicle or steam is com-
ing out from the bonnet, stop the
engine. Do not open the bonnet
until the coolant has stopped run-
ning or the steaming has stopped.
If there is no visible loss of engine
coolant and no steam, leave the
engine running and check to be
sure the engine cooling fan is
operating. If the fan is not running,
turn the engine off. 4. Check for coolant leaking from the
radiator, hoses or under the vehi-
cle. (If the air conditioning had been
in use, it is normal for cold water to
be draining from it when you stop.)
5. If engine coolant is leaking out, stop the engine immediately and we rec-
ommend that you call a HYUNDAI
authorised repairer for assistance.
I IF
F
T
T H
H E
E
E
E N
N G
GI
IN
N E
E
O
O V
VE
ER
R H
H E
EA
A T
TS
S
Whilst the engine is
running, keep hands,
clothing and tools
away from the mov-
ing parts such as the
cooling fan and drive
belt to prevent seri-
ous injury.
WARNING
NEVER remove the
radiator cap or the
drain plug whilst the
engine and radiator
are hot. Hot coolant
and steam may blow out under
pressure, causing serious injury.
Turn the engine off and wait
until the engine cools down.
Use extreme care when remov-
ing the radiator cap. Wrap a
thick towel around it, and turn it
counterclockwise slowly to the
first stop. Step back whilst the
pressure is released from the
cooling system. When you are
sure all the pressure has been
released, press down on the
cap, using a thick towel, and
continue turning counterclock-
wise to remove it.
WARNING
Page 424 of 526
7-7
7
Maintenance
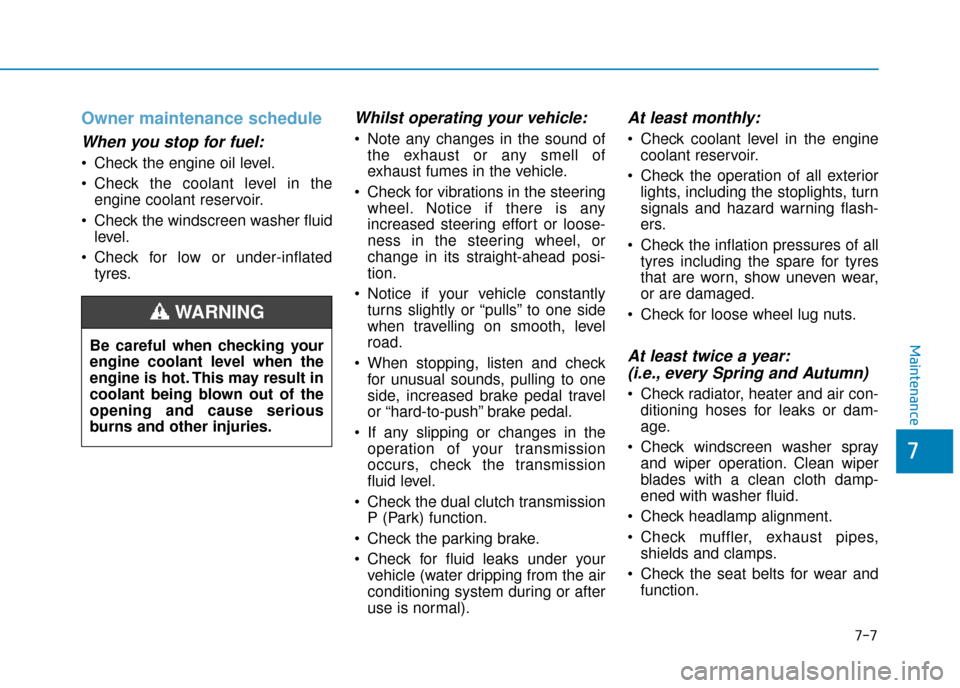
Owner maintenance schedule
When you stop for fuel:
Check the engine oil level.
Check the coolant level in theengine coolant reservoir.
Check the windscreen washer fluid level.
Check for low or under-inflated tyres.
Whilst operating your vehicle:
Note any changes in the sound ofthe exhaust or any smell of
exhaust fumes in the vehicle.
Check for vibrations in the steering wheel. Notice if there is any
increased steering effort or loose-
ness in the steering wheel, or
change in its straight-ahead posi-
tion.
Notice if your vehicle constantly turns slightly or “pulls” to one side
when travelling on smooth, level
road.
When stopping, listen and check for unusual sounds, pulling to one
side, increased brake pedal travel
or “hard-to-push” brake pedal.
If any slipping or changes in the operation of your transmission
occurs, check the transmission
fluid level.
Check the dual clutch transmission P (Park) function.
Check the parking brake.
Check for fluid leaks under your vehicle (water dripping from the air
conditioning system during or after
use is normal).
At least monthly:
Check coolant level in the enginecoolant reservoir.
Check the operation of all exterior lights, including the stoplights, turn
signals and hazard warning flash-
ers.
Check the inflation pressures of all tyres including the spare for tyres
that are worn, show uneven wear,
or are damaged.
Check for loose wheel lug nuts.
At least twice a year: (i.e., every Spring and Autumn)
Check radiator, heater and air con-
ditioning hoses for leaks or dam-
age.
Check windscreen washer spray and wiper operation. Clean wiper
blades with a clean cloth damp-
ened with washer fluid.
Check headlamp alignment.
Check muffler, exhaust pipes, shields and clamps.
Check the seat belts for wear and function.
Be careful when checking your
engine coolant level when the
engine is hot. This may result in
coolant being blown out of the
opening and cause serious
burns and other injuries.
WARNING
Page 426 of 526
7-9
7
Maintenance
E
EX
X P
PL
LA
A N
N A
AT
TI
IO
O N
N
O
O F
F
S
S C
C H
H E
ED
D U
U L
LE
E D
D
M
M A
AI
IN
N T
TE
EN
N A
AN
N C
CE
E
I
IT
T E
EM
M S
S
Engine oil and filter
The engine oil and filter should be
changed at the intervals specified in
the maintenance schedule. If the
vehicle is being driven in severe con-
ditions, more frequent oil and filter
changes are required.
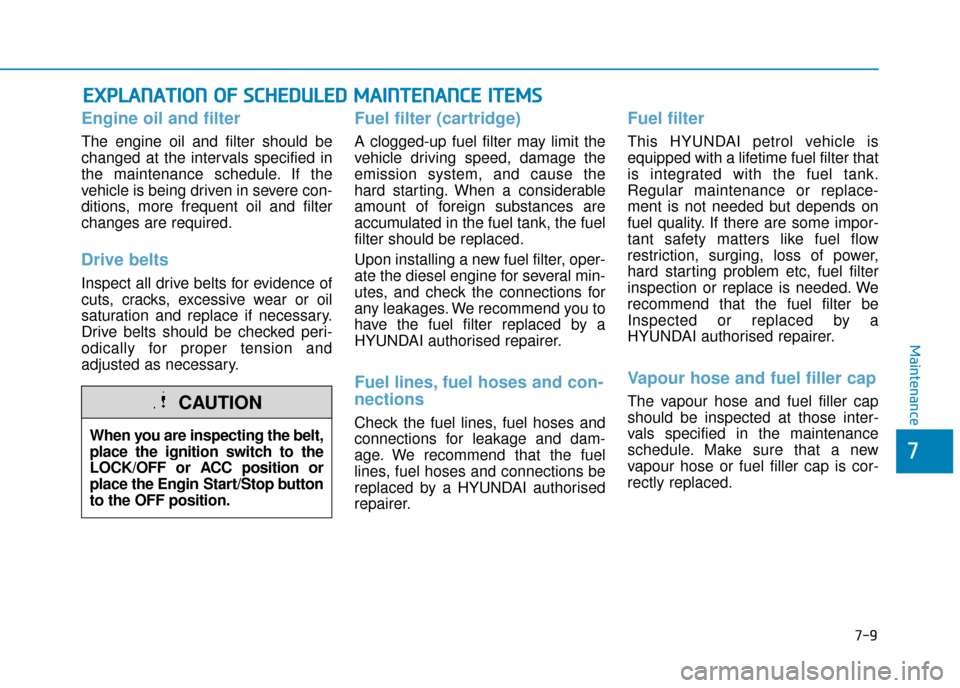
Drive belts
Inspect all drive belts for evidence of
cuts, cracks, excessive wear or oil
saturation and replace if necessary.
Drive belts should be checked peri-
odically for proper tension and
adjusted as necessary.
Fuel filter (cartridge)
A clogged-up fuel filter may limit the
vehicle driving speed, damage the
emission system, and cause the
hard starting. When a considerable
amount of foreign substances are
accumulated in the fuel tank, the fuel
filter should be replaced.
Upon installing a new fuel filter, oper-
ate the diesel engine for several min-
utes, and check the connections for
any leakages. We recommend you to
have the fuel filter replaced by a
HYUNDAI authorised repairer.
Fuel lines, fuel hoses and con-
nections
Check the fuel lines, fuel hoses and
connections for leakage and dam-
age. We recommend that the fuel
lines, fuel hoses and connections be
replaced by a HYUNDAI authorised
repairer.
Fuel filter
This HYUNDAI petrol vehicle is
equipped with a lifetime fuel filter that
is integrated with the fuel tank.
Regular maintenance or replace-
ment is not needed but depends on
fuel quality. If there are some impor-
tant safety matters like fuel flow
restriction, surging, loss of power,
hard starting problem etc, fuel filter
inspection or replace is needed. We
recommend that the fuel filter be
Inspected or replaced by a
HYUNDAI authorised repairer.
Vapour hose and fuel filler cap
The vapour hose and fuel filler cap
should be inspected at those inter-
vals specified in the maintenance
schedule. Make sure that a new
vapour hose or fuel filler cap is cor-
rectly replaced.
When you are inspecting the belt,
place the ignition switch to the
LOCK/OFF or ACC position or
place the Engin Start/Stop button
to the OFF position.CAUTION
Page 456 of 526
7-39
7
Maintenance
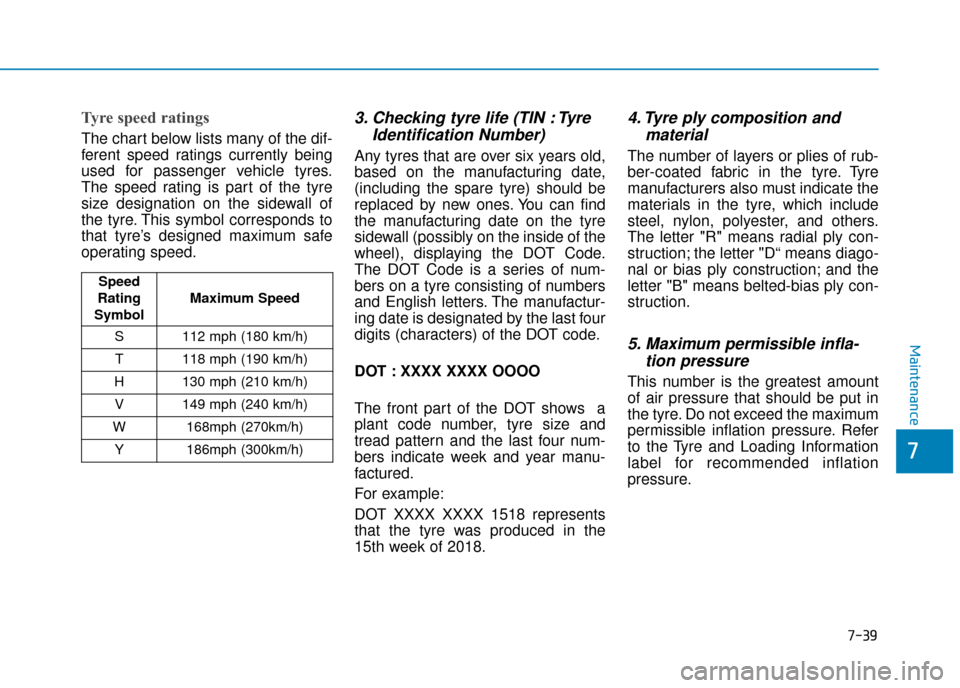
Tyre speed ratings
The chart below lists many of the dif-
ferent speed ratings currently being
used for passenger vehicle tyres.
The speed rating is part of the tyre
size designation on the sidewall of
the tyre. This symbol corresponds to
that tyre’s designed maximum safe
operating speed.
3. Checking tyre life (TIN : TyreIdentification Number)
Any tyres that are over six years old,
based on the manufacturing date,
(including the spare tyre) should be
replaced by new ones. You can find
the manufacturing date on the tyre
sidewall (possibly on the inside of the
wheel), displaying the DOT Code.
The DOT Code is a series of num-
bers on a tyre consisting of numbers
and English letters. The manufactur-
ing date is designated by the last four
digits (characters) of the DOT code.
DOT : XXXX XXXX OOOO
The front part of the DOT shows a
plant code number, tyre size and
tread pattern and the last four num-
bers indicate week and year manu-
factured.
For example:
DOT XXXX XXXX 1518 represents
that the tyre was produced in the
15th week of 2018.
4. Tyre ply composition andmaterial
The number of layers or plies of rub-
ber-coated fabric in the tyre. Tyre
manufacturers also must indicate the
materials in the tyre, which include
steel, nylon, polyester, and others.
The letter "R" means radial ply con-
struction; the letter "D“ means diago-
nal or bias ply construction; and the
letter "B" means belted-bias ply con-
struction.
5. Maximum permissible infla-tion pressure
This number is the greatest amount
of air pressure that should be put in
the tyre. Do not exceed the maximum
permissible inflation pressure. Refer
to the Tyre and Loading Information
label for recommended inflation
pressure.
Speed
Rating
Symbol Maximum Speed
S 112 mph (180 km/h) T 118 mph (190 km/h)
H 130 mph (210 km/h) V 149 mph (240 km/h)
W 168mph (270km/h) Y 186mph (300km/h)
Page 496 of 526
7-79
7
Maintenance
Caring for the leather seats- Vacuum the seat periodically toremove dust and sand on the seat.
It will prevent abrasion or damage
of the leather and maintain its qual-
ity.
- Wipe the natural leather seat cover often with dry or soft cloth.
- Use of proper leather protector may prevent abrasion of the cover
and helps maintain the colour. Be
sure to read the instructions and
consult a specialist when using
leather coating or protective agent.
- Light coloured (beige, cream beige) leather is easily contaminat-
ed and the stain is noticeable.
Clean the seats frequently.
- Avoid wiping with wet cloth. It may cause the surface to crack. Cleaning the leather seats
- Remove all contaminations instant-ly. Refer to instructions below for
removal of each contaminant.
- Cosmetic products (sunscreen, foundation, etc.)
Apply cleansing cream on a cloth
and wipe the contaminated spot.
Wipe off the cream with a wet cloth
and remove water with a dry cloth.
- Beverages (coffee, soft drink, etc.) Apply a small amount of neutral
detergent and wipe until contami-
nations do not smear.
- Oil Remove oil instantly with
absorbable cloth and wipe with
stain remover used only for natu-
ral leather.
- Chewing gum Harden the gum with ice and
remove gradually.
Wrinkles or abrasions which
appear naturally from usage
are not covered by warranty.
Belts with metallic acces-
sories, zippers or keys inside
the back pocket may damage
the seat fabric.
Make sure not to wet the seat.
It may change the nature of
natural leather.
Jeans or clothes which could
bleach may contaminate the
surface of the seat covering
fabric.
CAUTION
Page 497 of 526
7-80
Maintenance
Cleaning the lap/shoulder beltwebbing
Clean the belt webbing with any mild
soap solution recommended for clean-
ing upholstery or carpet. Follow the
instructions provided with the soap. Do
not bleach or re-dye the webbing
because this may weaken it.
Cleaning the interior windowglass
If the interior glass surfaces of the
vehicle become fogged (that is, cov-
ered with an oily, greasy or waxy film),
they should be cleaned with glass
cleaner. Follow the directions on the
glass cleaner container.
Do not scrape or scratch the inside
of the rear window. This may result
in damage to the rear window
defroster grid. The emission control system of your
vehicle is covered by a written limited
warranty. Please see the warranty
information contained in the
Warranty Booklet in your vehicle.
Your vehicle is equipped with an
emission control system to meet all
applicable emission regulations.
There are three emission control
systems, as follows.
(1) Crankcase emission control sys-
tem
(2) Evaporative emission control sys- tem
(3) Exhaust emission control system
In order to ensure the proper function
of the emission control systems, it is
recommended that you have your
vehicle inspected and maintained by
a HYUNDAI authorised repairer in
accordance with the maintenance
schedule.
NOTICE
E E M
M I
IS
S S
SI
IO
O N
N
C
C O
O N
NT
TR
R O
O L
L
S
S Y
Y S
ST
T E
EM
M
For the Inspection and Maintenance
Test (with Electronic Stability Control
(ESC) system)
To prevent the vehicle from
misfiring during dynamome-
ter testing, turn the Electronic
Stability Control (ESC) sys-
tem off by pressing the ESC
switch.
After dynamometer testing is
completed, turn the ESC sys-
tem back on by pressing the
ESC switch again.
CAUTION