Page 112 of 526
3-30
Convenient features of your vehicle
Resetting the sunroof
The sunroof may need to be reset if
the following conditions occur:
- The battery is discharged or dis- connected or the sunroof fuse has
been replaced or disconnected
- The sunroof control lever is not operating correctly
To reset the sunroof, perform the fol-
lowing steps:
1. Place the ignition switch to the ON position or start the engine. It is
recommended to reset the sunroof
whilst the engine is running.
2. Push the control lever forward. The sunroof will close completely or tilt
depending on the condition of the
sunroof.
3. Release the control lever when the sunroof stops moving.
4. Push the control lever forward for about 10 seconds.
- When the sunroof is in the closed position :
The glass will tilt and slightly move up and down. - When the sunroof is in the tilt
position:
The glass will slightly move up and down.
Do not release the lever until the
operation is completed.
If you release the lever during opera-
tion, try again from step 2.
5. Within 3 seconds, push the control lever forward until the sunroof
operates as follows:
Tilt down → Slide Open → Slide
Close.
Do not release the lever until the
operation is completed.
If you release the lever during opera-
tion, try again from step 2.
6. Release the sunroof control lever after all operation has completed.
(The sunroof system has been
reset.)
Information
• If the sunroof does not reset whenthe vehicle battery is disconnected
or discharged, or related fuse is
blown, the sunroof may not operate
normally.
• For more detailed information, we recommend that you contact a
HYUNDAI authorised repairer.
Sunroof open warning
(if equipped)
If the driver turns off the enginewhen the sunroof is not fully
closed, the warning chime will
sound for approximately 3 seconds
and sunroof open warning will
appear on the LCD display.
If the driver turns off the engine and opens the door when the sun-
roof is not fully closed, the open
sunroof warning will appear on the
LCD display until the door is closed
or the sunroof is fully closed.
Close the sunroof securely when
leaving your vehicle.
i
Page 113 of 526
3-31
Convenient features of your vehicle
3
E
EX
X T
TE
ER
R I
IO
O R
R
F
F E
E A
A T
TU
U R
RE
ES
S
Bonnet
Opening the bonnet
1. Park the vehicle and set the park-
ing brake.
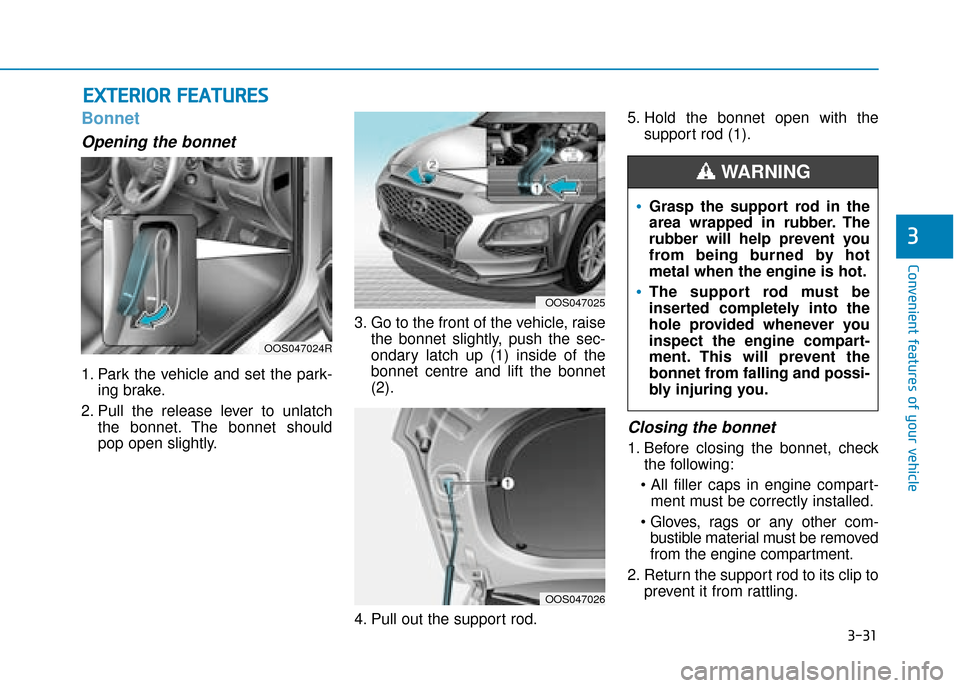
2. Pull the release lever to unlatch the bonnet. The bonnet should
pop open slightly. 3. Go to the front of the vehicle, raise
the bonnet slightly, push the sec-
ondary latch up (1) inside of the
bonnet centre and lift the bonnet
(2).
4. Pull out the support rod. 5. Hold the bonnet open with the
support rod (1).
Closing the bonnet
1. Before closing the bonnet, checkthe following:
ment must be correctly installed.
bustible material must be removed
from the engine compartment.
2. Return the support rod to its clip to prevent it from rattling.
OOS047024R
OOS047025
Grasp the support rod in the
area wrapped in rubber. The
rubber will help prevent you
from being burned by hot
metal when the engine is hot.
The support rod must be
inserted completely into the
hole provided whenever you
inspect the engine compart-
ment. This will prevent the
bonnet from falling and possi-
bly injuring you.
WARNING
OOS047026
Page 114 of 526
3-32
Convenient features of your vehicle
3. Lower the bonnet halfway (lifted approximately 30cm from the
closed position) and push down to
securely lock in place. Then double
check to be sure the bonnet is
secure.
If the bonnet can be raised slightly, it
is not securely locked. Open it again
and close it with more force.
Tailgate
Opening the tailgate
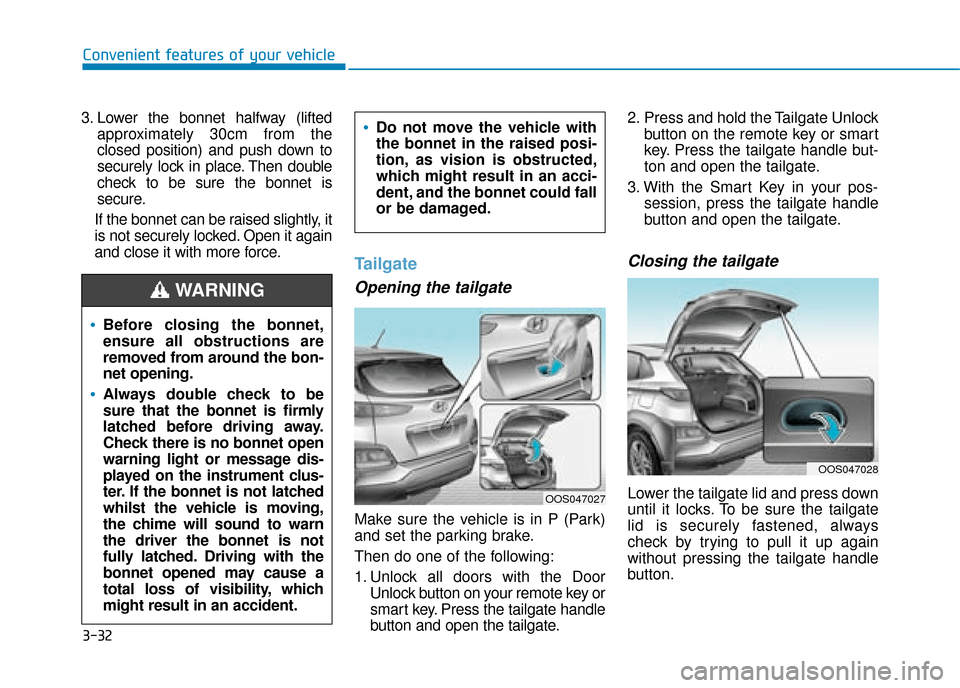
Make sure the vehicle is in P (Park)
and set the parking brake.
Then do one of the following:
1. Unlock all doors with the Door Unlock button on your remote key or
smart key. Press the tailgate handle
button and open the tailgate. 2. Press and hold the Tailgate Unlock
button on the remote key or smart
key. Press the tailgate handle but-
ton and open the tailgate.
3. With the Smart Key in your pos- session, press the tailgate handle
button and open the tailgate.
Closing the tailgate
Lower the tailgate lid and press down
until it locks. To be sure the tailgate
lid is securely fastened, always
check by trying to pull it up again
without pressing the tailgate handle
button.
Before closing the bonnet,
ensure all obstructions are
removed from around the bon-
net opening.
Always double check to be
sure that the bonnet is firmly
latched before driving away.
Check there is no bonnet open
warning light or message dis-
played on the instrument clus-
ter. If the bonnet is not latched
whilst the vehicle is moving,
the chime will sound to warn
the driver the bonnet is not
fully latched. Driving with the
bonnet opened may cause a
total loss of visibility, which
might result in an accident.
Do not move the vehicle with
the bonnet in the raised posi-
tion, as vision is obstructed,
which might result in an acci-
dent, and the bonnet could fall
or be damaged.
WARNING
OOS047027
OOS047028
Page 120 of 526
3-38
Convenient features of your vehicle
1. Tachometer
2. Speedometer
3. Engine coolant temperature gauge
4. Fuel gauge
5. Warning and indicator lights
6. LCD display (including Trip computer)
OOS047100E/OOS047101E/OOS047102E
■
■Type A ■
■
Type C
■
■ Type B
I
IN
N S
ST
T R
R U
U M
M E
EN
N T
T
C
C L
LU
U S
ST
T E
ER
R
The actual cluster in the vehicle may differ from the
illustration.
For more details, refer to the "Gauges and Meters" in
this chapter.
Page 121 of 526
3-39
Convenient features of your vehicle
3
Instrument cluster control
Instrument panel illumination
When the vehicle's position lights or
headlamps are on, press the illumi-
nation control button to adjust the
brightness of the instrument panel
illumination.
When pressing the illumination con-
trol button, the interior switch illumi-
nation intensity is also adjusted. The brightness of the instrument
panel illumination is displayed.
If the brightness reaches the maxi- mum or minimum level, an alarm
will sound.
Gauges and meters
Speedometer
The speedometer indicates the
speed of the vehicle and is calibrated
in kilometers per hour (km/h) and/or
miles per hour (MPH).
OOS047120R
Never adjust the instrument
cluster whilst driving. This
could result in loss of control
and lead to an accident that
may cause death, serious
injury, or vehicle damage.
WARNING
■ Type B, C
■
Type A
OGC044138/OPDE046110
OOS047126
Page 123 of 526
3-41
Convenient features of your vehicle
3
Information
• The fuel tank capacity is given inchapter 8.
• The fuel gauge is supplemented by a low fuel warning light, which will
illuminate when the fuel tank is
nearly empty.
• On inclines or curves, the fuel gauge pointer may fluctuate or the low fuel
warning light may come on earlier
than usual due to the movement of
fuel in the tank.
Avoid driving with an extremely
low fuel level. Running out of fuel
could cause the engine to misfire
damaging the catalytic converter.
Outside temperature gauge
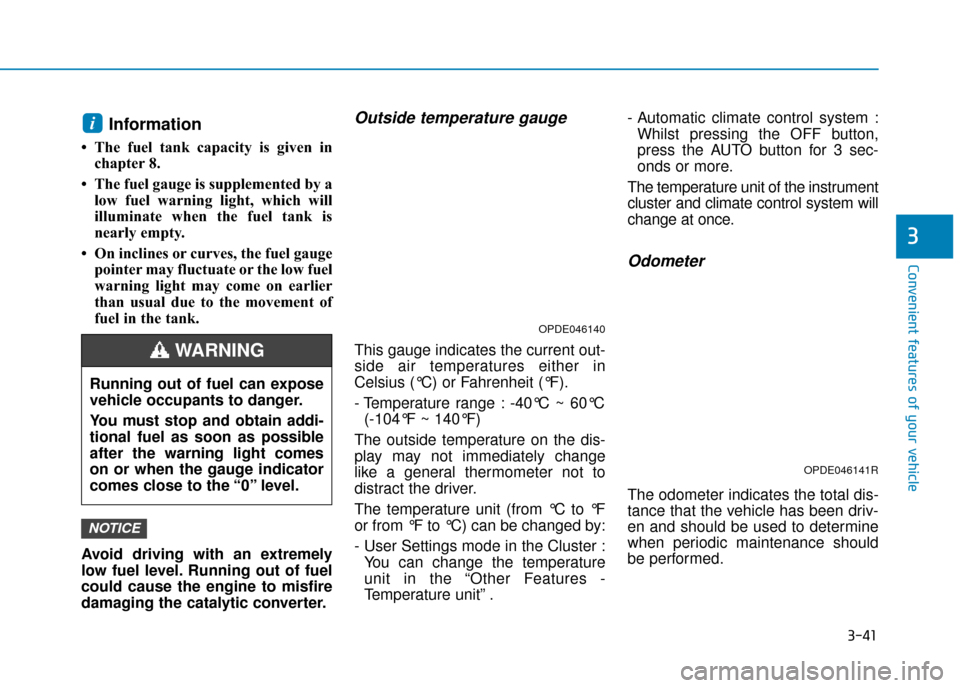
This gauge indicates the current out-
side air temperatures either in
Celsius (°C) or Fahrenheit (°F).
- Temperature range : -40°C ~ 60°C (-104°F ~ 140°F)
The outside temperature on the dis-
play may not immediately change
like a general thermometer not to
distract the driver.
The temperature unit (from °C to °F
or from °F to °C) can be changed by:
- User Settings mode in the Cluster : You can change the temperature
unit in the “Other Features -
Temperature unit” . - Automatic climate control system :
Whilst pressing the OFF button,
press the AUTO button for 3 sec-
onds or more.
The temperature unit of the instrument
cluster and climate control system will
change at once.
Odometer
The odometer indicates the total dis-
tance that the vehicle has been driv-
en and should be used to determine
when periodic maintenance should
be performed.
NOTICE
i
Running out of fuel can expose
vehicle occupants to danger.
You must stop and obtain addi-
tional fuel as soon as possible
after the warning light comes
on or when the gauge indicator
comes close to the “0” level.
WARNING
OPDE046140
OPDE046141R
Page 124 of 526
3-42
Convenient features of your vehicle
Distance to empty
The distance to empty is the esti-mated distance the vehicle can be
driven with the remaining fuel.
If the estimated distance is below 1 mi. (1 km), the trip computer will
display “---” as distance to empty.
Information
• If the vehicle is not on level groundor the battery power has been inter-
rupted, the distance to empty func-
tion may not operate correctly.
• The distance to empty may differ from the actual driving distance as
it is an estimate of the available
driving distance. • The trip computer may not register
additional fuel if less than 6 litres
(1.3 lmp. gal.) of fuel are added to
the vehicle.
• The distance to empty may vary sig- nificantly based on driving condi-
tions, driving habits, and condition
of the vehicle.
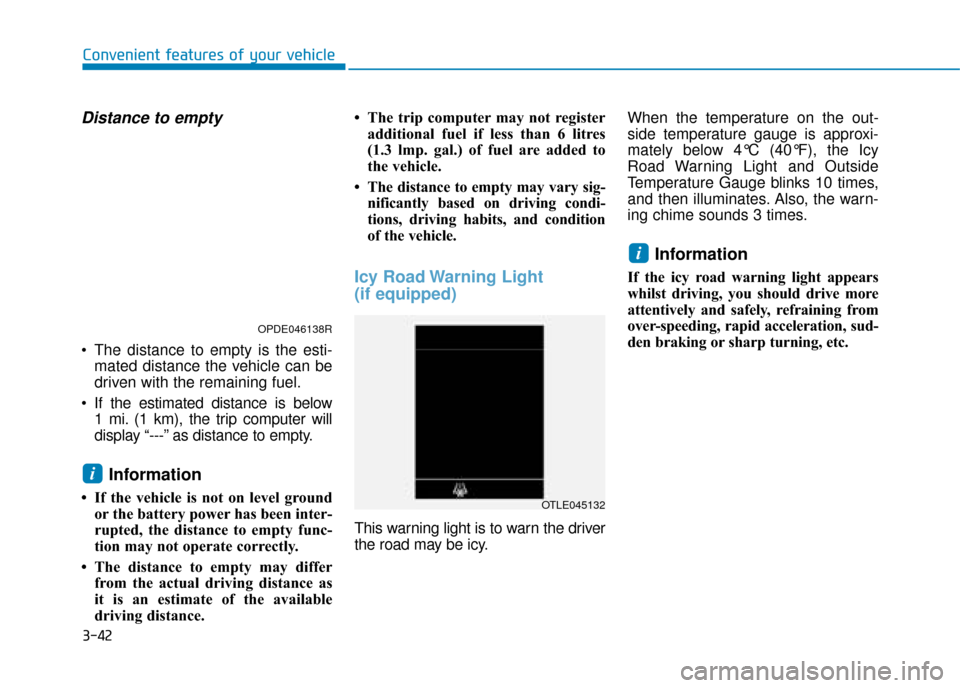
Icy Road Warning Light
(if equipped)
This warning light is to warn the driver
the road may be icy. When the temperature on the out-
side temperature gauge is approxi-
mately below 4°C (40°F), the Icy
Road Warning Light and Outside
Temperature Gauge blinks 10 times,
and then illuminates. Also, the warn-
ing chime sounds 3 times.
Information
If the icy road warning light appears
whilst driving, you should drive more
attentively and safely, refraining from
over-speeding, rapid acceleration, sud-
den braking or sharp turning, etc.
i
i
OPDE046138R
OTLE045132
Page 127 of 526
3-45
Convenient features of your vehicle
3
Warning and indicator lightsInformation
Make sure that all warning lights are
OFF after starting the engine. If any
light is still ON, this indicates a situa-
tion that needs attention.
Air Bag Warning Light
This warning light illuminates:
When you turn the ignition switchor the Engine Start/Stop button to
the ON position.
- It illuminates for approximately 6seconds and then goes off.
When there is a malfunction with the SRS.
In this case, we recommend that
you have the vehicle inspected by
a HYUNDAI authorised repairer.
Seat Belt Warning Light
This warning light informs the driver
that the seat belt is not fastened.
For more details, refer to “Seat
Belts” in chapter 2.
Parking Brake & BrakeFluid Warning Light
This warning light illuminates:
When you set the ignition switch or
the Engine Start/Stop button to the
ON position.
- It illuminates for approximately 3seconds
- It remains on if the parking brake is applied.
When the parking brake is applied.
When the brake fluid level in the reservoir is low.
- If the warning light illuminateswith the parking brake released, it
indicates the brake fluid level in
the reservoir is low.
i