Page 434 of 526

7-17
7
MaintenanceThe electric motor for the cooling fan
is controlled by engine coolant tem-
perature, refrigerant pressure and
vehicle speed. As the engine coolant
temperature decreases, the electric
motor will automatically shut off. This
is a normal condition. If your vehicle
is equipped with T-GDI, the electric
motor for the cooling fan may begin
to operate at any time and continue
to operate until you disconnect the
negative battery cable.The electric motor for
the cooling fan may
continue to operate
or start up when the
engine is not running
and can cause serious injury.
Keep hands, clothing and tools
away from the rotating fan
blades of the cooling fan.
WARNING
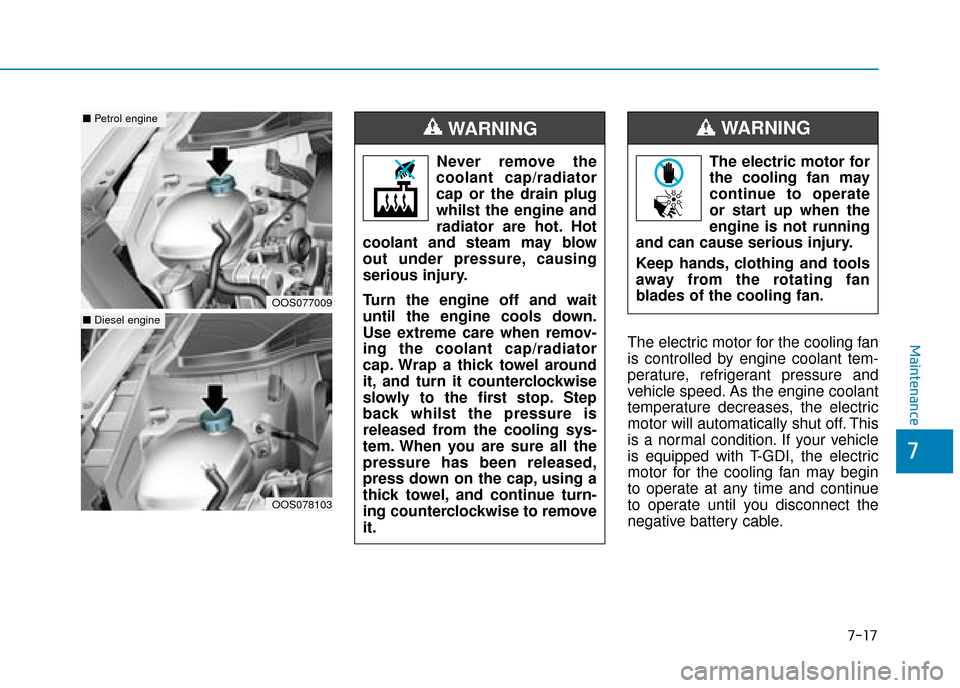
Never remove the
coolant cap/radiator
cap or the drain plug
whilst the engine and
radiator are hot. Hot
coolant and steam may blow
out under pressure, causing
serious injury.
Turn the engine off and wait
until the engine cools down.
Use extreme care when remov-
ing the coolant cap/radiator
cap. Wrap a thick towel around
it, and turn it counterclockwise
slowly to the first stop. Step
back whilst the pressure is
released from the cooling sys-
tem. When you are sure all the
pressure has been released,
press down on the cap, using a
thick towel, and continue turn-
ing counterclockwise to remove
it.
WARNING
OOS077009
■ Petrol engine
OOS078103
■Diesel engine
Page 448 of 526
7-31
7
Maintenance
By jump starting
After a jump start from a good bat-
tery, drive the vehicle for 20-30 min-
utes before it is shutoff. The vehicle
may not restart if you shut it off
before the battery had a chance to
adequately recharge. See “Jump
Starting” in chapter 6 for more infor-
mation on jump starting procedures.
Information
An inappropriately disposedof battery can be harmful to
the environment and human
health.
Dispose of the battery according to
your local law(s) or regulations.
Reset items
The following items may need to be
reset after the battery has been dis-
charged or the battery has been dis-
connected.
Auto up/down window
Sunroof
Trip computer
Climate control system
Driver position memory system
Clock
Audio system
i
Page 461 of 526
7-44
Maintenance
Fuse switch
Always, place the fuse switch to the
ON position.
If you move the switch to the OFF
position, some items such as the
audio system and digital clock must
be reset and the smart key may not
work properly.
Information
If the fuse switch is OFF, “Turn on
FUSE SWITCH” message will appear.
(if equipped)
Always place the fuse switch inthe ON position whilst driving
the vehicle.
Do not move the transportation fuse switch repeatedly. The fuse
switch may be damaged.
Engine compartment panel
fuse replacement
1. Turn the vehicle off.
2. Turn all other switches OFF.
NOTICE
i
OOS077027ROPDE046119
OOS077024
■ Blade type fuse
OOS077025
■Cartridge type fuse
Page 478 of 526
![Hyundai Kona 2019 Owners Manual - RHD (UK, Australia) 7-61
7
Maintenance
[1] : High beam, [2] : Low beam
Headlamp and position lamp
1. Open the bonnet.
2. Disconnect the negative batterycable.
3. Remove the bulb cover by turning it counterclockwise.
4. D Hyundai Kona 2019 Owners Manual - RHD (UK, Australia) 7-61
7
Maintenance
[1] : High beam, [2] : Low beam
Headlamp and position lamp
1. Open the bonnet.
2. Disconnect the negative batterycable.
3. Remove the bulb cover by turning it counterclockwise.
4. D](/manual-img/35/16225/w960_16225-477.png)
7-61
7
Maintenance
[1] : High beam, [2] : Low beam
Headlamp and position lamp
1. Open the bonnet.
2. Disconnect the negative batterycable.
3. Remove the bulb cover by turning it counterclockwise.
4. Disconnect the bulb socket-con- nector. (for low beam and high
beam)
5. Remove the bulb from the head- lamp assembly.
6. Install a new bulb.
7. Connect the bulb socket-connec- tor. (for low beam and high beam)
8. Install the bulb cover by turning it clockwise.
Turn signal lamp
1. Open the bonnet.
2. Disconnect the negative batterycable.
3. Remove the socket (1) from the assembly by turning the socket
counterclockwise until the tabs on
the socket align with the slots on
the assembly.
4. Remove the bulb from the socket by pressing it in and rotating it
counterclockwise until the tabs on
the bulb align with the slots in the
socket. Pull the bulb out of the
socket. 5. Insert a new bulb by inserting it
into the socket and rotating it until
it locks into place.
6. Install the socket in the assembly by aligning the tabs on the socket
with the slots in the assembly.
7. Push the socket into the assembly and turn the socket clockwise.
Daytime running light
If the LED lamp does not operate, we
recommend that you have the vehi-
cle checked by a HYUNDAI autho-
rised repairer.OOS077038OOS077034
Page 480 of 526

7-63
7
Maintenance
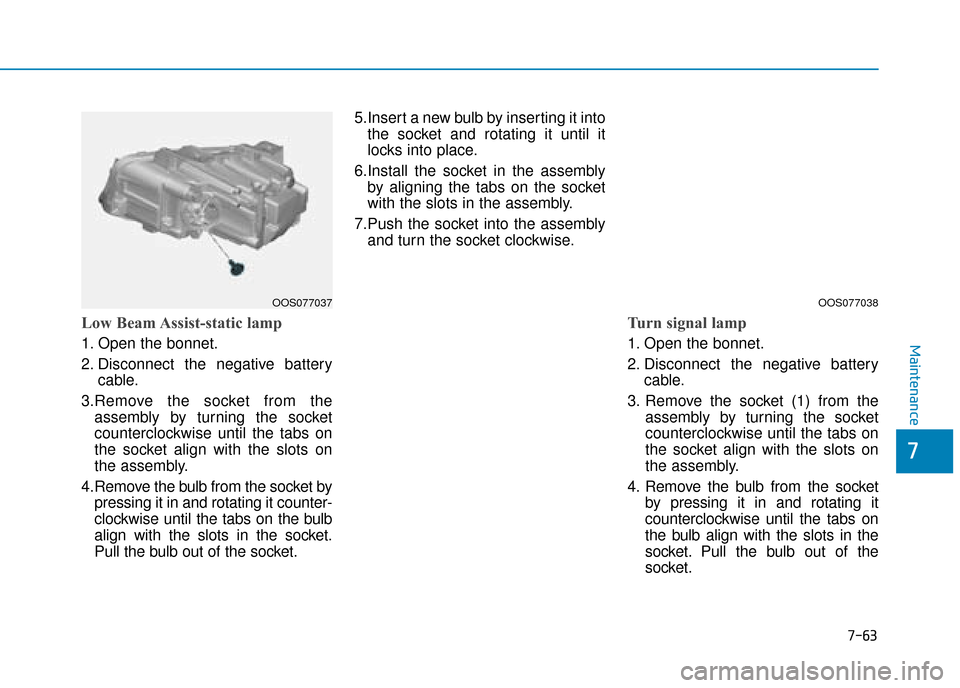
Low Beam Assist-static lamp
1. Open the bonnet.
2. Disconnect the negative batterycable.
3.Remove the socket from the assembly by turning the socket
counterclockwise until the tabs on
the socket align with the slots on
the assembly.
4.Remove the bulb from the socket by pressing it in and rotating it counter-
clockwise until the tabs on the bulb
align with the slots in the socket.
Pull the bulb out of the socket. 5.Insert a new bulb by inserting it into
the socket and rotating it until it
locks into place.
6.Install the socket in the assembly by aligning the tabs on the socket
with the slots in the assembly.
7.Push the socket into the assembly and turn the socket clockwise.
Turn signal lamp
1. Open the bonnet.
2. Disconnect the negative battery cable.
3. Remove the socket (1) from the assembly by turning the socket
counterclockwise until the tabs on
the socket align with the slots on
the assembly.
4. Remove the bulb from the socket by pressing it in and rotating it
counterclockwise until the tabs on
the bulb align with the slots in the
socket. Pull the bulb out of the
socket.
OOS077037 OOS077038
Page 481 of 526

7-64
Maintenance
5. Insert a new bulb by inserting it into the socket and rotating it until
it locks into place.
6. Install the socket in the assembly by aligning the tabs on the socket
with the slots in the assembly.
7. Push the socket into the assembly and turn the socket clockwise.
Position lamp and daytime running
light
If the LED lamp does not operate, we
recommend that you have the vehicle
checked by a HYUNDAI authorised
repairer.
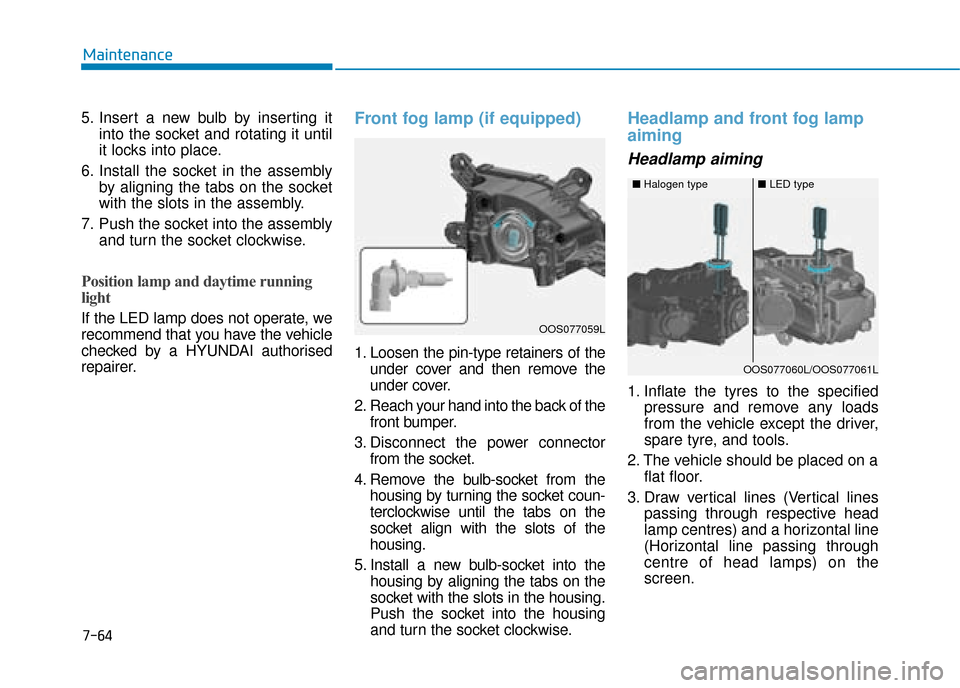
Front fog lamp (if equipped)
1. Loosen the pin-type retainers of theunder cover and then remove the
under cover.
2. Reach your hand into the back of the front bumper.
3. Disconnect the power connector from the socket.
4. Remove the bulb-socket from the housing by turning the socket coun-
terclockwise until the tabs on the
socket align with the slots of the
housing.
5. Install a new bulb-socket into the housing by aligning the tabs on the
socket with the slots in the housing.
Push the socket into the housing
and turn the socket clockwise.
Headlamp and front fog lamp
aiming
Headlamp aiming
1. Inflate the tyres to the specified pressure and remove any loads
from the vehicle except the driver,
spare tyre, and tools.
2. The vehicle should be placed on a flat floor.
3. Draw vertical lines (Vertical lines passing through respective head
lamp centres) and a horizontal line
(Horizontal line passing through
centre of head lamps) on the
screen.
OOS077059L
■Halogen type■LED type
OOS077060L/OOS077061L
Page 482 of 526
7-65
7
Maintenance
4. With the headlamp and battery innormal condition, aim the head-
lamps so the brightest portion falls
on the horizontal and vertical
lines.
5. To aim the low beam left or right, turn the driver clockwise or coun-
terclockwise. To aim the low beam
up or down, turn the driver clock-
wise or counterclockwise.
To aim the high beam up or down,turn the driver clockwise or coun-
terclockwise.Front fog lamp aiming
The front fog lamp can be aimed as
the same manner of the headlamps
aiming. With the front fog lamps and
battery in normal condition, aim the
front fog lamps. To aim the front fog
lamp up or down, turn the driver
clockwise or counterclockwise.
OOS077062L
Page 487 of 526

7-70
Maintenance
4. Remove the rear combination lamp assembly from the body of
the vehicle.
5. Remove the socket from the assembly by turning the socket
counterclockwise until the tabs on
the socket align with the slots on
the assembly.
6. Remove the bulb from the socket by pressing it in and rotating it
counterclockwise until the tabs on
the bulb align with the slots in the
socket. Pull the bulb out of the
socket. 7. Insert a new bulb by inserting it
into the socket and rotating it until
it locks into place.
8. Install the socket into the assem- bly by aligning the tabs on the
socket with the slots in the assem-
bly. Push the socket into the
assembly and turn the socket
clockwise.
9. Reinstall the lamp assembly to the body of the vehicle.
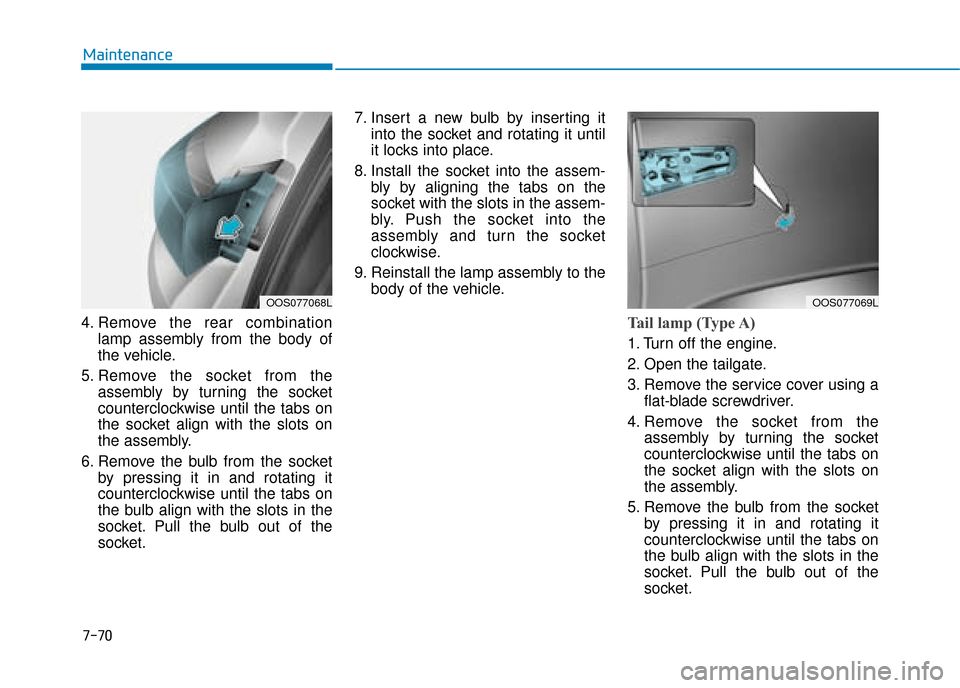
Tail lamp (Type A)
1. Turn off the engine.
2. Open the tailgate.
3. Remove the service cover using aflat-blade screwdriver.
4. Remove the socket from the assembly by turning the socket
counterclockwise until the tabs on
the socket align with the slots on
the assembly.
5. Remove the bulb from the socket by pressing it in and rotating it
counterclockwise until the tabs on
the bulb align with the slots in the
socket. Pull the bulb out of the
socket.
OOS077068LOOS077069L