2019 Hyundai Kona EV brightness
[x] Cancel search: brightnessPage 129 of 540

3-45
Convenient features of your vehicle
3
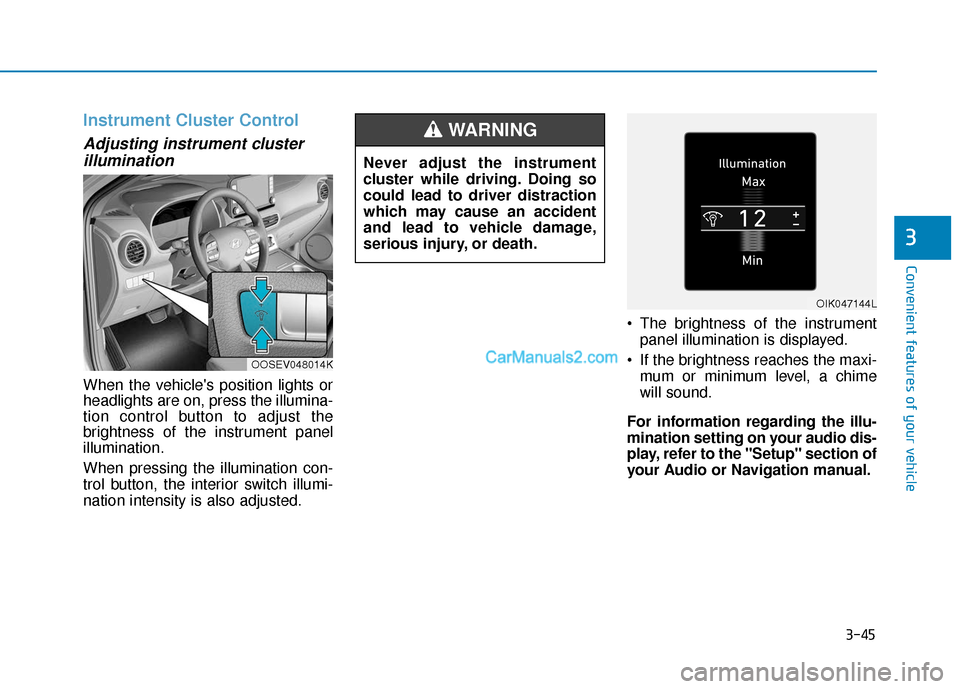
Instrument Cluster Control
Adjusting instrument clusterillumination
When the vehicle's position lights or
headlights are on, press the illumina-
tion control button to adjust the
brightness of the instrument panel
illumination.
When pressing the illumination con-
trol button, the interior switch illumi-
nation intensity is also adjusted. The brightness of the instrument
panel illumination is displayed.
If the brightness reaches the maxi- mum or minimum level, a chime
will sound.
For information regarding the illu-
mination setting on your audio dis-
play, refer to the "Setup" section of
your Audio or Navigation manual.
Never adjust the instrument
cluster while driving. Doing so
could lead to driver distraction
which may cause an accident
and lead to vehicle damage,
serious injury, or death.
WARNING
OOSEV048014K
OIK047144L
Page 165 of 540

3-81
Convenient features of your vehicle
3
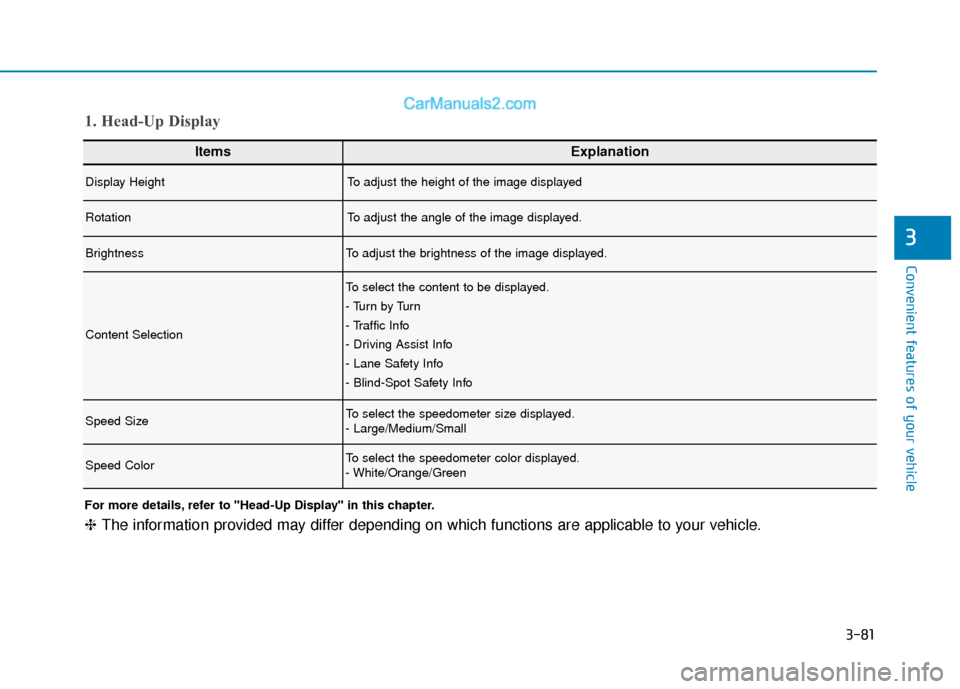
ItemsExplanation
Display HeightTo adjust the height of the image displayed
RotationTo adjust the angle of the image displayed.
BrightnessTo adjust the brightness of the image displayed.
Content Selection
To select the content to be displayed.
- Tu r n b y Tu r n
- Traffic Info
- Driving Assist Info
- Lane Safety Info
- Blind-Spot Safety Info
Speed SizeTo select the speedometer size displayed.
- Large/Medium/Small
Speed ColorTo select the speedometer color displayed.
- White/Orange/Green
1. Head-Up Display
For more details, refer to "Head-Up Display" in this chapter.
❈The information provided may differ depending on which functions are applicable to your vehicle.
Page 178 of 540

3-94
Convenient features of your vehicle
The Head-Up Display is an optional
feature that allows the driver to view
information projected onto a trans-
parent screen while still keeping your
eyes safely on the road ahead while
driving.
Precautions while using the head up display
It may sometimes be difficult to read
information on the head up display in
the following situations.
- The driver is improperly positioned
in the driver's seat.
- The driver wears polarizing-filter sunglasses.
- An object is located above the head up display cover.
- The vehicle is driven on a wet road.
- Any improper lighting accessory is installed inside the vehicle, or there
is incoming light from outside of
the vehicle.
- The driver wears glasses.
- The driver wears contact lenses.
When it is difficult to read the head
up display information, adjust the
image height or brightness level of
the head-up display in the User
Settings mode.
For more details, refer to "LCD
Display Modes" in this chapter.
H H E
EA
A D
D
U
U P
P
D
D I
IS
S P
P L
LA
A Y
Y
(
( H
H U
U D
D)
)
(
( I
IF
F
E
E Q
Q U
UI
IP
P P
PE
ED
D )
)
Do not attach any stickers or
accessories on the head-up
display or crash pad.
Do not attempt to adjust or try
to move the combiner screen
or the mechanical door on top
of the dash manually by hand.
The image may be invisible
due to finger prints. Also,
excessive force applied dur-
ing operation may damage the
display.
Do not place any objects near
the head-up display.
Interference with such objects
during activation may influ-
ence the operation or damage
the display.
Do not put any drinks near the
head-up display. If liquid flows
in the display, the unit could
be damaged.
WARNING
OOSEV048016N
Page 180 of 540

3-96
Head Up Display Information
1. Turn By Turn (TBT) navigationinformation (if equipped)
2. Speed limit sign (if equipped)
3. Speedometer
4. Cruise control set speed
5. Lane Keeping Assist (LKA) sys- tem information
6. Blind-spot Collision Warning (BCW) system information (if equipped)
Information
If you select the Turn By Turn (TBT)
navigation information as head-up
display contents, the Turn By Turn
(TBT) navigation information will not
be displayed on the LCD Display.
Head Up Display Setting
On the LCD display, you can change
the head-up display settings as fol-
lows.
Display Height
Rotation
Brightness
Content Select
Speed Size
Speed Color
For more details, refer to "LCD
Display" in this chapter.
i
Convenient features of your vehicle
OOSEV048217NOOSEV048142N
Page 183 of 540

3-99
Convenient features of your vehicle
3
High beam operation
To turn on the high beam headlamp,
push the lever away from you. The
lever will return to its original position.
The high beam indicator will light
when the headlamp high beams are
switched on.
To turn off the high beam headlamp,
pull the lever towards you. The low
beams will turn on.To flash the high beam headlamp,
pull the lever towards you, then
release the lever. The high beams
will remain ON as long as you hold
the lever towards you.
High Beam Assist (HBA)
(if equipped)
The High Beam Assist (HBA) is a
system that automatically adjusts the
headlamp range (switches between
high beam and low beam) according
to the brightness of other vehicles
and road conditions.
Operating condition
1. Place the headlamp switch in the
AUTO position.
2. Turn on the high beam by pushing the lever away from you.
The High Beam Assist (HBA) ( ) indicator will illuminate.
Do not use high beam when there
are other vehicles approaching
you. Using high beam could
obstruct the other driver's vision.
WARNING
OOS047407N
OOS047408N
OOS047409N
Page 291 of 540

5-58
Driving your vehicle
Detecting vehicles
The sensor may be limited when:
The camera is blocked with a for-eign object or debris
The camera lens is contaminated due to tinted, filmed or coated
windshield, damaged glass, or
stuck of foreign matter (sticker,
bug, etc.) on the glass
Inclement weather such as heavy rain or snow obscures the field of
view of the camera
The vehicle is on unpaved or uneven rough surfaces, or road
with sudden gradient changes.
The camera sensor recognition is limited
The vehicle in front is too small to be detected (for example a motor-
cycle or a bicycle, etc.)
The camera does not recognize the entire vehicle in front.
The vehicle in front is an oversize vehicle or trailer that is too big to
be detected by the camera recog-
nition system (for example a tractor
trailer, etc.) The camera's field of view is not
well illuminated (either too dark or
too much reflection or too much
backlight that obscures the field of
view)
The vehicle in front does not have their rear lights properly turned ON
The outside brightness changes suddenly, for example when enter-
ing or exiting a tunnel
Light coming from a street light or an oncoming vehicle is reflected on
a wet road surface such as a pud-
dle in the road
The field of view in front is obstructed by sun glare
The vehicle drives inside a build- ing, such as a basement parking
lot
The adverse road conditions cause excessive vehicle vibrations while
driving
The camera is damaged.
The brightness outside is too low such as when the headlamps are
not on at night or the vehicle is
going through a tunnel. The shadow is on the road by a
median strip, trees, etc.
The vehicle drives through a toll- gate.
The windshield glass is fogged up; a clear view of the road is obstruct-
ed
The rear part of the vehicle in front is not normally visible (for example,
the vehicle is spinning or the vehi-
cle is overturned)
The sensor recognition changes suddenly when passing over a
speed bump
The vehicle in front is driving errat- ically
The vehicle in front is moving verti- cally to the driving direction
The vehicle in front is stopped ver- tically
The vehicle in front is driving towards your vehicle or reversing
You are on a roundabout and the vehicle in front circles
Page 314 of 540

5-81
Driving your vehicle
5
Radius of a curve is too small.
The vehicle is driven on a steepincline.
The steering wheel is turned sud- denly.
Limitations of the System
The LKA system may operate pre-
maturely even if the vehicle does not
depart from the intended lane, OR,
the LKA system may not warn you if
the vehicle leaves the intended lane
under the following circumstances:
When the lane and road condi-
tions are poor
It is difficult to distinguish the lanemarker from the road because the
lane marker is covered with dust or
sand.
It is difficult to distinguish the color of the lane marker from the road.
There are markings on the road surface that look like a lane marker
that is inadvertently being detected
by the camera.
The lane marker is indistinct or damaged. The lane marker is merged or
divided. (e.g. tollgate)
The lane number increases or decreases or the lane marker are
crossing complicatedly.
There are more than two lane markers on the road in front of you.
The lane marker is very thick or thin.
The lane marker ahead is not visi- ble due to rain, snow, water on the
road, damaged or stained road
surface, or other factors.
The shadow is on the lane marker by a median strip, trees, guardrail,
noise barriers, etc.
The lane markers are complicated or a structure substitutes for the
lines such as a construction area.
There are crosswalk signs or other symbols on the road.
The lane marker in a tunnel is stained with oil, etc.
The lane suddenly disappears such as at the intersection. When external condition is inter-
vened
The brightness outside changes
suddenly such as when entering or
exiting a tunnel, or when passing
under a bridge.
The brightness outside is too low such as when the headlamps are
not on at night or the vehicle is
going through a tunnel.
There is a boundary structure in the roadway such as a concrete
barrier, guardrail and reflector post
that is inadvertently being detected
by the camera.
When light coming from a street light or an oncoming vehicle is
reflected on a wet road surface
such as a puddle in the road.
The field of view in front is obstructed by sun glare.
There is not enough distance between you and the vehicle in
front to be able to detect the lane
marker or the vehicle ahead is driv-
ing on the lane marker.